Options
Strength is a general setting that defines the strength with which the tool affects points. Simultaneously pressing Ctrl/Cmd will reverse the effect.
Size defines the tool’s size, which will be displayed as a circle in the Viewport. The falloff defined for the Falloff tool will exert its effect within this size.
This setting is used to define how the tool should work. You can select from the following options:
Smear
Drags the mesh in the direction of the mouse movement (this is how the Magnet tool worked in previous versions of Cinema 4D).
Pull
Drags the mesh in the direction of the camera.
Surface
Drags the mesh in the direction of the point Normals at the center of the tool (does not work in conjunction with splines).
Normal
Deforms the mesh in the respective directions of its point Normals (does not work in conjunction with splines).
Repel
Repels the mesh radially away from the tool.
Spin
Spins the mesh around the tool.
Twister
Twists the mesh and drags it in the direction of the center of the tool
Vortex
Works like Twister and also drags the mesh in the direction of the camera.
Smooth
Smooths the mesh like a Subdivision Surface object would (does not work in conjunction with splines). This mode functions similarly to the Sculpt brush - temporarily at any time by pressing the Shift key.
Relax

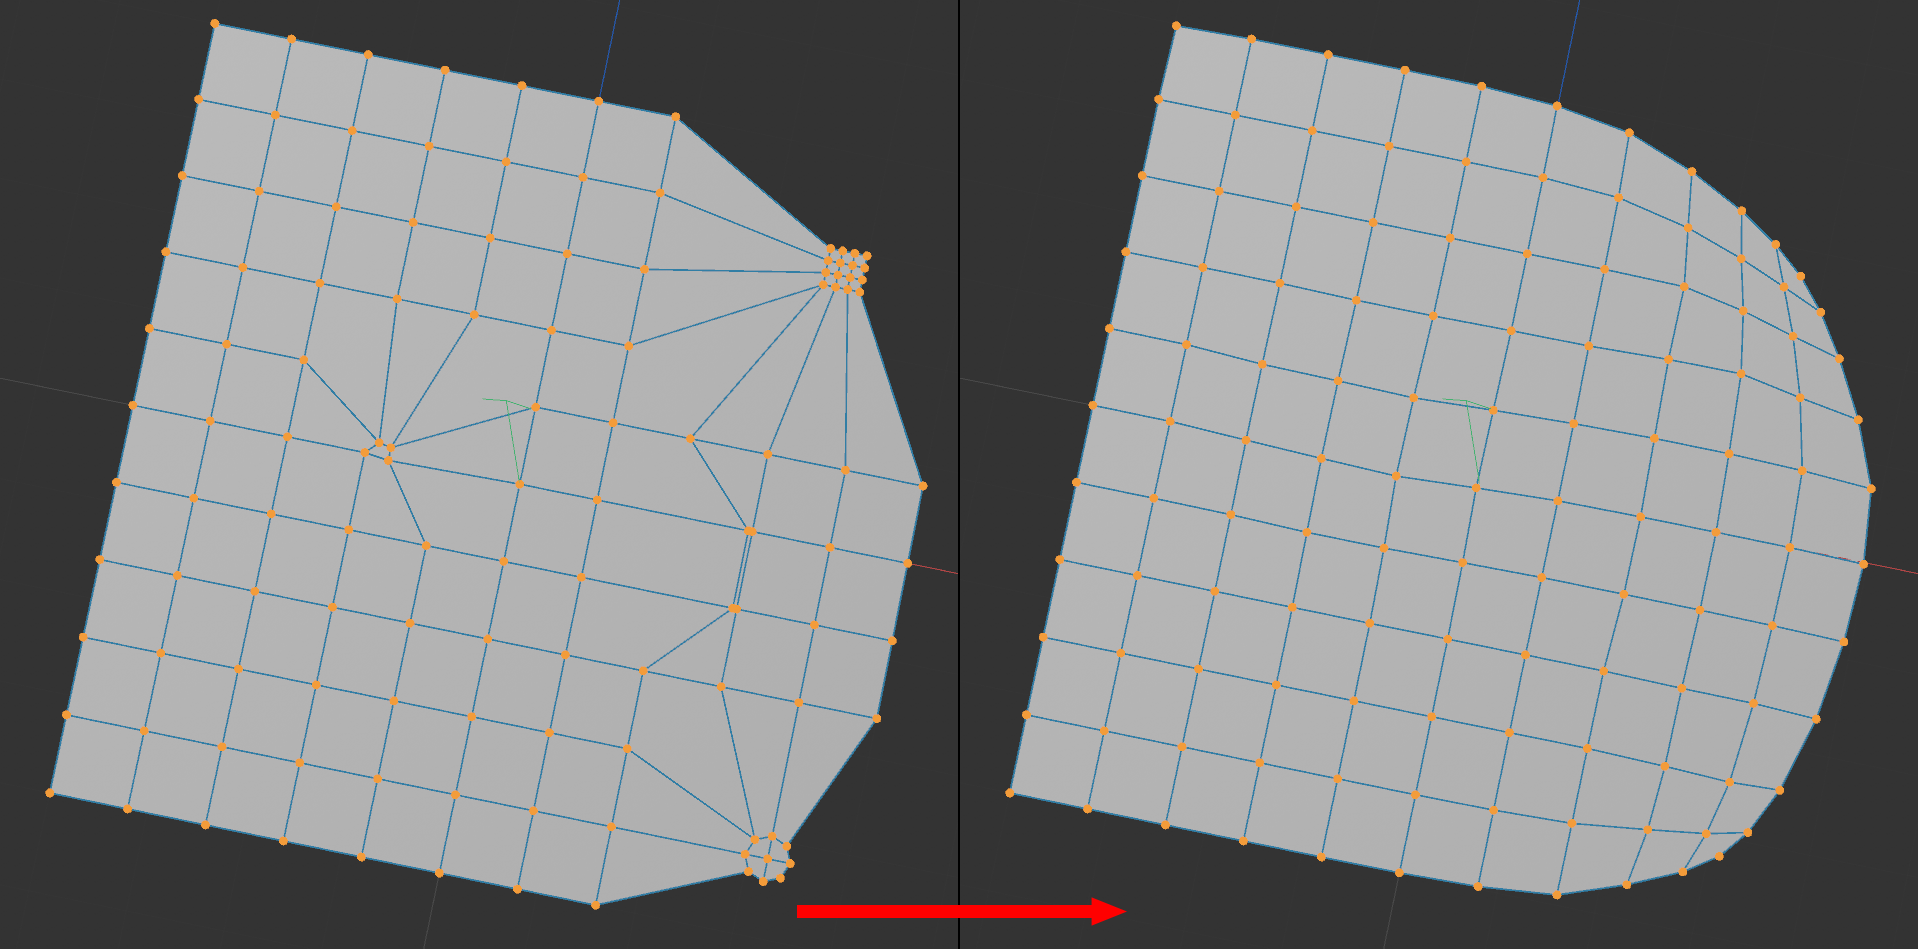
This mode relaxes the Mesh: Polygons will be adapted to their neighbors. The goal is to create the most homogenous mesh possible will maintaining the contours.
The following 4 options are only available for the Brush tool and only affect the editing of Vertex maps (for which the ![]() Paint Tool is actually better suited).
Paint Tool is actually better suited).
If this option is enabled, only the visible points that are not obscured by other objects will be affected in the active Viewport. If disabled, the points not visible from the angle of view of the camera can also be moved.
Elements hidden via the ![]() Hide Selected function are not included and will not be affected. Regions hidden via camera clipping will be treated as if they are visible.
Hide Selected function are not included and will not be affected. Regions hidden via camera clipping will be treated as if they are visible.
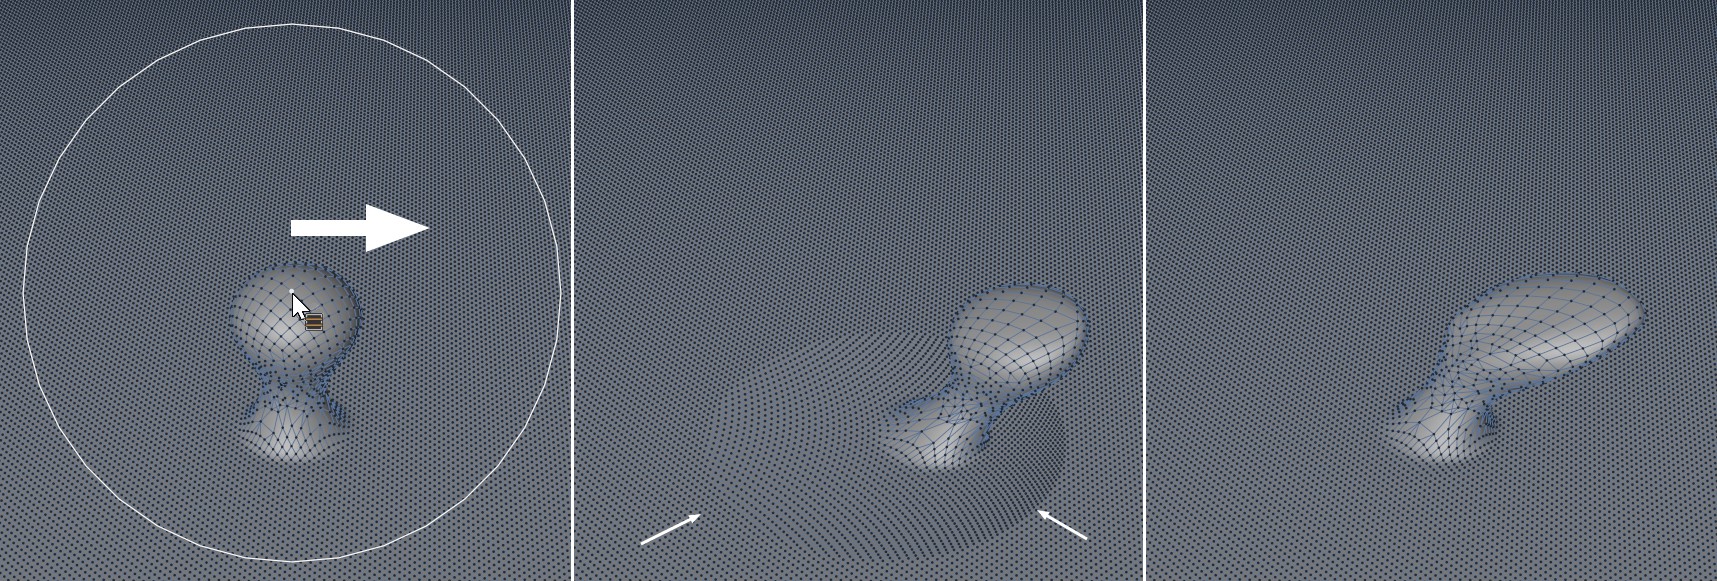
 Surface here in conjunction with the Magnet tool. At center Surface disabled, at right enabled.
Enable this option if you want to extend the tool's effect range beyond that of the area displayed in the Viewport. In the image above you can see at the center how parts of the plane are moved because they lie within the tool's visible effect range. On the right the tool orients itself according to the surface, which allows for more detailed editing of the surface.
This enables or disables the circular tool preview.
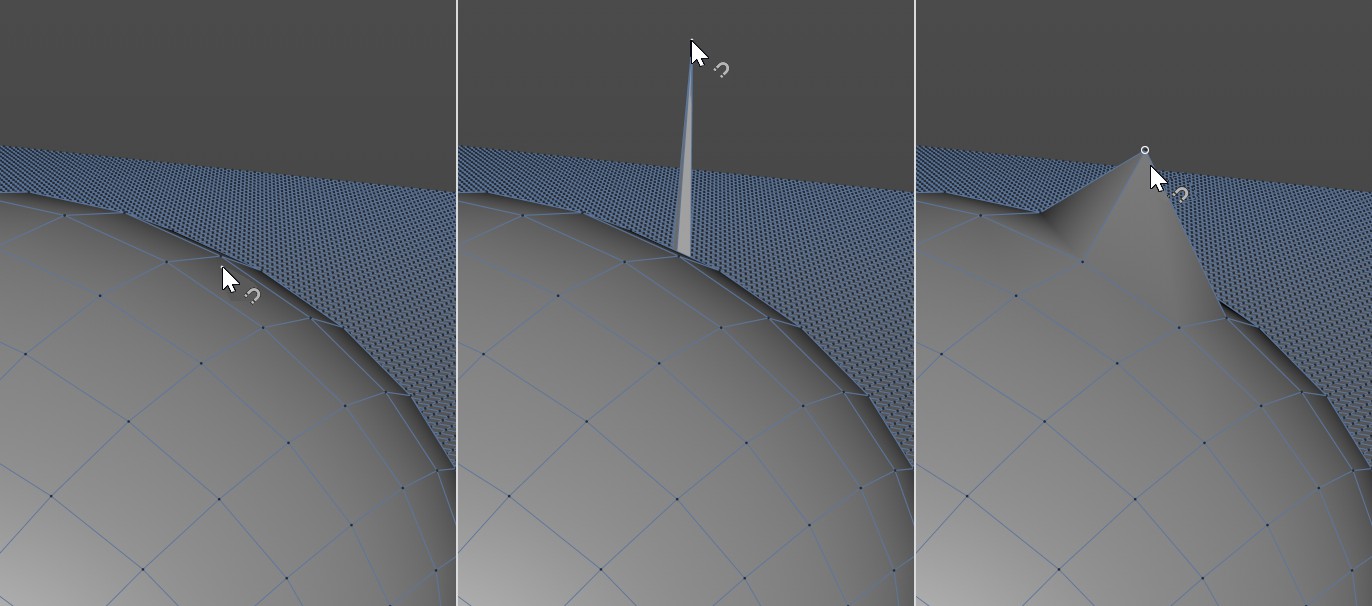
If you have defined a small Radius, it can happen that no point lies within this radius. If you press the mouse button the following will happen:
- Option disabled: Nothing will happen, no points will be moved.
- Option enabled: The nearest point (can also be a hidden one) will be used as the point at which the tool's effect works.

If Visible Only is disabled, it can happen that the tool, e.g., if very small radii are used, as shown above, will use a hidden point as the Nearest Point. This is not the desired result an just about any case. This option should then be enabled in order to "access" the next visible point, which will also be highlighted in color.
The term Boundary refers to a mesh edge or selection. These remain unchanged and stay in place when the tool is applied.
This setting can be used to restrict the tool’s effect along 3 axes. For example, if you don’t want to modify the position of points along the Y axis, set Y to 0%; if you only want a minimal change in position, set Y to 10%, for example. The Space setting defines if the object or global coordinate system should be use.
