
The Fabric Brush

General
How can the drape of a textile fabric be realized?
You are no doubt familiar with the difficulty of modeling a towel that has been carelessly thrown into a corner, for example. Creating a realistic drape using polygon modeling is not that easy. Although you can create extensive fabric simulations with Cinema 4D Simulation, this initially requires some effort: Cloth and Collider Tags have to be assigned, and interactivity is not far off.
This is where the Fabric Brush comes into play: without any further preparation, select the polygonal fabric object, activate the Fabric Brush and interactively create folds.
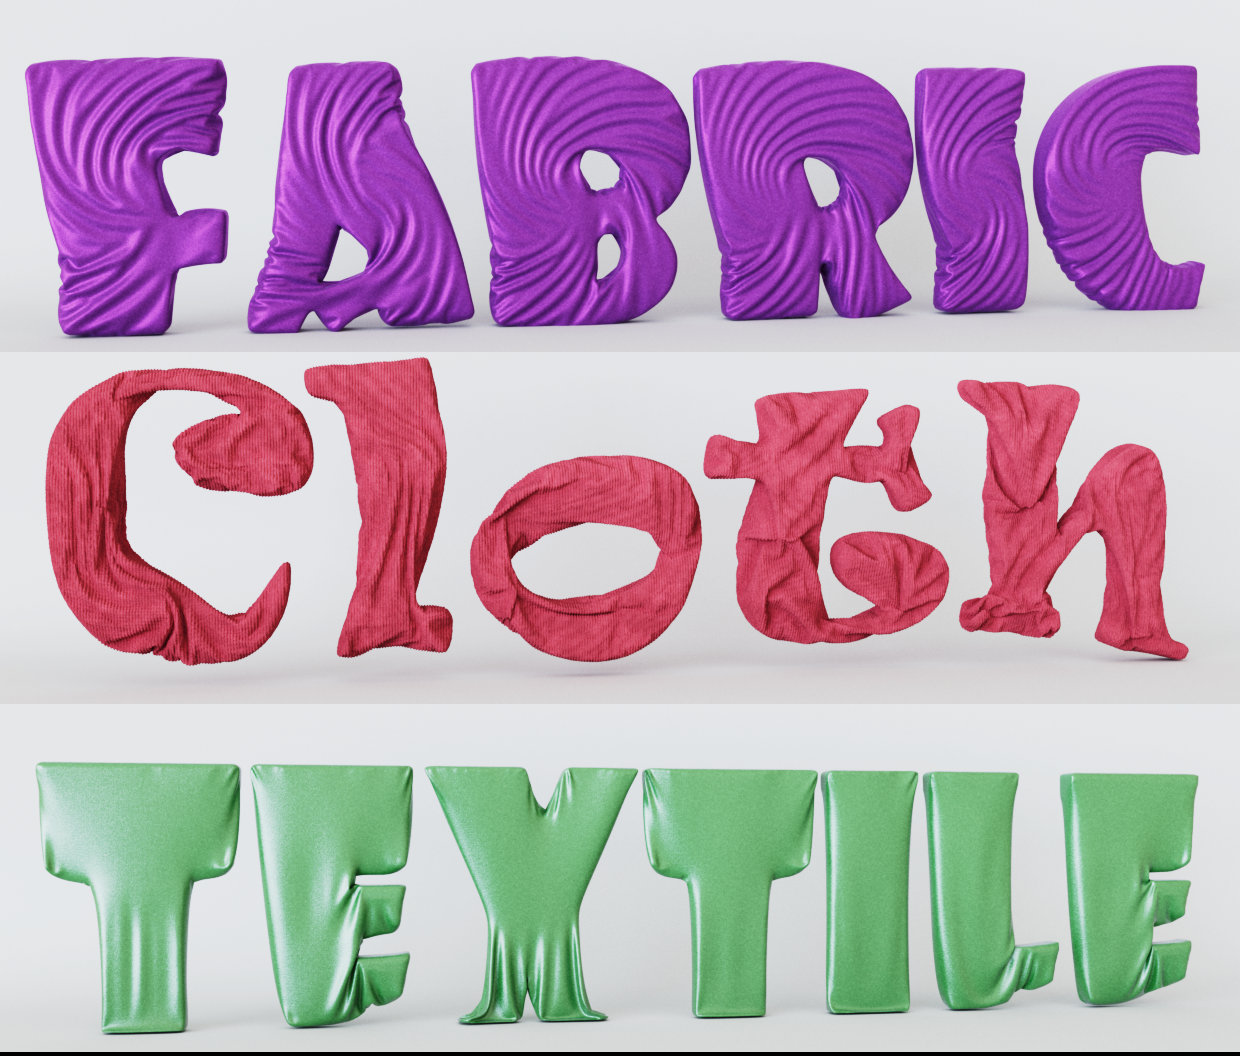
Interactivity during editing
Observe the following keys when working with the Fabric Brush:
- Left mouse button: The Fabric Brush is activated and simulated as long as the mouse button is pressed. You can also click in the void to apply the simulation to the entire selected object.
- Middle mouse button and drag horizontally changes the brush radius.
- Middle mouse button and drag vertically changes the brush strength.
- SHIFT with the left mouse button pressed always switches temporarily to smoothing mode, so that you always have maximum access to this important functionality.
- G button (for Gravity) when editing: use this to apply gravity. Depending on where you clicked: in the void or on the fabric object, the fabric object falls free or is held within the brush radius. As soon as you release G, gravity is switched off again. The G button can be assigned to any other button in the Command Manager; filter here for "Fabric Brush - Gravity".
- CTRL/CMD + left mouse button: the brushes provided for this purpose (e.g. rotation, contraction/expansion etc.) switch to an inverted mode.
Point selections for restricting the Fabric Brush
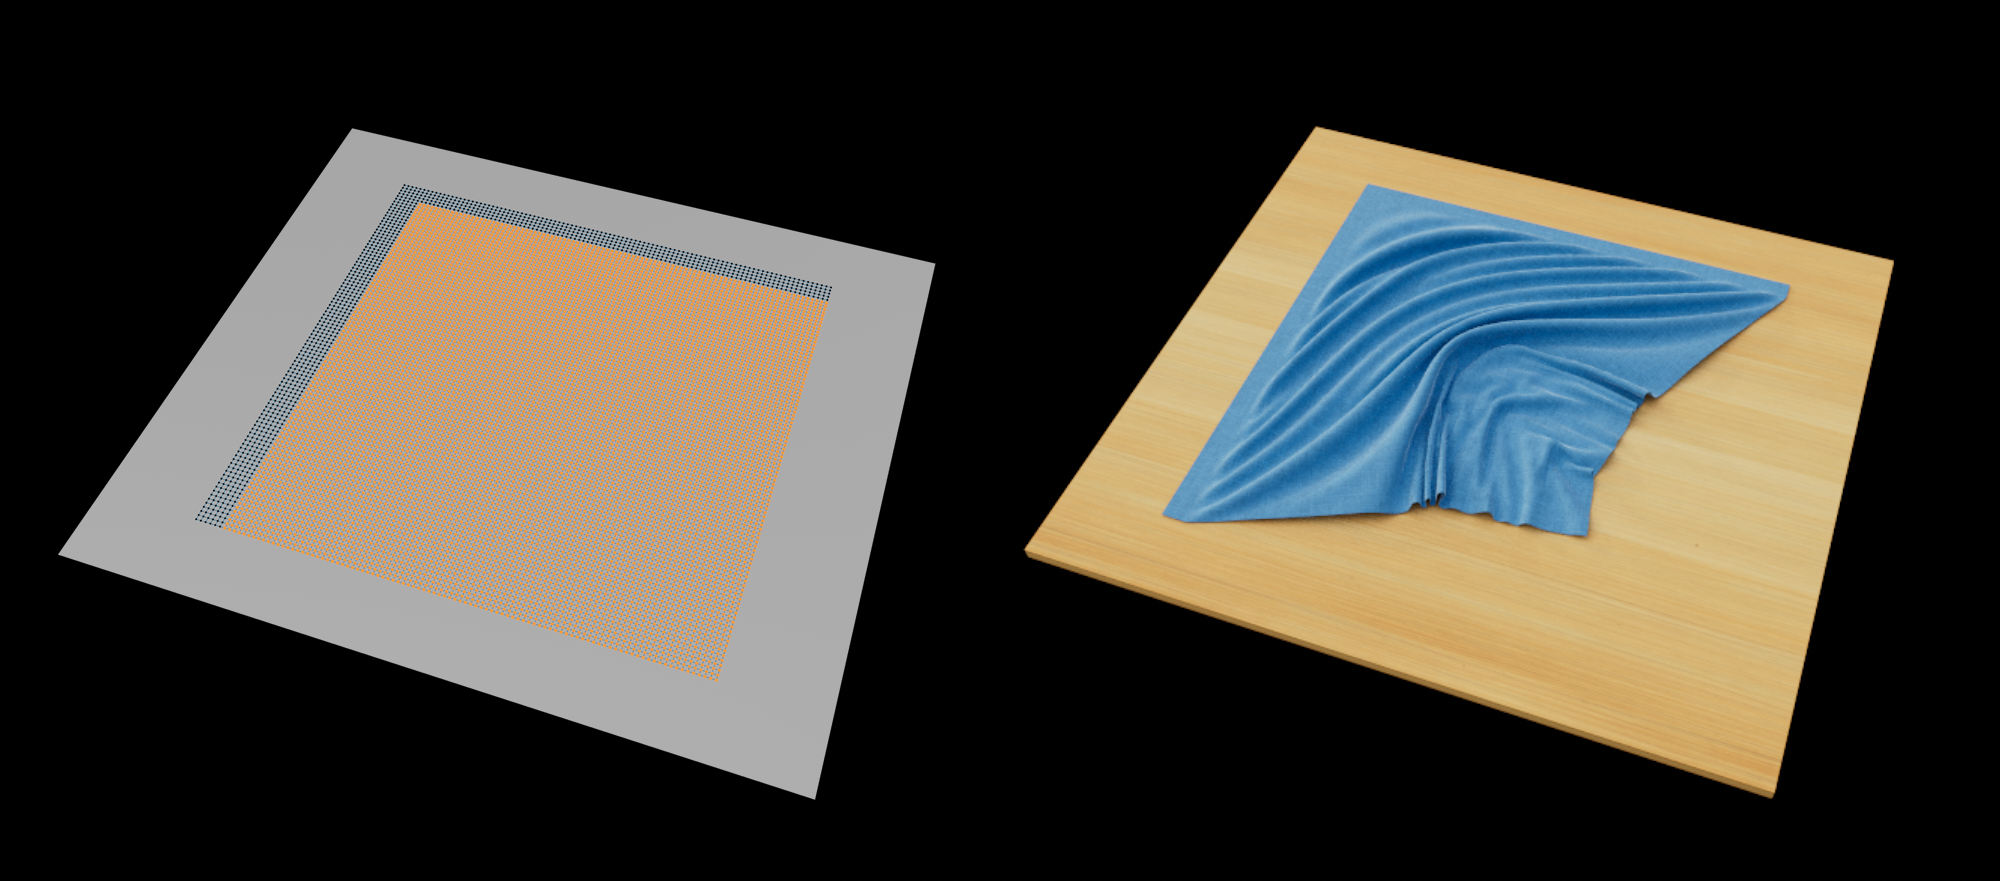 The Fabric Brush only works on selected points. Deselected points remain in place.
The Fabric Brush also takes the following tags into account to limit its effect:
- Point Selection Tag: only selected dots (also using the field functionality!) are processed by the Fabric Brush.
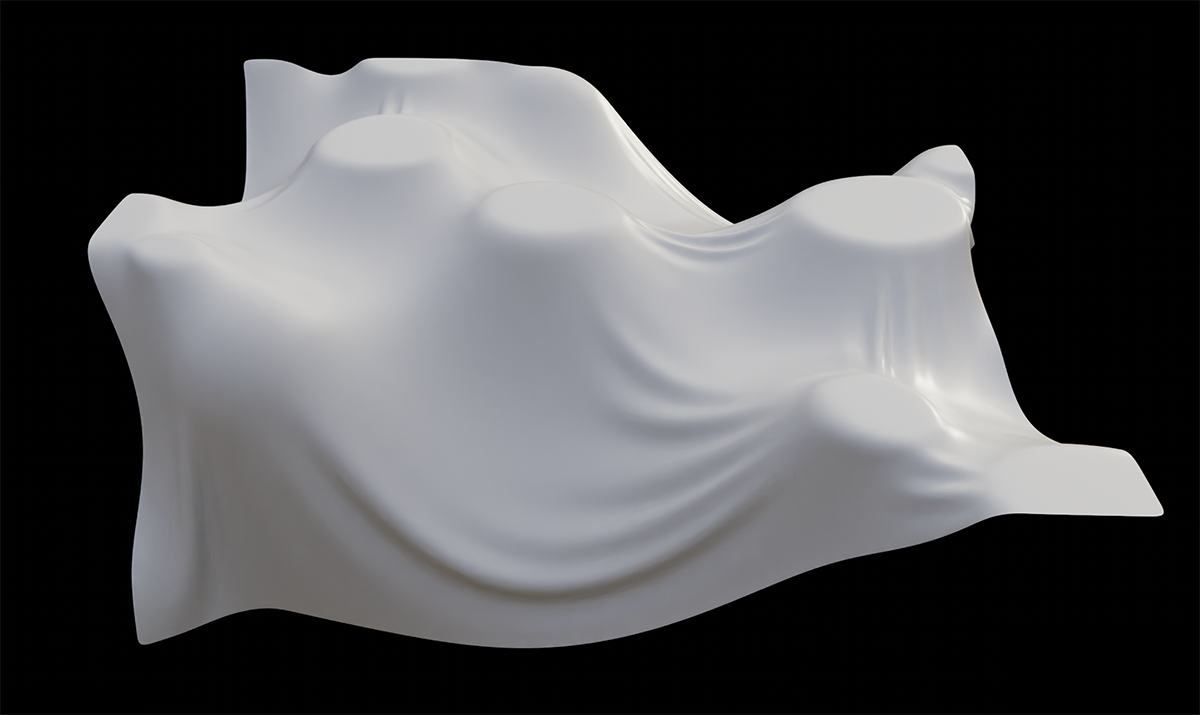
- Vertex Map Tag: In contrast to the Point Selection Tag, which only knows on/off, you can use the vertex map for detailed weighting. In the following example there are no collisions, only a vertex map with a random field controlled by a Voronoi-1 noise. Gravity does the rest.
How does the brush work internally?
The Fabric Brush uses the already familiar simulation system for clothing (see Cloth Tag, especially the Surface tab), which uses the fast computing speed of your graphics card. You do not need to assign any tags here, simply select the polygonal object to be edited and get started.
Good to know
- Polygon objects with an associated deformer are not supported.
- In most cases, it is advisable to group the fabric object under a Subdivision Surface object. This divides and smoothes - even during processing - which makes the drape much more realistic.
- If you switch off the Angle Limit in the Phong Tag of the fabric object, even low-resolution objects appear soft and flowing.
- The tool only works with polygonal objects. Basic objects and generators must therefore be made polygonal (e.g. C key)!
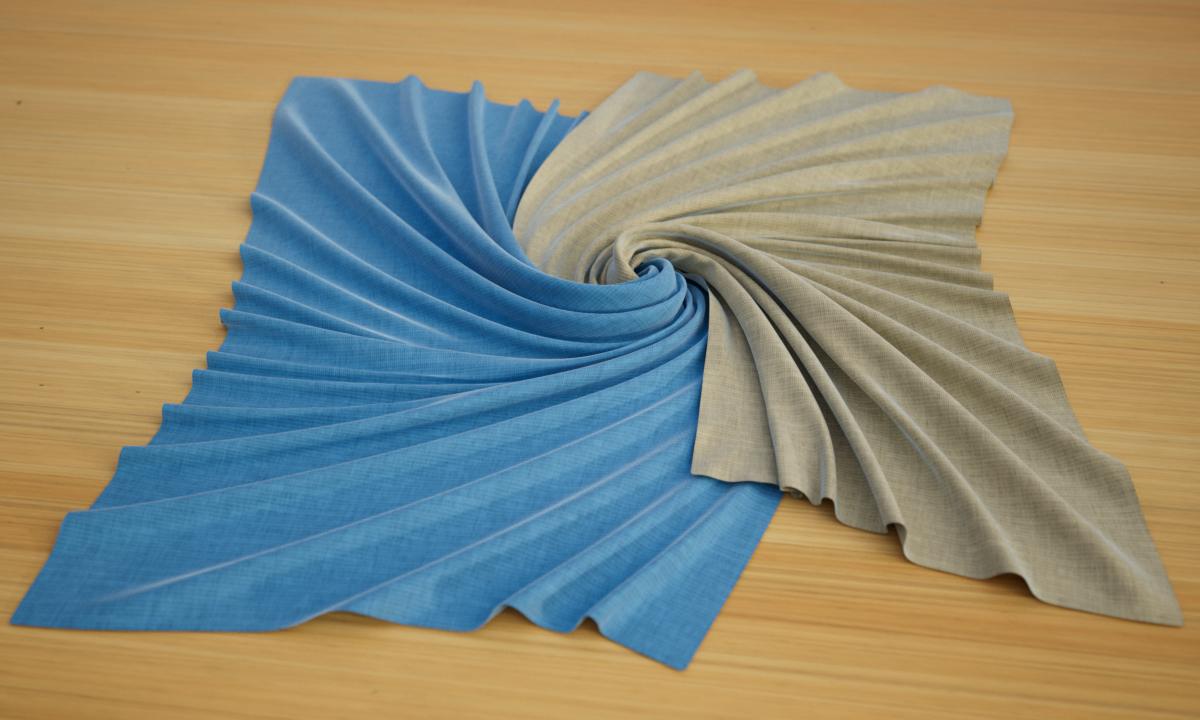
- The Fabric Brush works with multi-selection, i.e. when two fabric objects are selected, they react to each other:
How should common textiles such as cushions and blankets be designed?
You should observe the following general tips and tricks when modeling textiles:
- The mesh should consist of squares of the same size. N-gons and long, thin triangles should be avoided wherever possible.
- Fabrics also have a thickness. Ultra-thin polygons quickly destroy a realistic fabric appearance. The
 Thicken generator can provide you with valuable services when rendering.
 - Note the type of fabric: for example, bed sheets are very thin, but woolen blankets are very thick. The former have small, narrower pleats, the latter longer, flowing pleats.
- The Fabric Brush works well with PoseMorph: you can work directly on the individual poses and create creases there, for example.
- When working on voluminous fabrics (e.g. cushions), it often helps to use slightly smaller copies (e.g. with the help of the displacer) of the fabric object as a collider object so as not to reduce the volume too much.
- Do not neglect gravity (button G) when using the Fabric Brush. Textiles in particular, such as tablecloths, protective furniture covers, etc., should always be dropped onto the collider object by gravity. But cushions also always have a large contact surface with the carpet pad!
- Realistic fabric materials are also important: you will find a wide range of different materials in the Asset Browser. A search for "Fabric dependency:redshift", for example, will list all corresponding Redshift materials. Alternatively, you can click directly on the sphere icon at the top of the Material Manager and search for "Fabric".
FAQ
What should I do if the fabric has been penetrated during processing?
Penetrations are difficult to remove. You can do the following:
- Edit the problem area in Detangle Mode ("Tool" tab).
- Select the problem area in Ghost Point Mode ("Simulation" tab) - this will switch off the self-collision - then switch back to simulate and untangle the chaos, e.g. in Drag mode ("Tool" tab).
What are contraints?
The following descriptions occasionally refer to "constraints". Constraints are internal conditions that ensure that the mesh behaves like a fabric: for example, the Stretchiness parameter creates constraints between neighboring mesh points that keep the distances between points more or less constant depending on the parameter value. There are various constraints that ensure different properties. For example, Bendiness regulates how easily a fabric can be folded. These different constraints often "fight" against each other, e.g. when they require opposing point movements. All these constraint effects must be reconciled during simulation. The Substeps setting ("Simulation" tab) regulates how well and precisely this works.
You have perfectly modeled a fabric in one place, but when draping it in another place, the former also changes again. Is there a remedy?
- Make a point selection. Only selected points are changed by the Fabric Brush (exception: no selection allows changes everywhere).
- You can increase the damping parameter ("Tool" tab) to reduce changes in areas outside the radius or even protect them from any change (max Damping).
- Press the Set Constraints button ("Tool" tab).
How do I quickly and painlessly turn an object created by the generator into a polygonal object so that I can work on it with the Fabric Brush?
For example, use the command  Volume Mesh.... It creates relatively evenly divided meshes. This is a very practical function for preparing Text objects for editing, for example, without having to worry about opacity subdivisions and spline interpolations.
Can the Fabric Brush be used for anything other than textiles?
Yes, of course, think of tying knots, for example. Simply take hold of one end of the rope and knot it exactly as you would in reality: the end of the rope through this loop, then once around the rope, etc. The self-collision ensures that beautiful knots are formed:
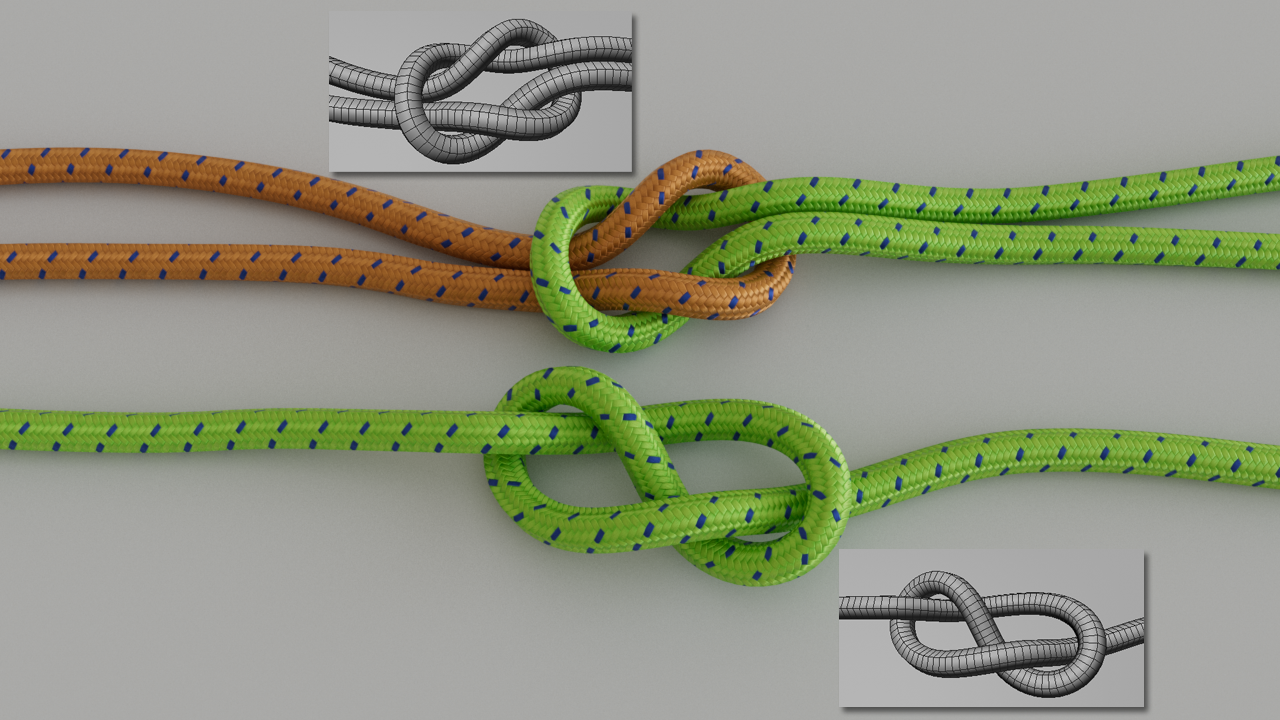
In this picture you can also see the subdivisions of the rope. In the Fabric Brush, you define a very small amount of Bendiness (so that the rope cross-section does not collapse) and a very small amount of Friction so that the knots tighten well. Increasing the Substeps can also be useful so that the collisions work better.