|
|
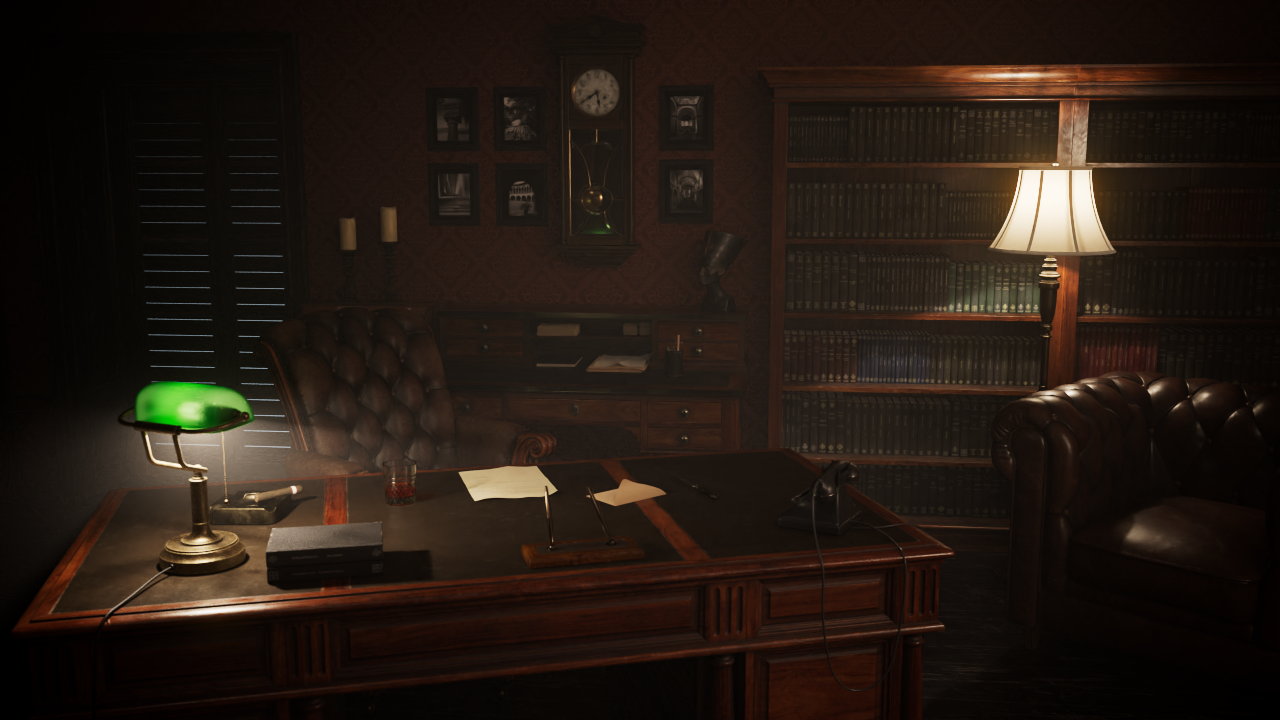
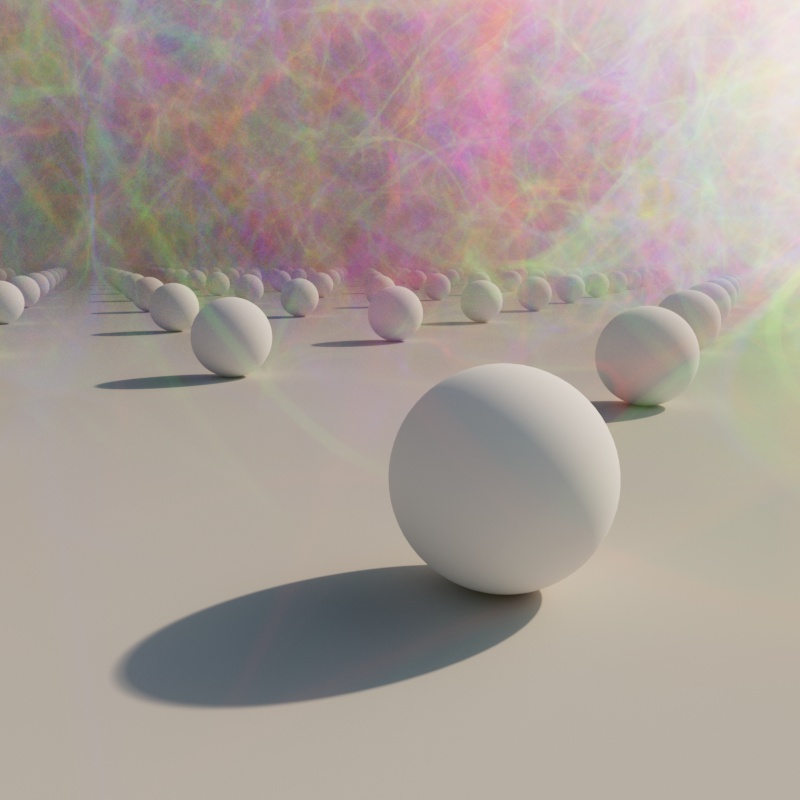
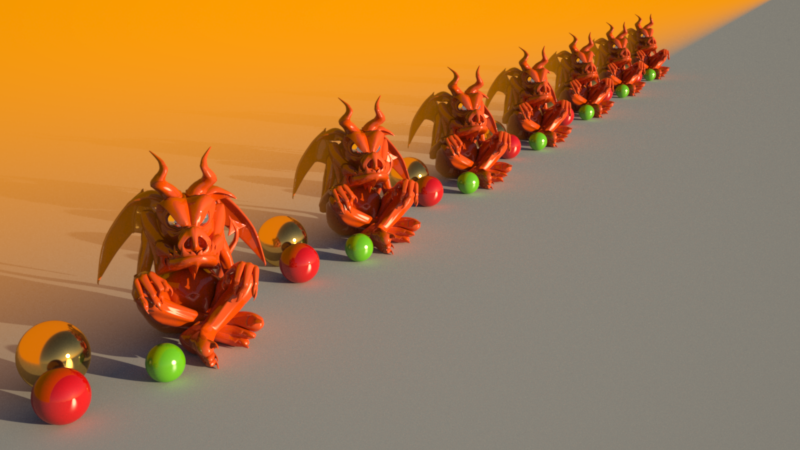
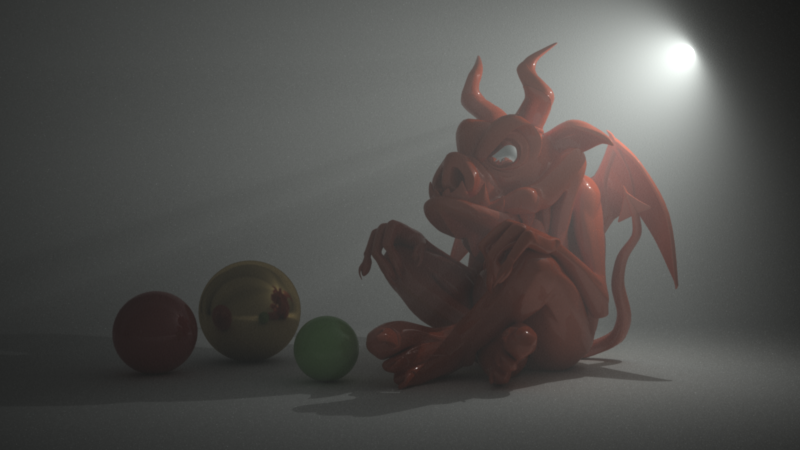
| scene by Pavel Zoch |
Table Of Contents
|
|
|
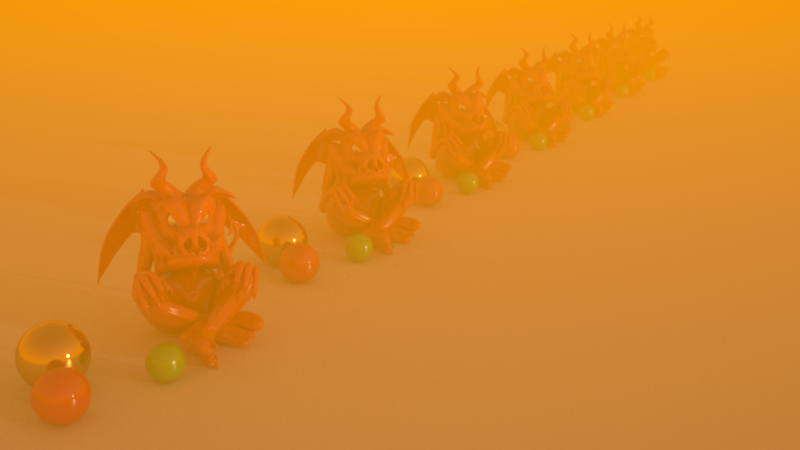
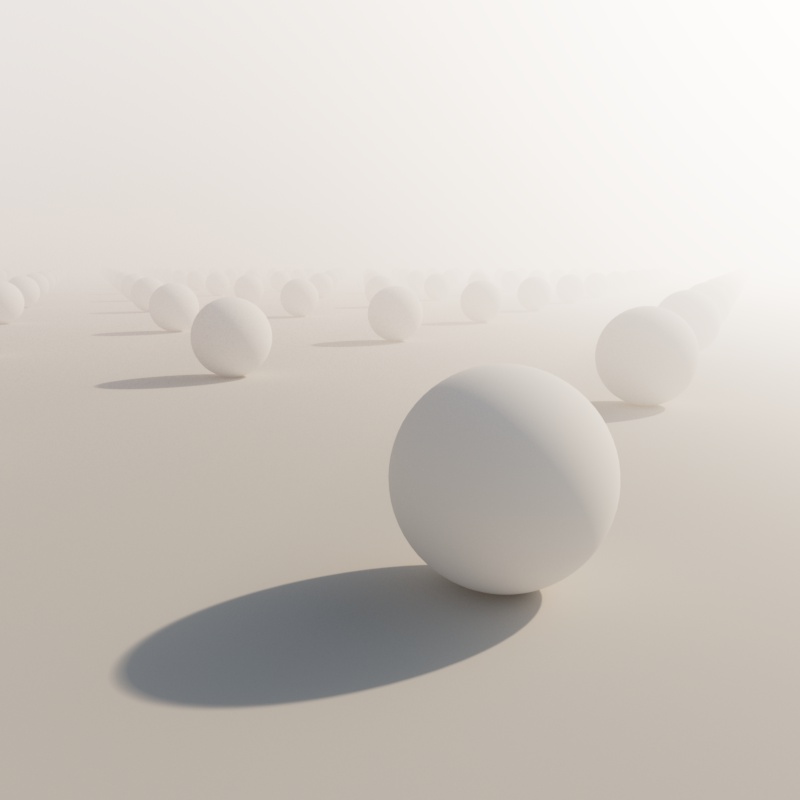
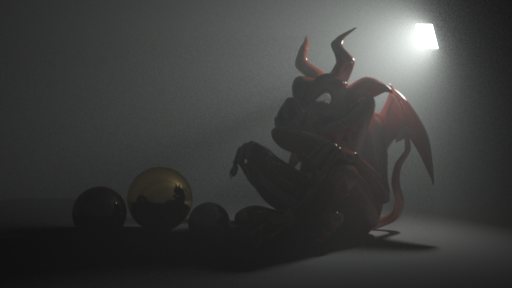
| scene by Pavel Zoch |
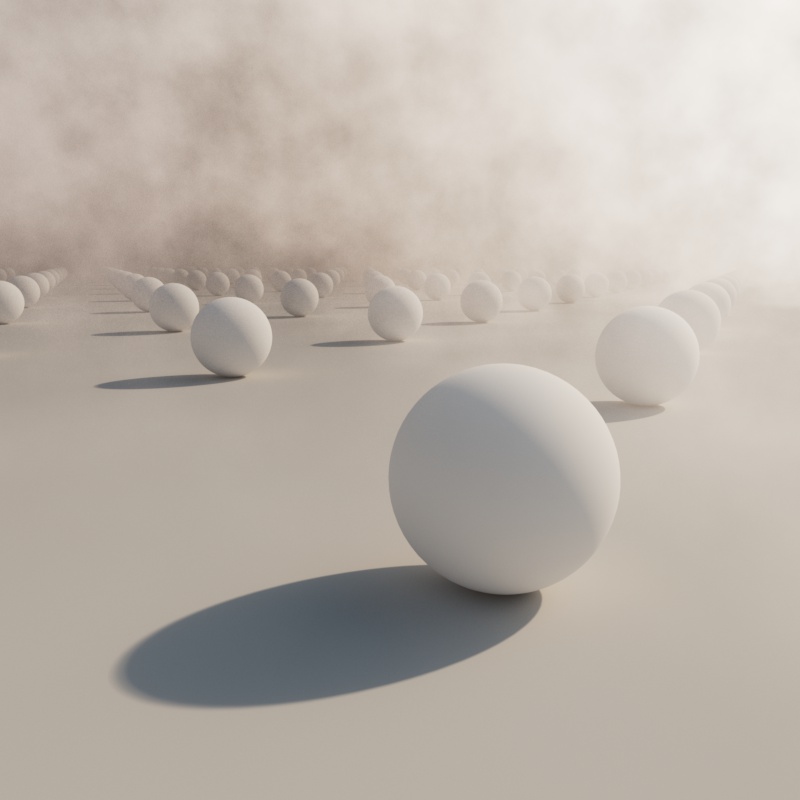
The space around us is not empty. It contains small particles of water, dust, ash, etc. As light travels through this space (called the "medium") it changes depending on the composition of these particles. Some of the light gets absorbed while the remaining light gets scattered around.
The volumetric scattering shader allows the user to describe the lighting properties of the medium. Using the volumetric scattering shader, it's possible to render:
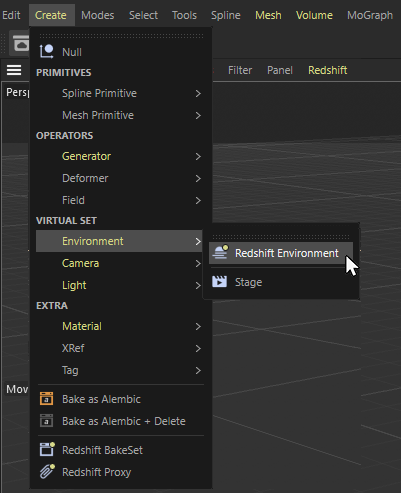
To use the Volumetric Scattering effect simply create a Redshift Environment object from the Create menu like so:
Noise can be added to a global fog volume by connecting a noise shader to the Volume input of a Material Output node and applying that material directly to the RS Environment object as pictured below.
|
|
|
| Volume Fog with Maxon Noise | 3 noises blended with a Color Layer | Volume Fog without Noise |
| Applying volume noise to global fog |
A global tint for all volumetric lighting effects (this doesn't include global fog)
Fixed Unit: Scattering per Meter
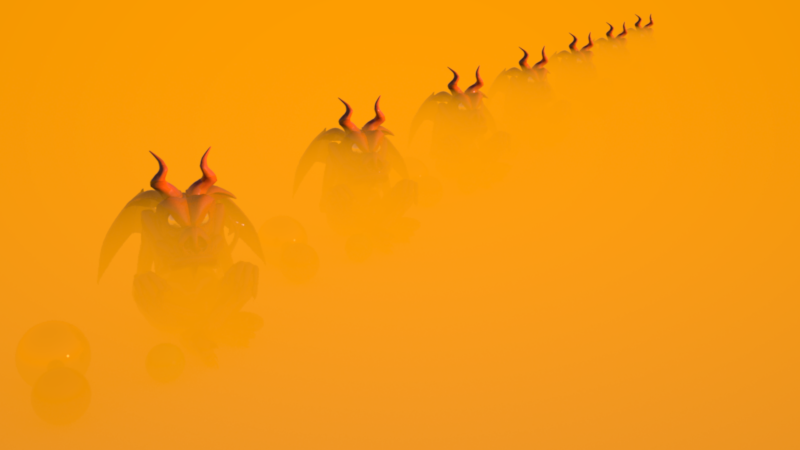
Defines how often light is scattered per meter. High values result in more scattering and brighter fog while low values result in less scattering and darker fog. If you enable volumetric scattering and you get a completely washed-out-white frame, you might need to reduce this setting significantly — even small values can have a significant impact on the scene.
| Scattering: 0 - 0.1 |
Fixed Unit: Meters
Controls how far you can see into the fog in meters before 90% of the light is absorbed. Lower numbers introduce stronger fogging and greater light attenuation, while higher values let you see farther into the distance before the fog reaches full intensity.
Dome lights, the Sun & Sky, and infinite lights are not attenuated. This is intentional because these lights exist at an infinite distance and any amount of attenuation (which is dependent on distance) would completely block them out.
| Viewing Distance: 1 - 30 |
Controls the direction light scatters inside the fog within a -1 to 1 range, adjusting a fog's anisotropy allows for more artistic control and increased realism. In the real world the composition of the medium can cause light to scatter in specific directions.
The default anisotropy of 0 results in isotropic scattering, when the light scatters equally in all directions..
Positive values increase the chance for forward scattering, when more light is scattered in the direction the light rays are already traveling. Negative values increase the chance for back scattering, when more light is scattered back towards the location of the light source.
| Anisotropy: -0.8 to +0.8 |
Allows the fog to be self-illuminating.
Since the fog can be self-illuminating via the "emission" setting, this option ensures that, if a photographic exposure lens shader is present, the emission color will be scaled appropriately so that the user won't have to use large RGB numbers.
We strongly recommend users leave this option enabled.
Scene Units
When height is set to zero, fog is omnipresent. A non-zero value enables "height fog" and sets the height of the fog. See examples images below.
|
|
| Low Height Fog | High Height Fog |
When using height fog on a large-scale scene, there might be a sharp shading line where the fog joins the horizon. Even though "correct" this effect is not visually appealing. The horizon blur setting allows the height fog's horizon to be faded out which will smooth out the effect.
If activated, you can control the orientation and location of the fog by moving the Redshift Environment object directly in your view. If deactivated, you can set a starting point and direction for the fog by using the Ground Point and Ground Normal parameters.
If using height fog, this setting determines where the fogging effect starts.
If using height fog, this setting determines the direction of the fog. Using this setting you can create a 'wall of fog' instead of a 'blanket of fog'. See example images below.
|
| Adjusting the fog plane to create a wall of fog. Instead of the default (0, 1, 0) ground normal, we use (0, 0, 1). |
Defines how much fogging and volumetric lighting should be applied to rays that hit scene objects.
Defines how much fogging and volumetric lighting should be applied to rays that were spawned from reflection.
Defines how much fogging and volumetric lighting should be applied to any GI lighting. Applying volumetric lighting on GI computations can wash out the results, produce noise (especially if strong phase settings are used) and be computationally intensive. For this reason, Redshift has this contribution turned off by default.
Defines how much fogging and volumetric lighting should be applied to rays that don't hit anything and go to infinity.
The 'Environment Alpha Replace' option replaces environment alpha with 1. This is because alpha pre-multiplied output can make the volumetric effect disappear in areas where the alpha is not 1 or 0. The example below shows a light volume over a black environment with an alpha of 0. You can clearly see the artifacts caused by disabling the option in the preview window of Softimage, where anti-aliasing produces 'halos' of alpha values between 0 and 1. You should only disable this option if you expect to composite and effectively replace the volumetric effect where the environment is.
|
|
| Enabled (default) | Disabled |
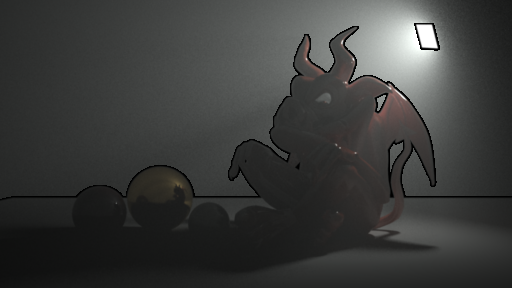
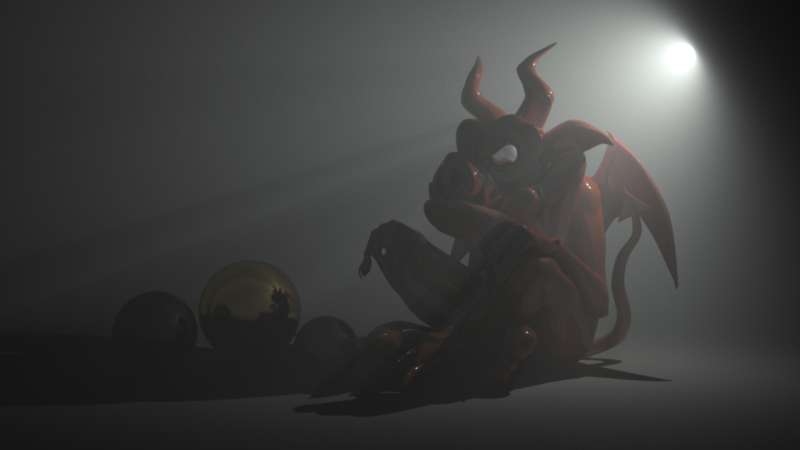
Below, we show the effect of the Ray Contribution settings.
|
| Original Settings |

|
| With reflection contribution scale set to 0.0. The reflections can no longer 'see' the volumetric lighting. For this particular scene, it's a subtle difference. |

|
| With Viewing Distance decreased, lighting is now dimmed as it passes through the medium. |
|
| Setting GI contribution scale to 1.0. Now the GI rays can 'see' the volumetric lighting which creates extra lighting in the scene. |