---
title: "Color Correction"
url: "https://help.maxon.net/c4d/en-us/Content/html/ORSCAMERA-RSCAMERAOBJECT_GROUP_COLOR.html"
section_path: "Create Menu > Redshift Camera > Color Correction"
element_id: "ORSCAMERA"
group_id: "RSCAMERAOBJECT_GROUP_COLOR"
description: "Most computer graphics displays can reproduce all colors ranging from black (0.0, 0.0, 0.0) to white (1.0, 1.0, 1.0), but often lights and other effects …"
---
## Color Correction
Most computer graphics displays can reproduce all colors ranging from black (0.0, 0.0, 0.0) to white (1.0, 1.0, 1.0), but often lights and other effects use values that go beyond (1.0, 1.0, 1.0). For example, physical sun can produce values that are in the thousands. Tone-Mapping allows these very high values to be "remapped" to the "0.0 to 1.0" range that computer displays use in order to preserve fidelity without washing out the colors.\
Tone-Mapping can also be used to decrease the brightness of darker pixels, resulting in a stronger image contrast.
\
Tone-Mapping
### Tone-Mapping
Parameter ID: `RSCAMERAOBJECT_TONE_MAPPING_ENABLED`
Enable this option to gain access to additional controls for fine-tuning the brightness values and contrast in your render.
### Highlights
Parameter ID: `RSCAMERAOBJECT_TONE_MAPPING_HIGHLIGHTS` · Range: [0.00..1.00]
This value controls what happens to high-intensity pixel values. It works by 'squashing' the high intensities into lower intensities in order to preserve fidelity that would normally be washed out white (because of these high intensities). A setting of 0.0 is the most aggressive setting. It means that lights or materials have to be extremely bright in order for the final pixels to approach the pure white (1.0, 1.0, 1.0) display color. Larger *Highlights* values are less aggressive and leave the original intensities more unaffected. A few different settings are demonstrated below:
| | | | |
| --- | --- | --- | --- |
| 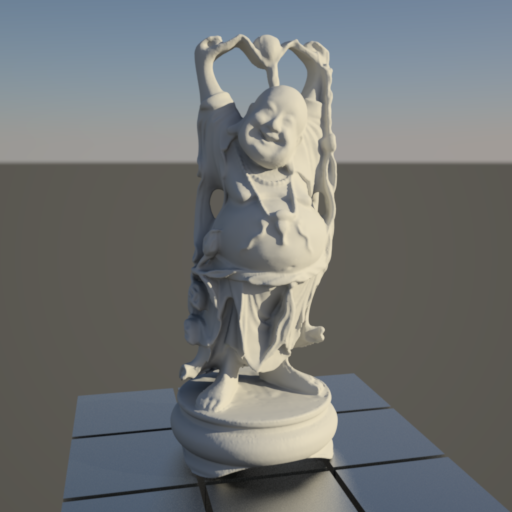 | 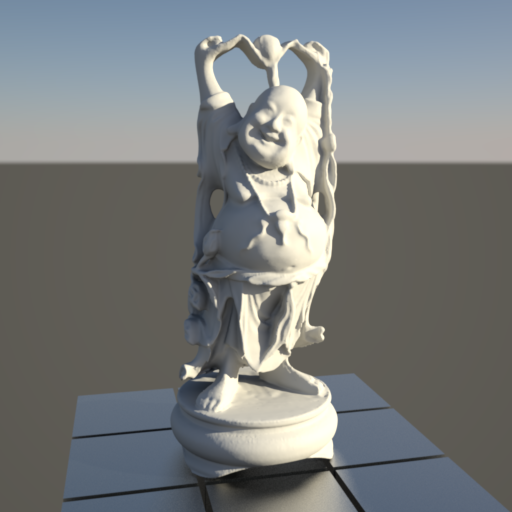 | 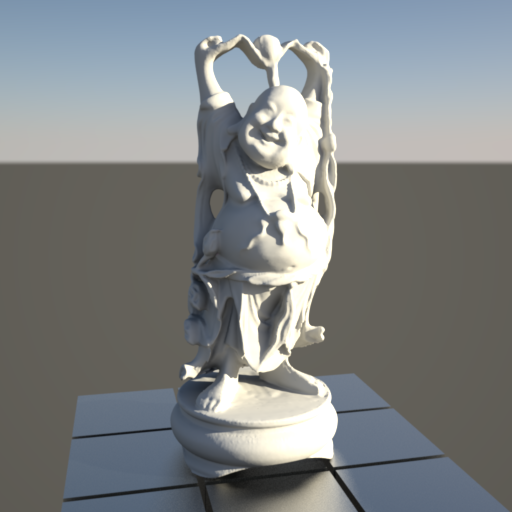 | 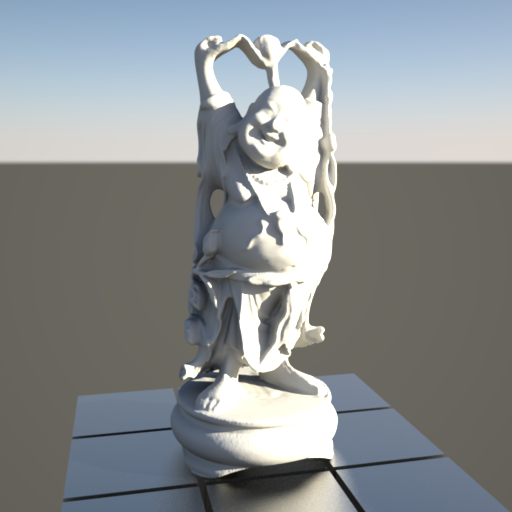 |
| Highlights: 0 | 0.25 | 0.5 | 1 (disables the effect) |
### Desaturate Highlights
Parameter ID: `RSCAMERAOBJECT_TONE_MAPPING_DESATURATE_HIGHLIGHTS`
When enabled, the highlights of your image are automatically desaturated once they reach a certain threshold. This desaturation effect simulates what happens in real world cameras.
| |
| --- |
| 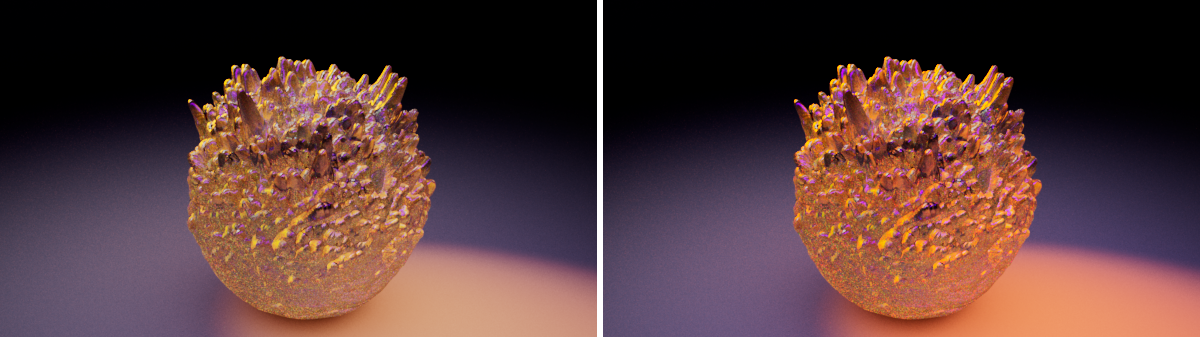 |
| The image on the left was rendered with 'Desaturate Highlights' enabled, the right images had this option disabled. Notice how the yellow highlights are now more dull and closer to orange. |
### Blacks
Parameter ID: `RSCAMERAOBJECT_TONE_MAPPING_BLACKS` · Range: [0.00..1.00]
Similar to how *Highlights* controls what happens to brightly lit areas, *Blacks* controls what happens in the dimmer parts of the image. It effectively squashes the darker colors in order to provide more contrast for images that have too much ambient lighting. The *Blacks* value controls how much of the effect should be applied. A value of 0.0 means 'no crushing'. A value of 1.0 means 'maximum crushing'. To control, which brightness values are affected, use *Blacks Threshold*.
### Blacks Threshold
Parameter ID: `RSCAMERAOBJECT_TONE_MAPPING_BLACKS_THRESHOLD` · Range: [0.00..1.00]
This value controls at which parts of the input intensity range the crushing of darker pixels should happen. Low numbers mean 'only crush very dark intensities' while higher values allow more of the input intensity range to be black-crushed.
We demonstrate a few different settings in the images below. The *Blacks Threshold* was set to 0.25 so that only the darker parts of the image are affected by it.
| | | |
| --- | --- | --- |
| 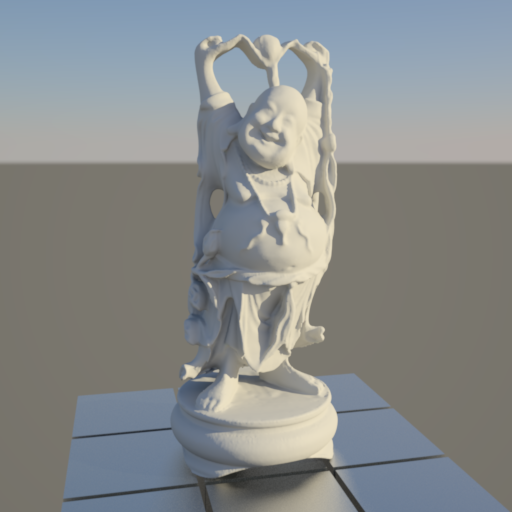 | 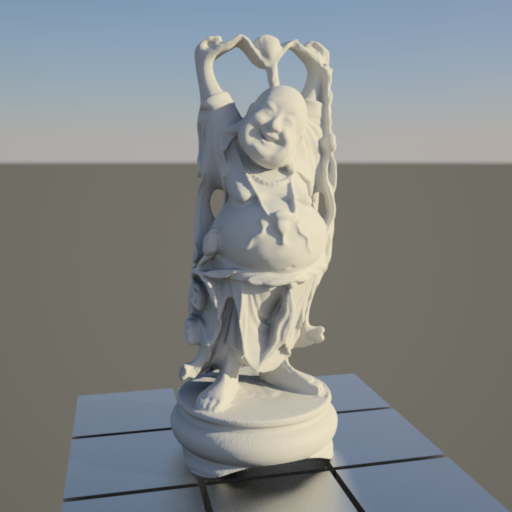 | 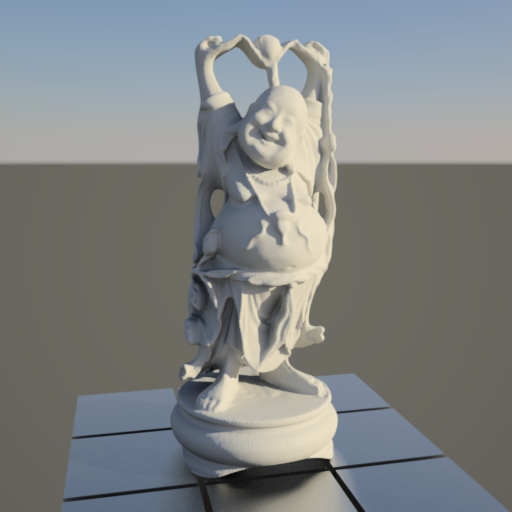 |
| Blacks: 0
Blacks Threshold: 0.25 | 0.25 | 1 |
### Saturation
Parameter ID: `RSCAMERAOBJECT_TONE_MAPPING_SATURATION` · Range: [-100..100%]
This controls the color saturation. The lower this value, the more grayscale the image. The neutral value is 1.0. If you set it to values higher than 1.0, the colors will appear more saturated.
| | | | |
| --- | --- | --- | --- |
| 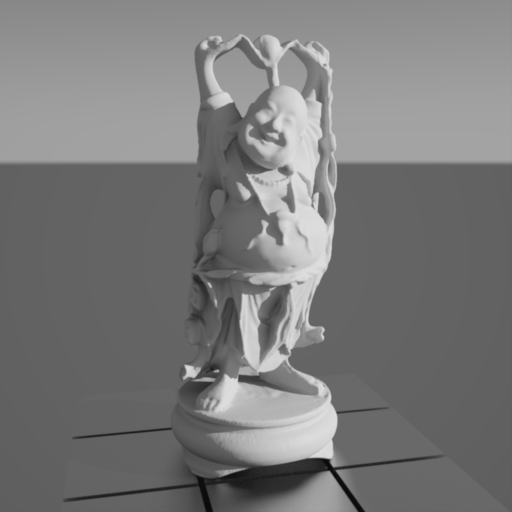 | 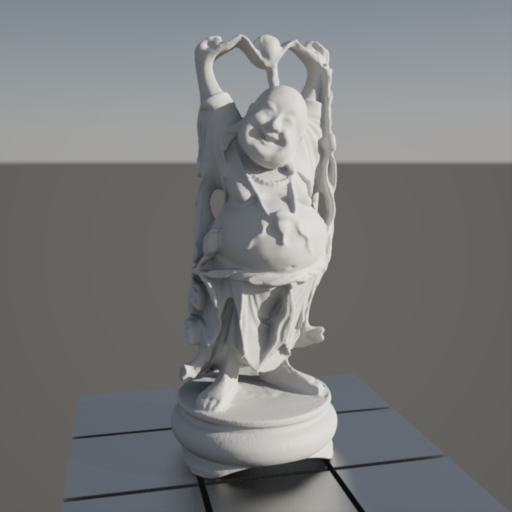 | 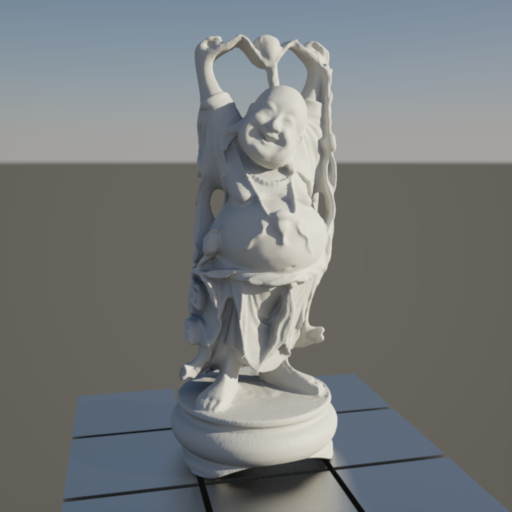 | 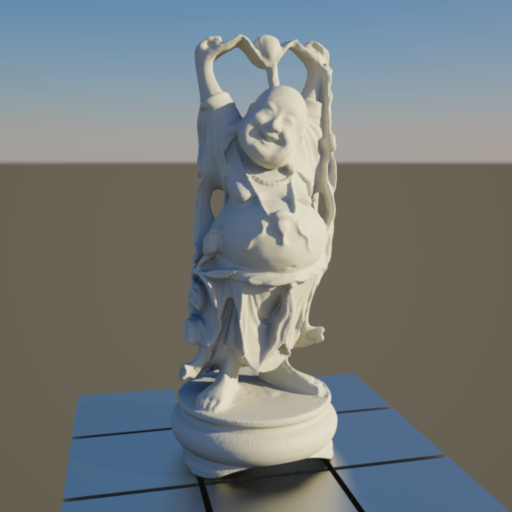 |
| Saturation: 0 | 0.5 | 1 | 2 |
\
LUT
LUT is short for *Look-Up Table* and applies a color transform to your render. A LUT file changes the RGB information in your render to a new range of colors to match a certain look as defined inside a LUT file.\
Redshift supports \*.cube and \*.3dl LUT file formats.
### LUT
Parameter ID: `RSCAMERAOBJECT_LUT_MODE`
- **Off**: No LUTs are used for rendering.
- **Render Settings**: The camera uses the global LUT settings from the *Render Settings* dialog. This is the default mode.
- **Override**: The LUT settings from the camera are used, even if the *Render Settings* are configured in another way.
### File
Parameter ID: `RSCAMERAOBJECT_LUT_FILENAME`
Here you can load your \*.cube or \*.3dl LUT file. If the directory of this file contains other LUT files, you can browse this folder by using the *LUTs* menu.
### LUTs
Parameter ID: `RSCAMERAOBJECT_LUT_LIST`
Here you can select and browse all available LUT files from the specified directory.
### Intensity
Parameter ID: `RSCAMERAOBJECT_LUT_INTENSITY` · Range: [0..100%]
This value sets the strength of the LUT color transformation. A value of 0% means no color changes occur and the LUT will have no effect on the rendered image.
| | | |
| --- | --- | --- |
| 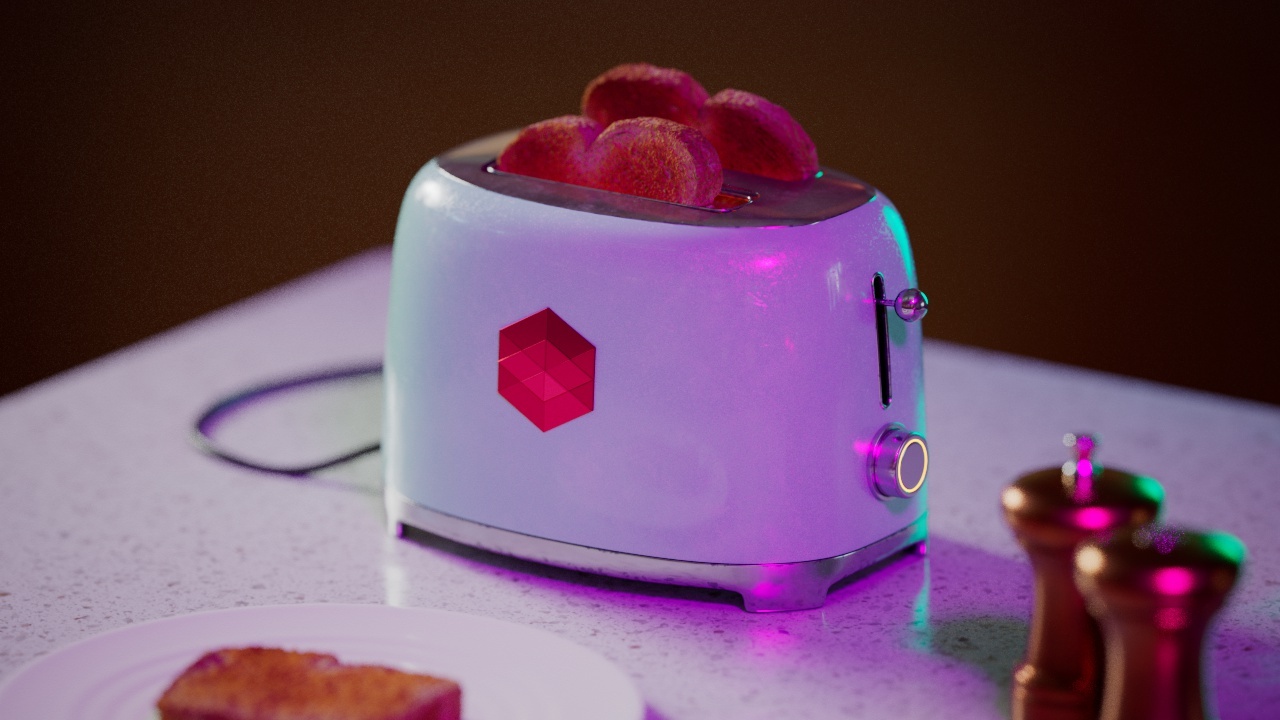 | 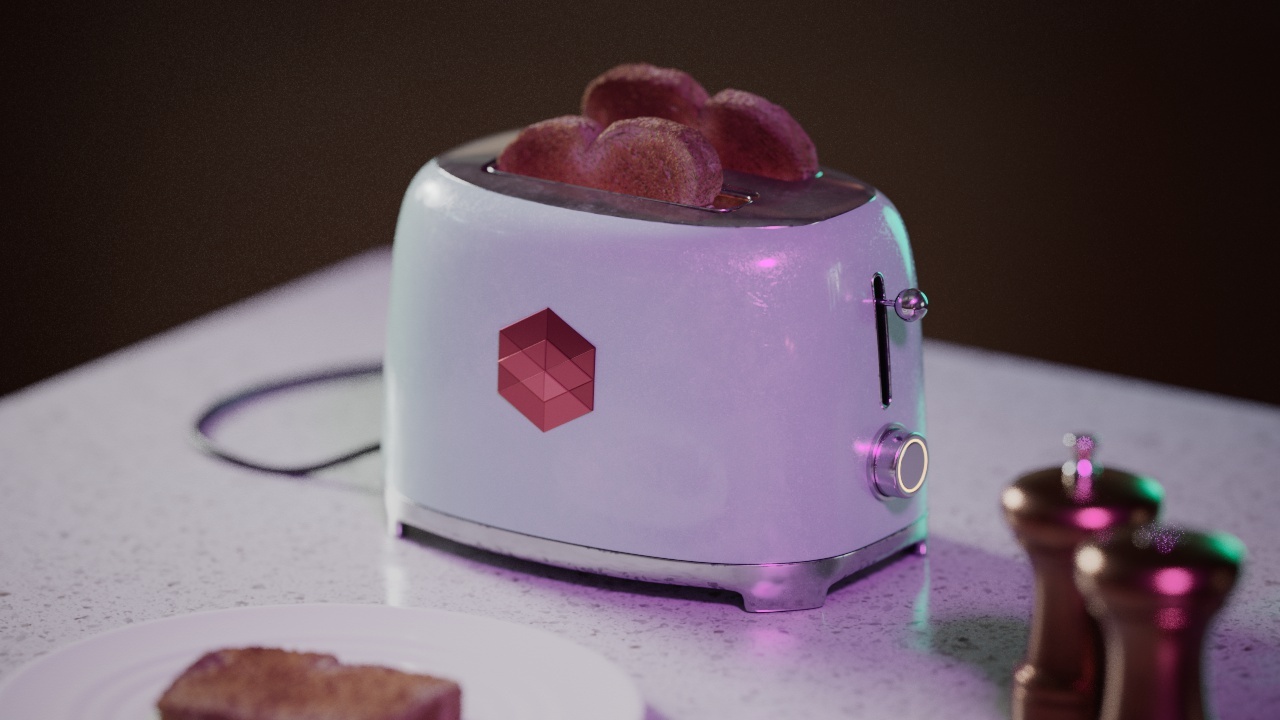 | 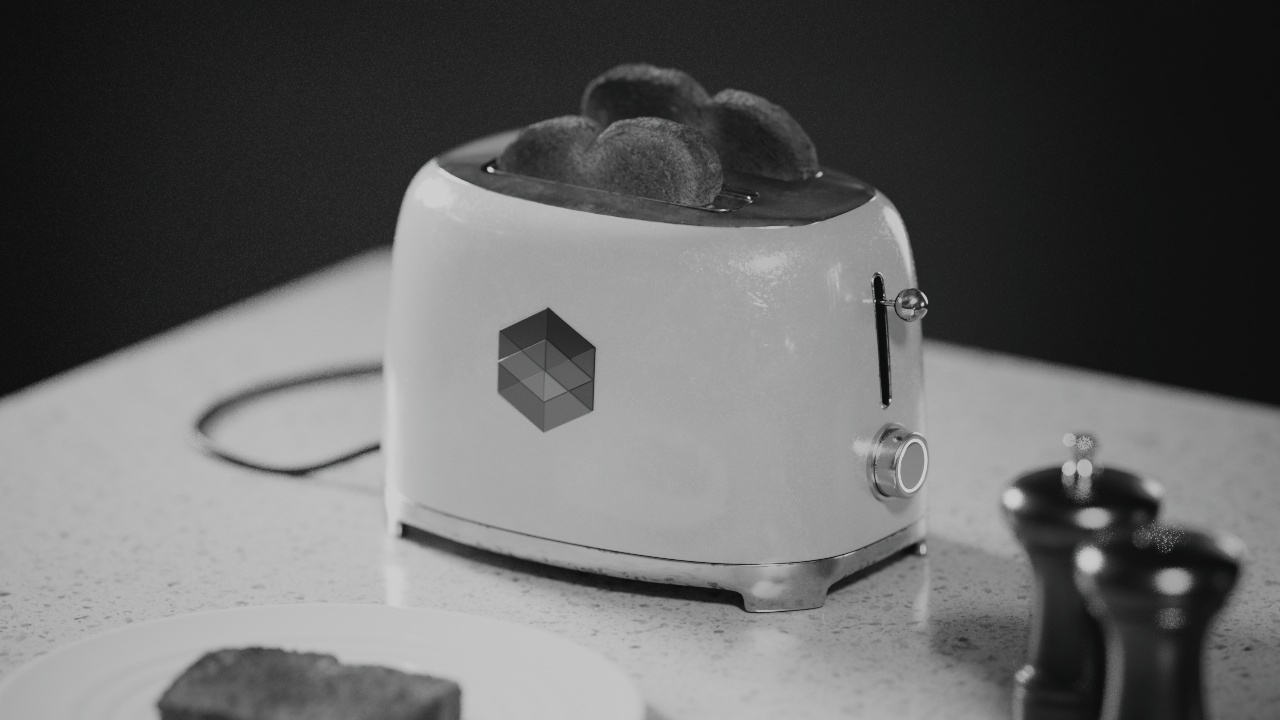 |
| LUT Strength: 0
LUT File: Fuji Neopan (Black & White) | 0.5 | 1 |
### Convert to Log-Space before LUT
Parameter ID: `RSCAMERAOBJECT_LUT_LOG_SPACE`
When enabled your rendered image will be converted to the logarithmic color space before the LUT is applied.
### Apply Color Management before LUT
Parameter ID: `RSCAMERAOBJECT_LUT_COLOR_MANAGEMENT`
When enabled your *Color Corrections* will be applied to the rendered image before the LUT is applied.
\
Color Controls
The Color Controls section lets you make overall color and brightness adjustments to your rendered image.
### Color Controls
Parameter ID: `RSCAMERAOBJECT_COLOR_CONTROLS_MODE`
- **Off**: Color controls are disabled for rendering.
- **Render Settings**:The camera uses the global color controls from the *Render Settings* dialog. This is the default mode.
- **Override**: The local color controls from the camera are used, even if the *Render Settings* are configured in another way.
### Contrast
Parameter ID: `RSCAMERAOBJECT_COLOR_CONTROLS_CONTRAST` · Range: [-100..100%]
Here you can increase or decrease your contrast.
| | | |
| --- | --- | --- |
| 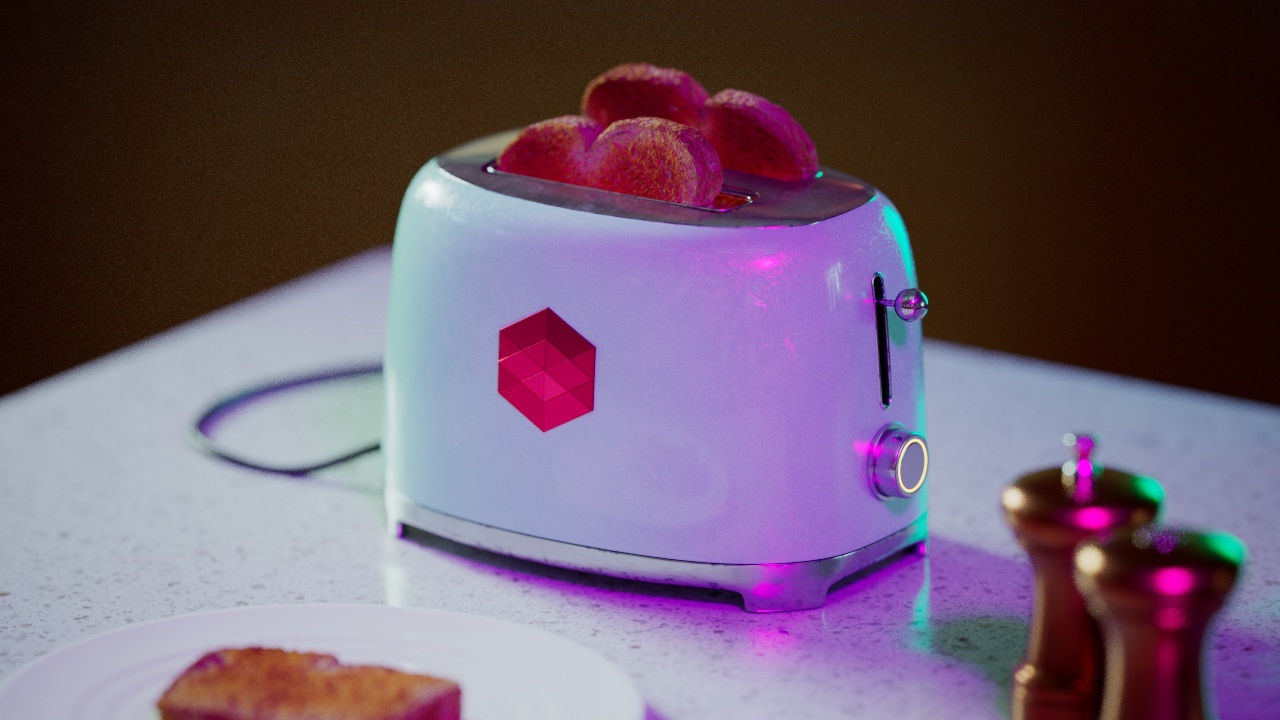 | 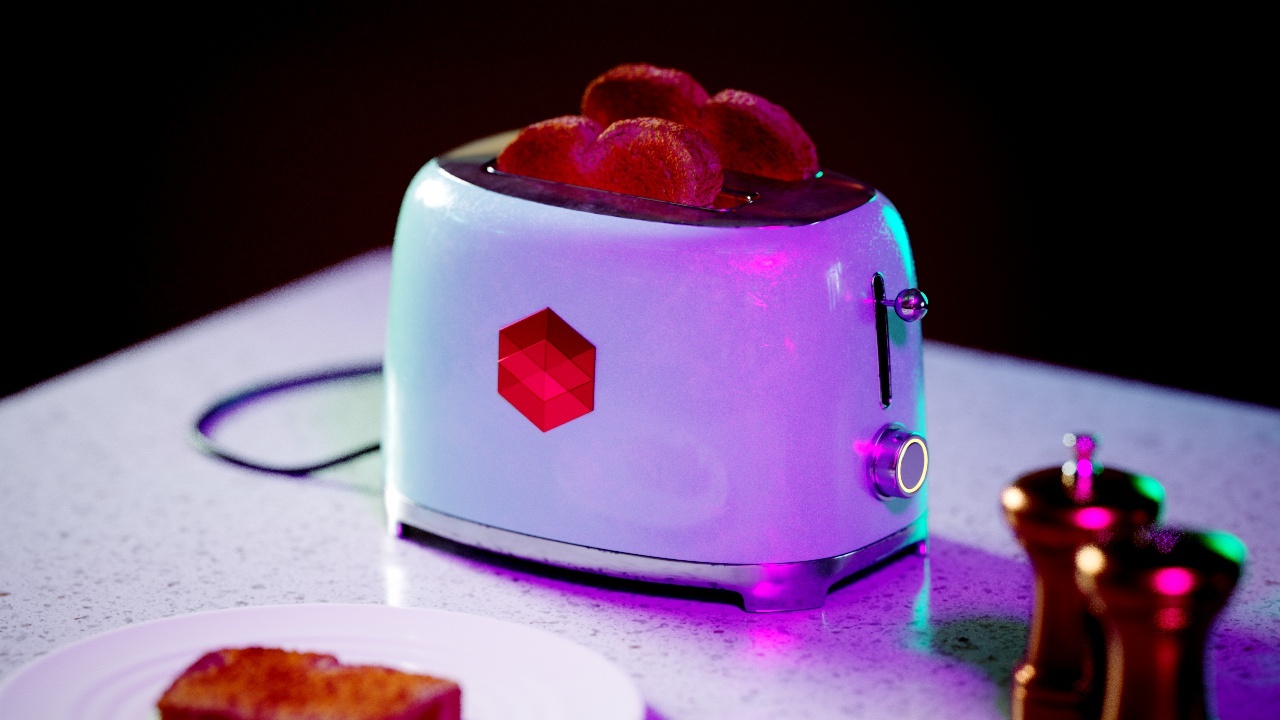 | 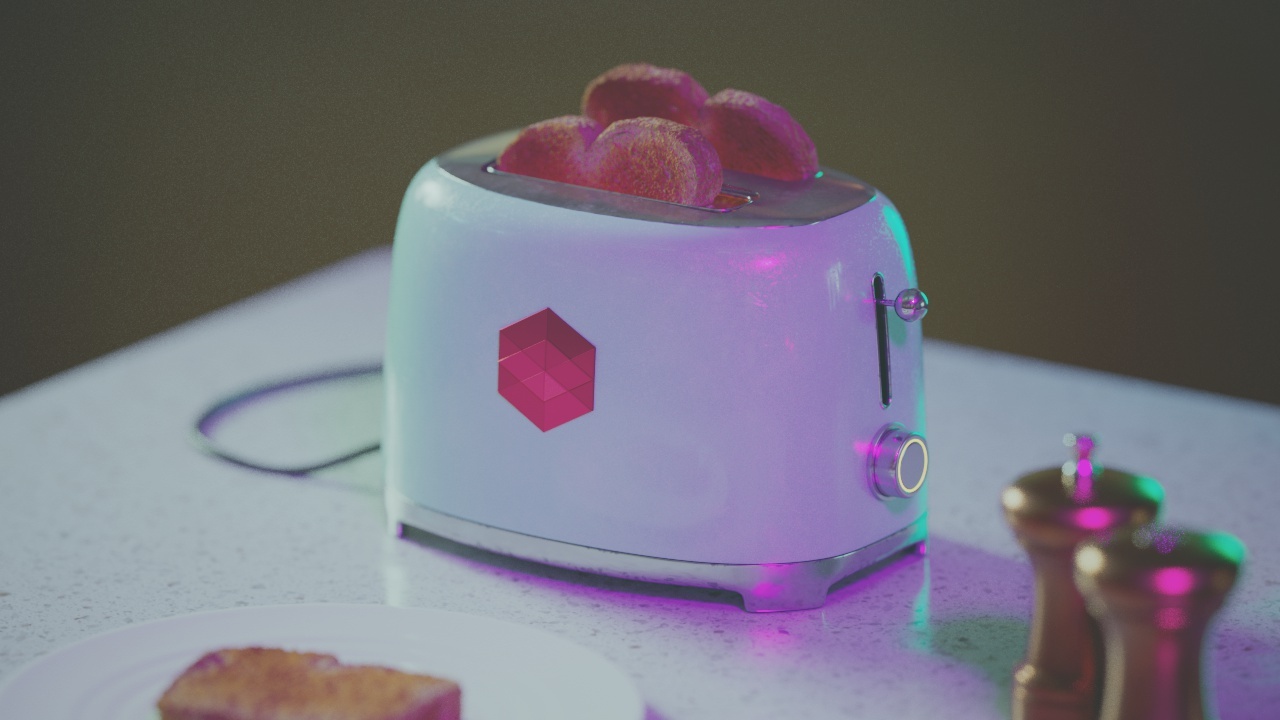 |
| Contrast: 0 | 0.2 | -0.2 |
### RGB
Parameter ID: `RSCAMERAOBJECT_COLOR_CONTROLS_CURVE_RGB`
### Red
Parameter ID: `RSCAMERAOBJECT_COLOR_CONTROLS_CURVE_RED`
### Green
Parameter ID: `RSCAMERAOBJECT_COLOR_CONTROLS_CURVE_GREEN`
### Blue
Parameter ID: `RSCAMERAOBJECT_COLOR_CONTROLS_CURVE_BLUE`
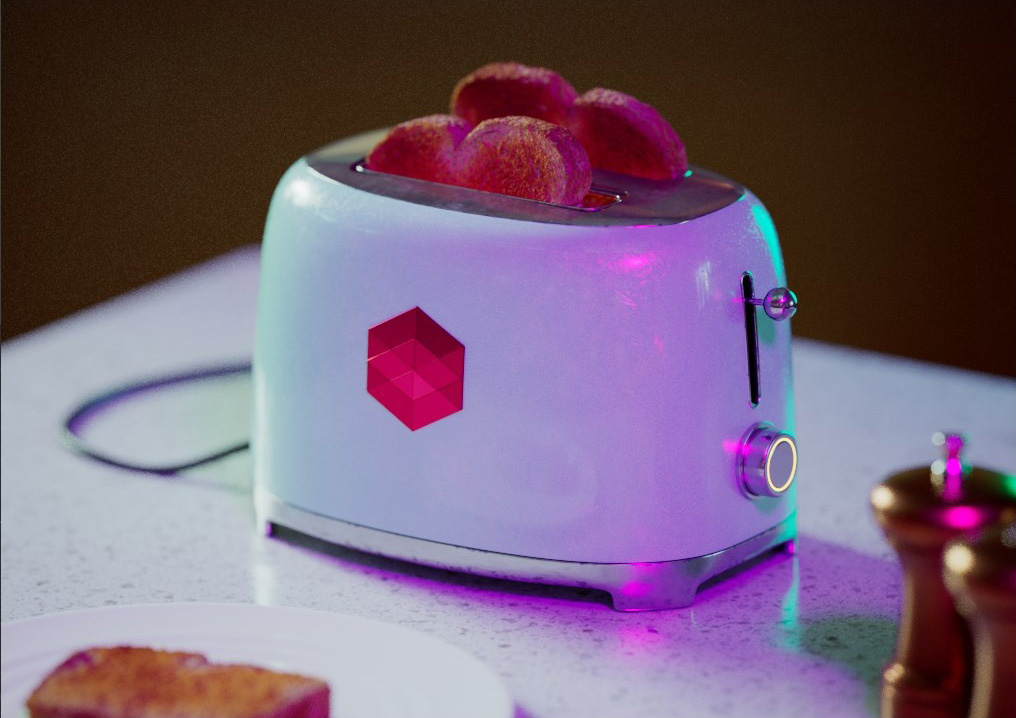
The RGB curves allow you to tweak the brightness of your image on all color channels or individually.
| | | |
| --- | --- | --- |
| 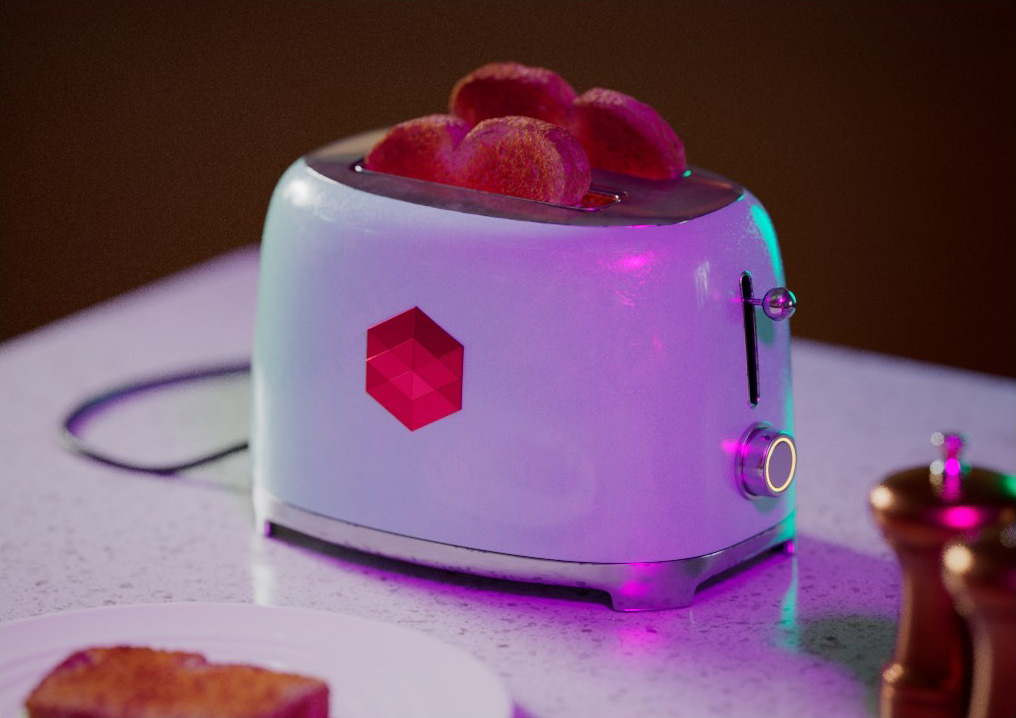 | 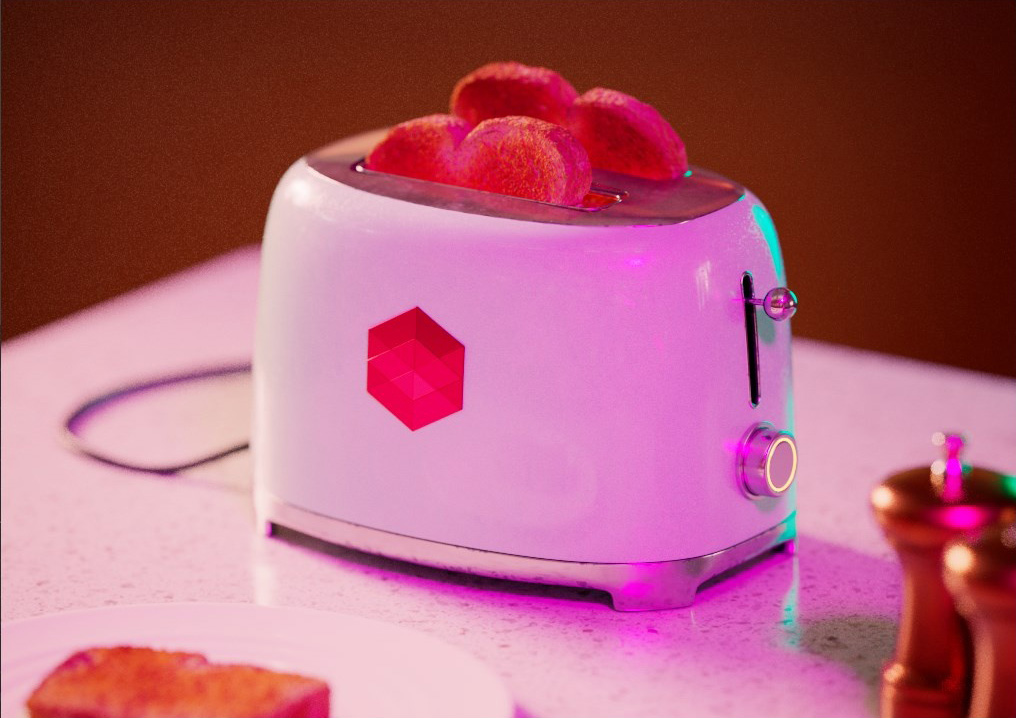 |  |
| Color Curves: Neutral | Strong adjustment in Red Channel | Subtle adjustment in Green and Blue channels |