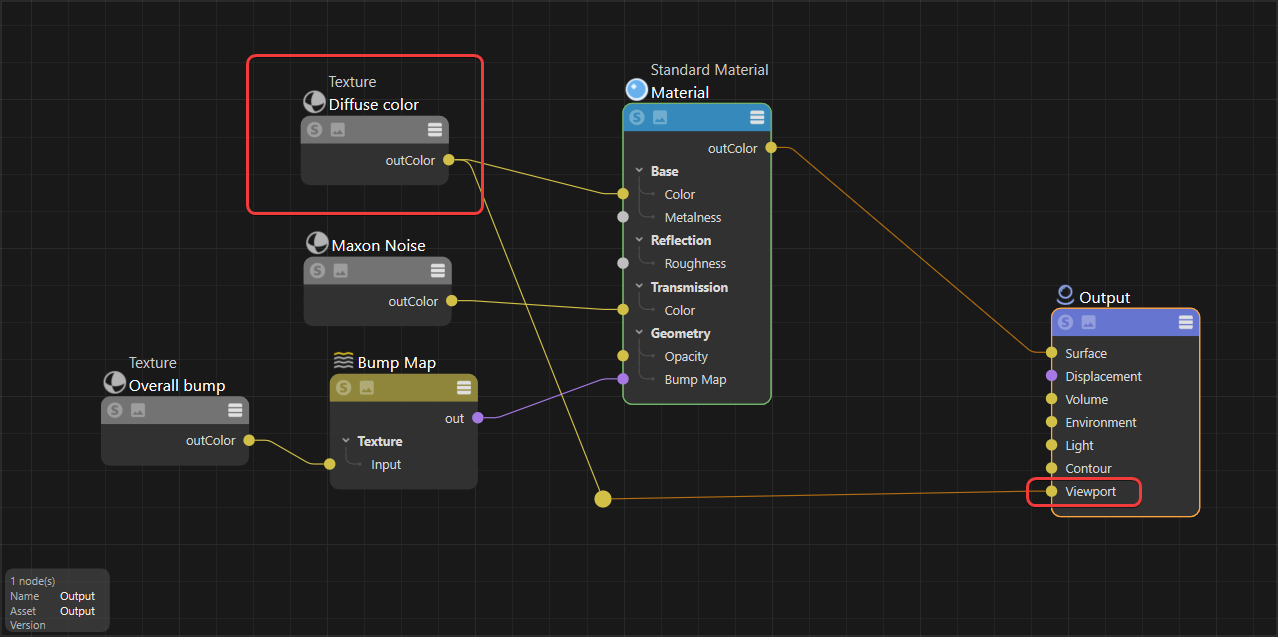
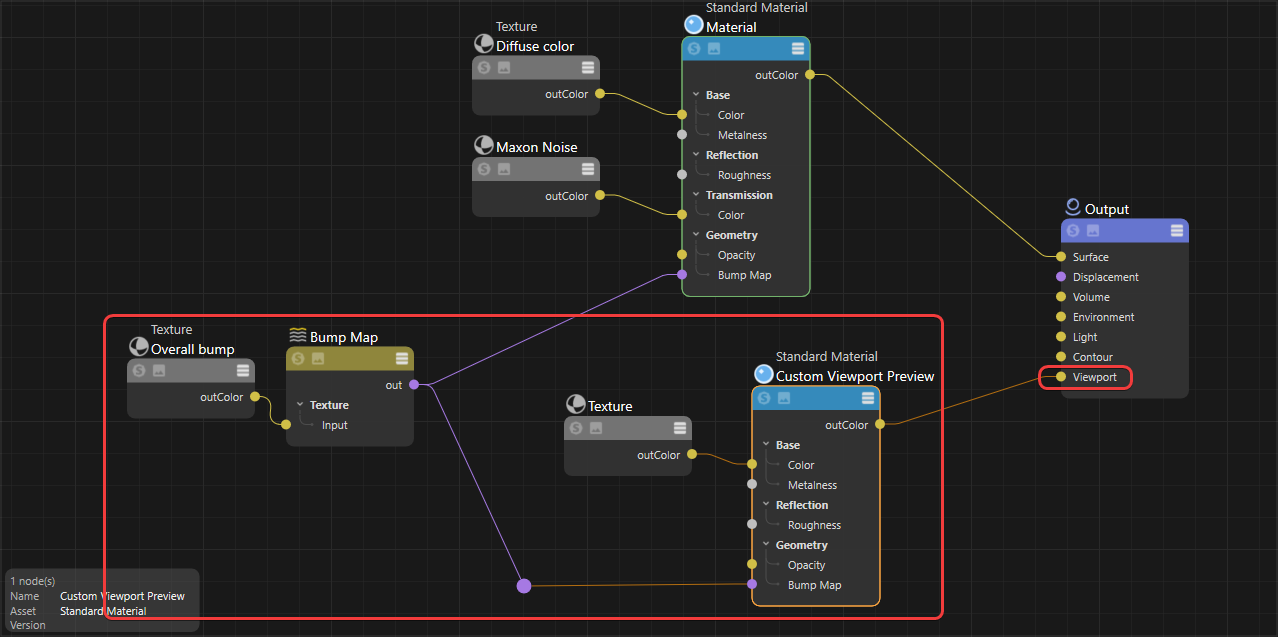
Output Node
Table Of Contents
Introduction
In addition to the Surface properties, other material definitions can be made using the other inputs on this node, e.g. for Displacement. For some special materials it is necessary to use the inputs for Volume or Environment instead of the Surface input.
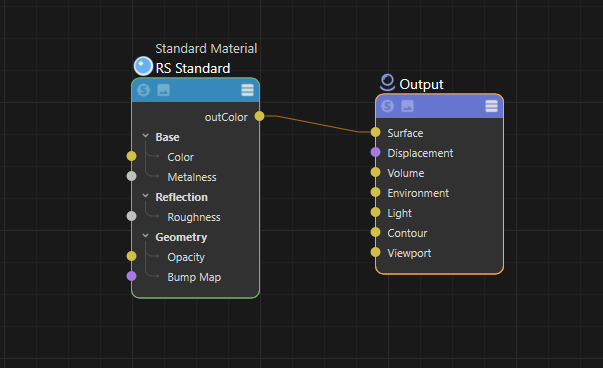
|
Inputs
Surface
This port expects a container of colors and definitions for diffuse, reflectivity, transparency, luminance and bump/normal mapping. This is the most common port for Redshift materials like the Standard Material or Toon Material.
Displacement
This port expects displacement information as output by the Displacement node. This attribute can be combined with the Surface definition to add deformations to the mapped geometry.
Volume
This input expects volume information as output by a Volume shader like the Standard Volume. This combination is needed to render volumetric smoke, clouds, fire or explosions loaded with the Redshift Volume object.
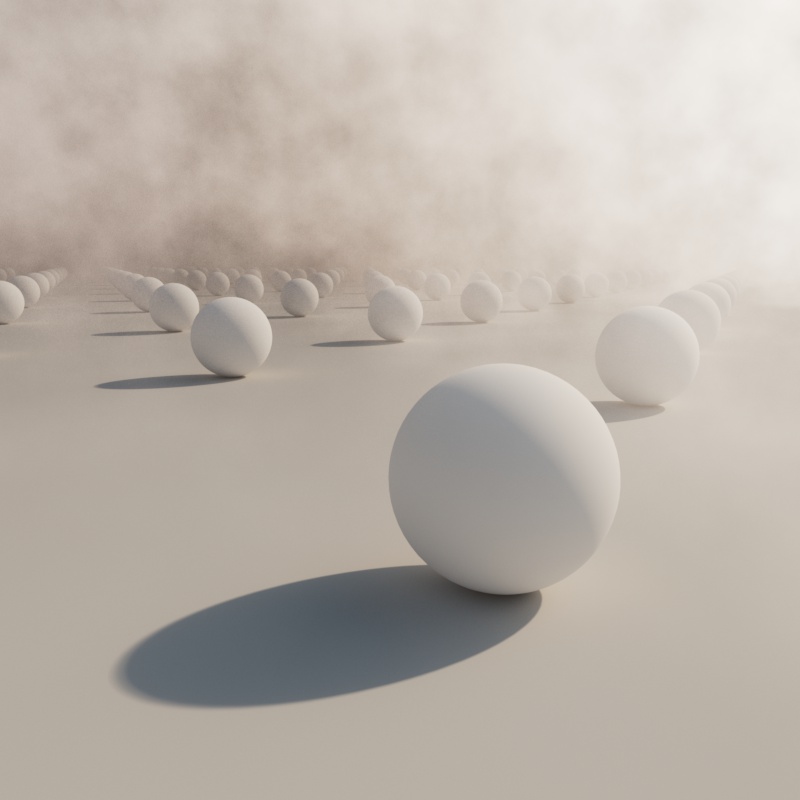
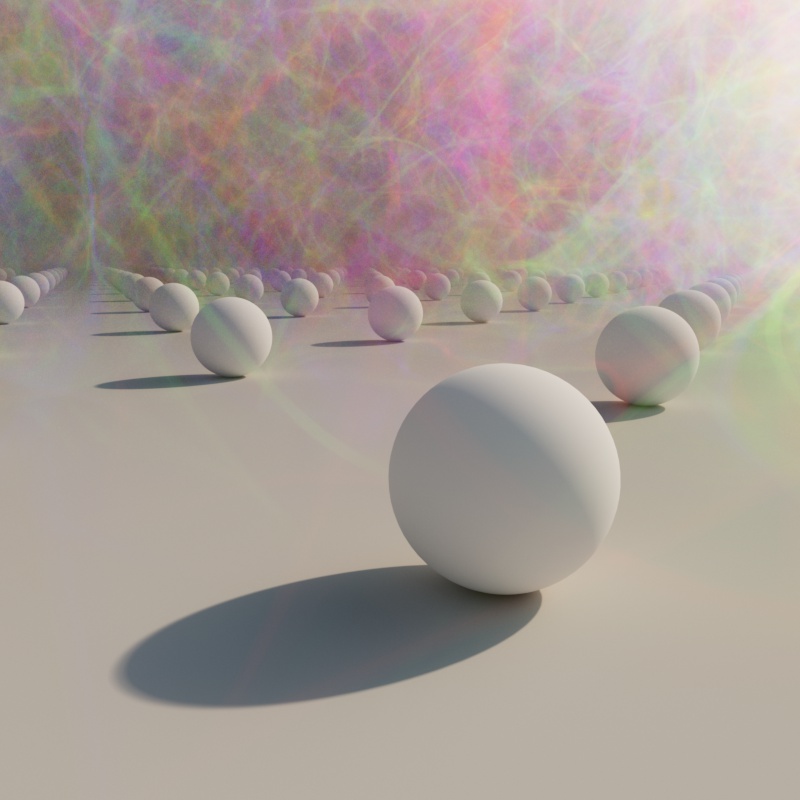
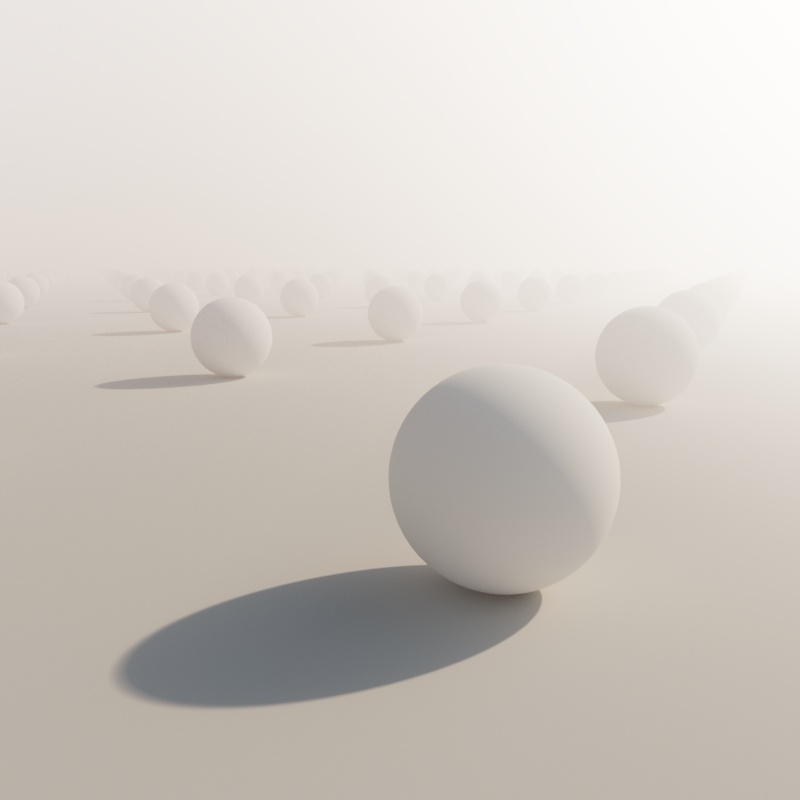
Noise can also be added to a global fog volume by connecting a noise shader to the Volume input and applying that material directly to the RS Environment object as pictured below.
|
|
|
| Volume Fog with Maxon Noise | 3 noises blended with a Color Layer | Volume Fog without Noise |
| Applying volume noise to global fog |
Environment
This input expects color information, for example, from an Environment node, but even a simple color will work here as well. This input can be used together with Surface or Displacement to include a virtual environment to the material, that is used for reflection simulation.
When using a color or texture as an environment shader consider using it with a UV Projection node and setting the mode to Spherical.
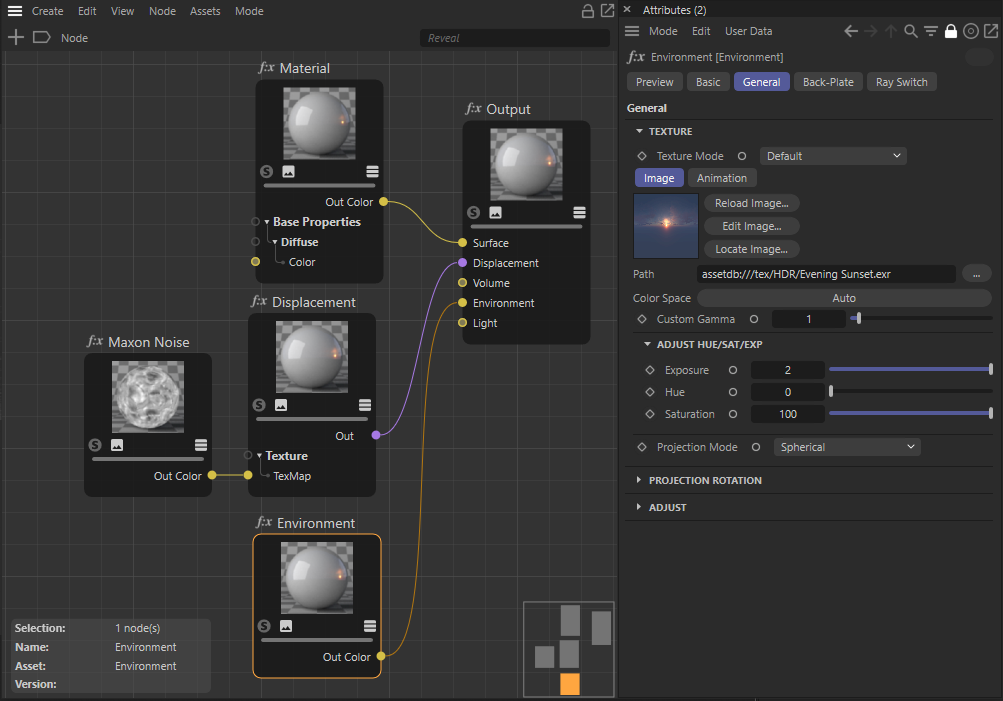
The Environment information can be used to create virtual surroundings for the material.
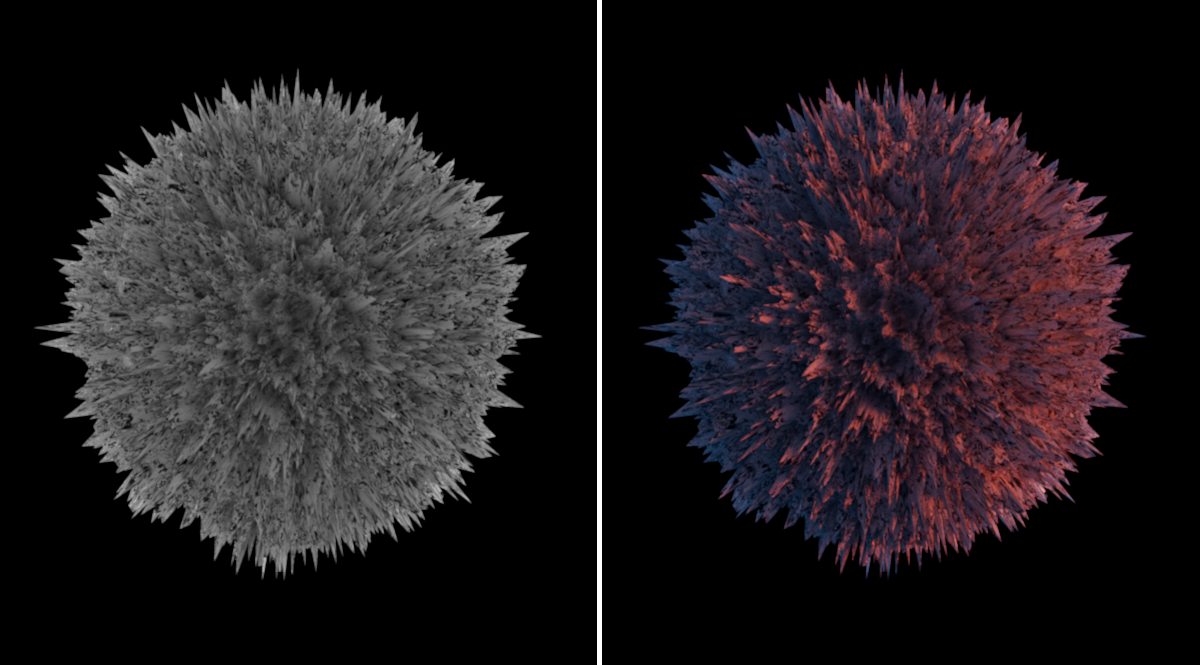
The left side shows the result when using a simple, white Color node for the environment of a displaced sphere. The effect is similar to using a Dome Light or Ambient Occlusion shading. The right is using a sunset HDR image loaded into an Environment node and connected to the Environment at the Output node.
Light
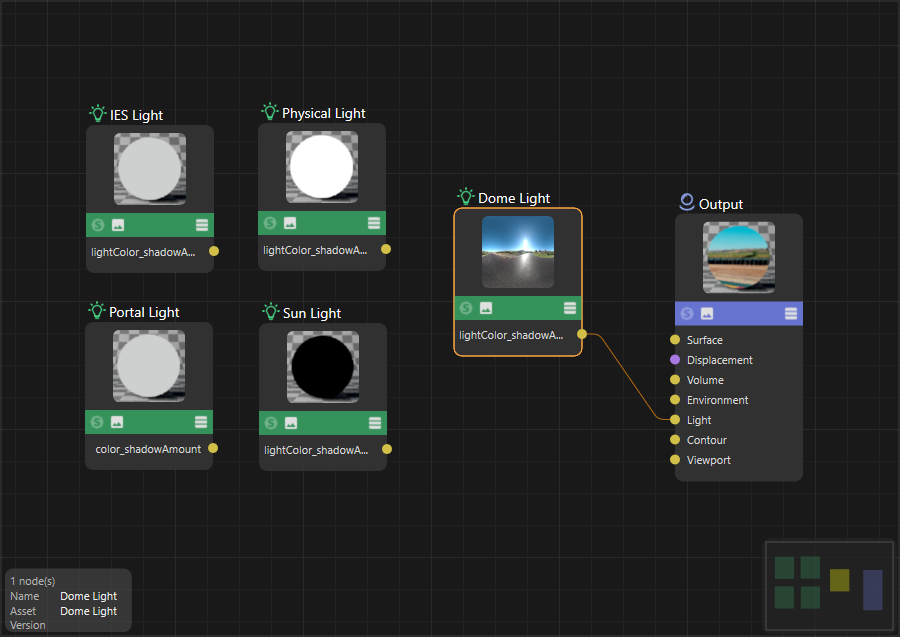
This is an input exclusively for the Redshift Light nodes (Dome Light, IES Light, Physical Light, Portal Light and Sun Light). These shaders allow you to control general parameters of Redshift Light objects from within the node environment when the material is applied directly to a Redshift Light.
|
| Available light nodes |
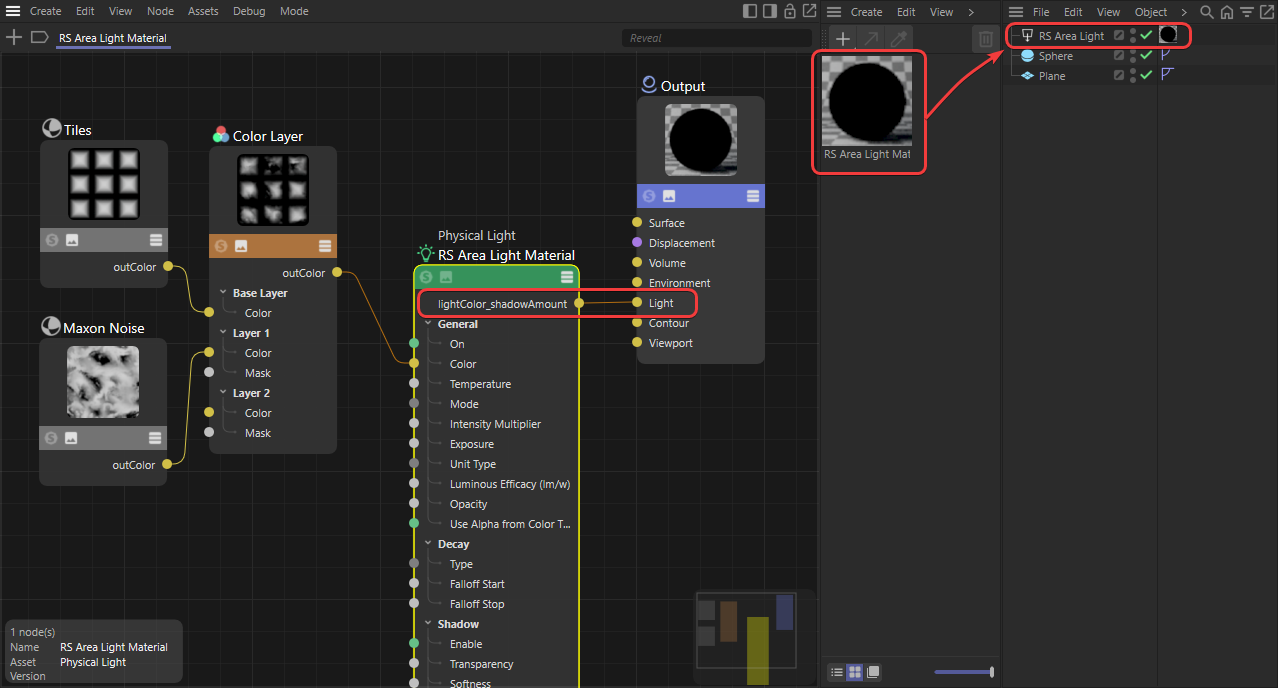
With this, you can create procedural shading setups for light color and other compatible inputs, eliminating the need to load an external texture. The "lightColor_shadowAmount" output from a light node should be connected to the Light input of the Material Output node, and that light material should be assigned directly to the light in the Object Manager.
|
| Creating a procedural light color |
Material ID
Using a value above 0, you can use this ID in combination with a Puzzle Matte AOV layer to output masks for the objects that are rendered with this material. See AOV Topics for details about rendering with AOVs
