|
|
| by Saul Espinosa | |
Table Of Contents
|
|
|
| by Saul Espinosa | |
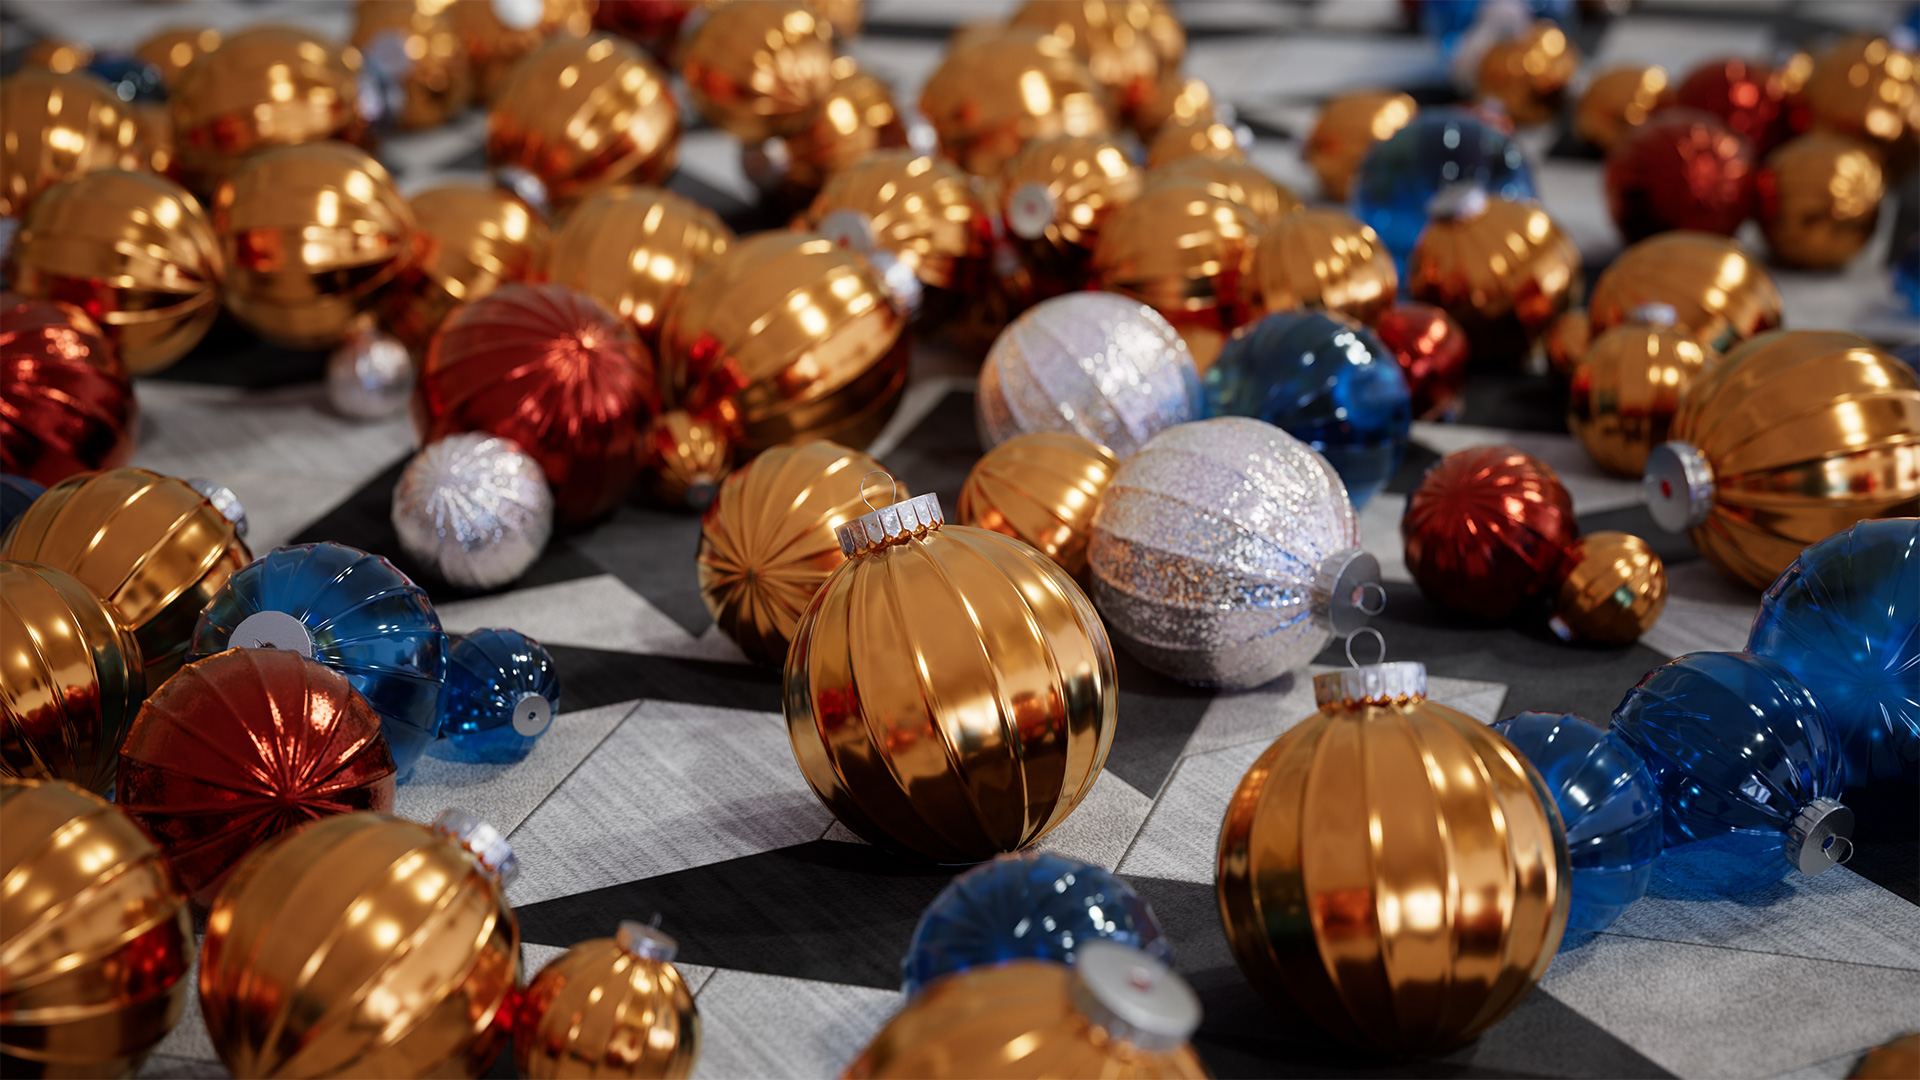
The Random Material switches randomly between a set of user-defined materials. You control the total number of material inputs and how likely each material may appear, giving you the ability to make certain materials appear more often than others. The chance a material has to appear is controlled by setting the weight for each input. On top of that, it's easy to add additional randomization using the built-in Tint Jitter controls.
First create a Random Material Switch and connect it to the Surface port of the Material Output node. Then decide how the randomization will be distributed in your scene, this is controlled by the Input ID Mode. You can either set the Input ID Mode to a built-in ID like “Name ID” or use a custom ID by selecting “User Data” and connecting a user data node like Integer User Data as used in the example below.
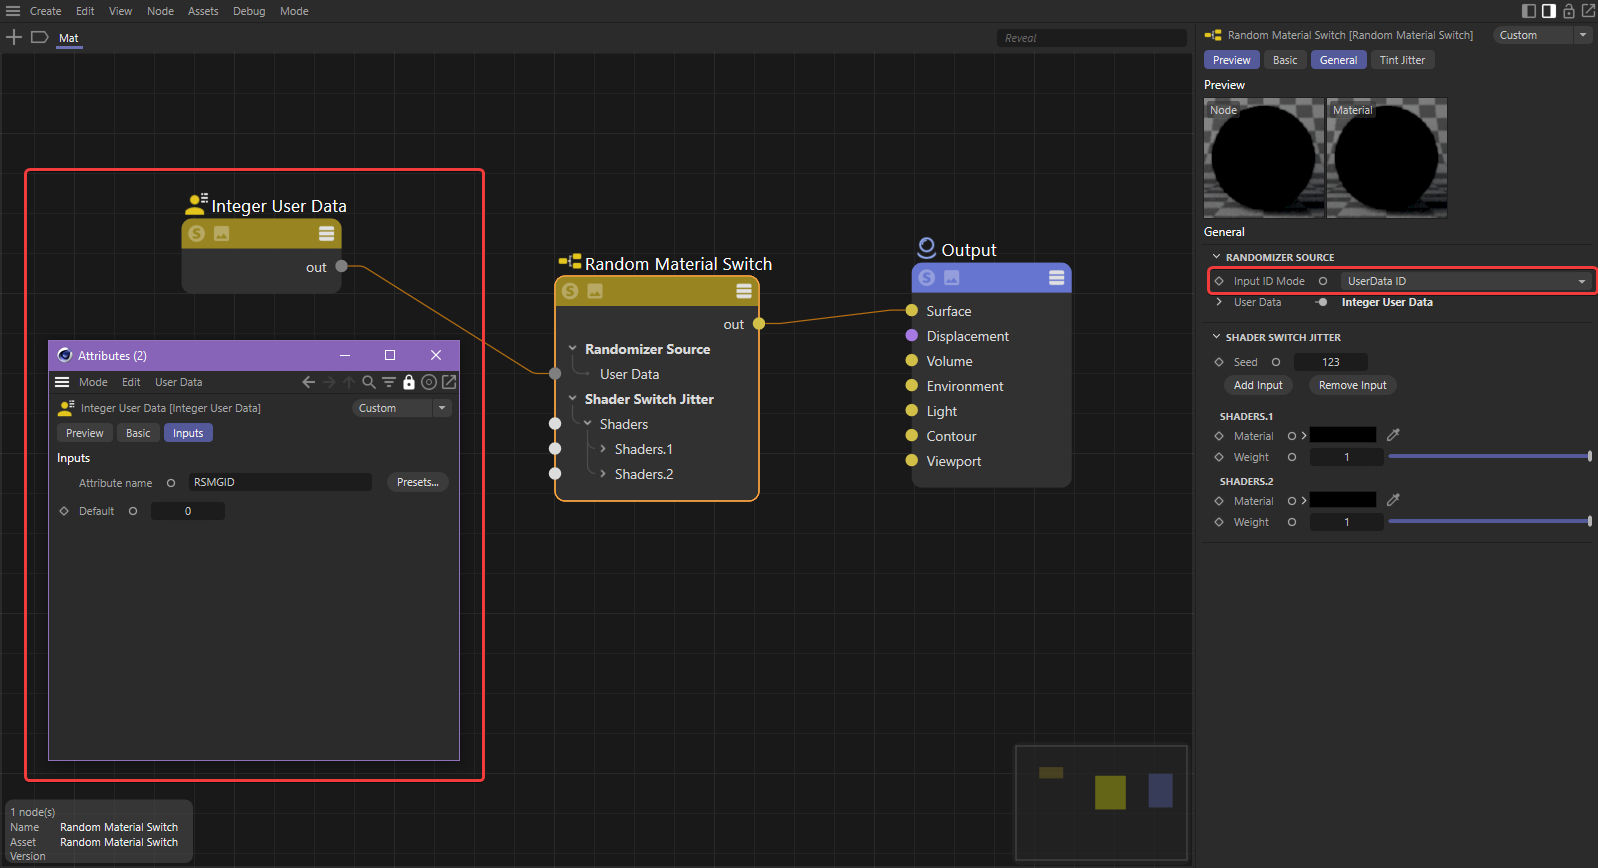
|
Next set the number of materials you want to choose from and connect them to the material inputs. If you want some materials to show up more often than others, you can increase or decrease their Weight value.
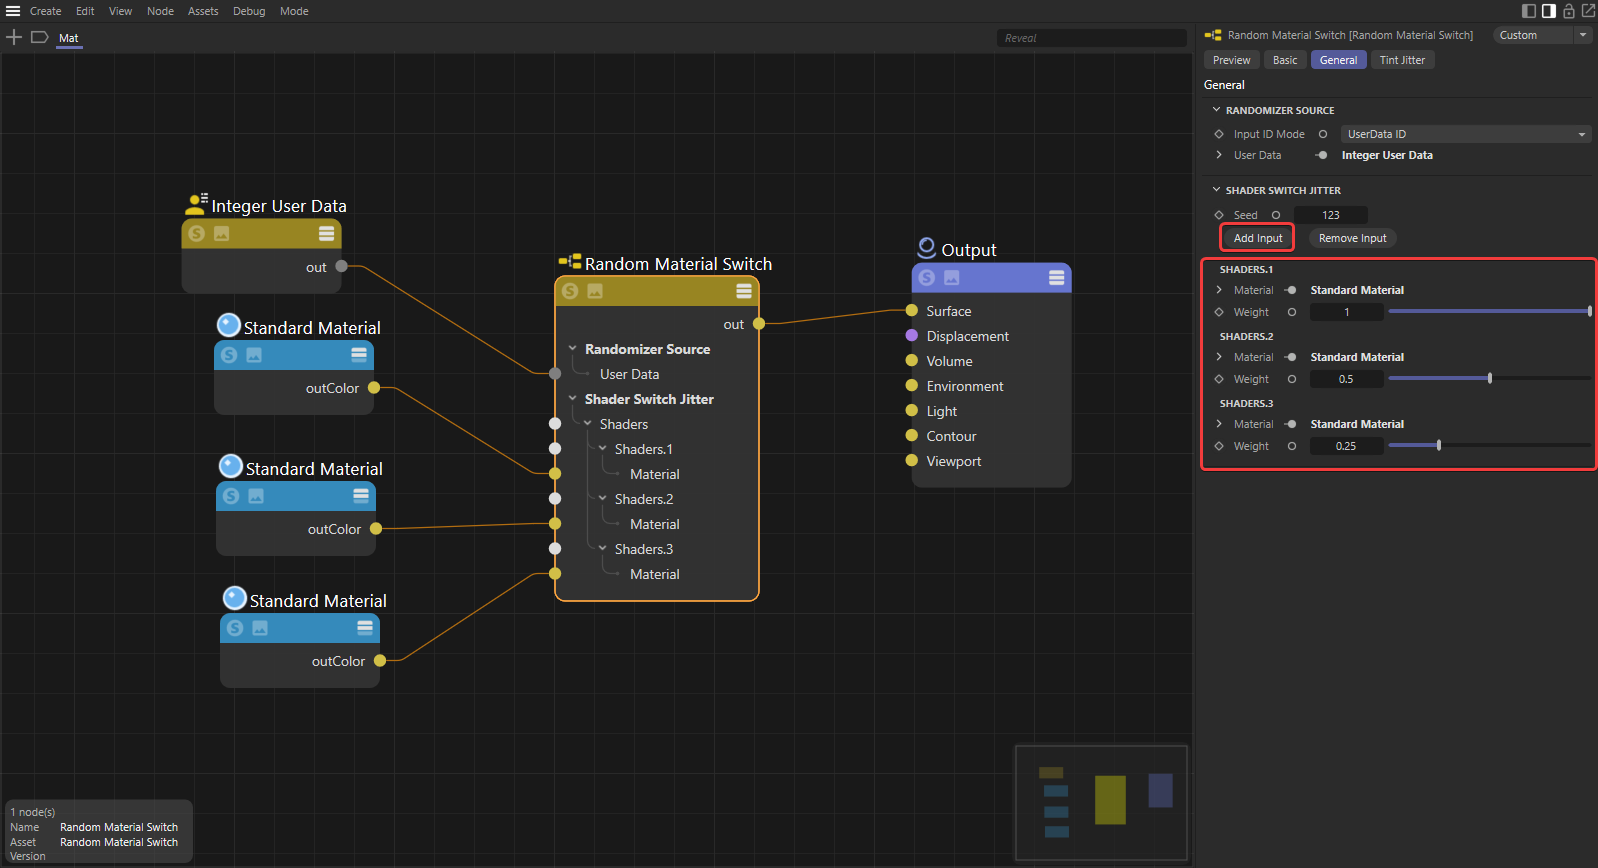
|
Then change the Seed value until you are happy with the result.
| Changing the Seed |
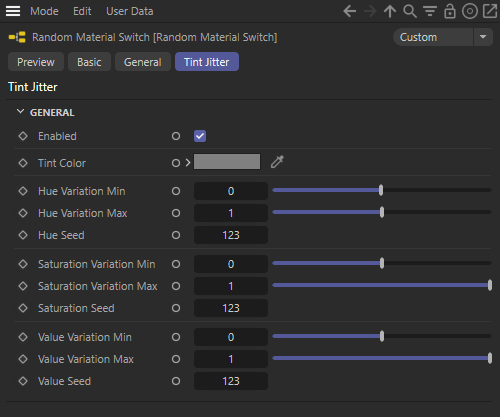
Additional color randomization can be added with the built-in Color Jitter parameters.
| Changing the Tint Jitter's Hue Seed |
|
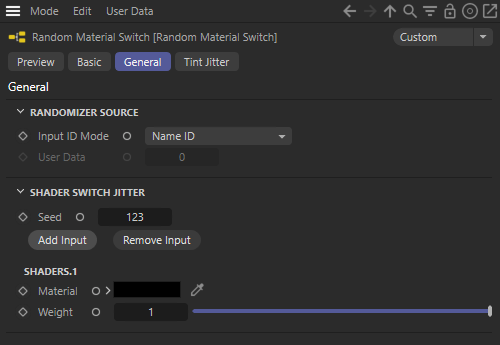
Controls what attribute the randomization is based on.
Name ID - Randomization is based on an objects name in the scene.
Object ID - Randomization is based on the Redshift Object ID that a user can set on each object. This works exactly the same as using an Integer User Data node with the "RSObjectID" attribute.
UserData ID - Randomization is based on a custom user attribute. Frequently this is accomplished with an Integer User Data node as the "User Data input" which references an attribute added to objects in the scene.
Redshift reserves the following intrinsic attributes:
RSObjectID - An integer ID that Redshift tracks which can be set by the user per-object.
RSNameID - A string ID that Redshift tracks based on the names of scene objects.
When the Input ID Mode is set to UserData ID an Integer User Data node, or other ID source, should be connected to this port. This also functions as the default value if the selected user data is not found.
Controls the seed used to determine the random material assigned per ID. After your weights are set up, change the seed until you get the result you want.
Note, when objects share the same ID they receive the same material as demonstrated in the User Data example below.
| Changing the Seed Input ID: Name ID |
Changing the Seed User Data |
Adds a new shader input to the bottom of the shader list.
Removes the shader input at the bottom of the shader list.
Controls the material assigned for the input.

|

|
| Materials: Toon | Wood |
Controls the probability a material is used per ID. Higher values make the material more likely to appear while lower values make it less likely to appear. The chance a material has to appear is dependent on the number of other shaders and their individual weights. For example, with two materials, a material with a weight of 0.5 is half as likely to appear as one with a weight of 1.0. A material with a weight of 0 has no chance to appear.
Weighting does not guarantee a certain ratio of materials. For example, equivalent weights do not guarantee an even spread of materials. If you have two materials and they use the same weight you can think of it like flipping a coin, you are likely to get a ratio close to 50/50 but that is not guaranteed. Each unique ID represents an instance of flipping the coin with an equivalent chance to land on either side. Changing the seed re-flips the coin for each ID with a chance to change the outcome.
| Shader Weights: 1 - 1 - 1 Changing the seed for different outcomes |
1 - 0.5 - 0 | 0.1 - 0 - 1 |
The weights are automatically normalized across all inputs, this makes it easy to control the probability without manually calculating the weight for each shader. For example, if you have 3 shaders and each has a weight of 1.0 then they each have an effective probability of 33%. Therefore, if instead each shader used a weight of 0.33 the result is the same.
In the first example below the weight ratio 3/1/1 is used and this matches the second example using 0.6/0.2/0.2 because that is the normalized version of 3/1/1. Automatic normalization means you can adjust probability weighting with ease, if you want a shader to appear more often just increase the weight. If you want it to appear less often then decrease the weight. If you want some shaders to have an equal likelihood of appearing then use the same weight.

|

|
| Shader Weights: 3 - 1 - 1 | 0.6 - 0.5 - 0.2 |
|
Toggles color randomization for each ID based on the hue, saturation, and value variation parameters. When enabled, the color is randomized per ID from the starting point of the Tint Color. The randomized color is used to tint the overall color for all materials.
Note, when objects share the same ID they receive the same randomization as demonstrated in the User Data example below.

|

|

|
|
| Color Jitter: Disabled Input ID: Name ID |
Enabled Name ID |
Disabled User Data |
Enabled User Data |
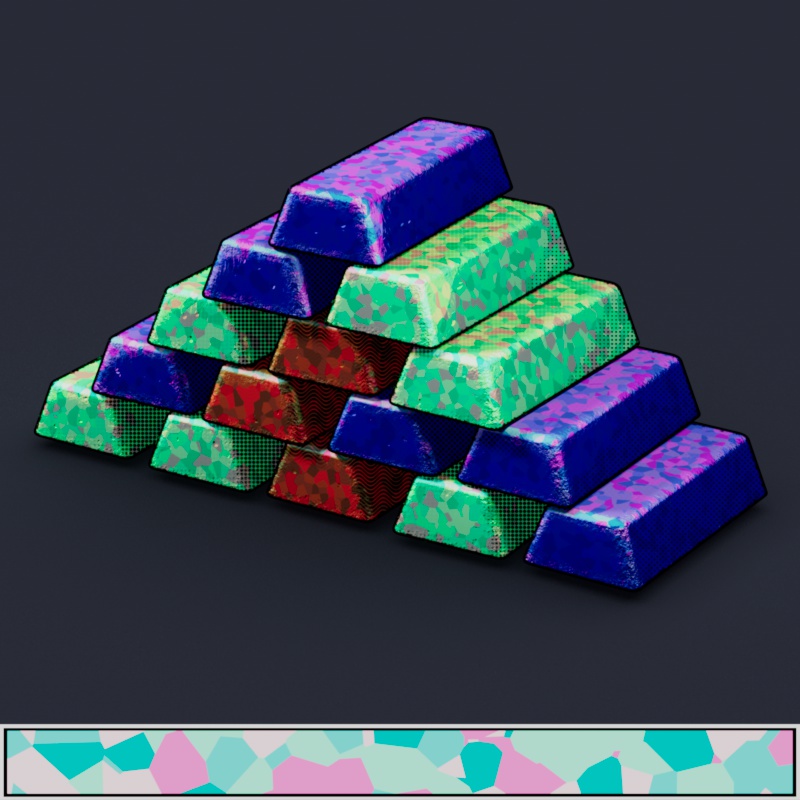
The source color, or texture, that all Tint Jitter color randomization is based on. Note, since this is as a color tint (multiply), any color other than white always darkens the material.
|

|
|

|

|
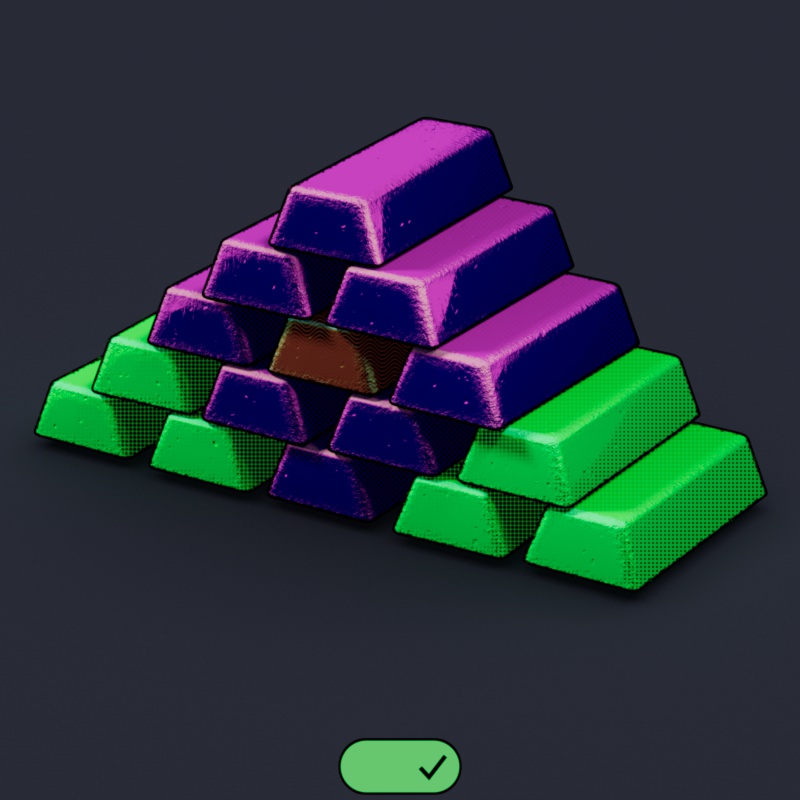
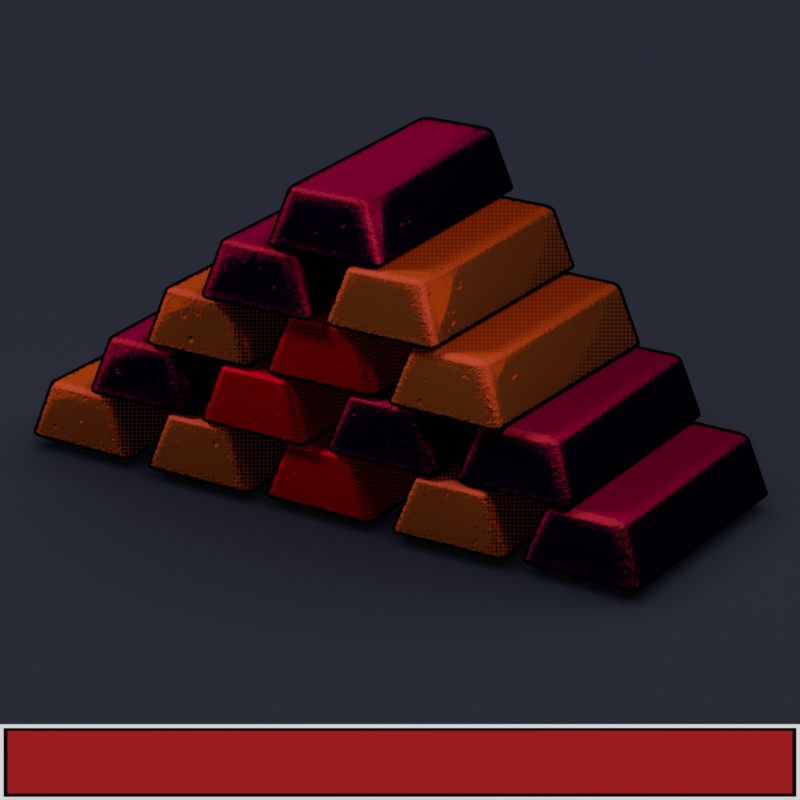
| Tint Color: Red | Green | Texture | White | Black |
Controls how far the hue can be offset from the source color's original hue in degrees along a color wheel. Positive values rotate the hue clockwise while negative values rotate the hue counterclockwise.
Higher ranges between the min and max result in a greater potential for hue variation, a value of 0 for both results in no change. In the examples below, note how there is more variation when the minimum value (red square) is farther from the maximum value (green circle). In the last example the min and max are animated across the entire hue offset range but they maintain the same 70 degree difference, this moves the source color across the entire color wheel but keeps the level of variation low and consistent.
| ⯁ Value Min: 0 to -180 ⬤ Value Max: 0 to +180 |
Value Min: 0 to -360 Value Max: 0 to +360 |
Value Min: -360 to +290 Value Max: -290 to +360 |
Changes the seed value used to determine the randomized hue, each seed results in a different hue per ID.
| Changing the Hue Seed Hue Min & Max: -80 to +80 |
Controls how far the saturation can be offset from the source color's original saturation level. Positive values make the color more saturated while negative values make it less saturated.
Higher ranges between the min and max result in a greater potential for variation, a value of 0 for both results in no change. In the example below, note how there is more variation when the minimum value (red square) is farther from the maximum value (green circle). It is expected behavior that previously greyscale values take on color if random saturation is increased.
| ⯁ Saturation Min: 0 to -1 ⬤ Saturation Max: 0 to +1 |
Changes the seed value used to determine the randomized saturation, each seed results in a different saturation level per ID.
| Changing the Hue Seed Saturation Min & Max: -1 to 1 |
Controls how far the color value can be offset from the source color's original value. Positive values make the color brighter while negative values make it darker.
Higher ranges between the min and max result in a greater potential for value variation, a value of 0 for both results in no change. In the example below, note how there is more variation when the minimum value (red square) is farther from the maximum value (green circle).
| ⯁ Value Min: 0 to -1 ⬤ Value Max: 0 to +1 |
Changes the seed used to determine the randomized color value, each seed results in a different color value per ID.
| Changing the Value Seed Value Min & Max: -1 to +1 |