Tweaking the UV Mesh
The Paint Setup Wizard is a great help when it comes to preparing objects for painting, and UVs are no exception. The wizard is able to create and optimize UVs automatically. However, for best results, you may need to tweak the UVs. This is because the Paint Setup Wizard cannot possibly know exactly how to intend to paint the objects.
 Head: © Bunk Timmer
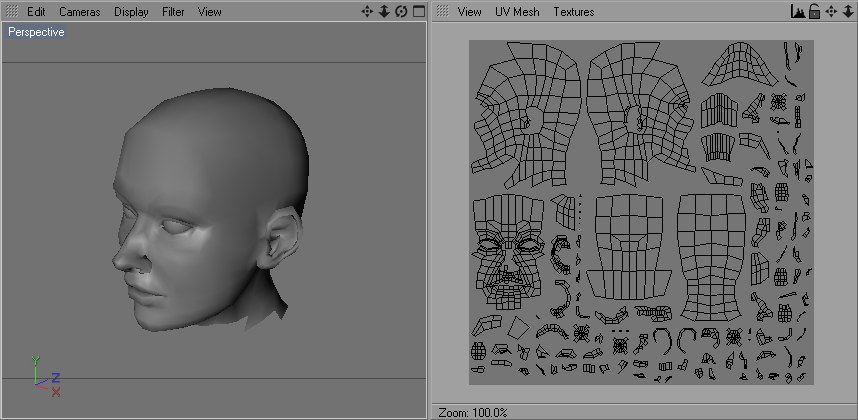
Consider the following scenario: you want to paint on the head shown in Figure 1. You have used the Paint Setup Wizard to create a material, texture and UVs for the head. The texture is just large enough for you to paint sufficient detail when the whole of the head is displayed in the view.
You then spend hours painting the head (we’ve kept our head gray for illustration purposes). You are almost done and then you have an idea. Wouldn’t a filigree earring look great?
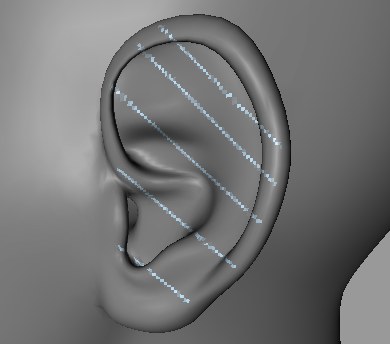
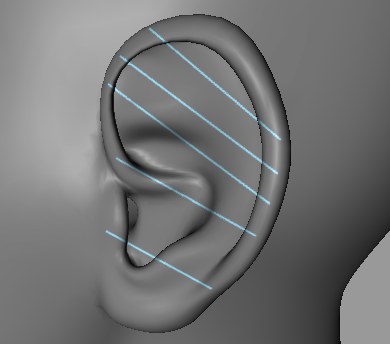
You zoom in on the left ear and start painting but there is a problem: the brushstroke is very pixelated (see Figure 2). This is because the ear’s UVs cover only a relatively small texture area. The ear needs more pixels. And BodyPaint 3D has a neat trick to help you add extra pixels without ruining the painting you have already done.
 |  |
Left before, right after applying the steps described below.
Here’s how you could solve the ear problem:
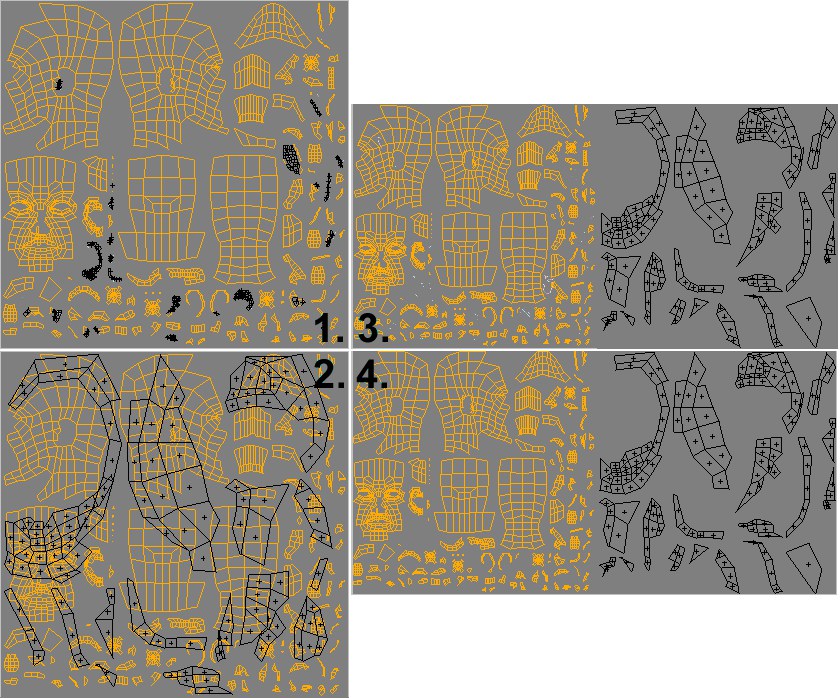
- Ensure that UV polygons mode is enabled. In the 3D view, select the ear’s polygons.
- Choose UV Edit / Optimal Mapping from the main menu. The UV manager will open. In the UV manager, select Optimal (Cubic) or Optimal (Angle) and click Apply.
- In the Texture view, drag the optimized (and still selected) UV polygon groups right of the texture.
- Choose UV Edit / Fit Canvas To UV from the main menu. Fill the pixels if necessary to match the color of the rest of the canvas. Make sure the correct texture is active.
The ear’s UVs now cover plenty more texture pixels and you can paint the filigree earring without pixelation.
This technique will solve many of the problems you will encounter when working with UVs.
 Selected UV polygons have been colored black for better visibility.