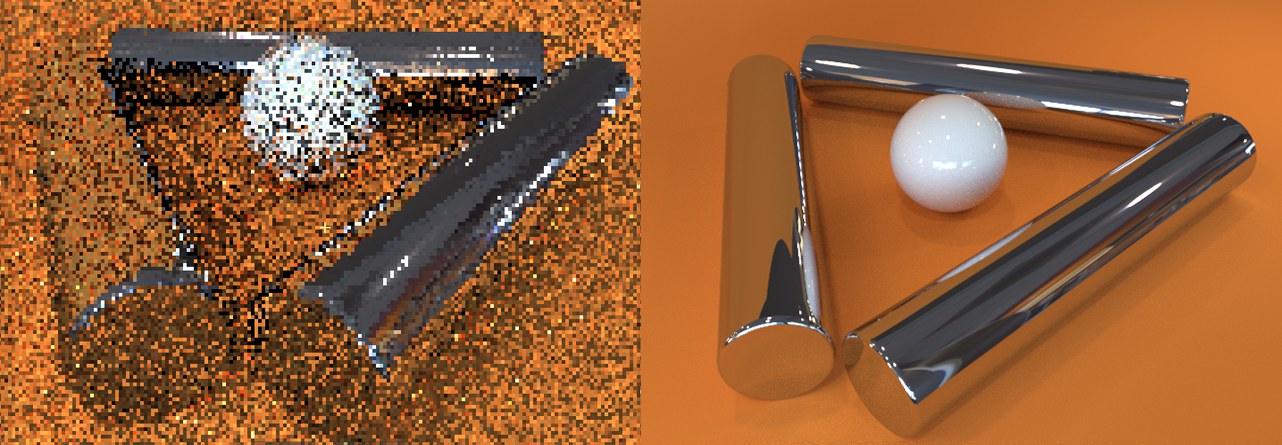
ProRender
 You can navigate through an adapting render view.
Any view can be defined for the ProRender to use as an interactive preview renderer (ProRender must be selected in the Render Settings menu). You can, for example, integrate this view in the layout so you can constantly have a rendered view at your disposal.
This is a very useful function that helps you avoid constantly having to use the Picture Viewer for preview renders.
You can also continue to navigate in this view and even temporarily reduce the resolution in order to achieve faster interactivity.
In addition, changes made to materials or cameras, for example, will be displayed immediately, without having to reload the entire scene in the graphics card. This happens very quickly. Handles and tools work in part in the Viewport, i.e., you can model to a limited degree in the view with immediate feedback (which, of course, takes a little longer than in the un-rendered view).
This view has its own render settings (Preview menu), which means that you can customize the preview view to precisely fit your needs.
Use this option to define the current view as the preview view. A small HUD will be displayed at the bottom of the view that can be used to start the rendering or select the render settings (see next commands below).
Note that ProRender Quality, which displays other interesting information, can also be displayed in the view settings
This starts the rendering in the preview view (the speed with which this occurs depends on the respective scene). Select the option again to switch to the normal OpenGL view.
Several modifiable HUD options are available in the view preferences (e.g., Start ProRender).
Here you can select the settings to be used for the view to be rendered.
These four options can be used to define if if the preview render should be updated (rendered anew) if one of the respective elements is modified. Normally, all options will be enabled. However, you may want to change some elements without causing the scene to be re-rendered each time. Example: You’ve rendered a final preview of a lighting situation. You can now disable the Light Updates option, modify the lights and render in the Picture Viewer. This can then be compared with the rendered preview.
Note also in conjunction with this the Continuous Material Update option.
For technical reasons, rendering can occasionally be restarted without ending if MoGraph, Hair or XPresso are used. In thes cases, disabling Geometry Updates can help prevent constant updating.
This option can be used if 2 views use the same camera (e.g., if you want to have a preview open that renders permanently in addition to the normal OpenGL view). If the camera is moved in the OpenGL view, this camera movement will be carried over to the preview view. This option defines if this should occur "live" (enabled) or after you release the mouse button (disabled).
Depending on the scene’s complexity, the camera’s preview can be delayed. This can be remedied by disabling the option.