Window menu
Most of the following menu entries activate a window or manager. If the window or manager is already open, the call brings it to the front. Otherwise, the window or manager appears in a new, freestanding window. To dock this into the interface, drag the window’s pin icon and drop it where you want the window to be docked. A black line appears while you drag to indicate the docking position.
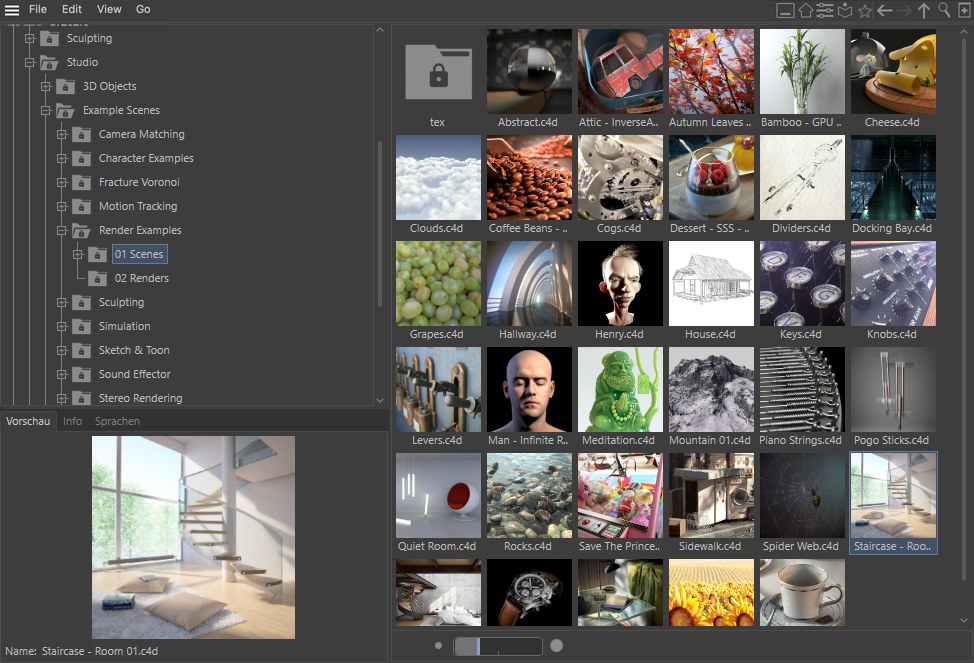
Opens the Content Browser, if it is not already open (and brings it to the front if it is hidden behind any other windows). Use the Content Browser to manage your project’s libraries and presets. Create catalog files and presets of scenes, audio clips, textures and more, then quickly add them to your project via drag & drop. For example, to add a mug model to the current scene, Drag & drop the mug’s thumbnail into the Object Manager.
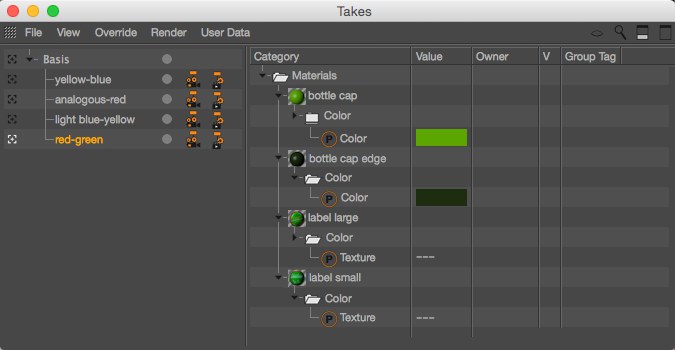
This command will open the Take Manager window. This is the control panel for the Cinema 4D Take System that can be used to create multiple Project states (e.g., various camera perspectives, rendersettings and visible objects) within a single file.

Opens the Object Manager, if it is not already open, and brings it to the front if it is hidden behind any other windows. Using this manager, you can select objects (even those that are not visible in the viewport), change the object hierarchy, add tags and expressions and much more.

Opens the Material Manager, if it is not already open, and brings it to the front if it is hidden behind any other windows. This holds all of the scene’s materials and textures. You can assign a material to an object using drag-and-drop — drag the material onto the object’s name in the Object Manager or directly onto the object in the viewport.
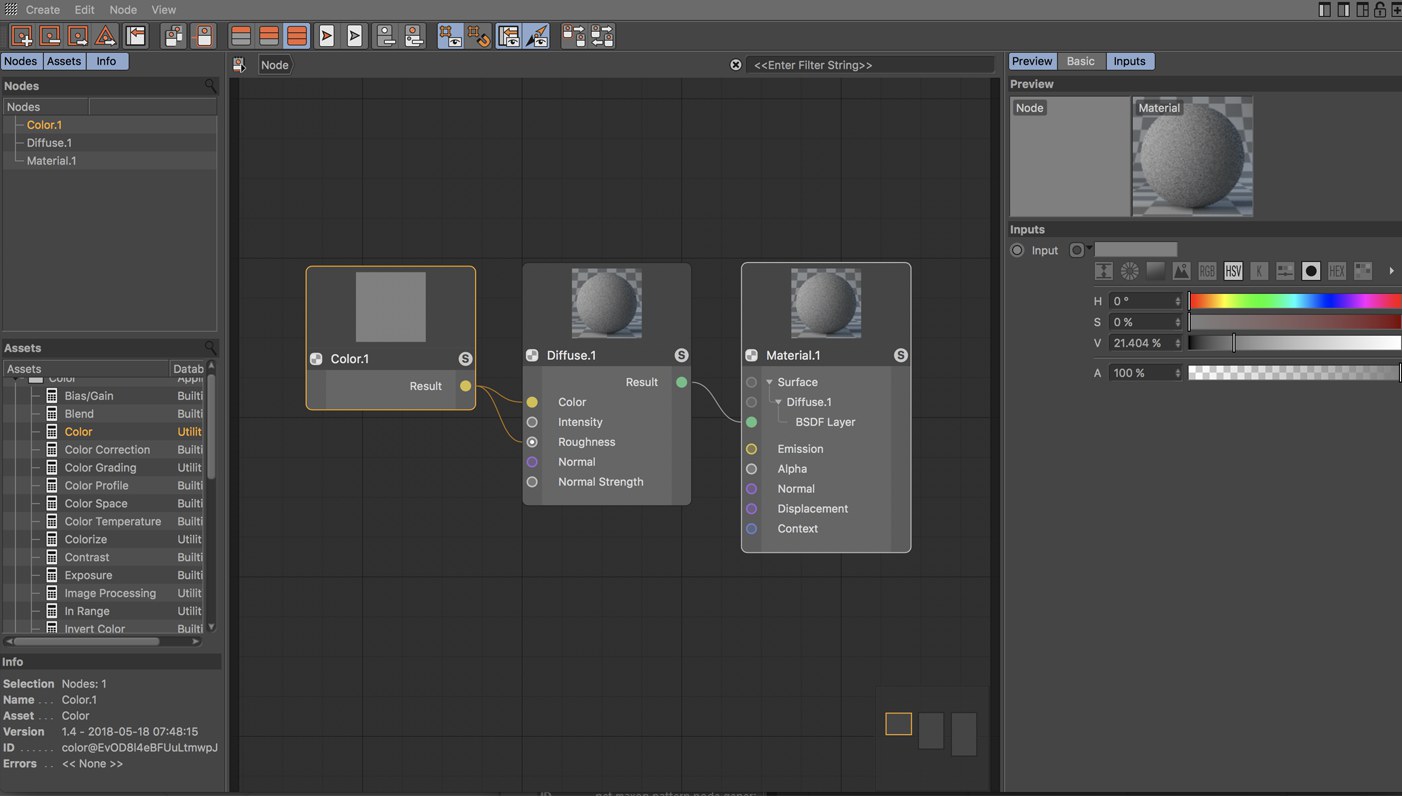
This opens the Node Editor. Details can be found here: the Node Editor.
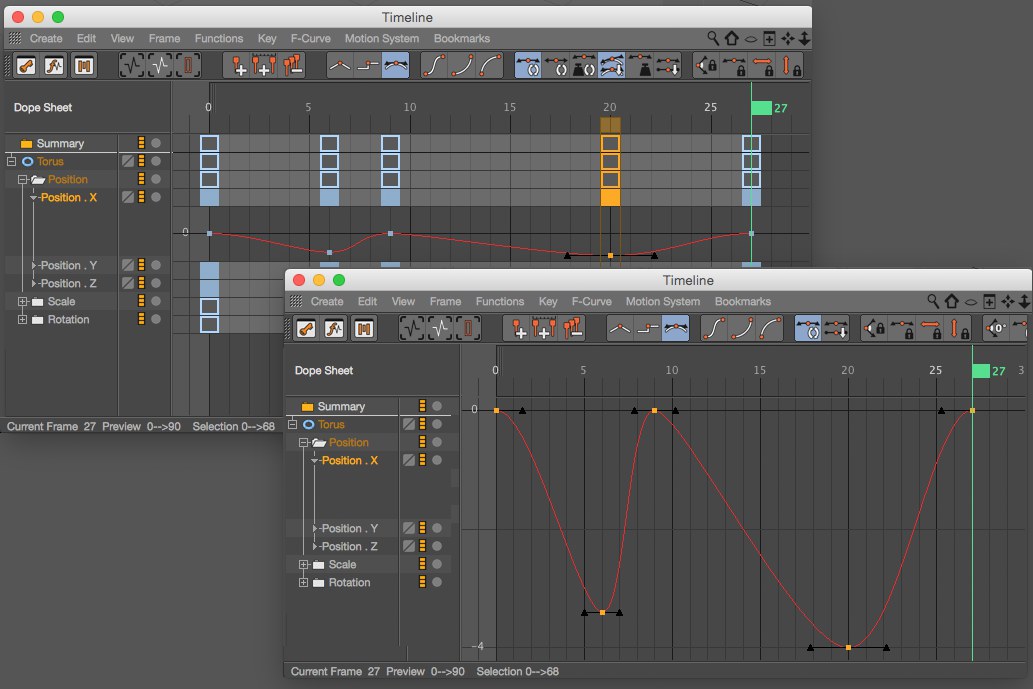
Opens the Timeline, either in Dope Sheet mode (previously Key Mode) or in F-Curve mode. if it is not already open, and brings it to the front if it is hidden behind any other windows.
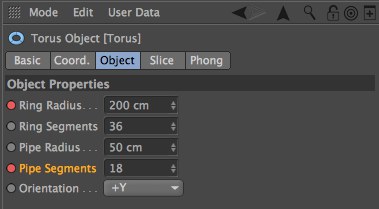
Everything in Cinema 4D revolves around the Attributes Manager. You will use this manager frequently. Here you can edit all object and tag properties or even animate without opening the Timeline. You can create your own GUI elements, such as sliders, and you can link parameters (set driven keys) and much more. See Attribute Manager.
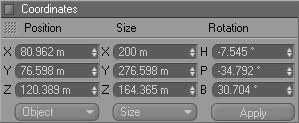
Opens the Coordinate manager, if it is not already open, and brings it to the front if it is hidden behind any other windows. This compact manager is useful for editing the position, scale and rotation of objects.
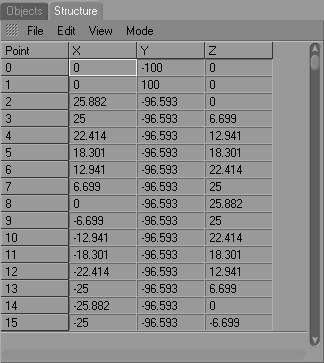
Opens the Structure manager, if it is not already open, and brings it to the front if it is hidden behind any other windows. Here you can view and edit the numerical data of points, polygons, UVW coordinates and vertex maps.
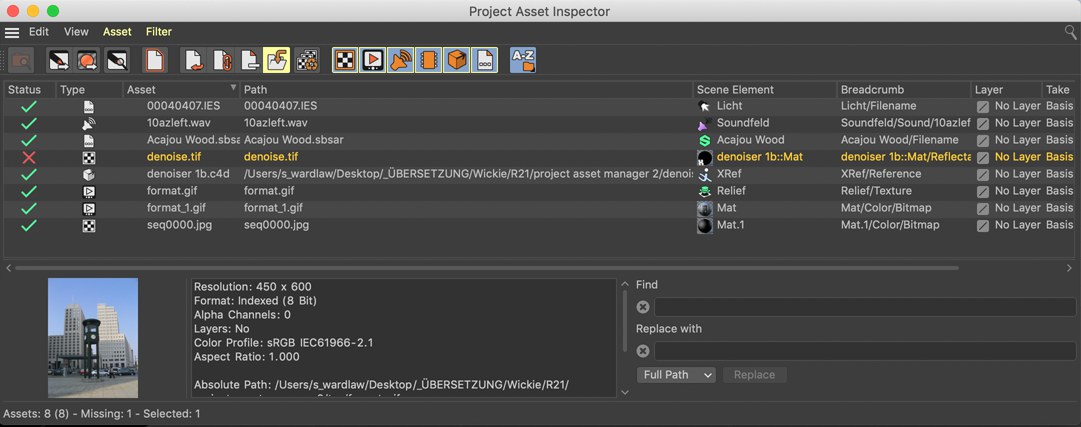
This command opens the Project Asset Inspector, which can be used to quickly find and replace missing textures.
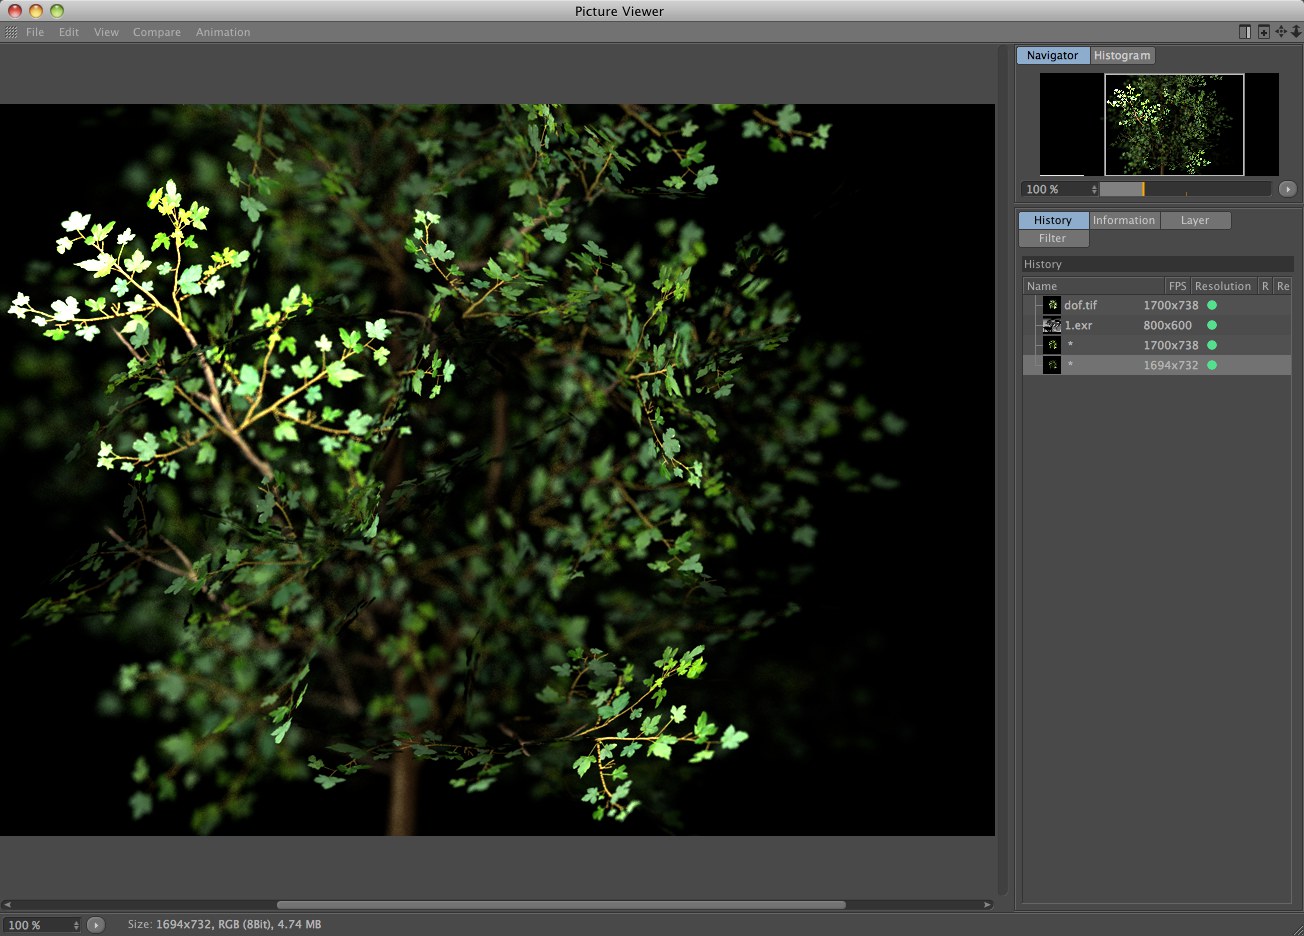
Opens the Picture viewer. Most of the time, you will not need to use this command because the Picture viewer opens automatically when you choose Render / Render To Picture Viewer.
You can open as many view panels as you wish. The Perspective view can be defined for any view(see Views and Viewports). This also creates a new 3D view, which is initially set as the default 3D perspective view.
The following 5 commands open Managers specific to BodyPaint 3D, which can all be found in the BodyPaint 3D layout.
You can open multiple texture views. If you click the lock icon in the top right corner of the Texture view, the current texture will remain displayed in the view even if you select other objects.
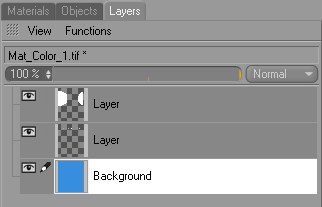
Most of the time you will not need to use the Layer manager because its functions are now integrated into the Material Manager. Nevertheless the Layer Manager does serve its purpose when used in conjunction with Projection Painting to manage temporary layers. It is also excellent for editing simple 2D bitmaps.
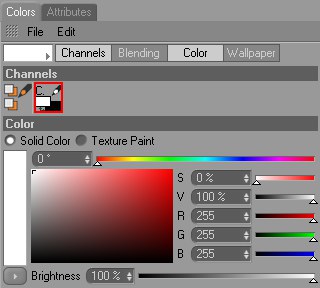
Here you can choose the foreground and background colors for the active painting tool. See Color.
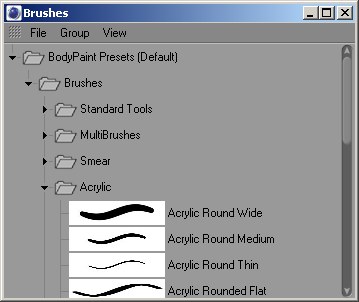
This command opens the brush presets. Here you can access the default brushes as well as your own saved brushes.
You can also access the brush presets by clicking the brush preview in the top left corner of the Active Tool manager.
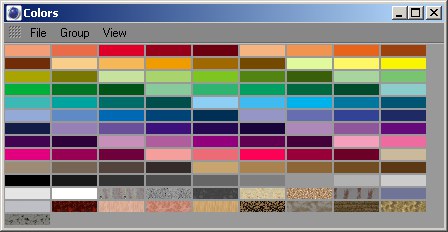
This command opens the color presets. Here you can access the default colors and patterns as well as your own saved colors and patterns.
You can also access the color presets by clicking the color preview in the top left corner of the Color manager.
The Color Presets window (or tab) is actually called "Swatches".
Here you can open up to three additional Object Managers or Timelines (or active Picture Viewers). Their diverse filter properties let them display entirely different things. For example, 2 Timelines can be displayed, one to display the Dope Sheet mode and the other to display the F-Curve mode.
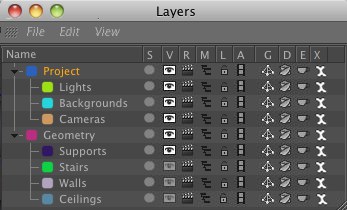
The Layer Manager can be effectively used to maintain a clear overview of large, complex scenes.
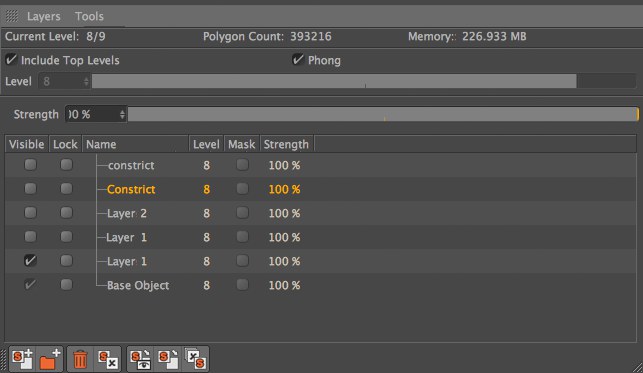
Use the Sculpting Layer Manager to manage Sculpt Layers.
Up to three additional Objects Managers or Timelines (or Picture Viewers) can be opened. Their various filter properties can be used to display a variety of information. For example, two Timelines can be opened, one to display the Dope Sheet mode, the other to display the F-Curve mode.
Cinema 4D allows you to have multiple scenes loaded. At the foot of the