Short Rendering Tutorial
A few additional steps are necessary in order to render your object after having successfully imported it into Cinema 4D:
- Assign materials (this step can be replaced by effective lighting or render settings, e.g., using Ambient Occlusion, which can also offer impressive results).
- Lighting
- Rendering In the following, we will describe the most important steps. Your Cinema 4D documentation contains all other pertinent information.
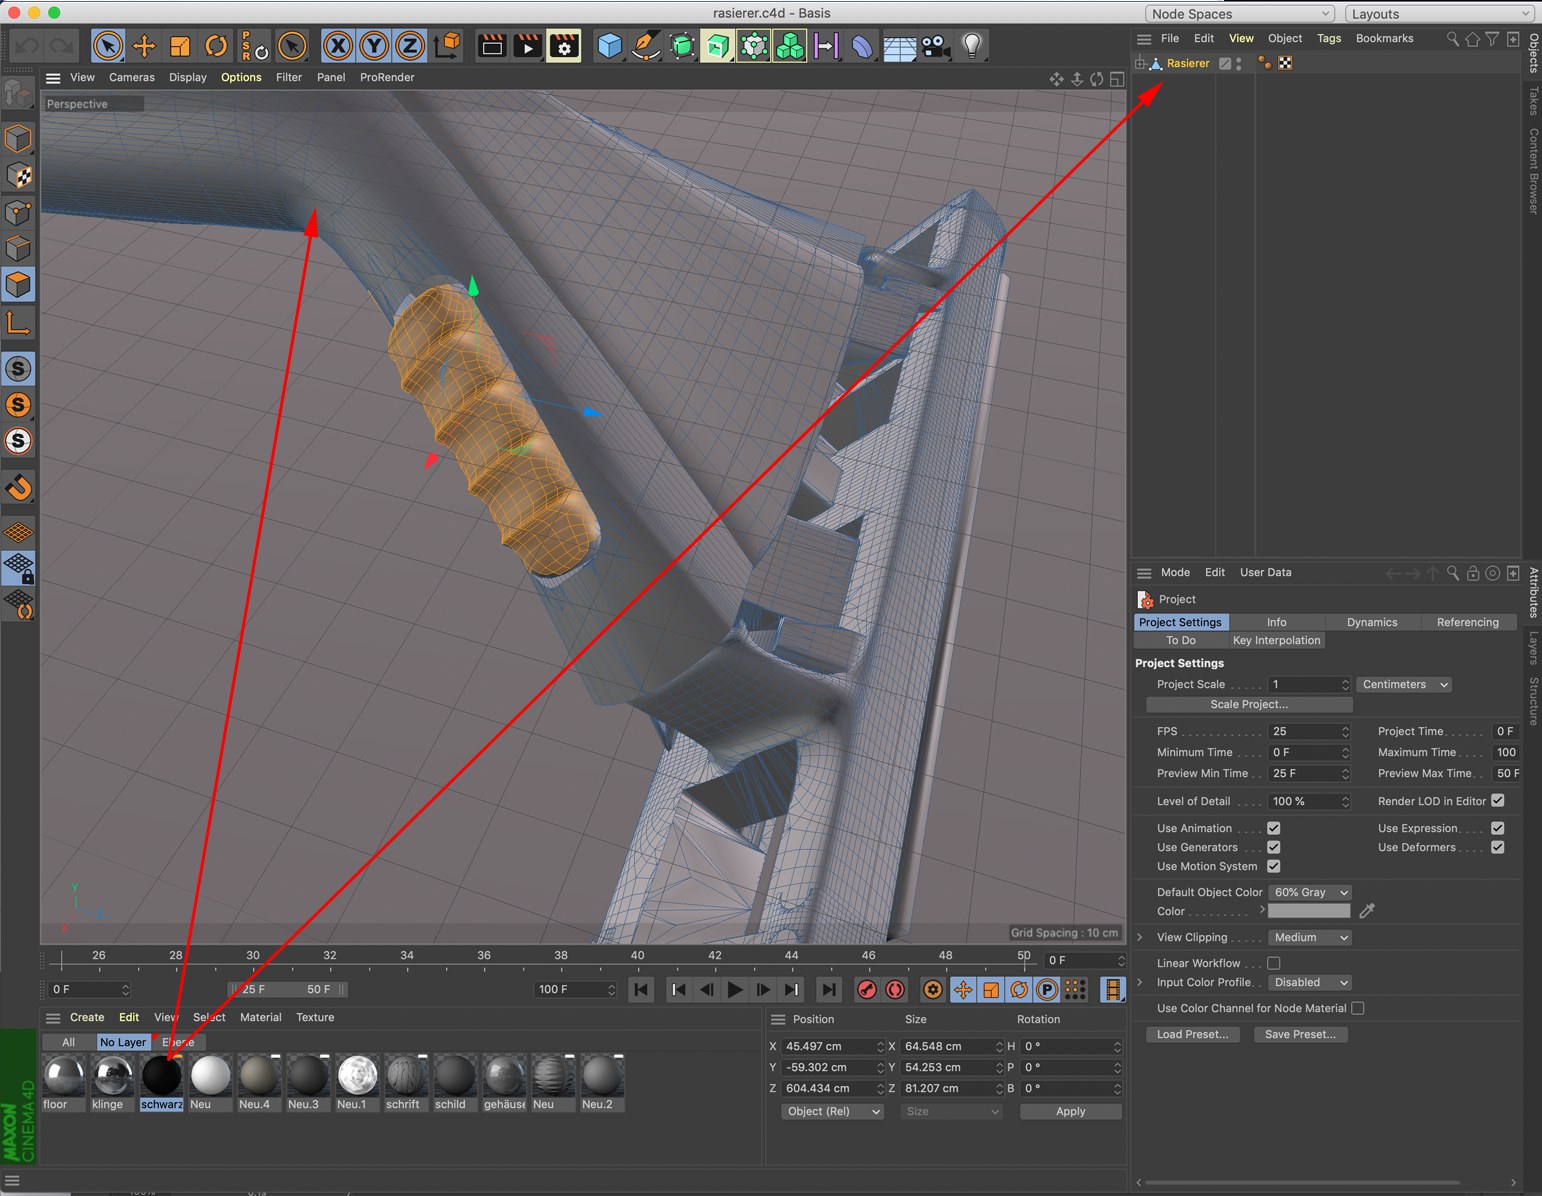 If polygons are selected in Polygon Mode the material will be restricted to these polygons.
In most cases your object will be naked and will need to be assigned a material in order to define color, Reflectance, Transparency and all other necessary material properties.
This is how a material is assigned to your object:
-
Create a material (double-click in an empty part of the Manager) in the Material
Manager (at the lower-left of the standard layout) or use one of the predefined materials.
-
Drag he material from the Material Manager onto the object in the editor view or
in the Object Manager.
Now we will apply different textures to different locations on your object (assuming you have completed the previous two steps):
-
Activate the material in the Object Manager.
-
Switch to the Use Polygon Tool.
 .
.
-
Select the polygons to which you want to apply the texture using the Live Selection Tool.

-
Drag the material onto the object in the viewport or in the Object Manager. A
Selection tag will automatically be created:
 This Selection tag will also be linked to the
newly created Material tag.
This Selection tag will also be linked to the
newly created Material tag.
-
To apply materials to other areas simply repeat steps 3 to 4.
You might be able to skip this step since
- the imported scene may already contain lights or
- Cinema 4D has standard lighting and has therefore automatically lit your scene with a light that is placed in the approximate vicinity of the camera and makes sure the scene is visible. Automatic lighting does not exactly offer spectacular effects. 3-point lighting would be much better and is explained in simple terms below.
-
Create 3 light sources (Create / Lights or click on the light icon). You can use
the default light, Point.

-
Position the first light (the key light) using the Move tool in Use Model mode (

 ) high over the object to be lit and to one
side of the camera. This light will serve as our main source of light for the object and should therefore
be very bright. This light will also create our shadows. Set the light’s shadow to Soft in its General tab.
) high over the object to be lit and to one
side of the camera. This light will serve as our main source of light for the object and should therefore
be very bright. This light will also create our shadows. Set the light’s shadow to Soft in its General tab.
-
In order to make the shadow visible we need a surface for it to fall on. We will us a Floor Object for this
purpose (Create / Environment / Floor).
-
The remaining 2 lights, the fill lights, will serve the following purpose:
-
They will brighten the areas which are unaffected by the key light and which would other-wise remain
completely black.
-
The scene can be made more attractive by assigning a color to the fill lights (e.g., a light blue for one
and a light brown for the other, for example).
Make sure the fill lights’ brightness is much less than that of the key light (General tab > Intensity). Position the fill lights far apart and not higher than the key light. Arrange the fill lights in the editor until they have the desired position.
-
They will brighten the areas which are unaffected by the key light and which would other-wise remain
completely black.
After the materials have been assigned and the lights set it’s time to render. This is the simplest step. You will find the render icons at the top in the Icon Pallet.

Use this icon to render the active view in the editor window. The rendered image will not be saved.

Use this icon to render a specified view in the Picture Viewer (in the editor View menu: Use As Render View). If you enter a path in the Save tab the image will be saved to that path.

Use this icon to open the Render Presets where you can define the renderer, set the path, antialiasing, Multi Pass and any other settings you may require for your rendering. In the Output tab you can set the size of the rendered image.
You can find further detailed information about rendering in your Cinema 4D documentation.
Tips For Managing Complex Scenes
Exporting CAD files can result in an innumerable amount of objects being created. Cinema 4D contains a powerful layer system with which you can manage these object masses.
We suggest you assign different construction groups or stages to different layers. These groups can then be hidden (in the viewport and / or Object Manager) or excluded from rendering. See the next example.
You can read about how to assign objects to layers and other options under the Layer Browser in your Cinema 4D documentation.
How can all materials be replaced?
If a scene is imported from a foreign application it quite often occurs that the materials imported with the scene do not live up to the quality of certain Cinema 4D materials. The Material Exchanger makes it possible to replace materials in an imported scene with Cinema 4D materials of the same name. Hence, instead of manually replacing imported materials with Cinema 4D materials, a collection of Cinema 4D materials can be created that will automatically replace imported materials of the same name via the Material Exchanger.
To do so, proceed as follows:
- Select
from the Material Manager menu. - In the dialog window that appears, open the .c4d file that contains the desired materials.
- Confirm that the materials should be replaced.
- Done!
All materials in the imported scene that share a name with a Cinema 4D material will be replaced.
How can individual scene materials be replaced?
When working with complex scenes, manually retexturing several objects that all contain the same material can result in quite a bit of work. This applies to both imported scenes as well as .c4d files created in foreign software.
Individual scene materials can be more easily replaced using the following method:
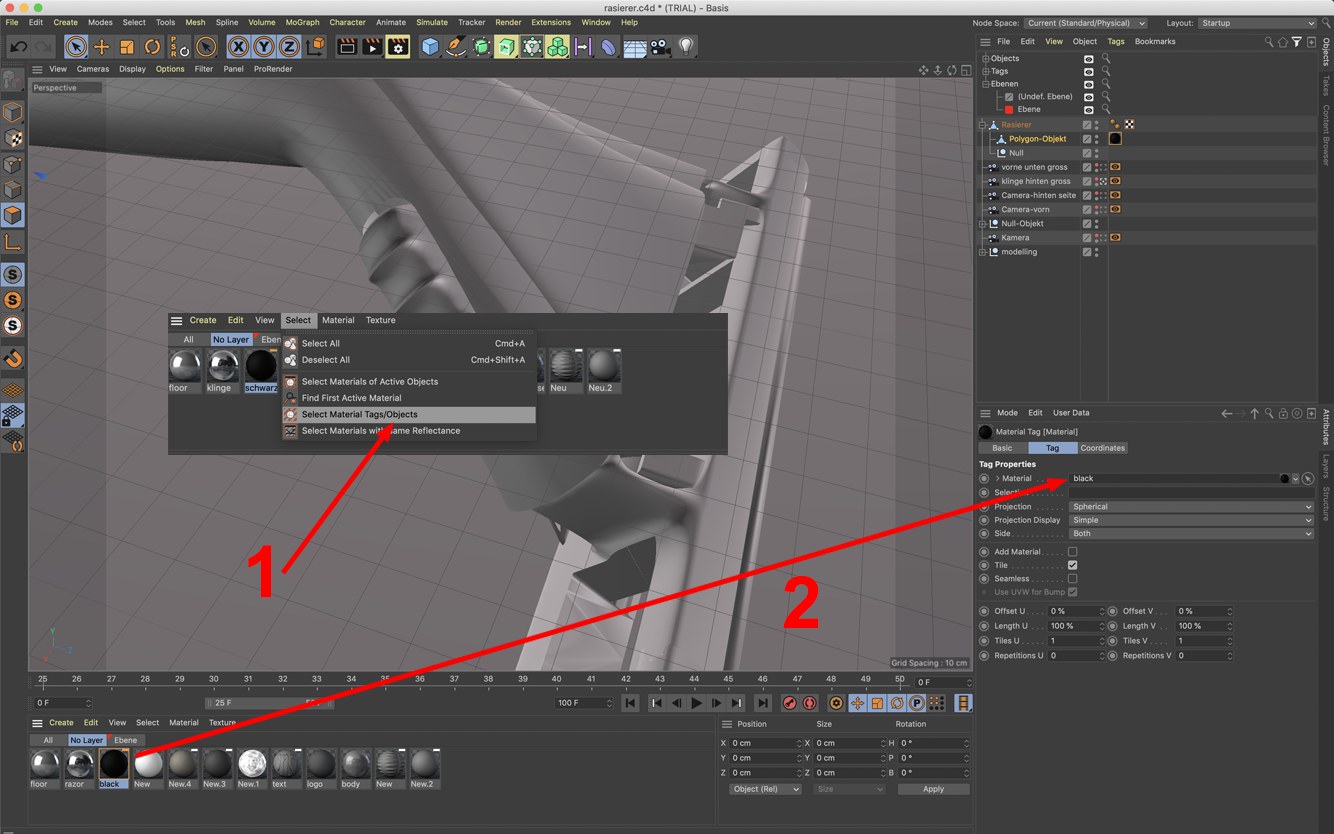
- In the
 Material
Manager...
Material
Manager... - In the
 Select
Material Tags/Objects
Select
Material Tags/Objects - Now simply drag the new material into the
 Attribute Manager...
If you are working with a complex scene it can be difficult to locate a specific object in the  Object
Manager...
Object
Manager...
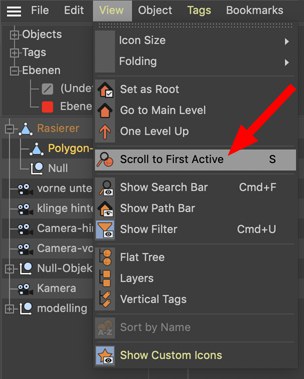
- Select the desired object in the Viewport.
- Select the
 Scroll to First
Active
Scroll to First
Active
The selected object will now be displayed in the Object Manager...