Normal

This material channel is for use with Normal textures via Normal Mapping. What on earth is Normal Mapping?
Well, Normal mapping is a technique that comes from computer game development that makes it possible to give a low-poly object (a low level of detail) a detailed, seemingly structured surface, resulting in low render times.
Bump mapping uses a grayscale bitmap to generate height data. Normal mapping uses an RGB texture with coded Normal orientation (the Normals can be oriented in various directions).
A Normal texture can look something like this:
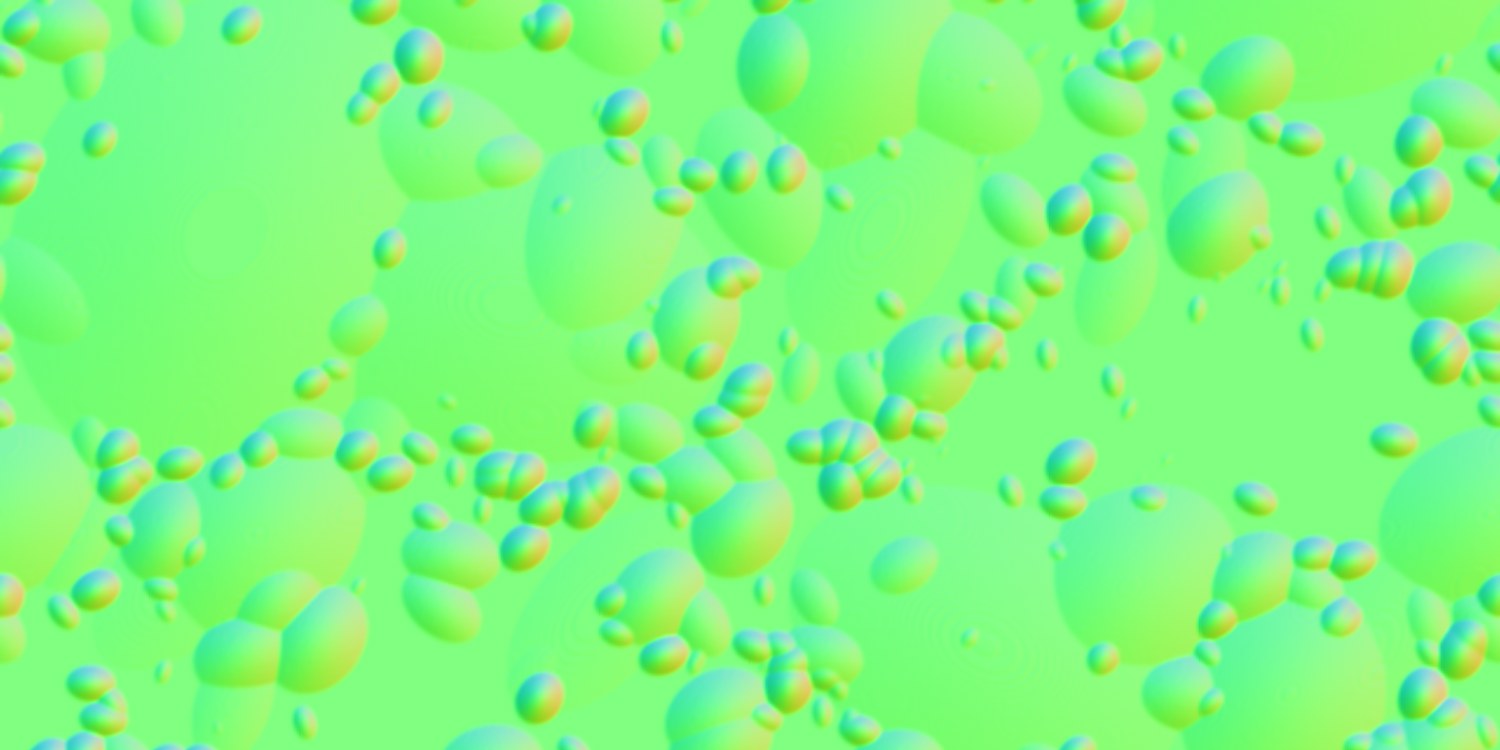 Normal texture Method set to Object
These strange colors contain the coded Normal orientation for each point on the surface: Each red, green, and blue color channel represents one dimension – X, Y or Z. The Normal orientation is no longer dictated by the geometry, but by the Normal texture.
You can create Normal textures with the help of the Bake Material … or Bake Object … options (both located in the Object Manager’s Object menu) or by simply using the Normalizer shader (that can load normal color textures, usually bump textures).
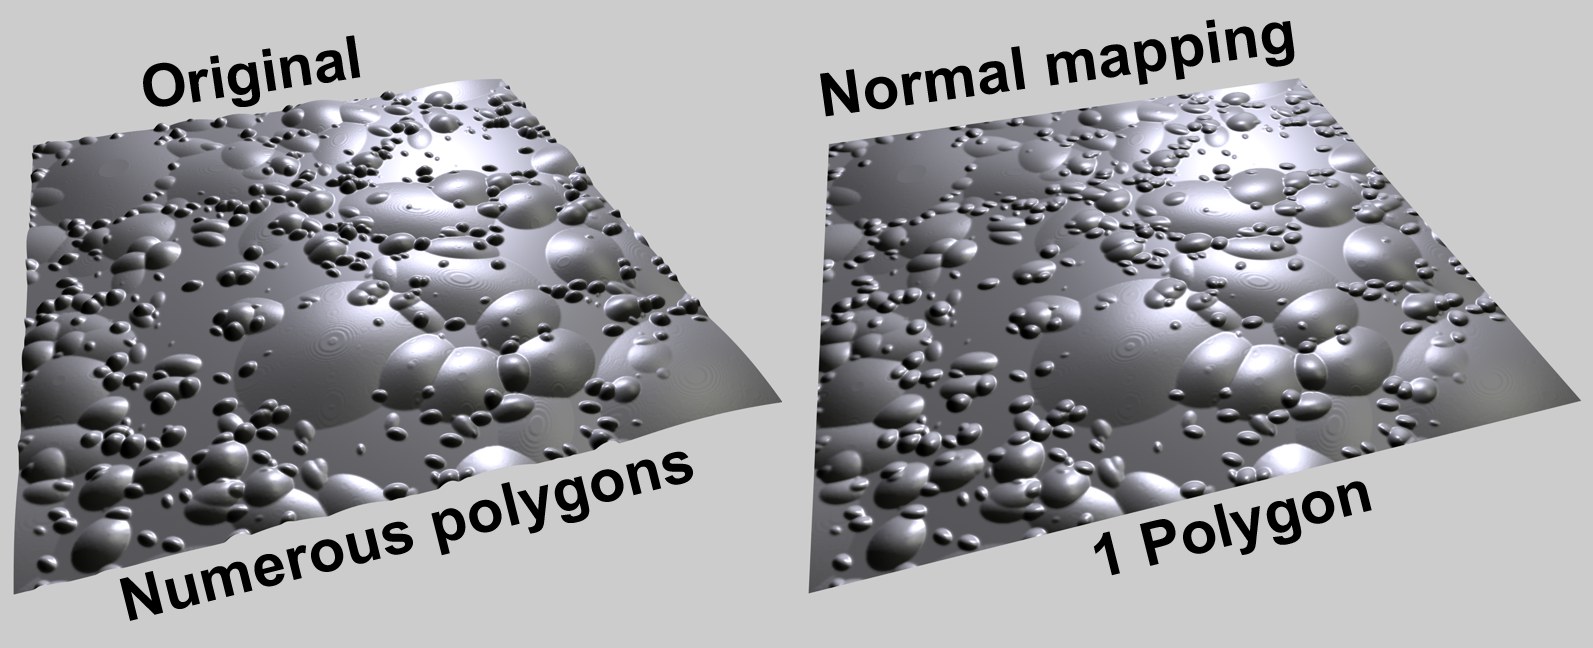 Left, the original object rendered with sub-polygon displacement; right, the result using a Normal texture …
If such a Normal texture is placed into the Normal material channel, the rendered result will very much resemble the original high-poly object, especially when lights are animated. This is because shadows and Specular lights react to the position of the light sources, which results in a very vivid rendering.
 Different positions of a light source on Normal mapping.
Note also the Various ways of creating structure section in which alternative methods to Normal mapping are explained.
Regulates the strength of the Normal mapping. Do not use very high values because the effect will be increasingly unrealistic.
Basically, the higher the value used, the more perpendicular the view to the surface must be to keep the look of the surface realistic.
There are several methods with which Normal maps can be defined. Without going into great detail, they are:
- Tangent: The most common method. The Normal orientation is defined with respect to the underlying surface. This is the ideal method for self-deforming objects, e.g., character animation. Such textures can be identified by their mostly light blue or light green coloring; these are the areas in which the Normals are oriented perpendicularly to the surface.
- Object: Uses the object’s coordinate system to code Normal orientation. Such textures emit, for the most part, in all colors of the rainbow.
- World: Uses the world coordinate system to code Normal orientation. This is only for use with non-animated, static objects. These textures emit in all colors of the rainbow as well.
When selecting a method, you must know which method was used to create the Normal texture. Exactly this method should be defined here. If you want to use a Normal texture that was created in Cinema 4D using the Bake Material … option, exactly these settings must be used here as well.
- The Normalizer shader uses Tangents
- If a Normal texture is baked in Cinema 4D (Bake Material tag), the method used there must also be defined here.
Since no standard method of creation of Normal textures exists, each application pretty much does it as it wishes: Sometimes the color component for the Y-orientation is green, sometimes blue. In order to assure maximum compatibility, these settings let you switch all color components.
The following rule of thumb applies to the most common method, Tangent:
- If the Normal texture is mostly light green, activate Swap Y & Z (Y up).
- If the Normal texture is mostly light blue, deactivate Swap Y & Z (Y up).
Here an image texture or a 2D shader can be defined. Refer to the Textures chapter for details.