Basic Properties
Enable this option to switch on surface caustics.
Enable this option to switch on volume caustics.
This sets the general brightness of the caustics effect.
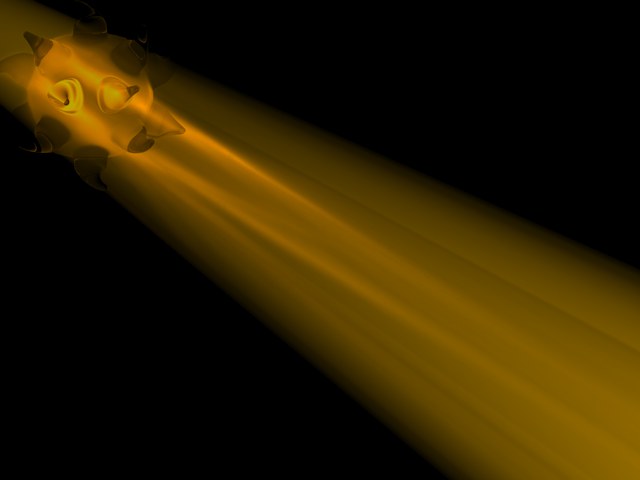 Volume caustics, normal strength. Volume caustics, normal strength.
|
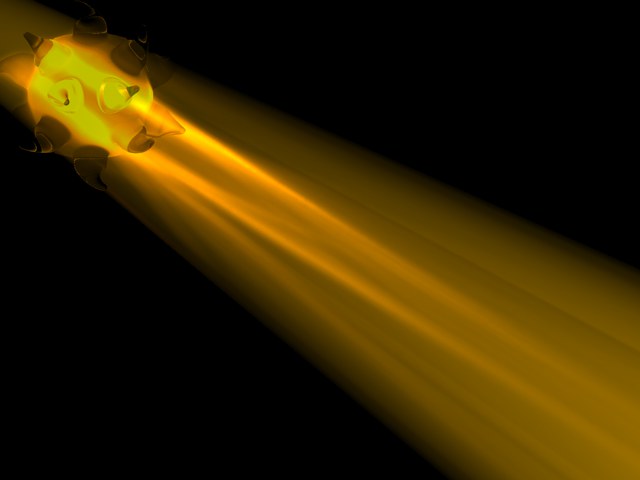 Volume caustics, high strength. Volume caustics, high strength.
|
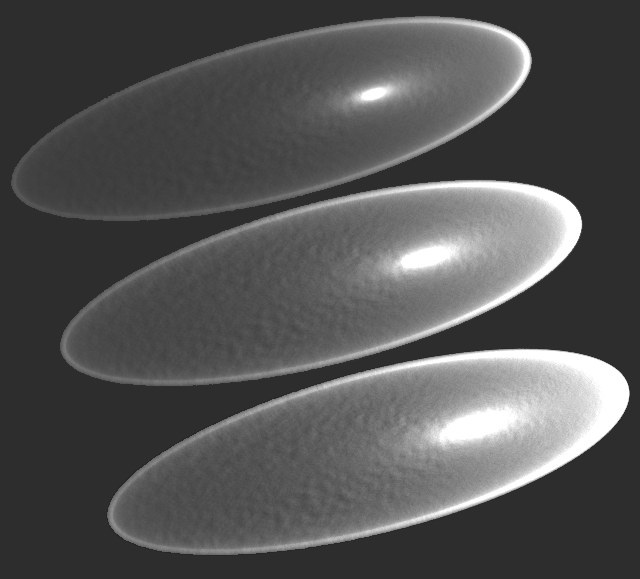 Surface caustics low strength, normal strength and high strength.
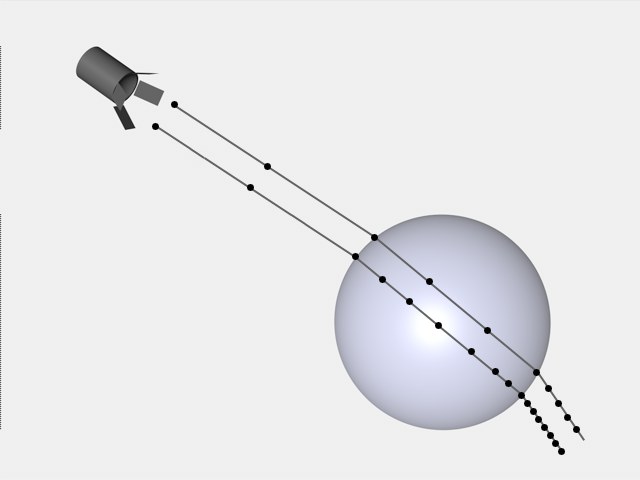 Big step size, small step size
With volume caustics, photons are saved in the photon tree at regular intervals as defined by this value. For example, if the volume caustic effect is 100m] long, you might set Step Size to [[5m so that 20 different values are saved for each photon.
This specifies how close photons must be to one another in order to be interpolated. Higher values tend to produce better results but take longer to render.
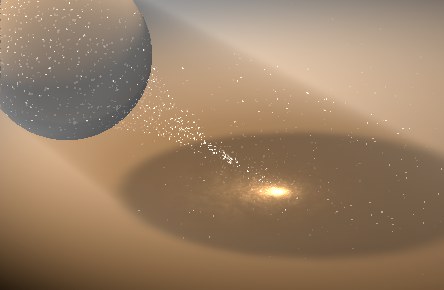
The Samples value represents the maximum number of photons within the sample distance that will be used to calculate the volume caustics.
As a general rule, higher values produce a more accurate effect but add to the render time. If Samples is set too low, individual photons can be seen as small dots.
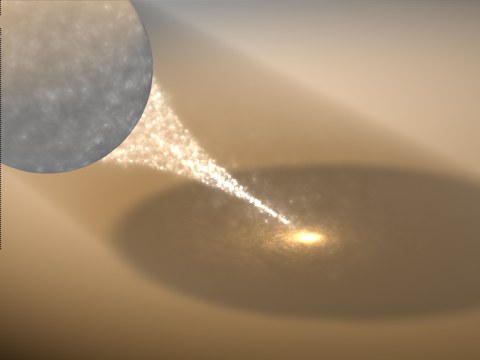 Samples set to 1 Samples set to 1
|
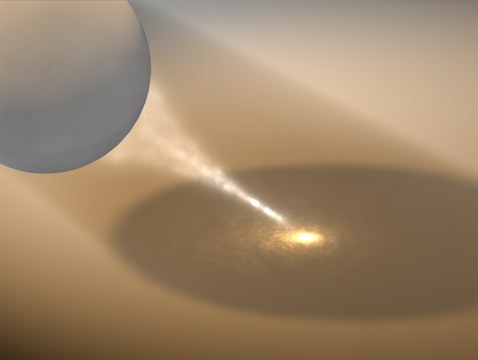 Samples set to 30. Samples set to 30.
|
With Recompute, the caustics data from a previous render can be reused to speed up rendering. This saves the time it takes to calculate the caustics effect, but keep in mind that a new calculation will be required if you make major changes to the scene such as if you move a caustics-generating light to a new position. See also Save Solution. Use the Recompute drop-down list to choose when caustics should be recalculated.
The scene’s caustics will be calculated for the first render only; future renders will reuse the data. Each time you render, Advanced Render checks if the scene has an Illum folder. If no such folder is found, the folder is created, caustics are calculated and the caustics data is saved in the folder.
Caustics data is always recalculated when you render. This is the default setting since it ensures a correct effect each time you render.
Caustics are not recalculated when you render. Instead Advanced Render speeds up rendering by reusing the data in the scene’s Illum folder. If this folder is not found, an alert appears. To remedy, set Recompute to First Time or Always.
If you enable this option, the caustics data is saved in the scene’s Illum folder when you render — the folder will be created if it does not exist yet. Depending on the Recompute setting, the saved data can be reused to speed up future renders.
For animations: Caustics information will be saved for each frame of animation individually. Hence, a greater amount of memory will be required for longer animations.
If the only object that moves in your animation is the camera, there is no need to recalculate caustics for each frame. Instead, enable this option to calculate caustics just once. The caustics data will be reused for all frames, giving you the same effect in a fraction of the usual render time. In addition to saving render time, this option helps you to create flicker-free caustics animation.
If the option is disabled, caustics will be recalculated for each frame.