Texture View
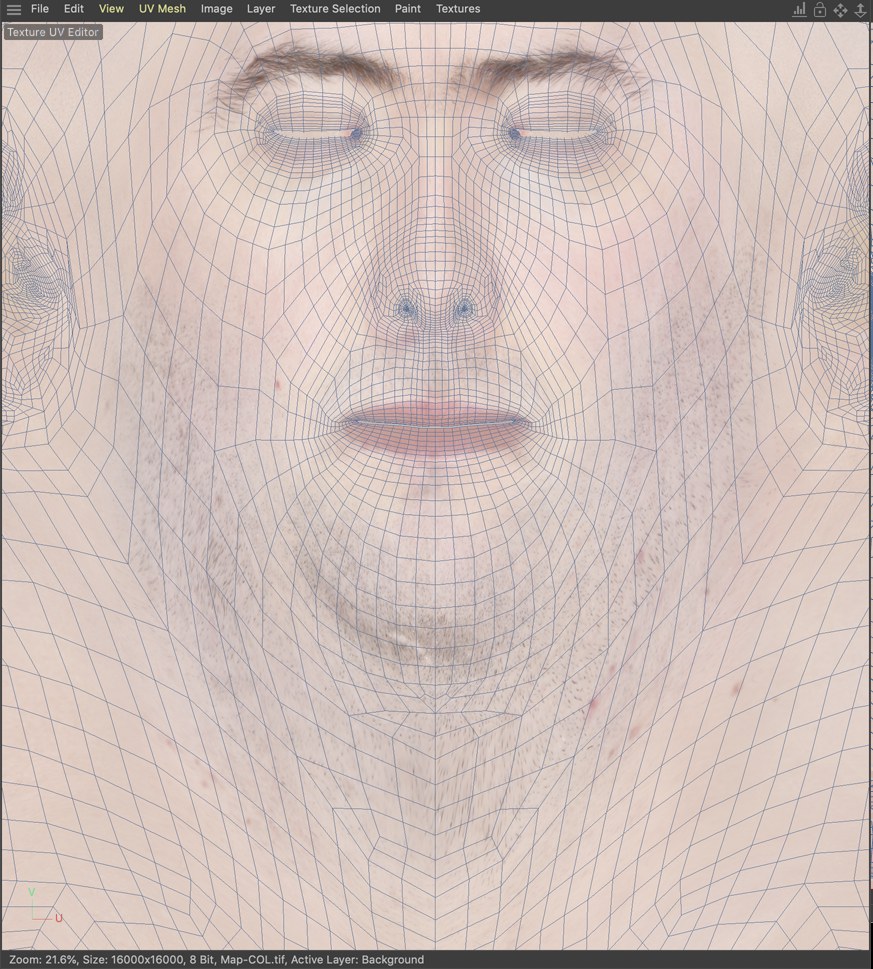
In contrast to the 3D view, the Texture view enables you to view and paint textures in two dimensions. Sometimes you will find it easier to paint an effect in the Texture view instead of in the 3D view. For example, suppose you want to paint a ring of flowers around the neck of a vase. In the 3D view, you would have to keep rotating around the vase as you paint. But in the 2D view, you could paint the entire band without having to stop to navigate to a new position.
To display a texture in the Texture view, do one of the following:
- Create a new texture or load an existing texture from the Texture view’s File menu.
- Click the desired objects, tags, materials, layers in the Object Manager or Material Manager.
You can paint on the texture as soon as it appears in the window. Note that you paint exclusively to the active layers of the active channels — each active layer is indicated by a red frame in the Material Manager; each active channel is indicated by a colored pencil icon. Only one channel can be displayed at a time in the Texture view. When using a multibrush, keep in mind that you are painting to channels that are not displayed as well as the channel that is displayed.
The Texture view also lets you edit UVs thanks to its powerful integrated UV editor. See UV Tools.
You can, by the way,
Navigating in the Texture View

At the top edge of your Viewport window you will find 4 icons. These are from left to right:
- See
 32-bit Preview Options...
 - Locks the Texture View, i.e., the view will not automatically change if another object or tag is selected.
- Moves the Texture View (alternatively, the
1 key can be used) - Scales the Texture View (alternatively, the
2 key can be used)
The following hotkeys can also be used:
-
Alt + RMB (or mouse wheel only) to scale the Texture View based on the cursor location -
Alt +Cmd/Ctrl + RMB (orCmd/Ctrl + mouse wheel) to scale the Texture View around the center of the Viewport.