Model
![]()
Select this mode when you want to move, scale or rotate an object during the modeling stage. To move, scale or rotate the selected object, select the Move, Scale or Rotate tool from the
The difference between the Use Object Tool and Use Model Tool modes
There are two very similar tools in Cinema 4D that can both be used to move, scale and rotate objects: the Model tool and the Object tool. Before you start animating it is important that you understand the difference between the two and when to use which.
The rule of thumb is this: The Model tool is for modeling, the Object tool is for animation.
When scaling an object with the Object tool, it is the object axes that are scaled, not the object surfaces themselves. And, especially when scaling an object’s axes non-uniformly (stretched more on one axis than another), the result is that child objects get squashed or stretched when you rotate them and you may begin to wonder what is happening to the objects.
If something strange happens to objects when you rotate them, scaled axes are probably involved. You can avoid the problem by always using the Model tool when modeling.
It is different for animation, however. If you want to animate the size of an object over time, you must use the Object tool. When animating, Cinema 4D looks only at the object axes, not the geometry. So here it is necessary to scale the axes. If you accidentally use the Model tool and try to record keyframes for an object’s size, nothing will happen, because the axes are not scaled.
So if you are animating the size of an object and you realize that nothing is actually recorded, you probably used the Model tool. For animation, use the Object tool.
Consider a scene with two objects, a (polygon) sphere and a cube (Figure 1). The cube is a child (Child object) of the sphere. The axial length of both objects is 1/1/1 (the default).
 Figure 1.
Now choose Tools / Object to select the Use Object Tool mode. Select the Sphere. In the Coordinate Manager’s Size column, set the drop-down list to Scale and set X (Scale) to 2. As we would expect, both the sphere and cube become distorted, as illustrated in Figure 2.
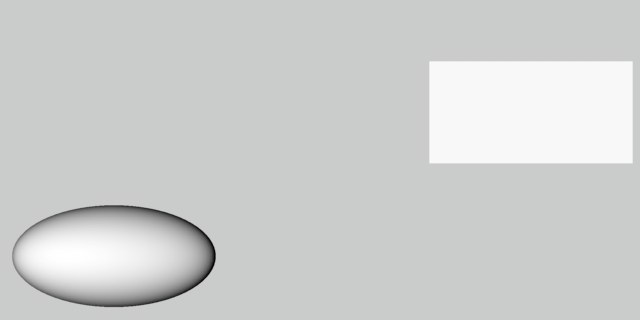 Figure 2.
Select the cube. Choose Tools / Rotate to select the Rotate tool (or click Rotate in the top toolbar). Disable the X and Y axes by clicking their icons in the top palette.
Now drag from an empty space within the viewport to rotate the cube about its Z axis. The cube distorts when rotated (Figure 3).
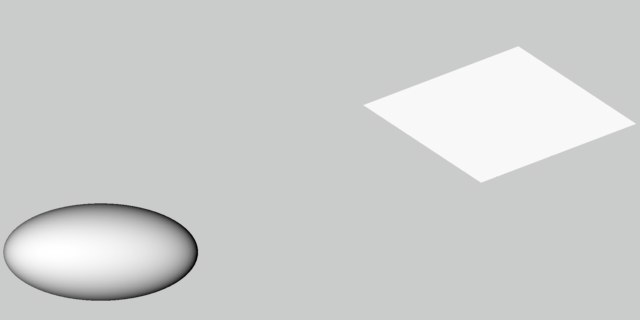 Figure 3.
The points of the cube no longer obey a circular trajectory while they are rotated in the XY plane. Instead, the distorted parent system causes this movement to be elliptical.
And here we have the classic distortion problem. It invariably occurs when objects exist in a distorted parent system.
Effects of this type are a fundamental problem in the world of 3D animation. Some users of other 3D software may not encounter this problem because their software uses separate editors for modeling and animating. However, these users lose the convenience of integrated modeling and must switch back to the modeler each time they want to edit the model.
To prevent this problem, simply use the Use Model Tool mode for scaling the sphere. If the damage is already done, choose Mesh / Axis / Reset Scale and select the two options, Normalize Axes and Offsets.
In either case, the cube will then rotate without distortion (Figure 4).
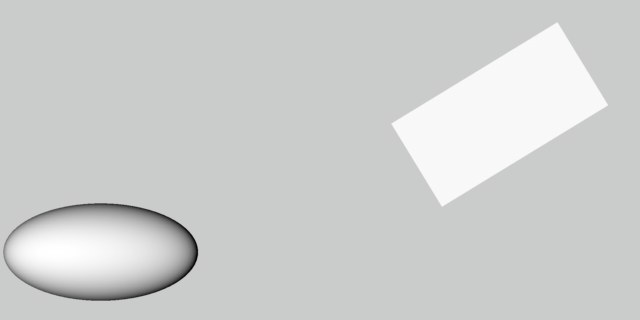 Figure 4.