Filter Menu
Filters enable you to apply effects to your textures such as Noise, Blur, Sharpen and Invert. These filters affect the active layer only.
If pixels are selected when you call the command, only the selected pixels will be affected, otherwise the effect will be applied to the entire layer.
To apply a filter to a layer, activate the layer and choose the filter from the Filter menu. A dialog will open — use the parameters in the dialog to control the filter’s effect and click OK or Cancel to apply or abort the effect.
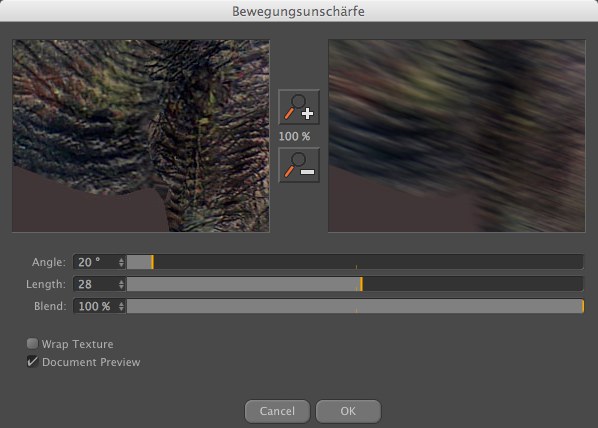
In the filter’s dialog you will see a preview for the filter’s effect applied to part of the texture. This interactive preview and it will update as you adjust the filter’s settings. To zoom the preview, click the magnify icons. To scroll the preview, click and hold down the mouse button on the preview and drag.
Below the preview you will see various settings which are specific to the filter you are using. Most filters have a Blend slider which controls the strength of the filter’s effect. You can choose values from 0% (no effect) to 100% (full effect).
Some of the filters have a Wrap Texture option; enable this if you want the texture to be tiled. Suppose you want to apply a blur filter to your texture with a blur radius of 20 pixels. What should the filter do at the edges of the texture? Usually, the edge pixel is repeated multiple times in the blur calculation to make up the numbers. This tends to create unwanted seams if the texture is tiled. However, when the Wrap Texture option is enabled, the filter borrows pixels from the other side of the texture to help avoid seams.
Some filters have a Document Preview option. Enable this if you want the preview for the effect to appear in the 3D view and Texture view as well as in the filter’s dialog.
To reapply the last filter used, choose Filter / Execute Last Filter.
Instead of explaining every filter, we have supplied example images which show the effect of each filter.
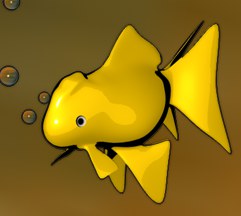
Above is the original image. On the following pages you can see the effect each filter has on this image.