Cloud
![]()
General
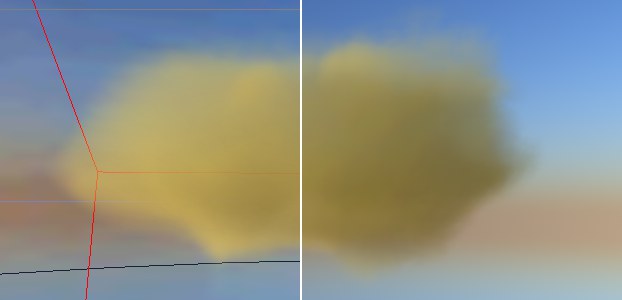
 Volumetric clouds: Left the viewport view set to maximum quality; right the rendered image.
Depending on whether or not Effects is enabled (View: menu), the clouds will be displayed as a good-quality preview or as points (as is shown in the image below).
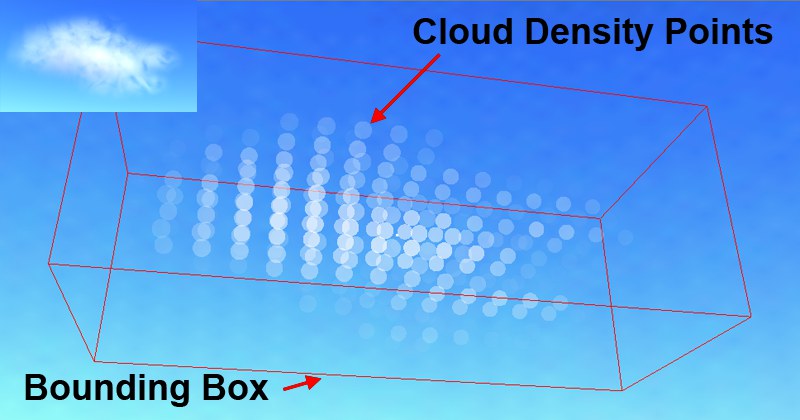
A volumetric cloud is depicted in the editor as an adjustable grouping of cloud density points. These points give a good impression of what the actual cloud looks like without having to render it.
 Top left, the rendered cloud; in the main image, its density-point alter ego.
The cloud’s density points will only be completely visible (Cloud Tool Display tab) if the Cloud object and Cloud Tool have been selected. When tools other than the Cloud Tool are selected, only a reduced number of points will be visible, which speeds up workflow.
Application
Basically, there are two ways to work with the Cloud Tool:
-
Paint new clouds. See General.
See Volumetric Clouds. - Edit existing clouds.

- Activate the cloud you want to edit.
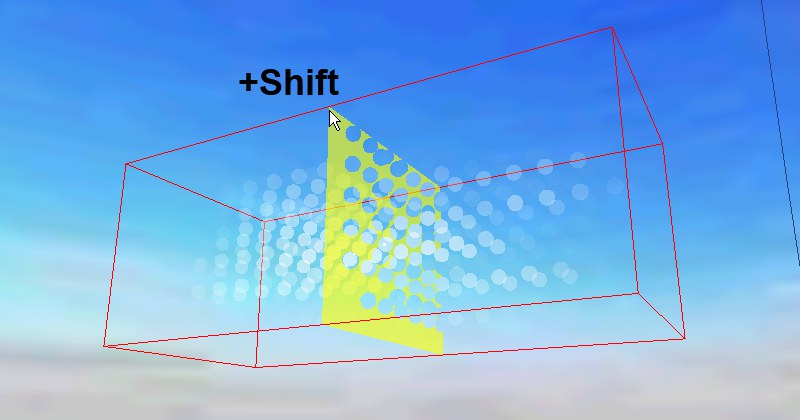
- Move the mouse over one of the bounding box’s corner points and press the Shift-key. A plane will appear and will follow your cursor along the X, Y or Z axis.
- Move the plane to the desired position, click, and release the Shift-key. The plane has been moved and will now appear in a transparent color.
- You can now paint additional points at this altitude using your left mouse button. Be careful not to paint too near to the bounding box’s outer edges since the clouds will then be cut off when rendered.
- In addition, you can also paint on a cloud’s surface in accordance with the Threshold value.
If you select Frame Geometry (viewport’s View menu) or the shortcut H after having painted several clouds, your camera will be placed very far from the sky. If you now paint a new cloud, this can cause SKY to exceed your computer’s available memory. Therefore, always make sure the clouds you paint are not too large.