Table Of Content
- Hair
- Basic Workflow
- Hair Object
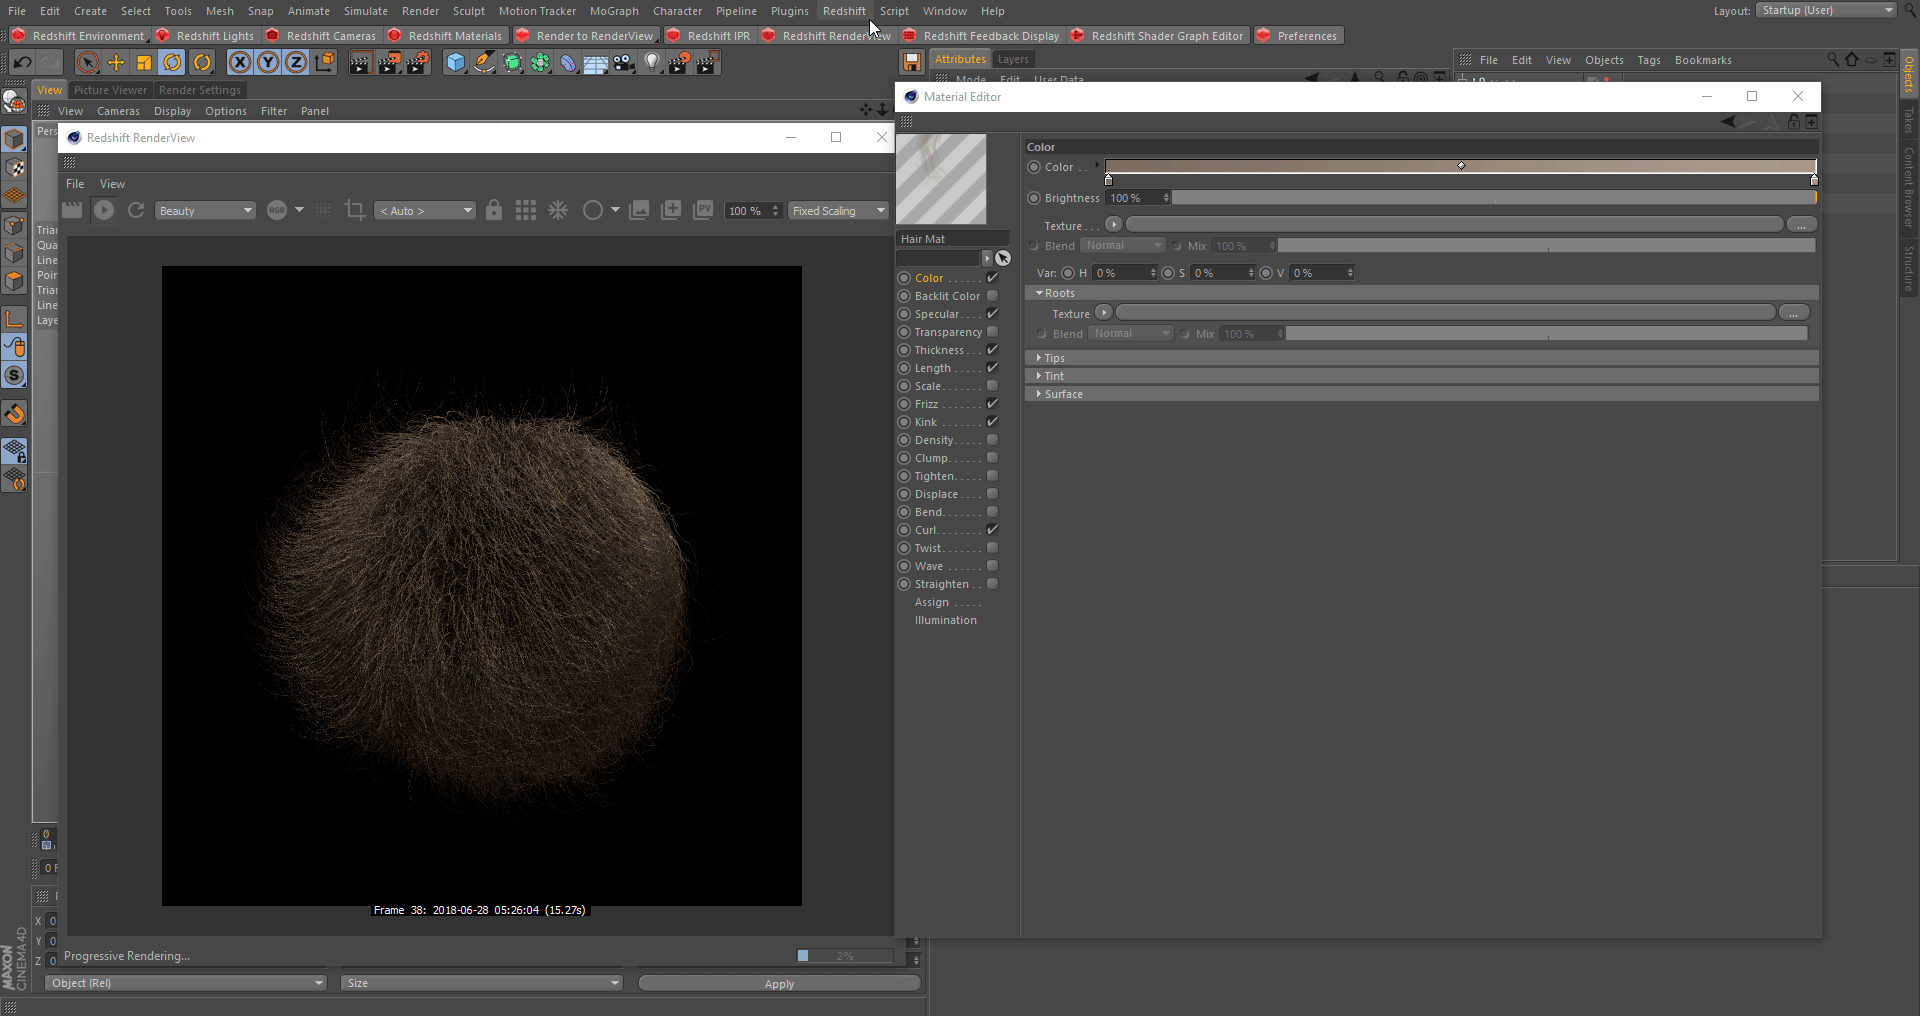
- The Cinema 4D Hair Material
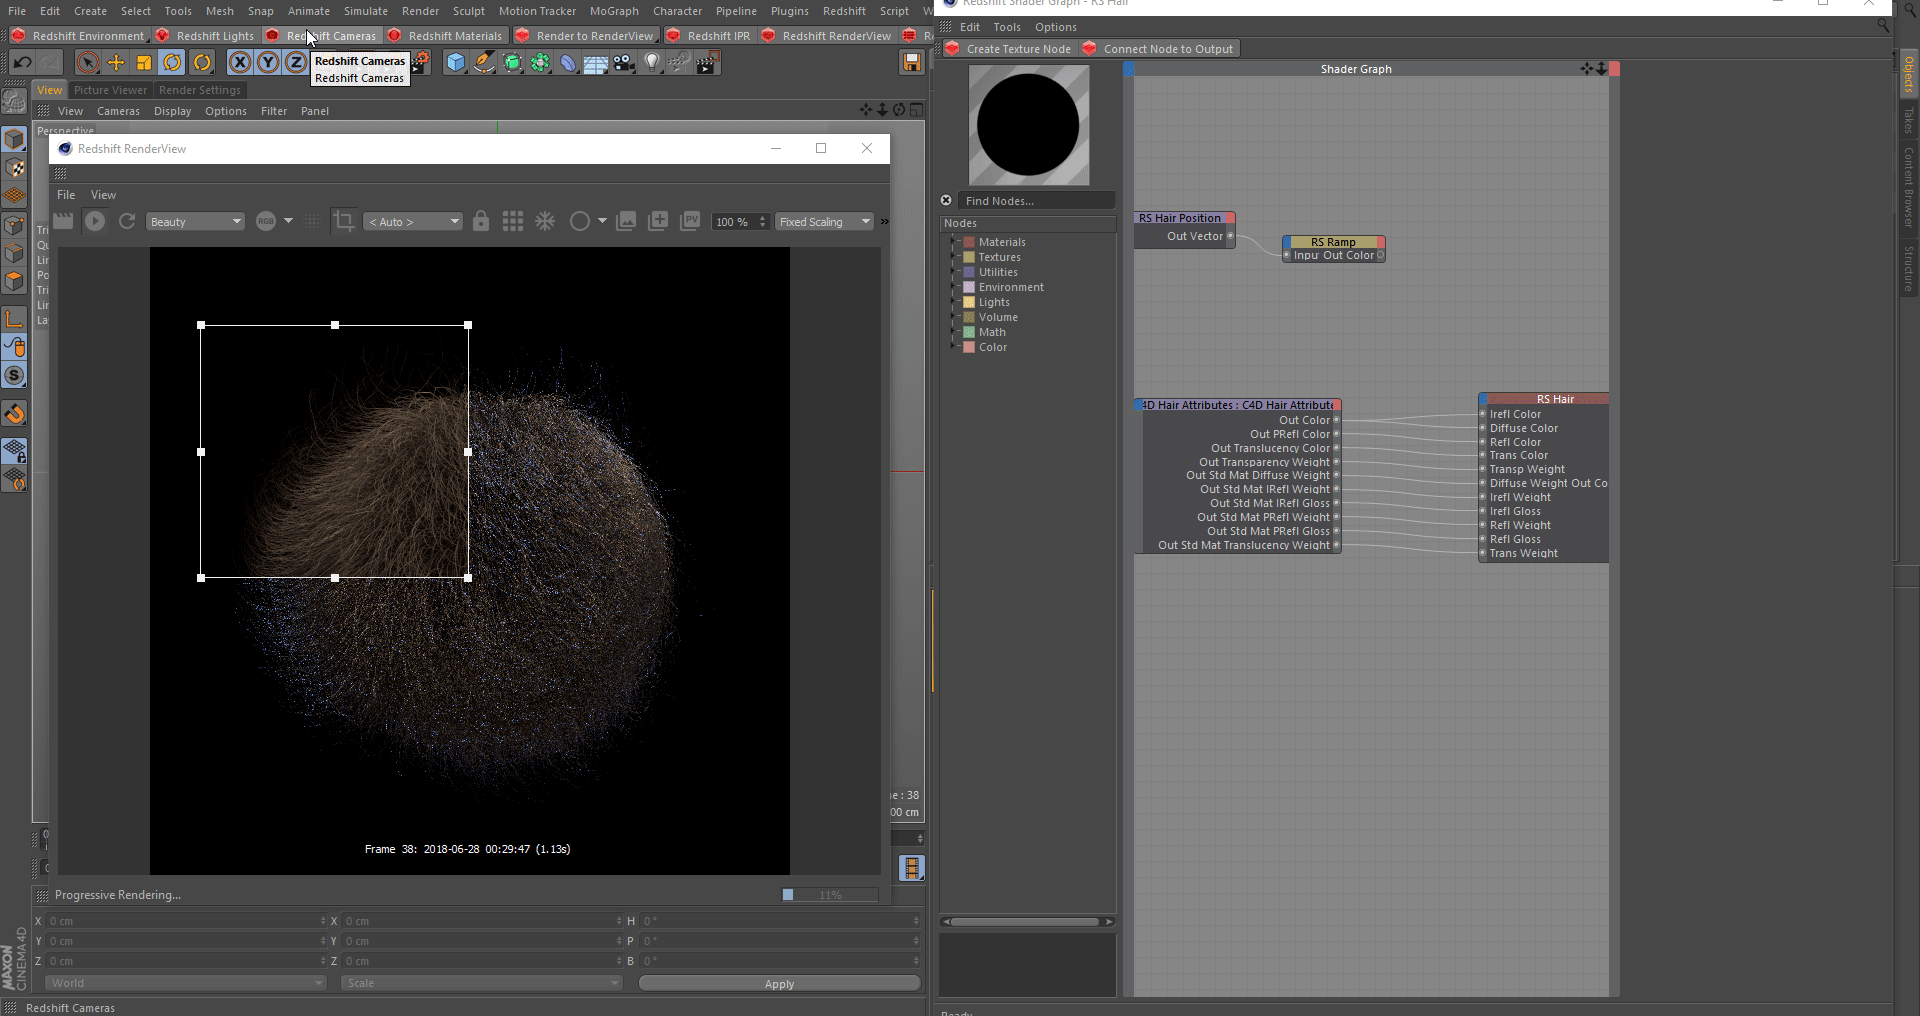
- Shading Hair in the Shader Graph
- Redshift Hair Material
- Example: Texture based shading
- Example: Female Long hair
Hair
Redshift supports the rendering of native Cinema 4D Hair and Feather objects. Redshift by default will translate the hair data based on Cinema 4D's built in Hair Material attached to the Hair object. Using the built-in Hair Material we can control the color as well as the geometric shape of our strands with parameters such as: Thickness, Length, Frizz, Kink, Curl, Twist etc. We can use Cinema 4D's built Hair Material for shading at the same time as Redshift's RS Hair material shader, that accesses Cinema 4D's material parameters through a C4D Hair Attributes node, allowing for further customized shading.
Basic Workflow
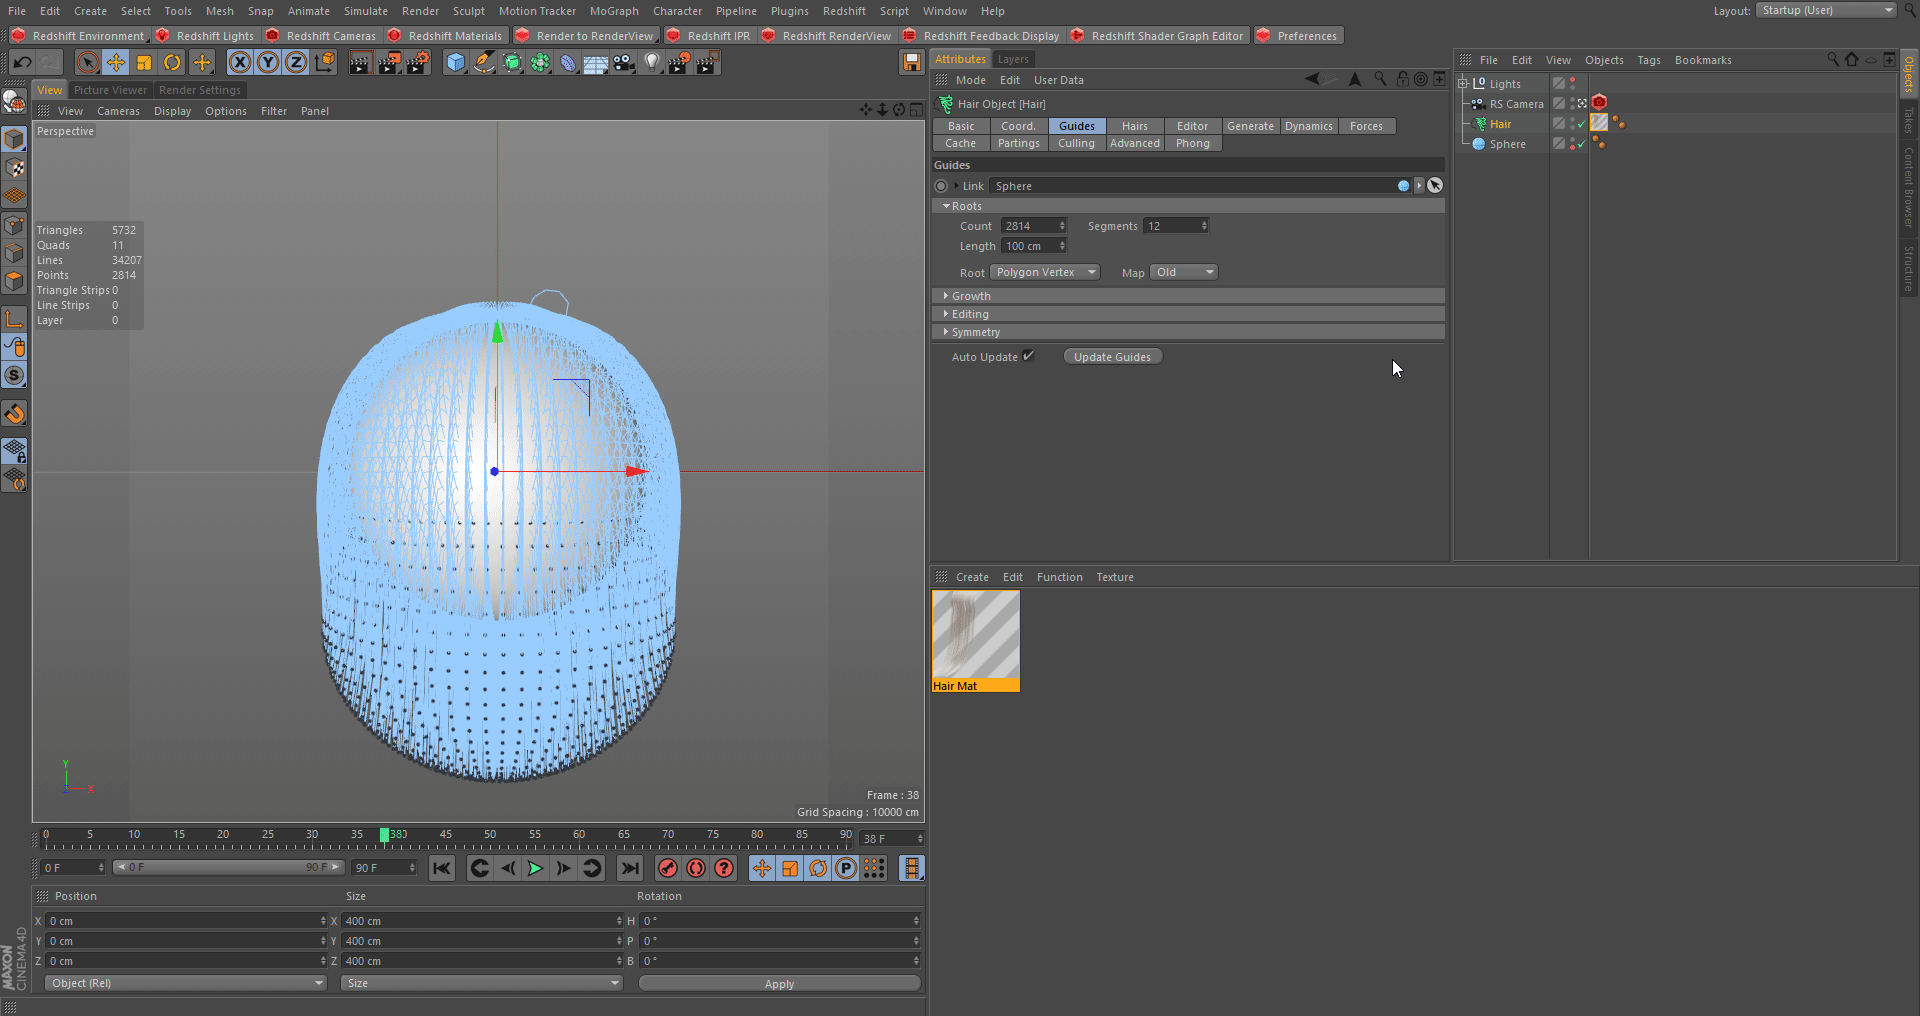
Let's see how we can render the Cinema 4D Hair Object inside of Redshift. Below we have set up a basic hair object on a sphere and adjusted some of the base settings to produce more hair. Our Hair object will render without the need for any tags.
Hair Object
Note
If the Hair object, is not visible make sure you have the Hair Render post effect added and checked, so Cinema 4D exports the hair for Redshift.
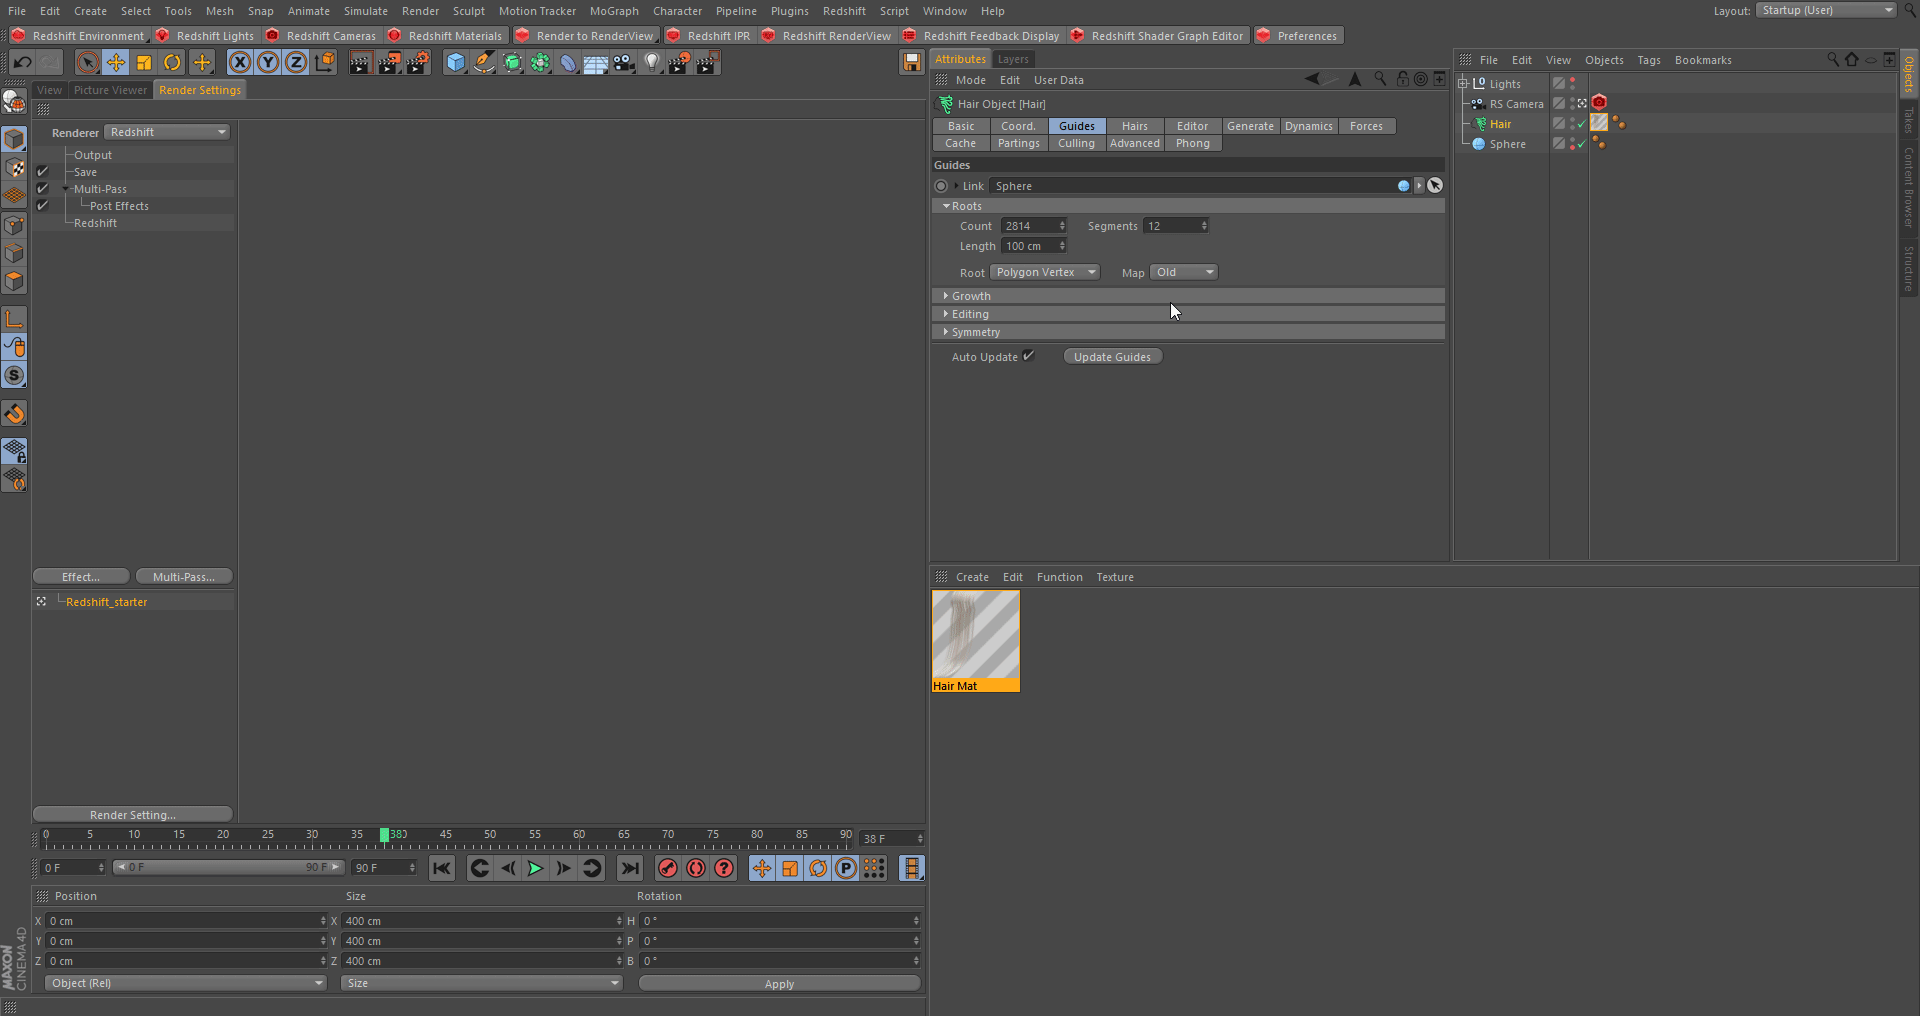
Hair Render
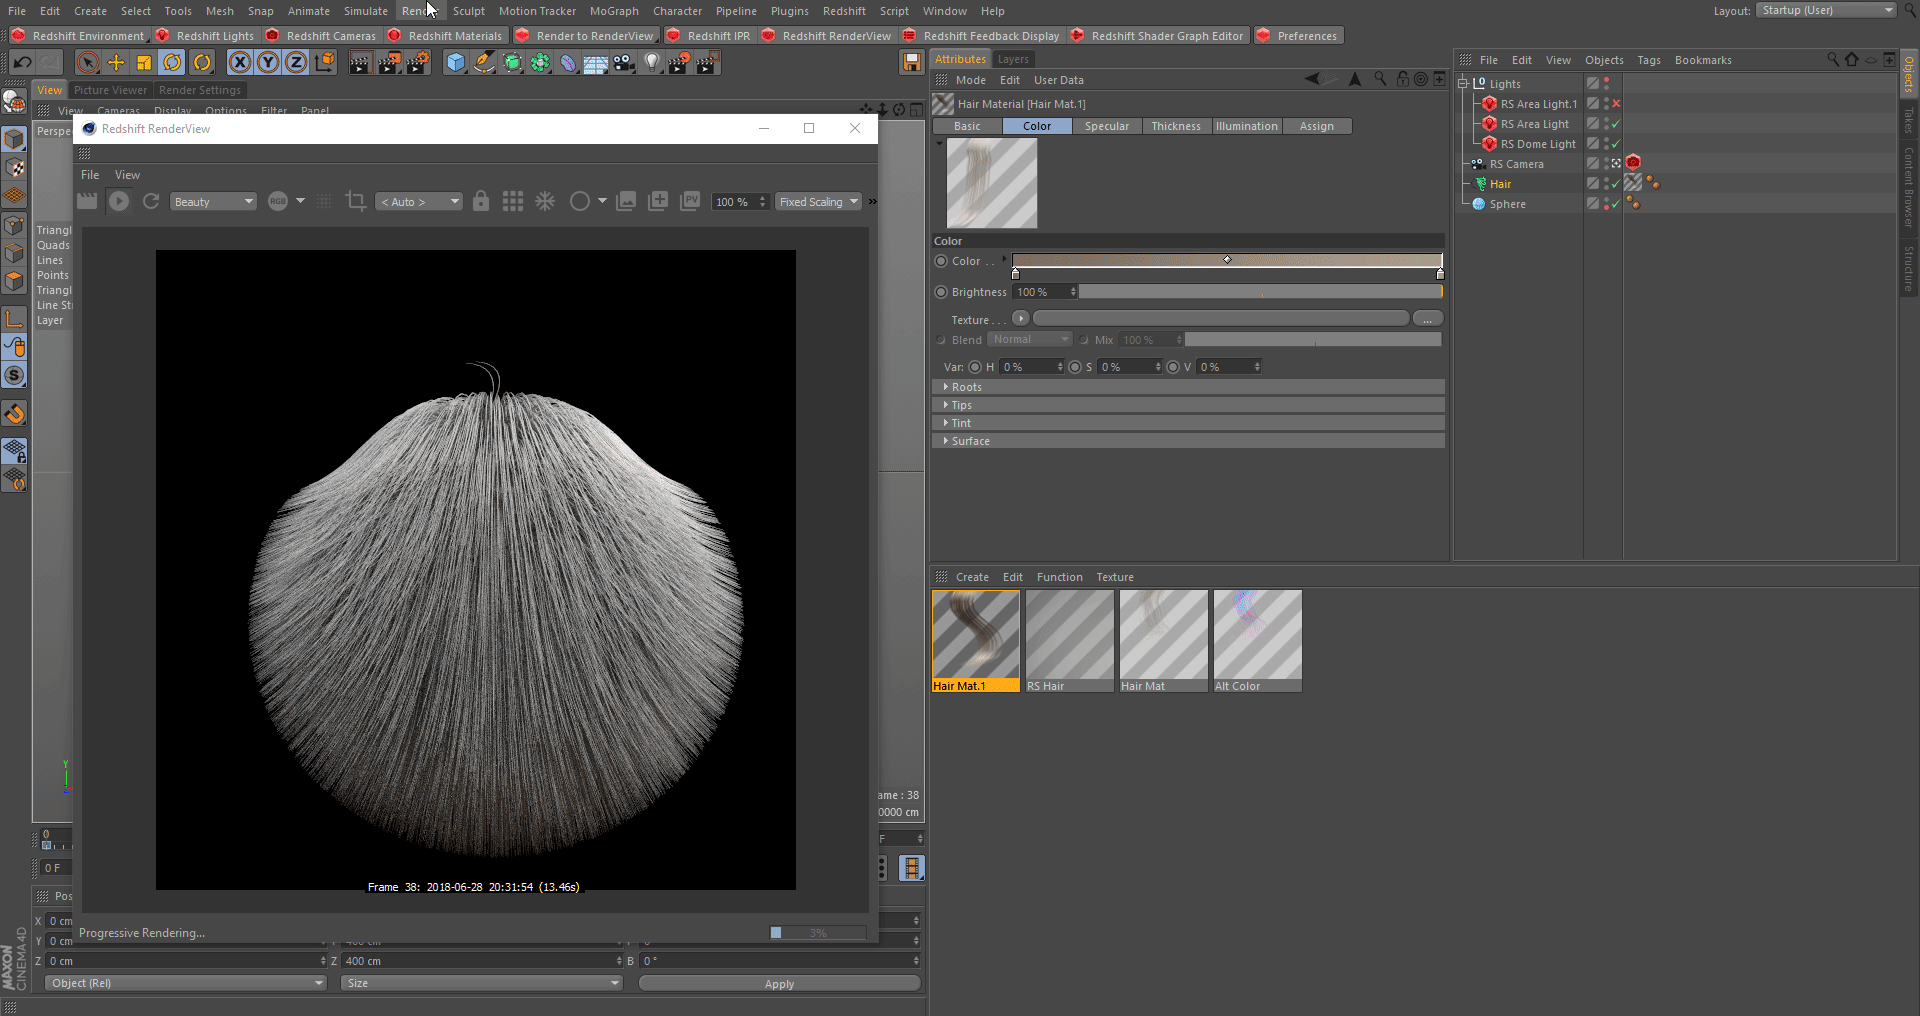
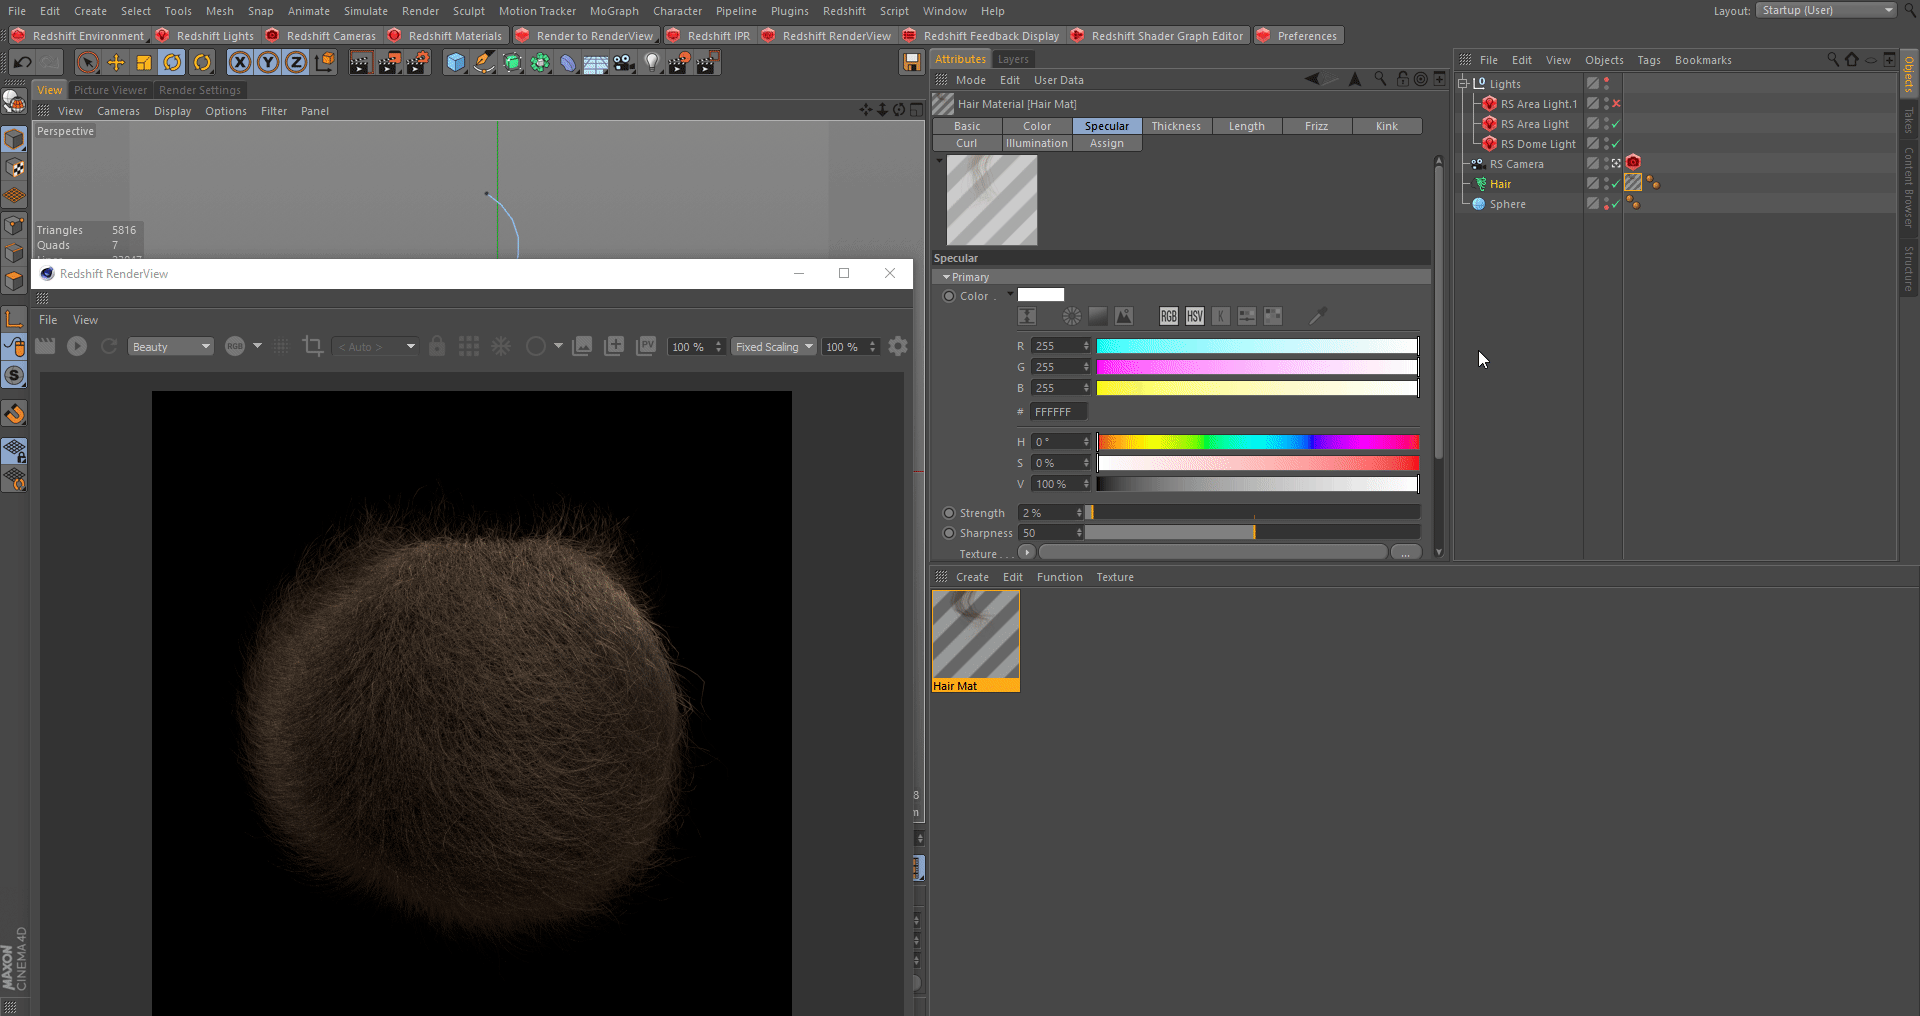
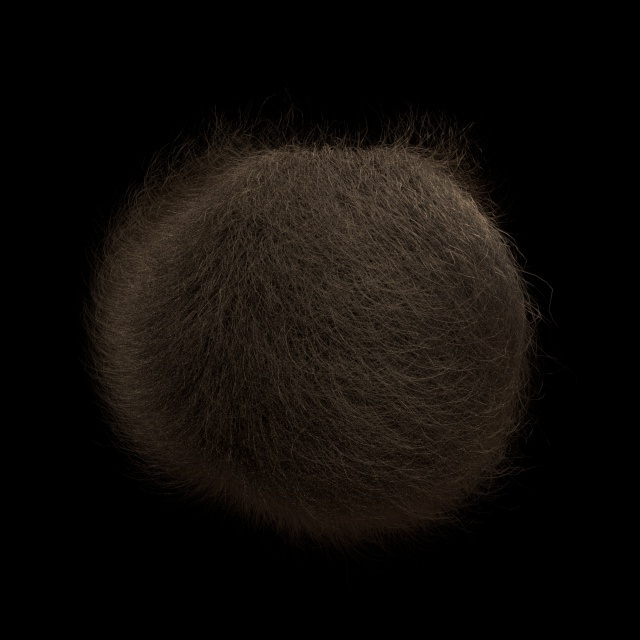
Now the reason our hair looks like it has no material applied or the color channel is not working, has to do with the specular channel. Due to the way Redshift's hair model is set up, the Cinema 4D Hair material's specular has an extremely strong effect in Redshift. So we are going to lower the strength down to 1-2%.
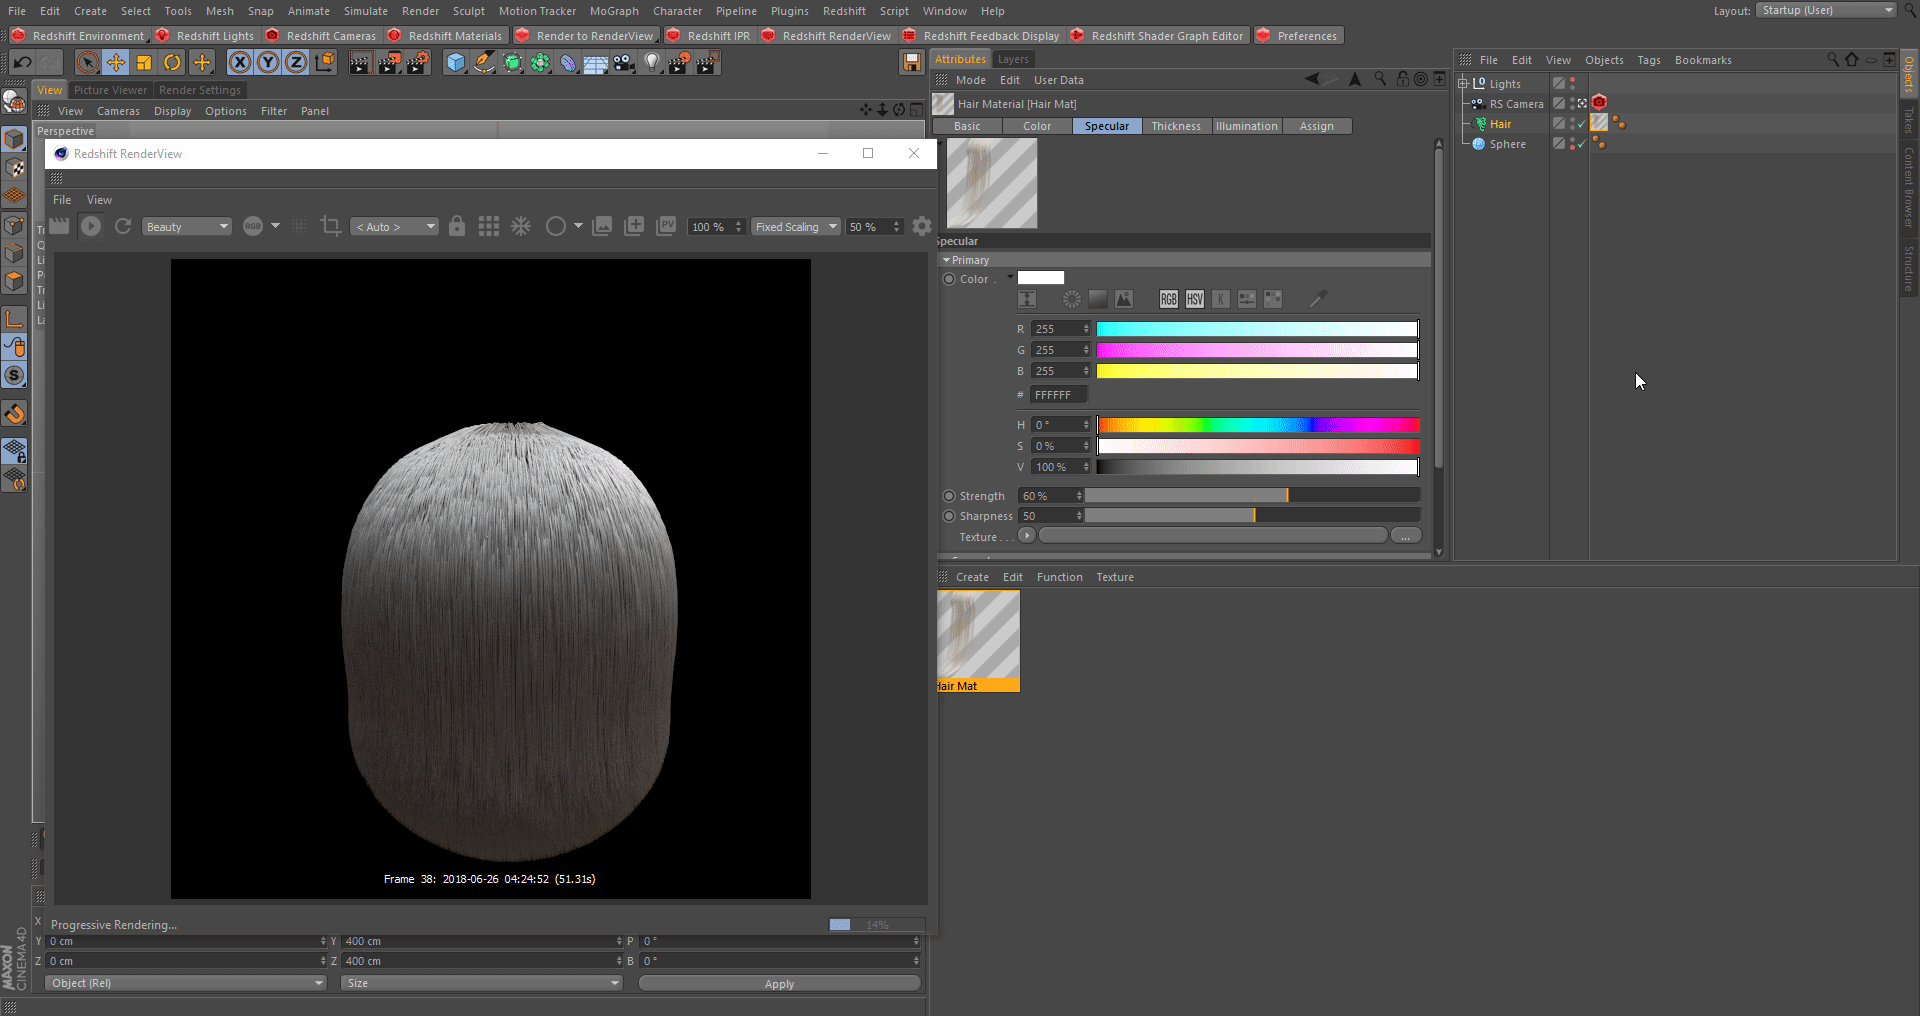
Specular Strength
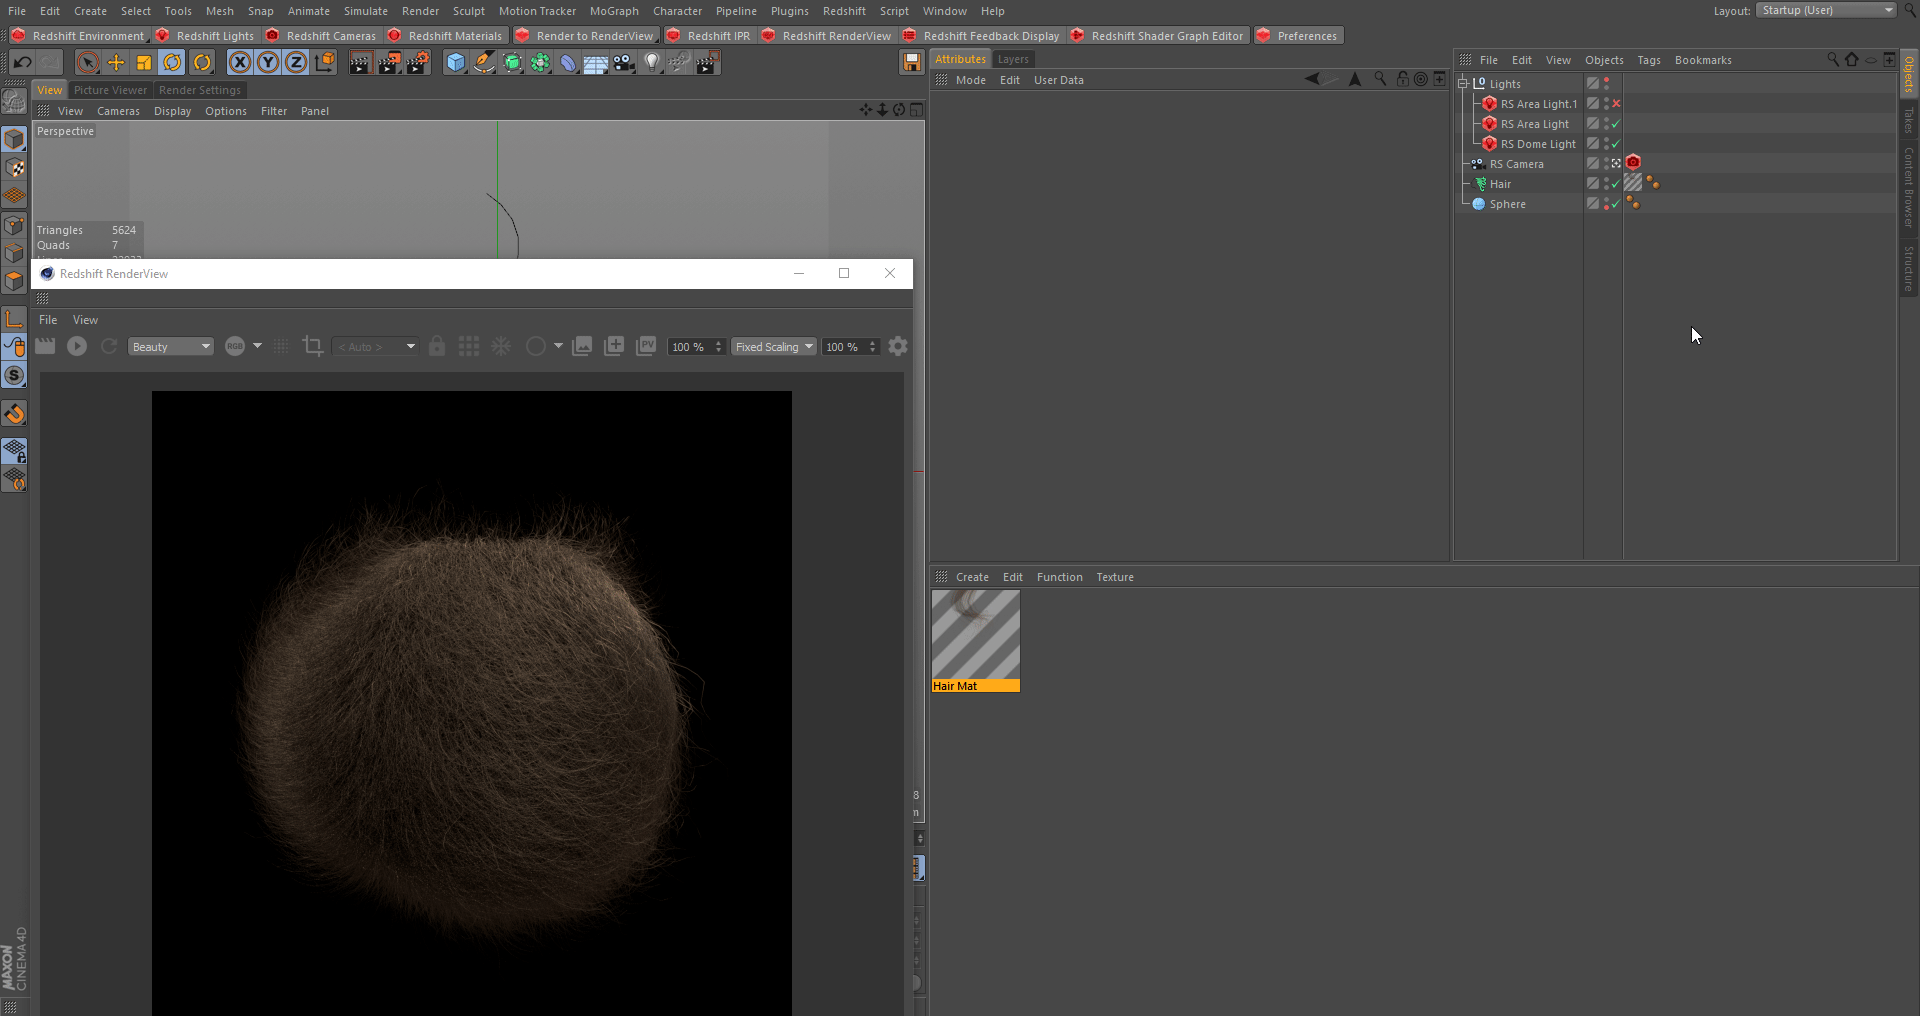
Now that we have adjusted the specular, let's take a look at some of the other parameters inside of the Hair Material. Let's adjust the Thickness, Length, Frizz, Kink and Curl to add some life and randomness to our hair. Redshift is taking all these attributes into account so we are getting a much more natural looking result compared to the flat boring hair shown above.
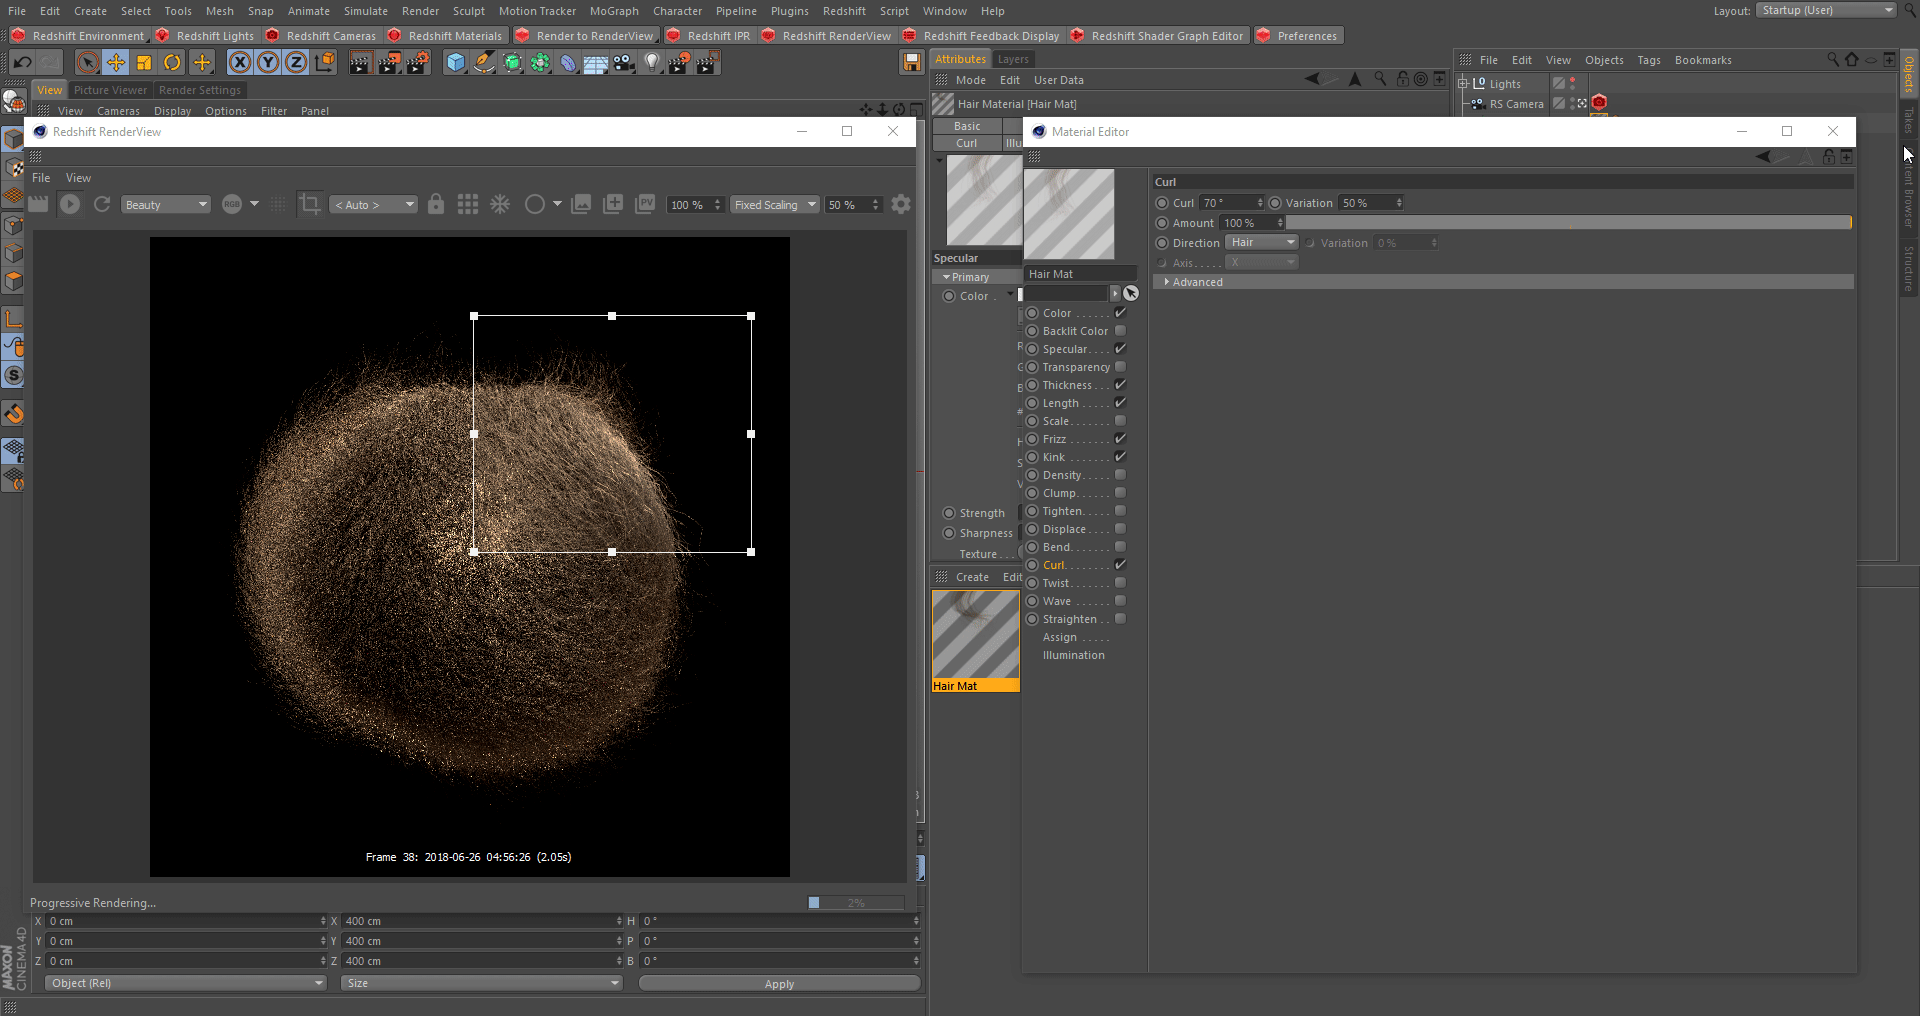
Hair Mat
Before we render let's take a look at at the Optimization tab in Redshift's Render Settings. We are going to enable Hair Min Pixel Width which will allow for cleaner results without having to crank up our unified sampling. More information on the Hair Min Pixel Width can be found here.

Hair Min Pixel Width
Hair Object
Generate
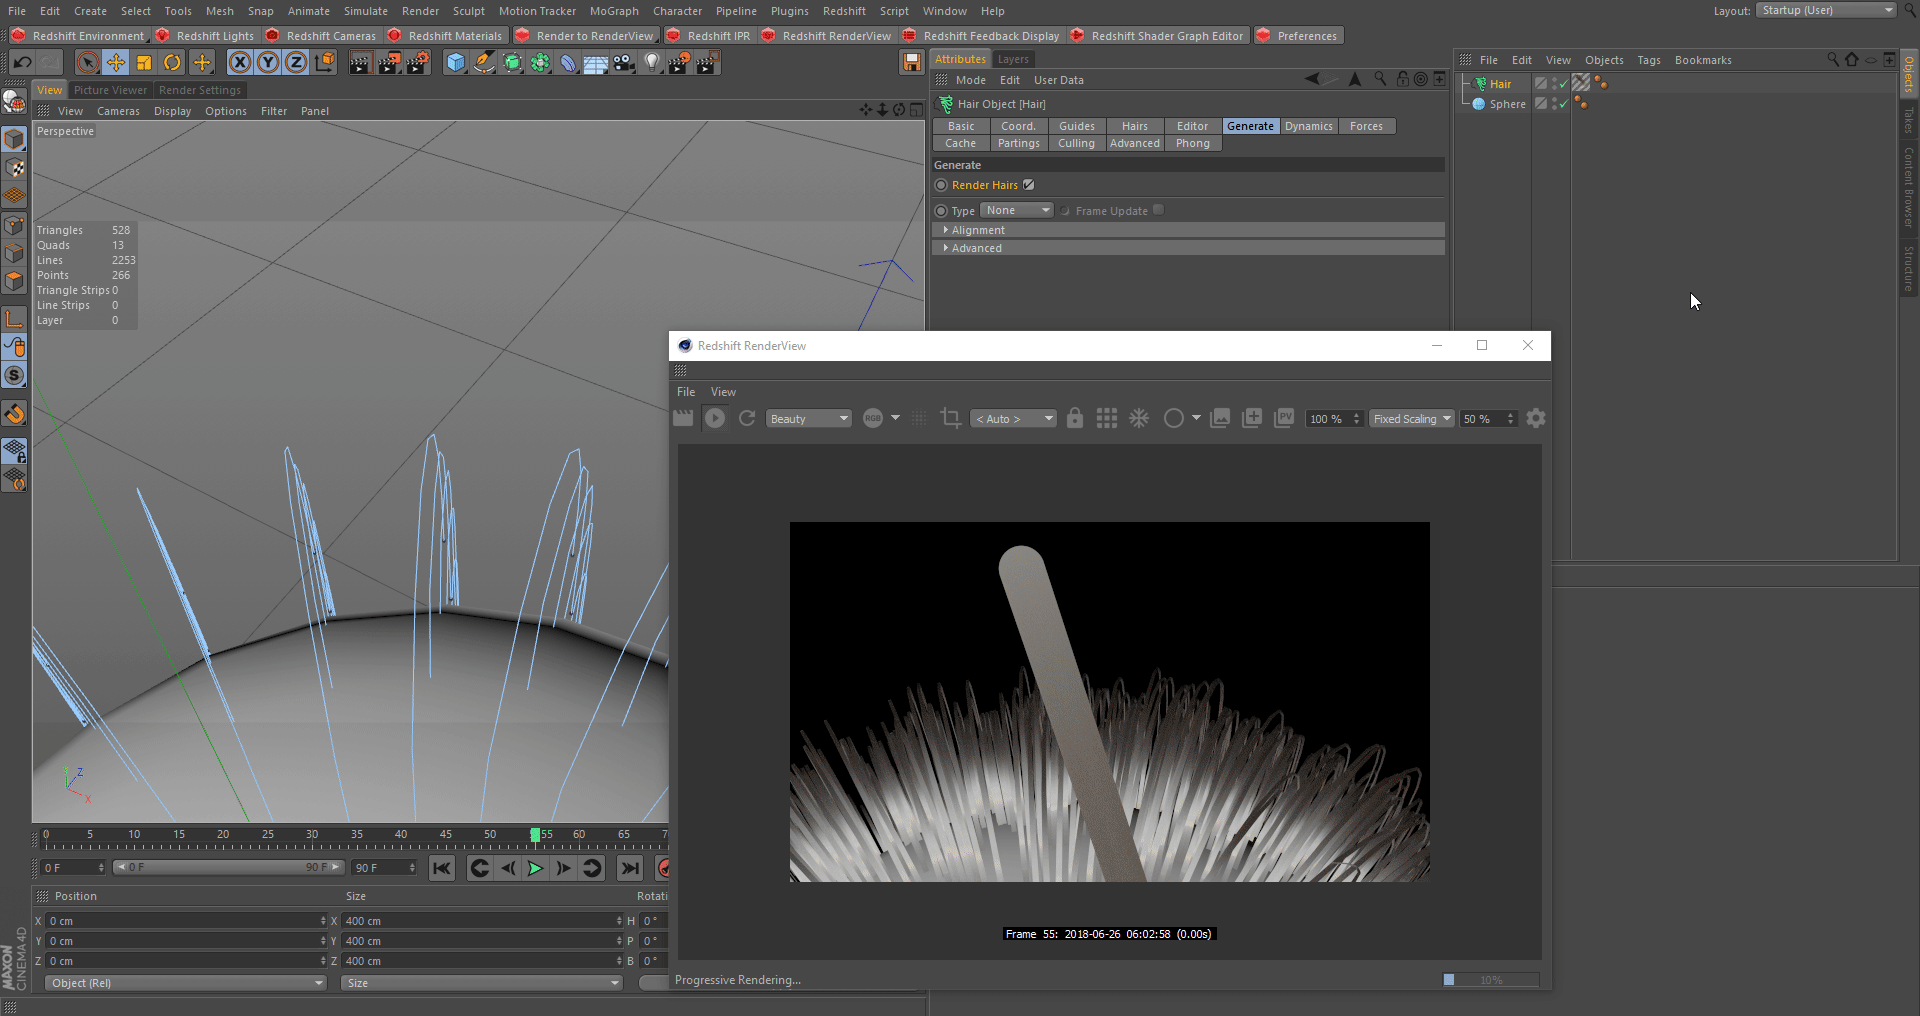
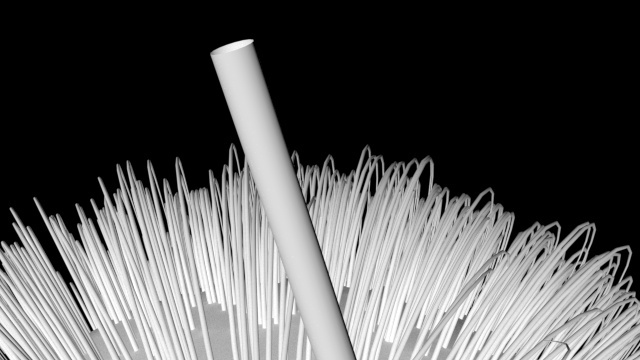
There are a few options in the Generate tab of the Hair Object, that will effect how our hair will render with Redshift. With the Render Hairs option checked on (enabled by default), our Hair Object will use Redshift's Hair-Strand primitive generated at scene conversion time. We can disable Render Hairs and use the different Polygon primitives by changing the Type parameter as shown below. Note that these however will generate an actual polygon mesh. The different primitives are compared below:
Generate Settings
Both Hair Strands Primitive and Polygon Primitives can be enabled and rendered at the same time if needed. If only one is required make sure you disable the other, otherwise overlapping geometry will be rendered
|
|
|
|
| Hair Strand Primitive (Render Hairs) | Triangle | Square |
|
|
|
|
| Flat | Circle |
|


Render Hairs vs Polygon primitive
The Render Hairs option, which is Redshift's Hair Strand primitive, is a flat ribbon-like object that is optimized for a high volume of thin strands. Polygon primitives, which are normal geometry created by Cinema 4D, give you the option to use deformers (Bend,Twist,Displacer,ect.) as well as sub-divide your geometry. Polygon primitives also contain UVs so they can be textured like normal objects, ajd support the different projection modes of the texture tag. In situations with high counts of hair the Render Hairs option will give the best render performance.
Caching
In order to have consistent results while using motion blur, especially deformation blur, we will need to cache our Hair Object. Let's go to the Cache tab located in our Hair Object and Catculate.

Caching Hair Object
Hair Min Pixel Width
The Hair Min Pixel Width setting is an optimization setting to help Redshift clean up noise by making the hair strands thicker so the camera rays have a better chance to hit the strands, but will also make them partially transparent to compensate for increased thickeness. Making the strands transparent will increase render times in that aspect, but allows you to keep lower unified samples, in the end you will end up with reduced render times. It is recommended to keep Automatic Threshold enabled. For more information about Hair Min Pixel Width visit here.
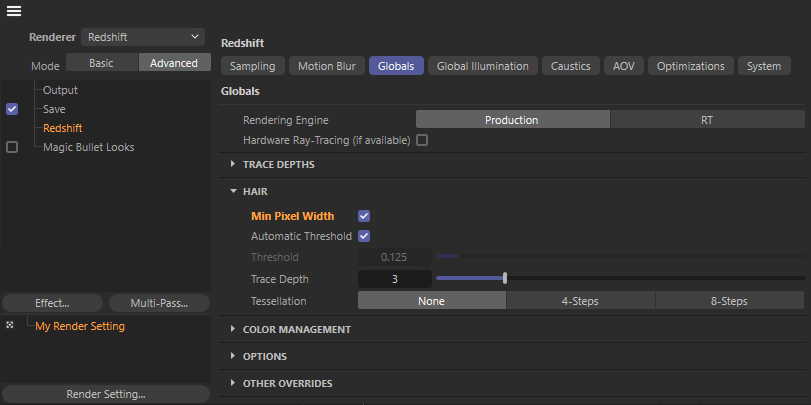
Hair Min Pixel Width
The Cinema 4D Hair Material
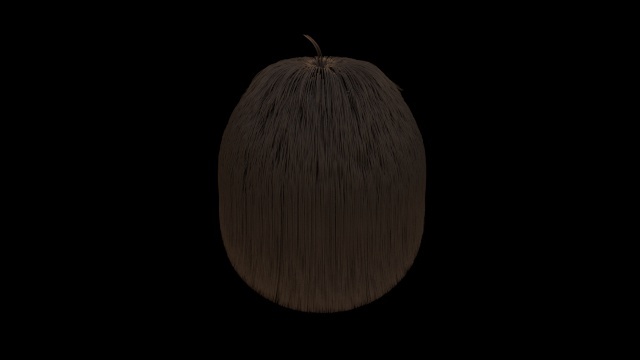
The Cinema 4D Hair Material not only affects the shading of strands but also the shape and size. Redshift translates all this information for us to render, but because of the different shading models between Redshift and the native Cinema 4D materials, the specualr channel will be too strong changing the appearance of the material. It is suggested to tone it down to a low value, shown in the example below.
Adjusted Specular Channel
|
|
|
| Default Specular Strength (60%) | Adjusted Specular Strength (2%) |
Blending Materials
You can blend multiple Hair materials on top of one another to get a varied result. You simply drag another hair material on to your hair object and adjust the blend settings, down below is an example on how this can be achieved.
Let's take a look at a Hair object with a single material applied. When we click on the Hair Material Tag we can see all of our options to blend our hair materials.
Hair Mat
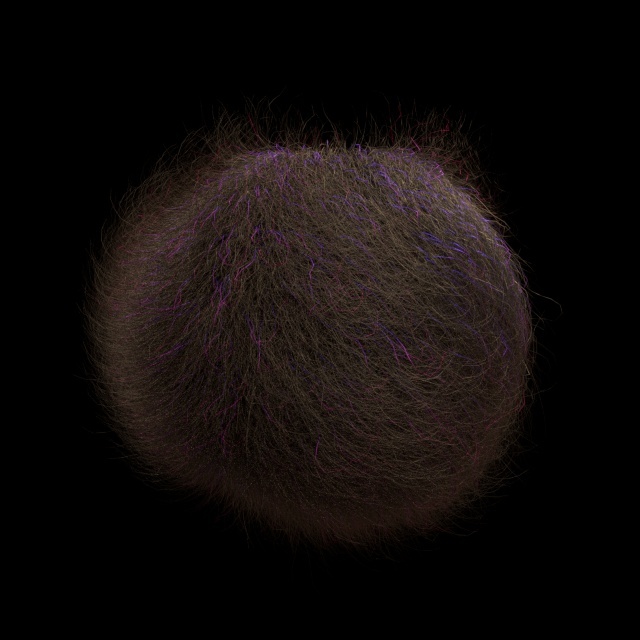
Now let's copy the original hair material and change the color and a couple of the settings to keep a similar geometric look but with a completely different color.
2nd Hair Mat
Cinema 4D will automatically give Redshift our blended result to be rendered. So let's drag our new Hair material on the Hair Object, the materials will be used from left to right. Because we only want a bit of this new material coming through, we will set it to Percent mode and set the amount to 5%, which means only 5% of this material will come through,meaning the other 95% will be our original material we had applied.
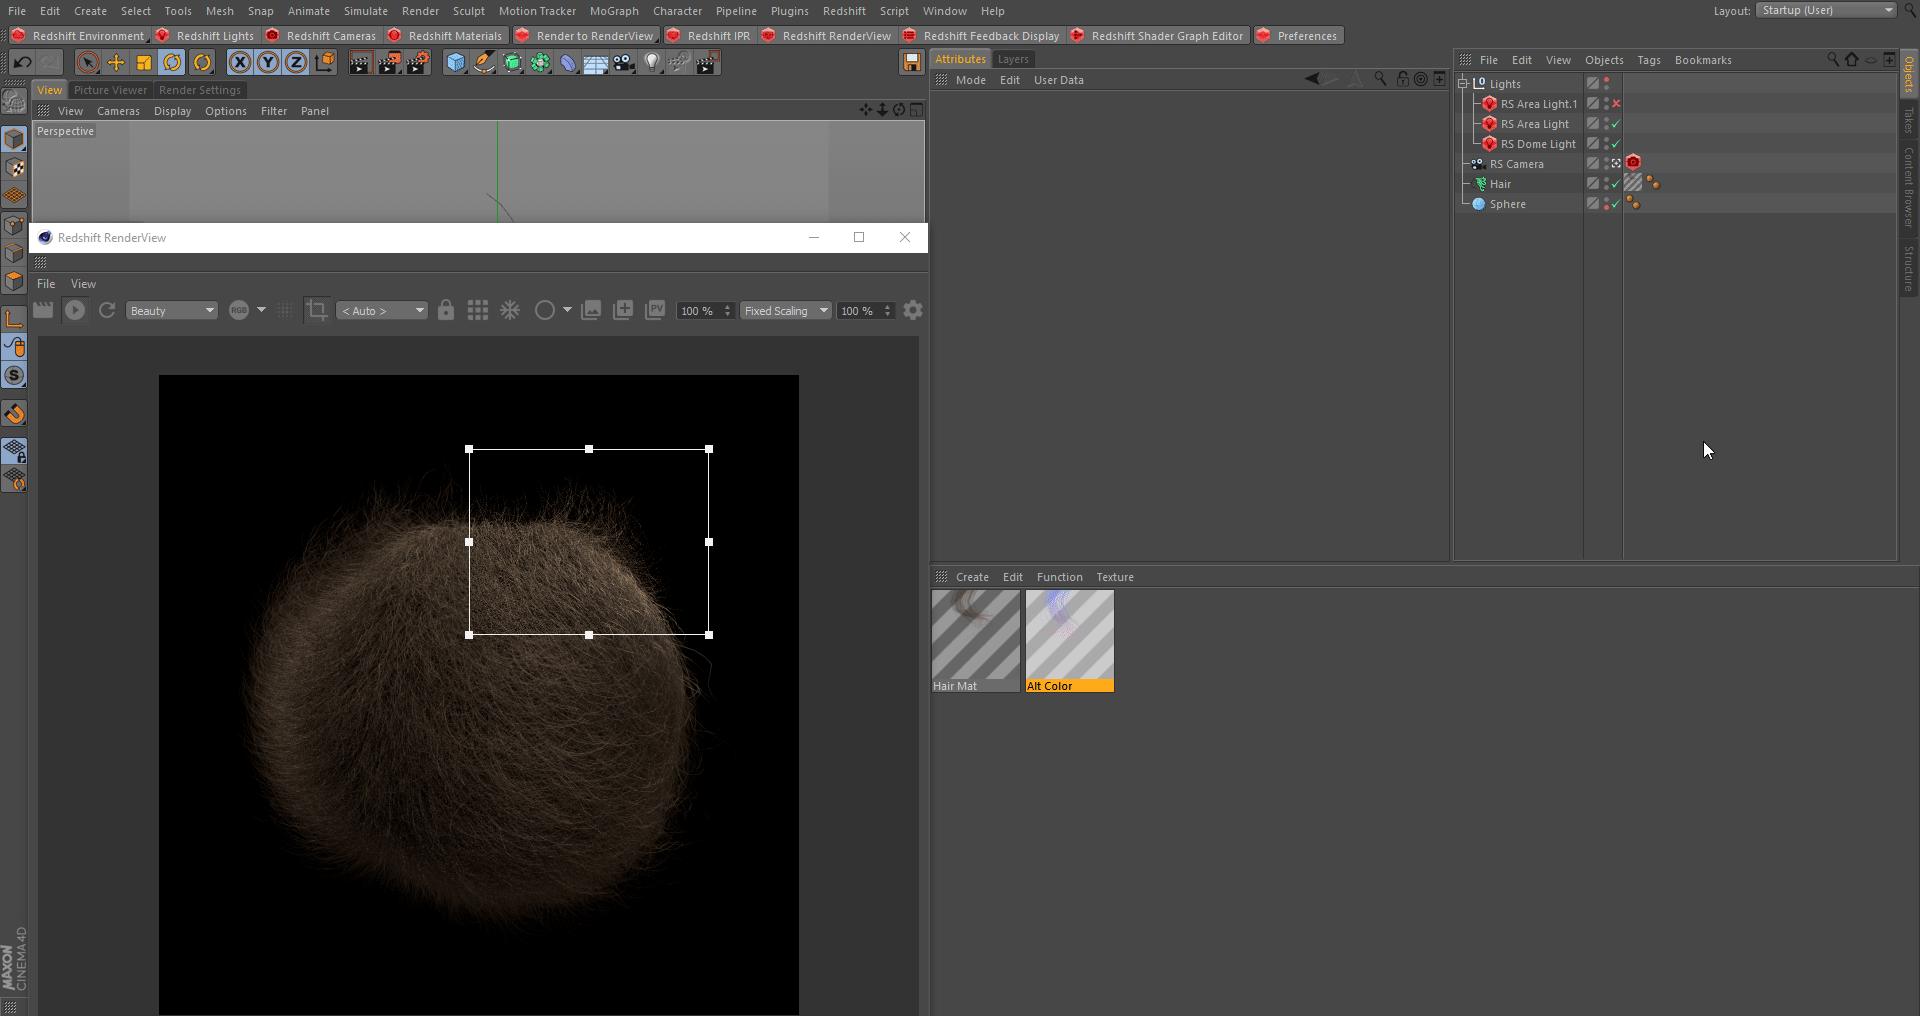
Blended Hair Mat
|
|
|
| Single Material | Blended Material Result |
You can use as many Hair Materials as necessary on your Hair Object.
Shading Hair in the Shader Graph
While the default Cinema 4D material has a lot of flexibility and can give very good results we can also use the Redshift Hair Material and have the ability for custom shading inside our graph. The default RS Hair material will use the C4D Hair Attributes node, which will access the blended result of all Cinema 4D Hair materials attached to the hair object. The RS Hair material will then take over allowing the use of redshift nodes for custom shading.
Redshift Hair Material
The Redshift Hair material is inspired by the paper 'An Artist Friendly Hair Shading System' by Sadeghi et al. which is a simplified version of the Marschner Shading Model and introduces controls that are more user friendly, while still simulating the anisotropic reflections and complexity of real hair and fur ;to get realistic results. Redshift simplifies the Sadeghi shading model into three reflections:
- Internal Reflection, which is light that has entered the hair and reflected back out. (This reflection is responsible for the overall color of the hair)
- Transmission, which is light that has entered the hair and reflected through the back-side. (This reflection is responsible for the back-lit translucency effect)
- Primary reflection, which is light that is reflected off the surface of the hair. (This reflection is responsible for the shininess)
The Redshift Hair Material parameters are desribed in detail here.
|
|
|


RS Hair Material
The C4D Hair Attributes will only work with the Cinema 4D Hair Object in Render Hairs mode.
Custom Shading Example
Let's take a look at how we can customize our hair material through the Redshift Shader Graph. First we add a Color Layer and connect it between the our C4D Hair Attributes and our RS Hair node. Then we add a texture and a triplanar and set the mode to average. As you can see our Redshift logo is now populating our hair color.

Custom Hair Shading
HairPosition
The Hair Positionnode will create a 0 to 1 value for each point on along our strand. This can be connected to a Ramp node set to Alt Source mode to remap the colors.
Let's take a look at how we can use the HairPosition node as a mask to color the tips of our hairs with more control. First let's create a HairPosition node and remap this with a Ramp set to Alt Source mode, to push the white towards the end of our hairs. This will be used as a mask for our color layer.

Hair Position Node
Now let's add a Color layer node in-between our C4D Hair Attribute node & our RS Hair node. We will plug our Ramp into the Mask for Layer 1 and choose a bright blue as our color. As you can see we are now getting a blue color on the tips of our strands.
Hair Position Node
HairRandomColor
The Hair Random Color node is used for randomization per strand. Its parameters are described down below.
Color
The Color parameter will be the overall shade of your strands.
Hue Amount
The Hue Amount will determine how strong each strand's Hue color will change with a value from 0-1. A value of 1 will effectively change every strand to a completely different color.
Saturation Amount
The Saturation Amount will determine the saturation value for each strand with a value from 0-1. A value of 1 will effectively desaturate some of your strands to the point they have no color and are white.
Value Amount
The Value Amount will determine the brightness & darkness value for each strand with a value from 0-1.
So let's take a look at how to use the Hair Random Color node. We are going to connect our Out Color from our C4D Hair Attributes node and connect it to our Color parameter in the Hair Random Color node and change some of the parameters to randomize our strands.

HairRandomColor
Below you can see a close up of our strands and how this node is affecting them.
|
|
|
| Default Hair Material | HairRandomColor Applied |

The difference is subtle but like in actual hair not every piece will be the exact same color.
The Redshift HairPos and HairRandomColor nodes will only work when a Strand pimitives is rendered for hair or curves,
Example: Texture based shading
Let's take a look at using a texture to control the color of our strands. This texture will define the colors that will be distributed on our strands.
First we have a material with a couple different parameters adjusted to get a more randomized look. Remember to adjust the specular to lower value, more information on why, here.

C4D Hair Material
Next we want to load our texture that will be determining the color of our hairs, into the Roots channel as shown below.
Roots Channel
As you can see we are now getting colors based off the texture we loaded.

Texture based shading for strands
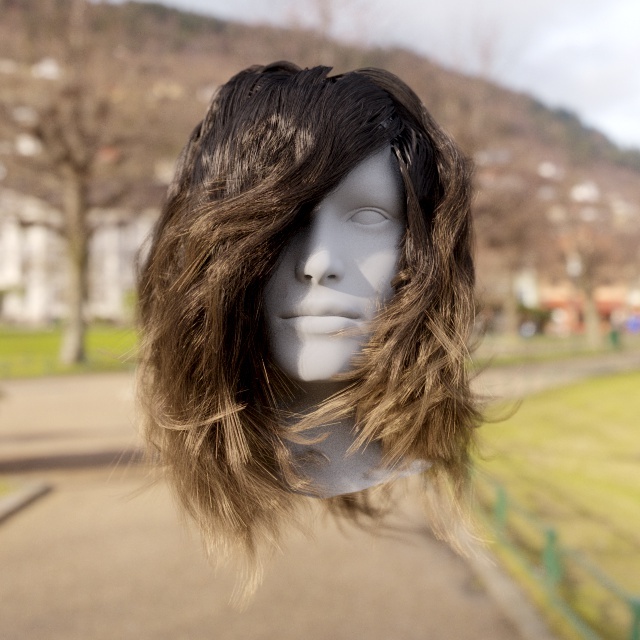
Example: Female Long hair
Let's take a look at how we can render & shade long hair inside of Redshift using the native hair shader inside of Cinema 4D.
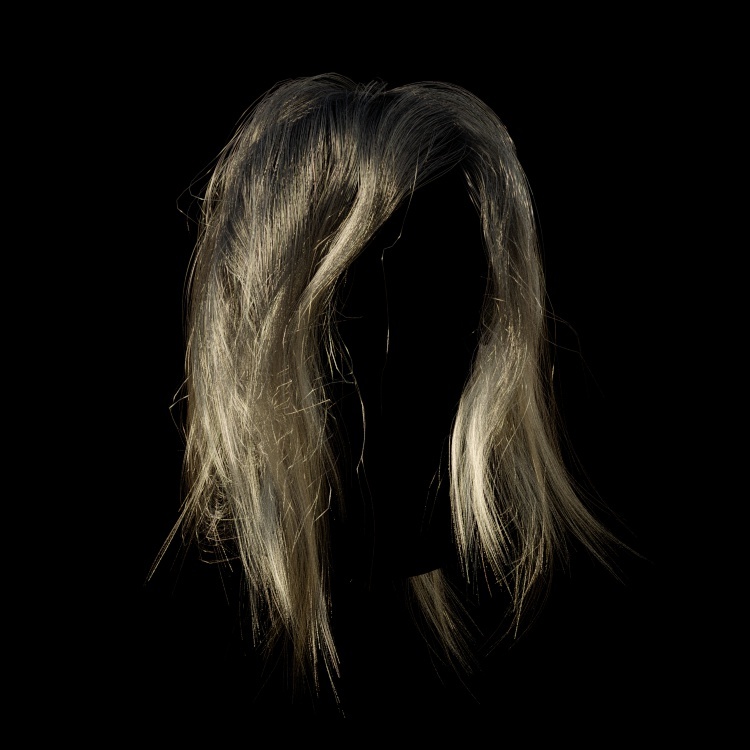
In this hair setup we have the default C4D Hair Material applied, as well as Dome Light in the scene with an HDRI image. First we want to adjust the specular Strength to a low value. Due to the differences in the hair shading model between C4D and RS, the C4D specular channel has a very strong effect.
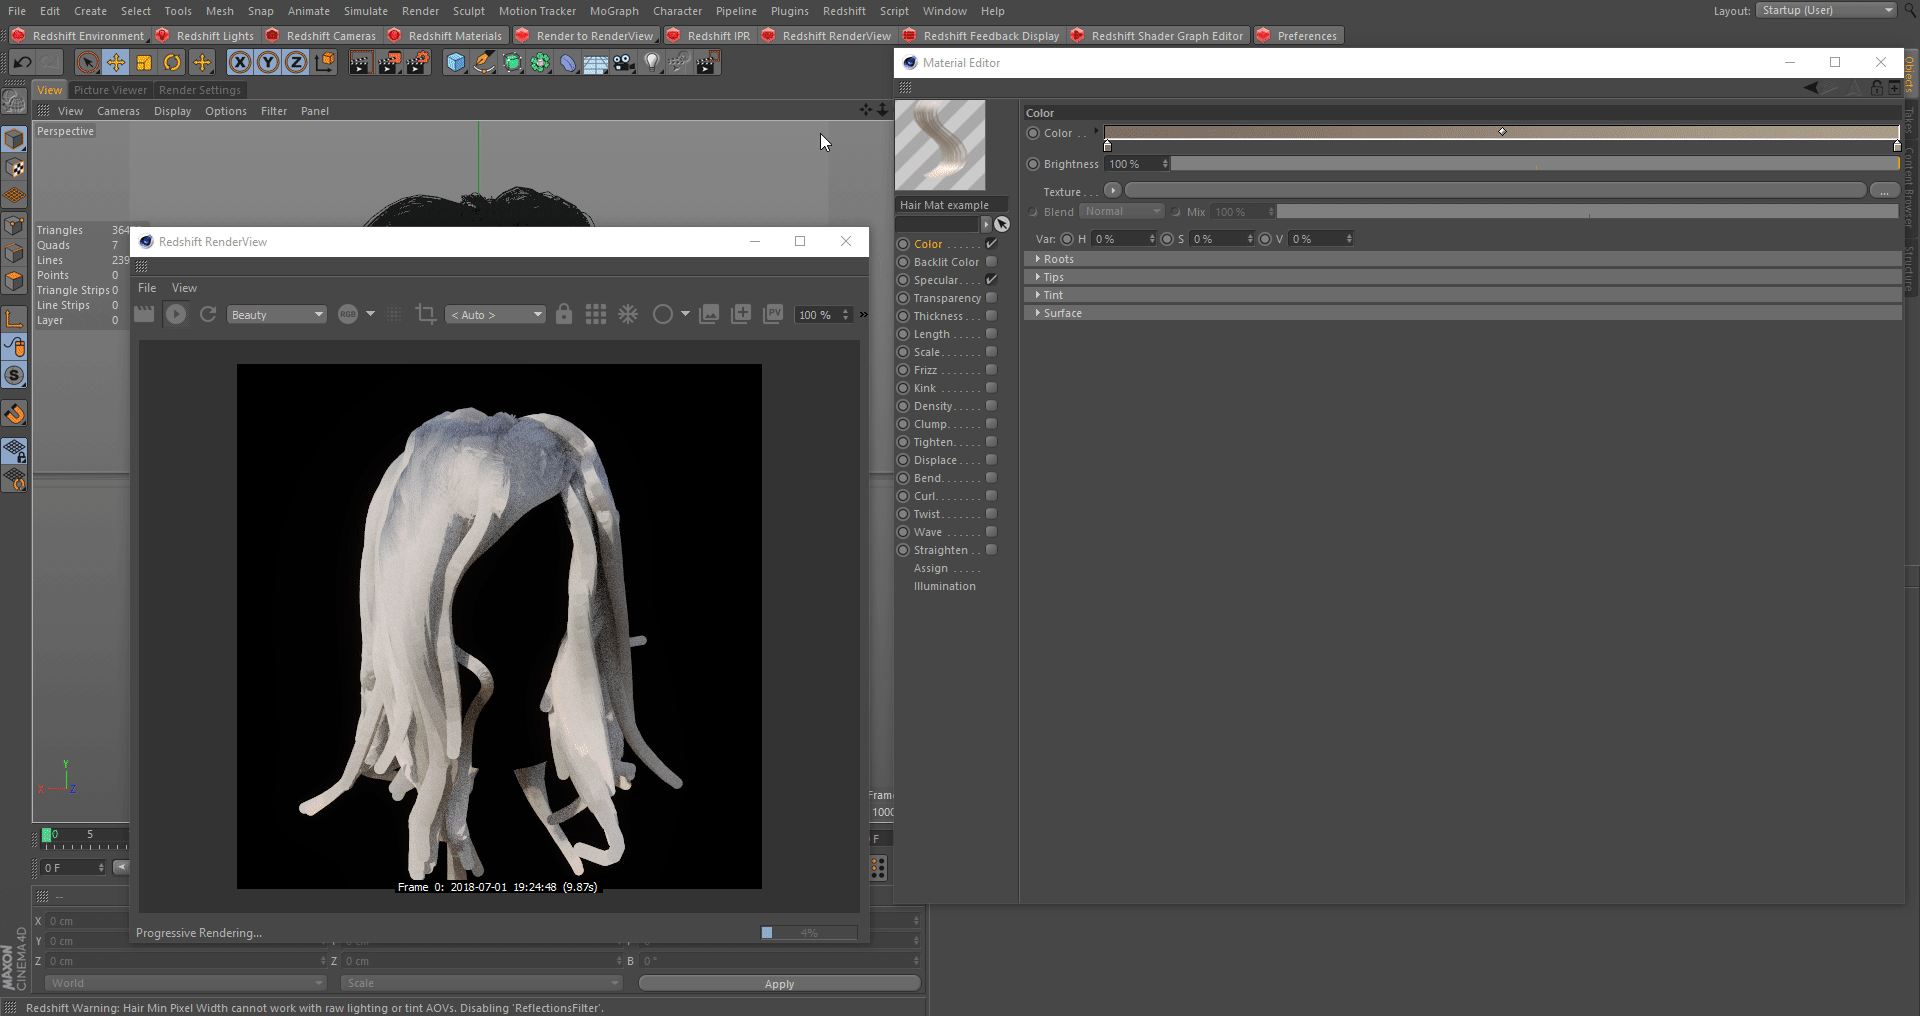
Adjusting Specular
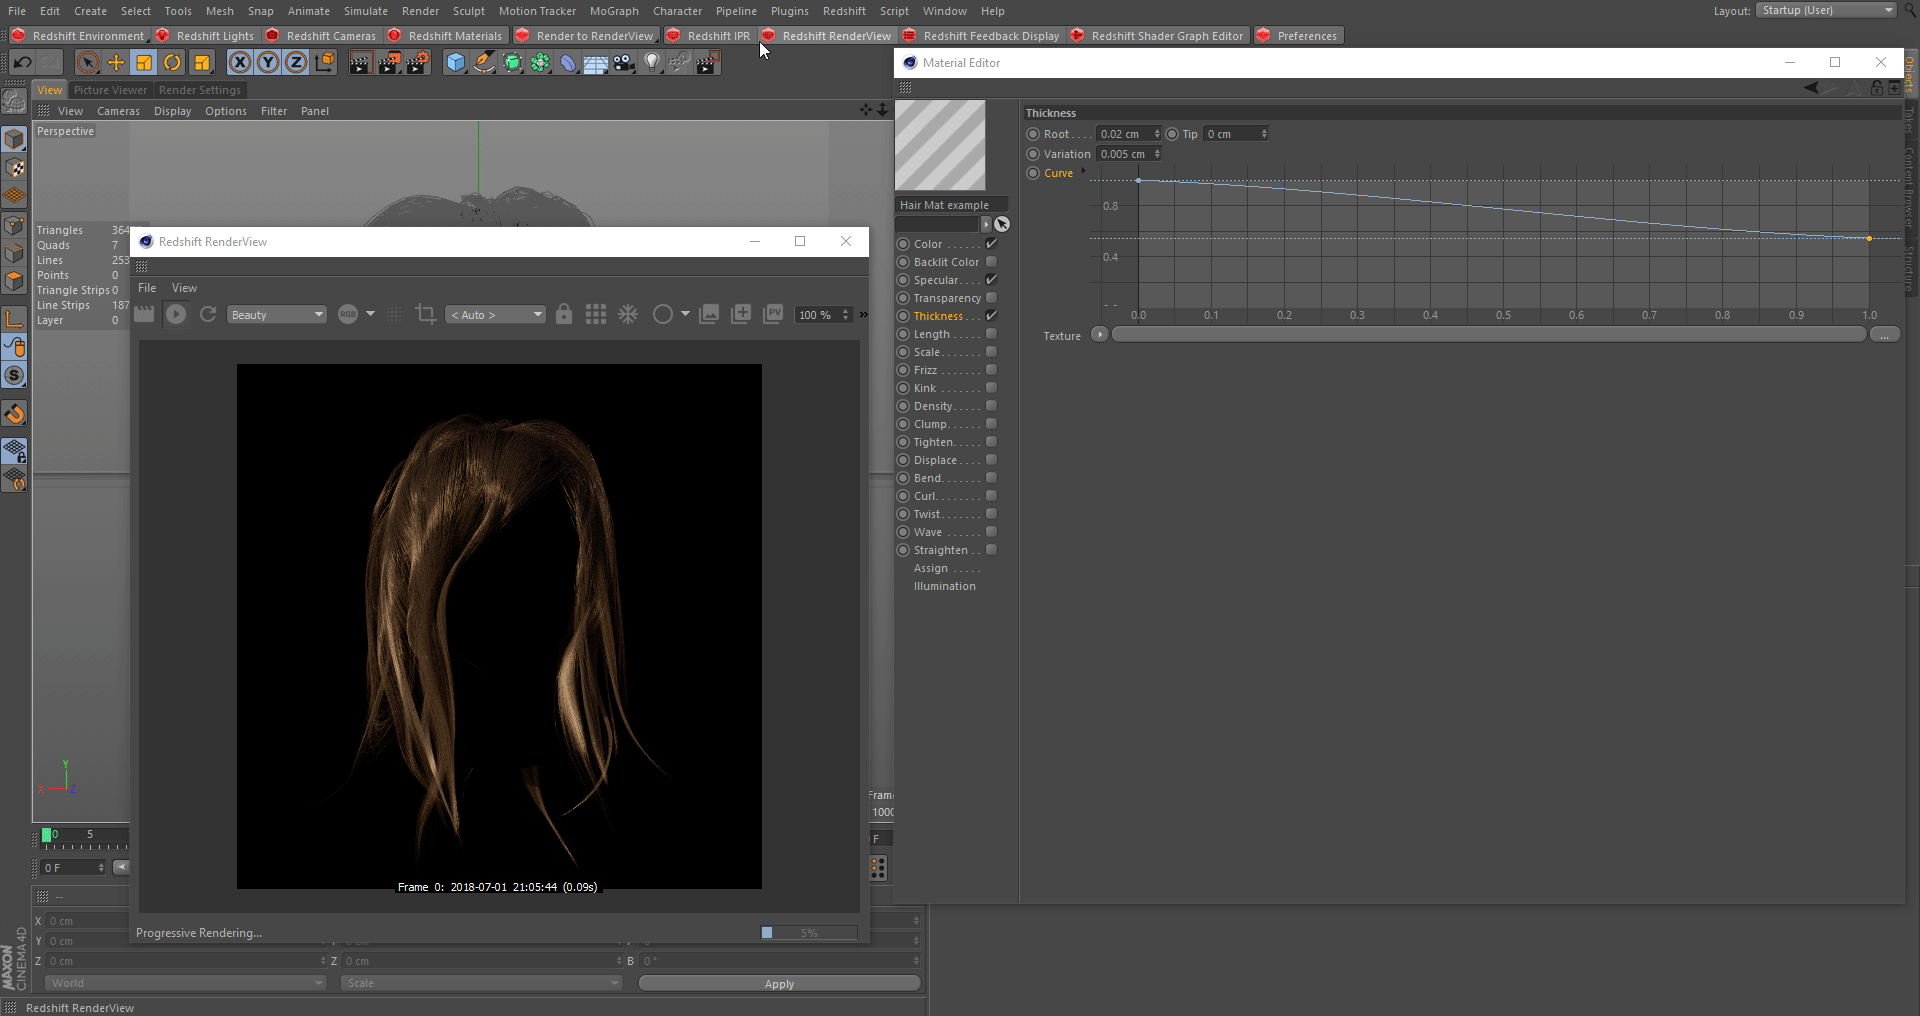
Next we want to define the overall shape of our strands, so let's adjust settings in the Thickness channel to make our strands thinner. We will set the Root to .02, set the Tip to 0, and add a slight Variation value of .005. We will also adjust the curve graph.

Thickness Channel
Thickness settings will be dependent on your scene scale.
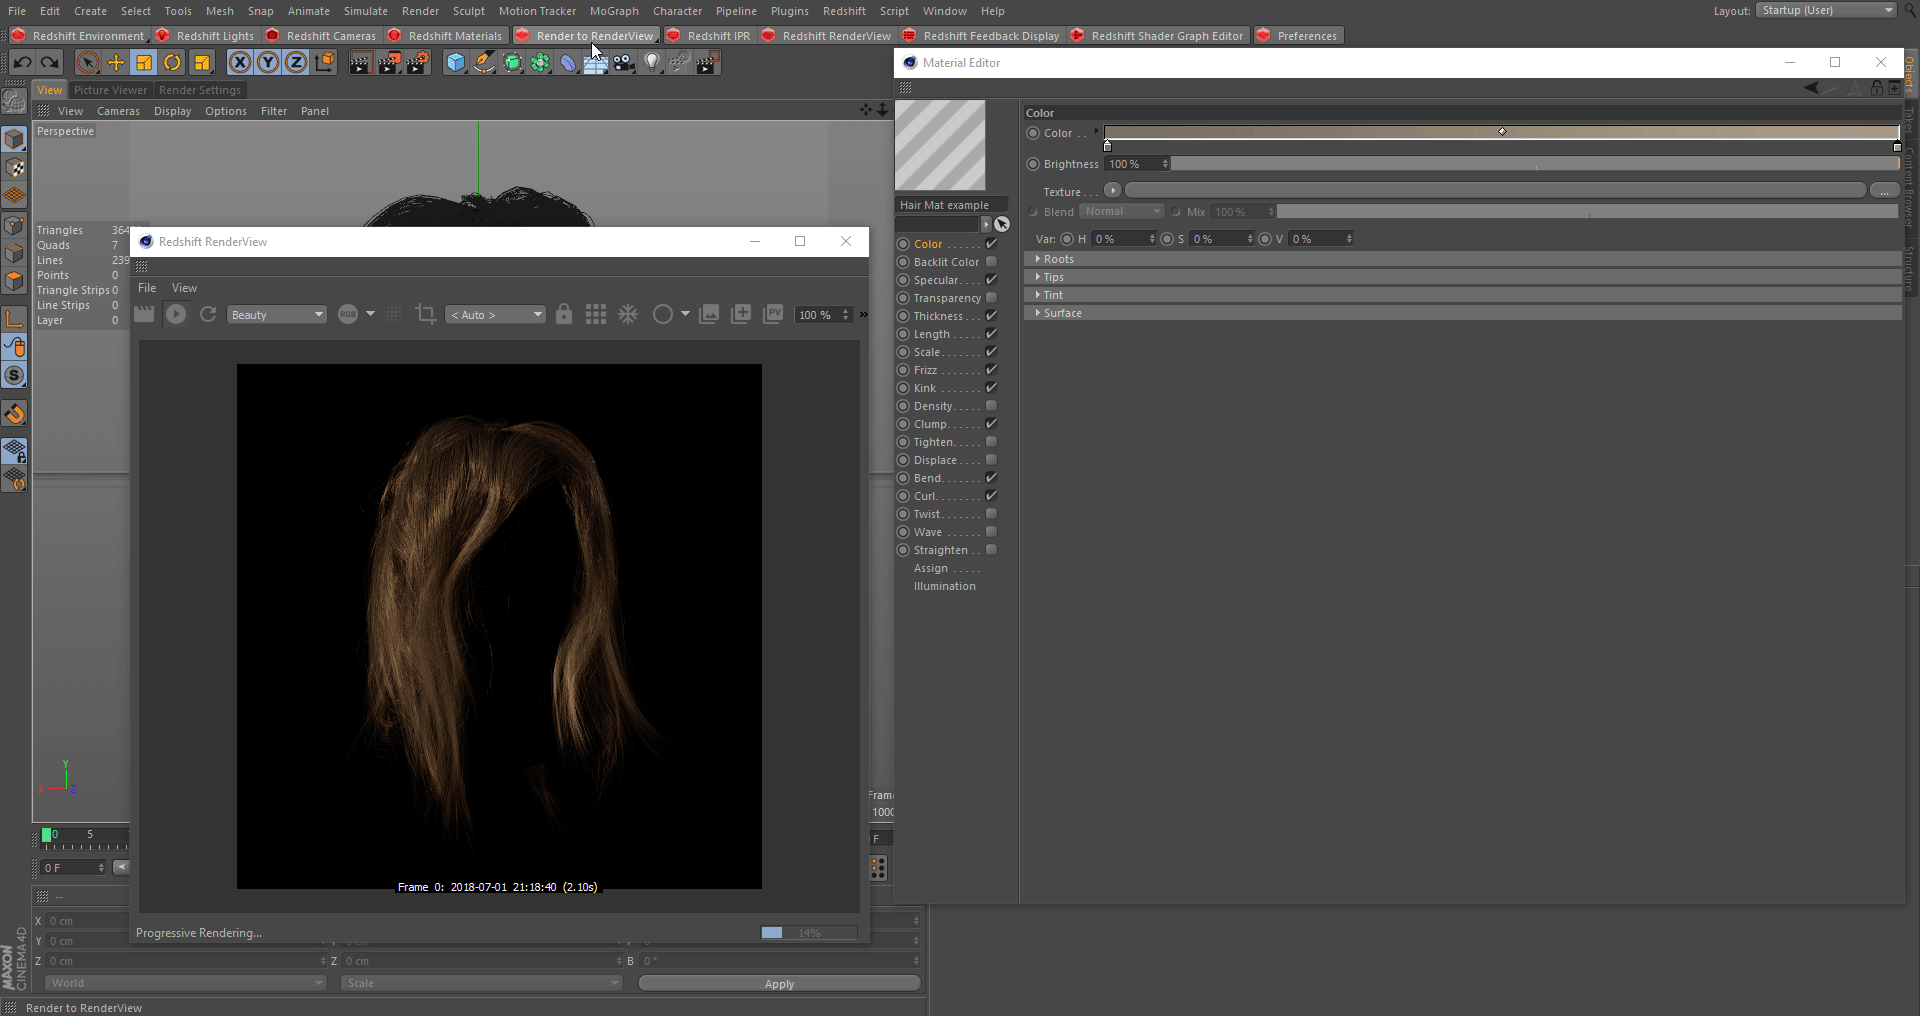
Now let's enable some of the other C4D Hair material channels, to add more detail to our hair. Below you can see what settings were used to get the result.
C4D Hair Parameters
Next, let's adjust the actual color of our hair. We are going adjust our color gradient making the "roots" of our hair a darker color and the ends of our hair a blonde color.
Hair Color
For more realistic hair we want to disable the diffuse in the Illumination channel, we can also adjust the roughness parameter here as well.

Disabling diffuse
Disabling the diffuse can yield longer render times.