The cylindrical camera is similar to the spherical camera except it can capture a user-defined horizontal and vertical FOV range.
How to use
Please use this link for information on how to turn a camera into a cylindrical camera.
Parameters

Settings of the 'Redshift Camera Tag'
When using a cylindrical camera, the main camera's FOV is ignored but its aspect ratio can be used to fine-tune the effect.
The cylindrical camera has its own horizontal and vertical FOV settings. Furthermore, it can optionally use an orthographic projection for the vertical axis. In that case, the vertical angle is replaced by an orthographic height. The function of this orthographic height is the same as with a regular orthographic camera.
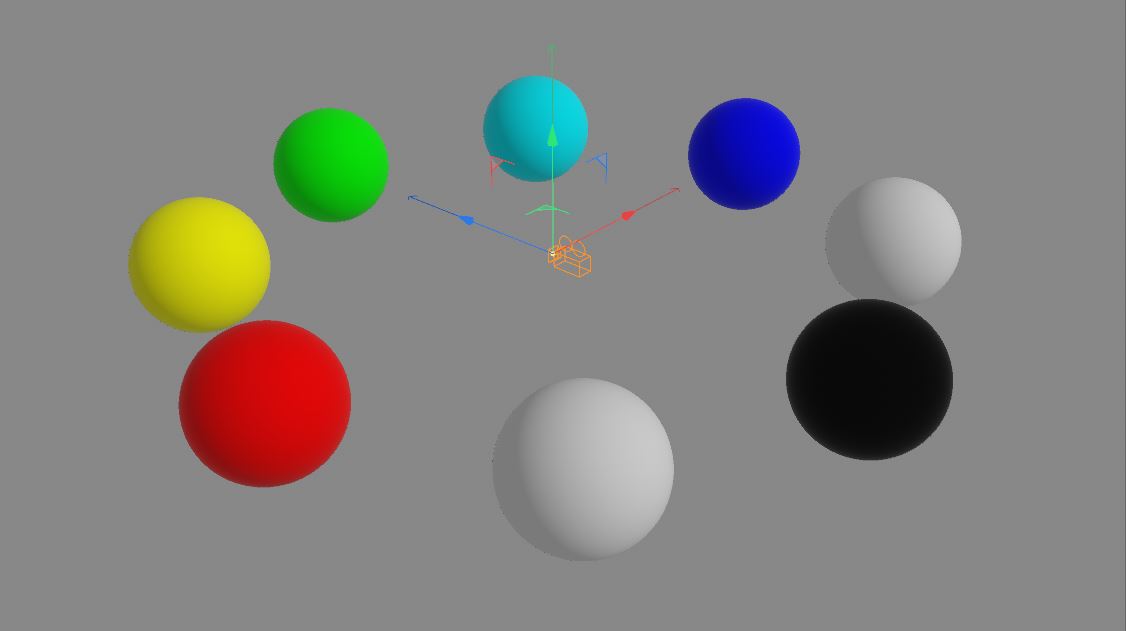
To demonstrate the effect of the cylindrical camera, we'll use the following reference scene. The camera is pointing towards the green sphere. The red sphere is 90 degrees to the left of the camera and the blue sphere is 90 degrees to the right. The black sphere is exactly behind the camera.

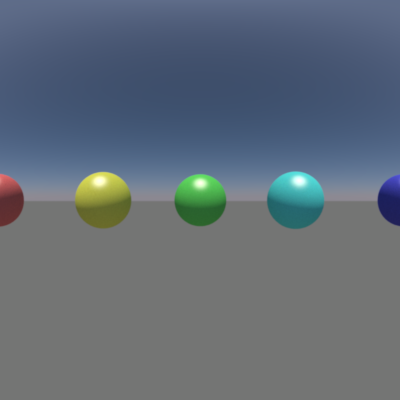
Below we show a cylindrical camera with a 180 degree FOV on both the vertical and horizontal axis. Because the horizontal and vertical FOVs are the same, we chose a 1:1 aspect ratio for this image. As it can be seen, the image is the same as the middle part of the spherical camera image shown in the previous section. If we had used 360 degrees for the horizontal FOV and 180 degrees for the vertical, the resulting image would be identical to the one of the spherical camera. In that case, we should have selected a 2:1 aspect ratio.

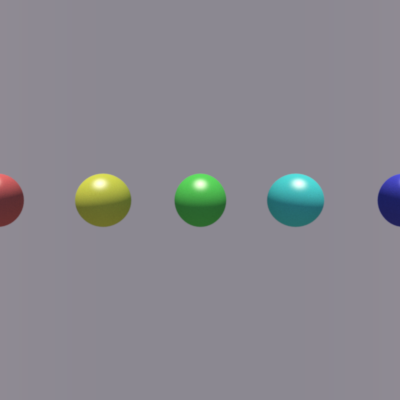
Below we demonstrate the effect of enabling the orthographic projection. The orthographic height was set to 60 units.
The reason for the different background color is because the camera is now orthographic on the vertical axis. It's essentially 'zooming in' on the physical's sky's horizon.
