Table Of Contents
Introduction
The per-object matte options in Redshift allow you to turn an object into a matte object at render time, for compositing. It overrides the materials that are currently applied to an object and is essentially meant to be a more practical alternative to the old Redshift
Matte Shadow Catcher material shader.
When matte is enabled, by default the object will be 'invisible' in the beauty render, essentially cutting a hole in the scene, revealing the environment instead. This allows you to easily composite CG objects against a photographic back-plate. Redshift has additional options to allow you to catch shadows on the object, and show some of the underlying original material reflections, refractions and Diffuse/GI.
How To Enable
The object Matte options are part of the Redshift Object Tag. In the scene tree, right-click on the desired object and select the Redshift Object tag from the Render Tags category.

After selecting the tag, navigate to the Matte tab. To activate the matte settings check the Override option.

The Matte settings are effective on the object that hosts the Redshift Object tag as well as any child objects.
Options
Matte
Enable
Enables the matte object override.
Show Background
Shows the global environment shader background image in the matte objects place. When this option is not checked, the matte object will be black.
This option does not work with ray marched volumes.
Apply to Secondary Rays
Enables the matte object override for secondary rays, such as reflections, refractions and GI.
Affected by Matte Lights
This enables the capture of diffuse illumination from Matte lights.
In order to receive illumination from Matte lights, the 'Matte Shadow Illuminator' option needs to be checked for the light.
This option does not work with ray marched volumes.
Alpha
This is the alpha channel scale value.
Reflection Scale
Scales the amount of reflection visible from the underlying materials that have been overridden.
This option does not work with ray marched volumes.
Refraction Scale
Scales the amount of refraction visible from the underlying materials that have been overridden.
This option does not work with ray marched volumes.
Diffuse Scale
Scales the amount of diffuse/GI visible from the underlying materials that have been overridden.
This option does not work with ray marched volumes.
Shadow
These options do not work with ray marched volumes.
Enable
This turns the matte object into a 'shadow catcher'. For added realism, capturing CG shadows on the matte object is especially useful when compositing CG objects onto photographic back-plates.
Affects Alpha
When this option is enabled, the intensity of the matte shadows will be stored in the alpha channel.
Color
This is the base color of the shadows. The darker the shadow, the more of this color is applied. For example, if the cast shadow is solid black, then it is effectively replaced with this color.
Transparency
This scales the amount of shadow that can be received, between 0 and 1, with larger values effectively making the shadow more transparent.
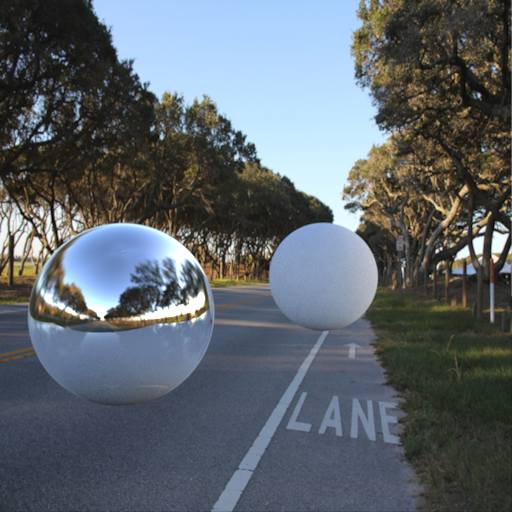
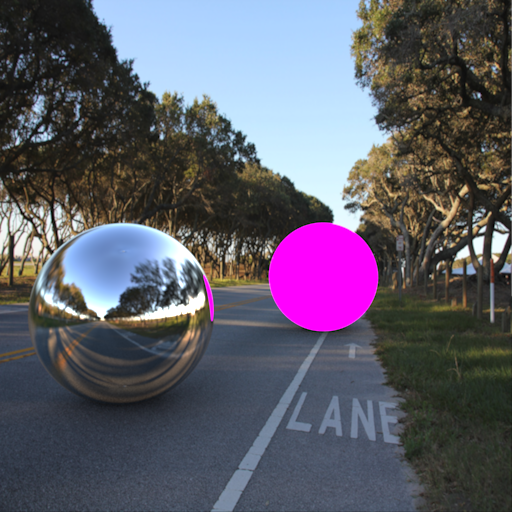
Below is an example of a simple scene containing two spheres, a reflective plane and a dome light with back-plate enabled for the background image.
|
|
|
|
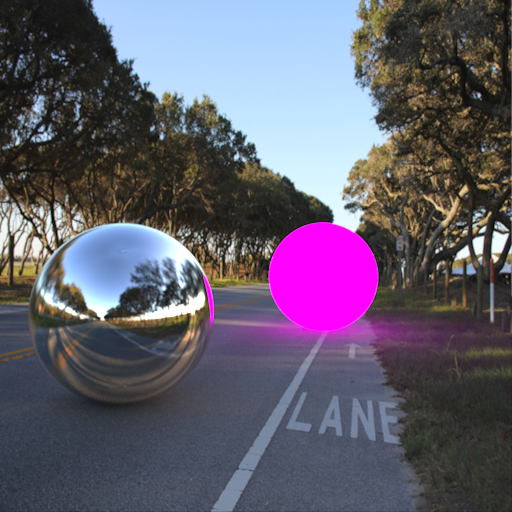
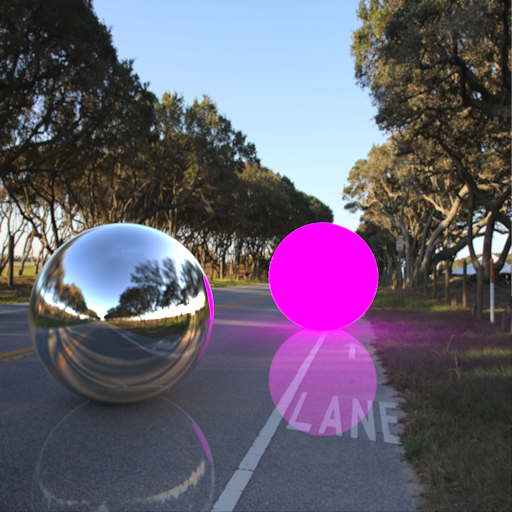
| Without the Matte Parameters object properties. | With the default Matte Parameters options applied to the plane object, you now see the plane effectively disappear. The two spheres look like they are now floating in the scene. Furthermore, the reflection in the closest sphere of the matte plane still shows its original material. | Enabling the 'Matte Shadow' and 'Apply to Secondary Rays' parameters make the spheres appear to be part of the back-plate photograph. |


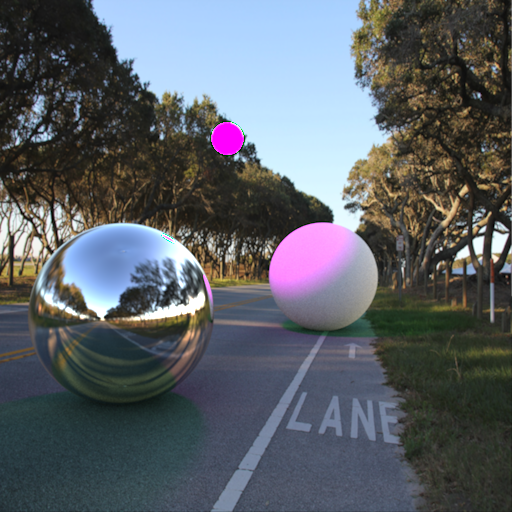
Below shows an example of how the Reflection and Diffuse Scales can be used to show some of the properties of the original material of the matte plane.
|
|
|
|
| The second sphere has been made emissive. Without the Matte Parameters property override, the plane surface material would be receiving diffuse GI. With the matte properties override, by default you will see no additional GI. | Setting the 'Diffuse Scale' to a value other than 0 will allow some of the diffuse GI of the underlying material through. Here we use a value of 0.5 to demonstrate. | Recall that the original plane material is also reflective. Setting the 'Reflection Scale' to 0.5 here now shows some of the underlying material's reflection. |
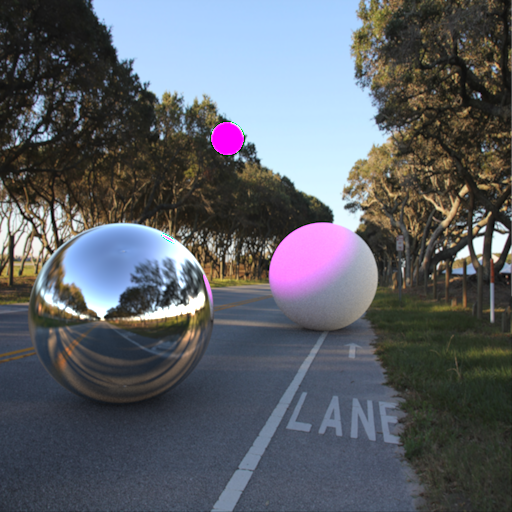
Below shows an example of adding a purple diffuse area light that will be configured to illuminate the matte plane.
|
|
|
|
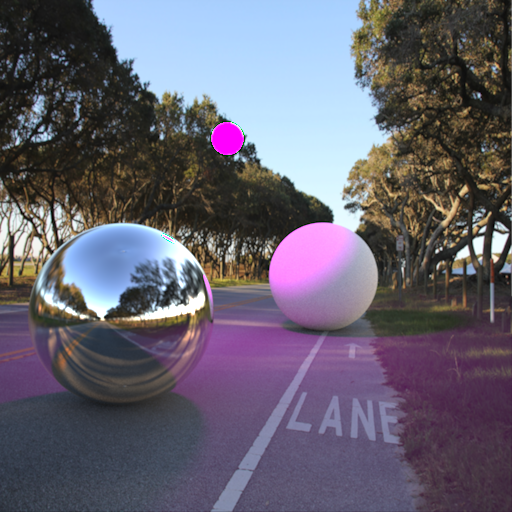
| Here the spherical area light affects the two spheres in the scene, and casts matte shadows on the matte plane. | Enabling the 'Matte Shadow Illuminator' option on the light turns off its matte shadow casting capability, because the matte surface is expected to be actually illuminated by this light. | Enabling the 'Affected by Matte Lights', with a 'Diffuse Scale' value of 0.5 now allows the matte surface to be illuminated by the matte shadow illuminator light. |
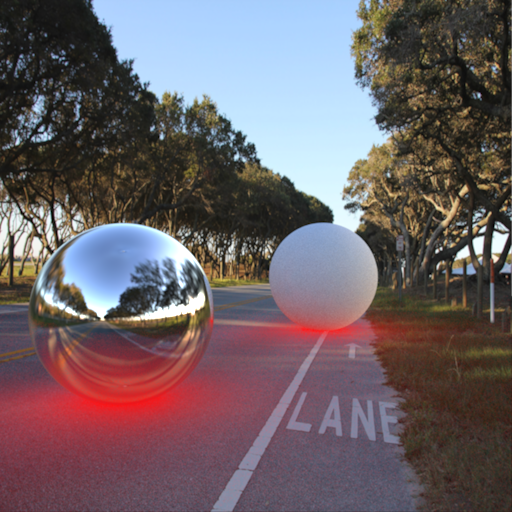
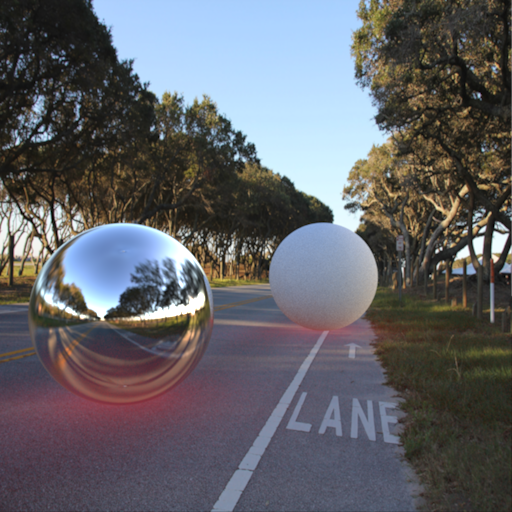
Below shows examples of the shadow options.
|
|
|
|
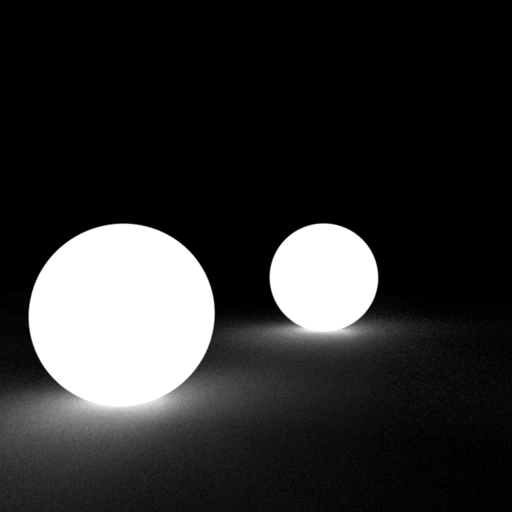
| Here we've made the shadow 'Color' red (1.0, 0.0, 0.0) | And set the 'Transparency' to 0.75, to make the shadows more 'transparent'. Note that setting the 'Transparency' to 1.0 would effectively disable matte shadows altogether. | When 'Affects Alpha' is checked, this is what the alpha channel will look like. |