Overview
The easiest way to work with the Redshift Camera Tag is by using the Create menu and choosing one of the Camera objects there. These objects will already be created together with a Redshift Camera Tag.
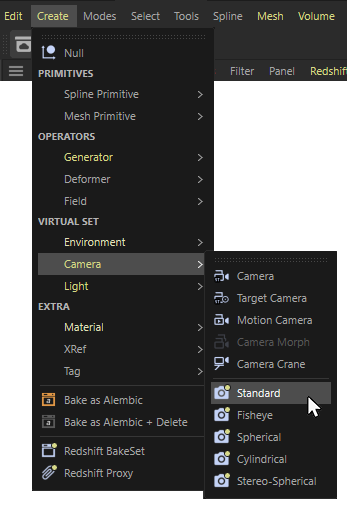
Combinations of Cinema 4D cameras and Redshift Camera Tags can be added from the 'Create' menu.
The Redshift Cameras and the Redshift Camera Tag are only available if Redshift is activated as Renderer (see Cinema 4D Render Settings).
If you already created a standard Cinema 4D camera object and like to upgrade it to be used with Redshift, just apply a Redshift Camera Tag manually from the Tags menu in the Object Manager.

On the left you can see the standard Cinema 4D camera in the Object Manager. By applying a Redshift Camera Tag, you can upgrade that camera object manually to offer specific Redshift setting (see image on the right).
Many of the settings of a Redshift Camera Tag are already known from the Cinema 4D camera object. Nevertheless, there are also functions here that are only available within the tag. These include the ability to assign a Redshift Environment to the camera.
Environment
A Redshift Environment shader can be used similarly to a Cinema 4D Background object or a Cinema 4D Sky object to display a background image in renderings or to use a panoramic image as a GI or reflection environment.
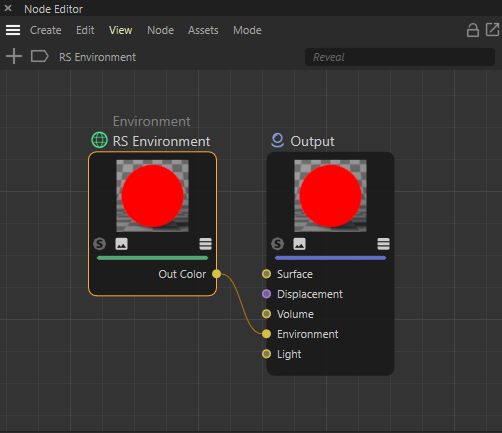
A Redshift Environment Material in the Node Editor.
To do this, first create a Redshift Environment material in the Material Manager and load the desired bitmaps there. You will find a detailed description of the parameters of the Redshift Environment Shader here.
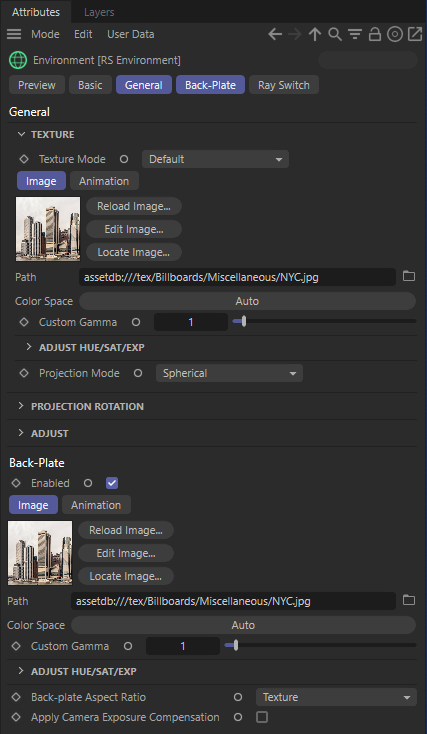
A Bitmap was loaded as a 'Back-Plate' and as a 'General' environment (to be used for refractions, reflections and GI).
Such an Environment Material can be used directly in the Redshift Render Settings (Globals Tab > Options > Default Environment), or with the Redshift Camera Tag.
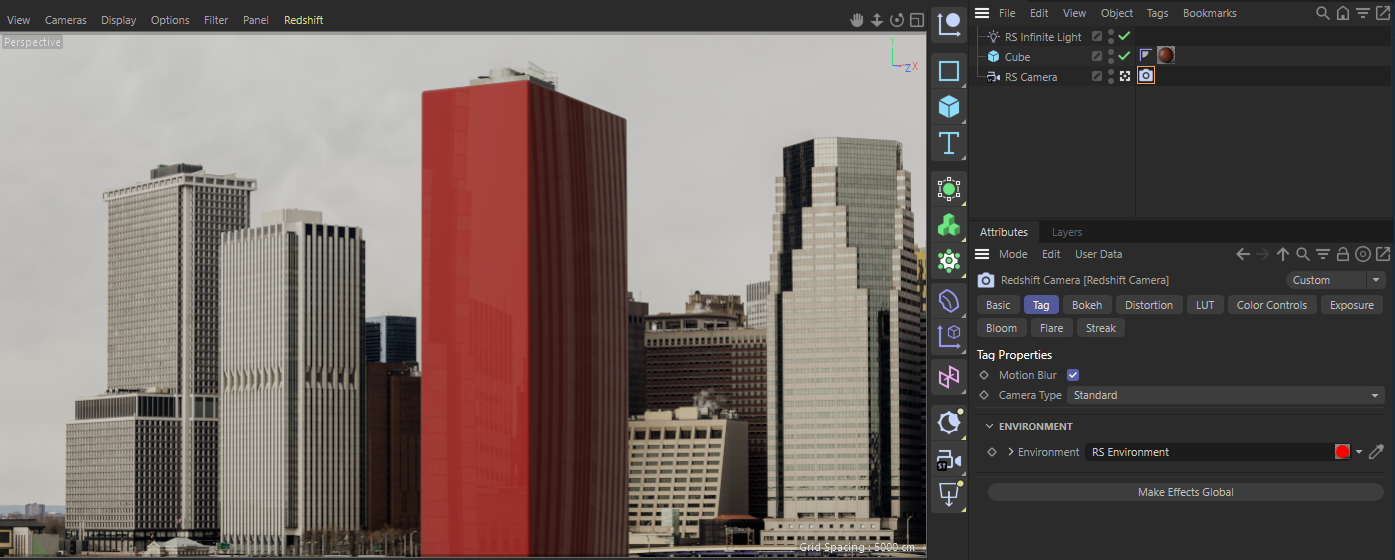
Here a 'Redshift Environment Material' with a loaded skyline bitmap was linked to a 'Redshift Camera Tag' and used as a background image and as general environment for the rendering.
Make Effects Global
The Redshift Camera Tag also offers various settings and options to apply color corrections and optical effects to your renderings. Use this button to transfer these effects to the global Effects settings of the Redshift RenderView.
First activate the Override and Enable options in one of the Effects tabs of the Redshift Camera Tag and configure the settings there. When you're done, click on Make Effects Global. You can now deactivate the Override option again and the effect will still be visible during rendering.
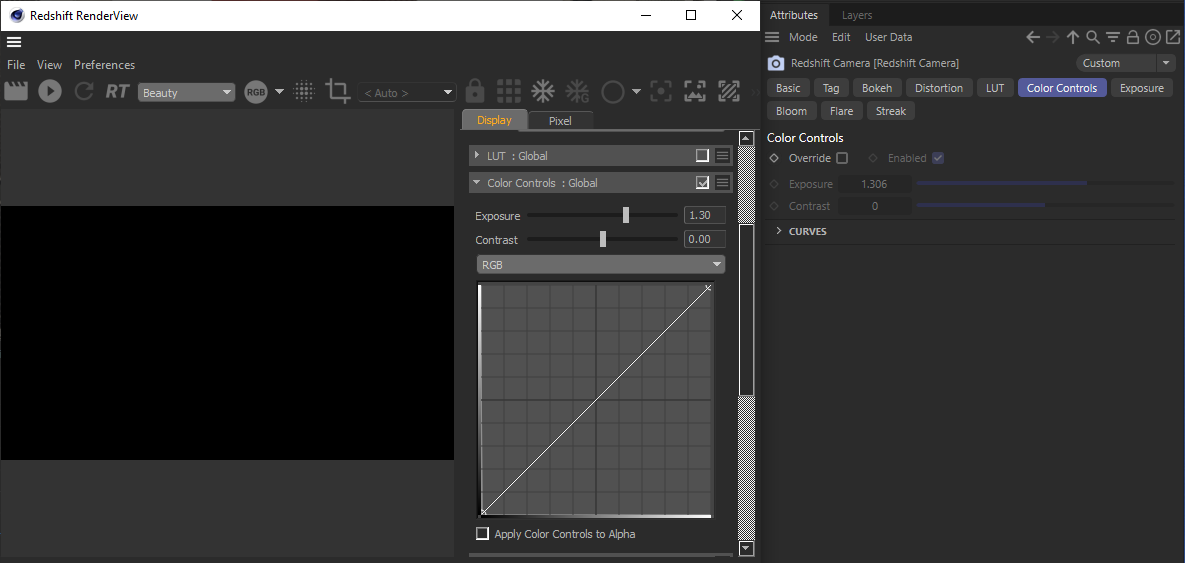
Here the Color Controls of the Redshift Camera Tag were first overwritten. After using Make Effects Global, these Color Control settings have been activated in the Redshift RenderView, so the Overwrite option can be switched off again in the Tag.
Other settings
Here you can find more information about all available camera types and settings of the Redshift Camera Tag: