Please note that the effect described in this page refers to the global, uniform fog. If you're looking for localized effects (clouds, smoke, etc), please use the Redshift Volume object in combination with the Volume Shader instead.
Table Of Contents
- Volumetric Scattering And Fog Explained
- Using The Volumetric Scatter Shader
- General Settings
- Fog Settings
- Ray Contribution Scales
- Environment Alpha Replace
- Enabling Volumetric Lighting
Volumetric Scattering And Fog Explained
The space around us is not empty. It contains small particles of water, dust, ash, etc. As light travels through this space (called the "medium") and depending on the composition of these particles, it changes. Parts of the lighting get absorbed while the remaining lighting gets scattered around.
The volumetric scattering shader allows the user to describe the lighting properties of the medium and, therefore, its effects on lighting.
Using the volumetric scattering shader, it's possible to render:
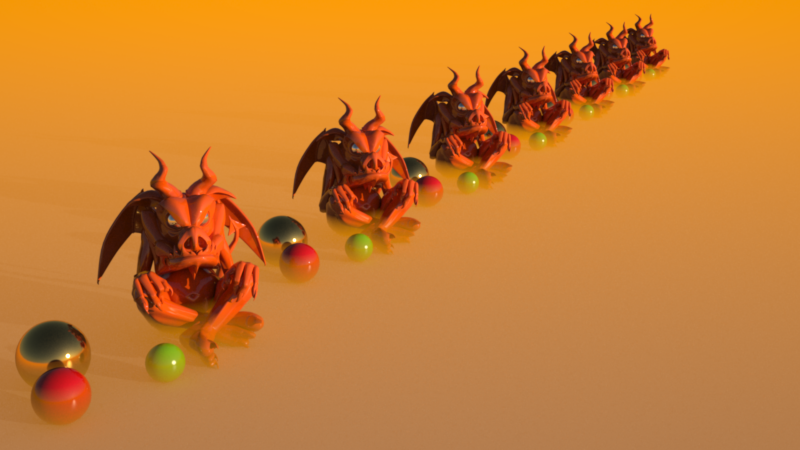
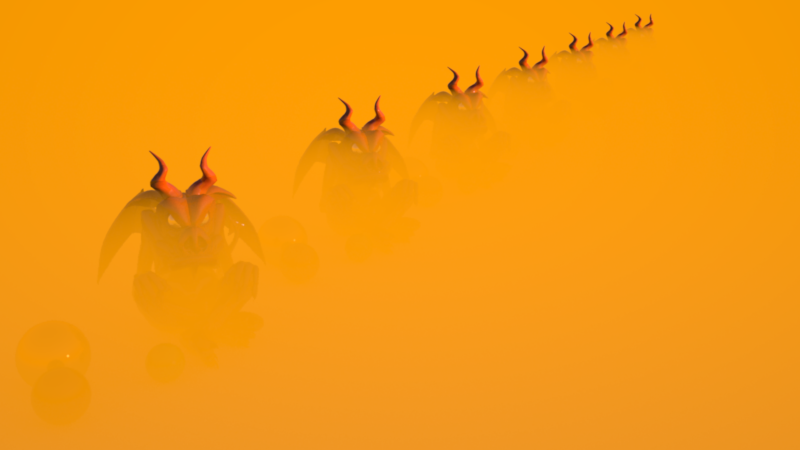
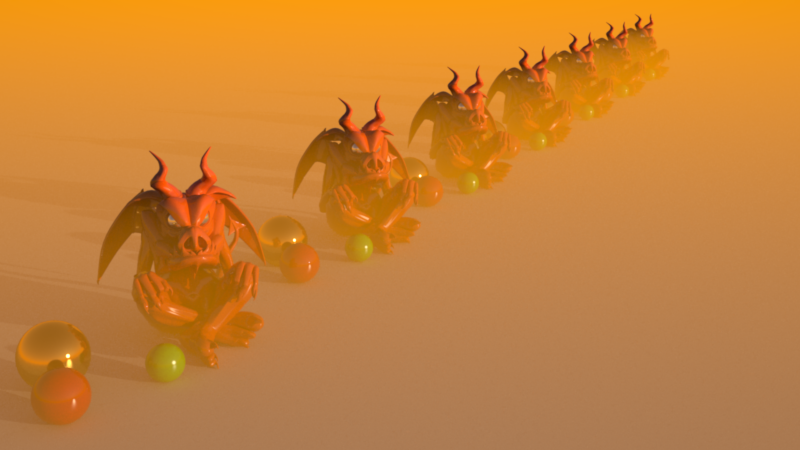
- A global fogging effect
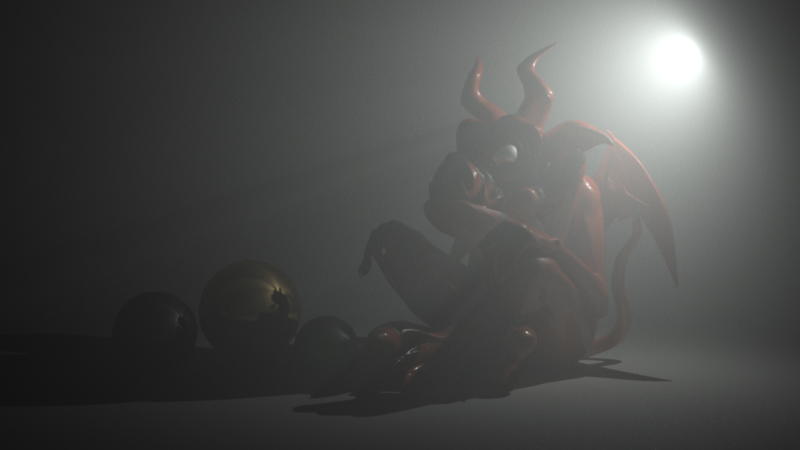
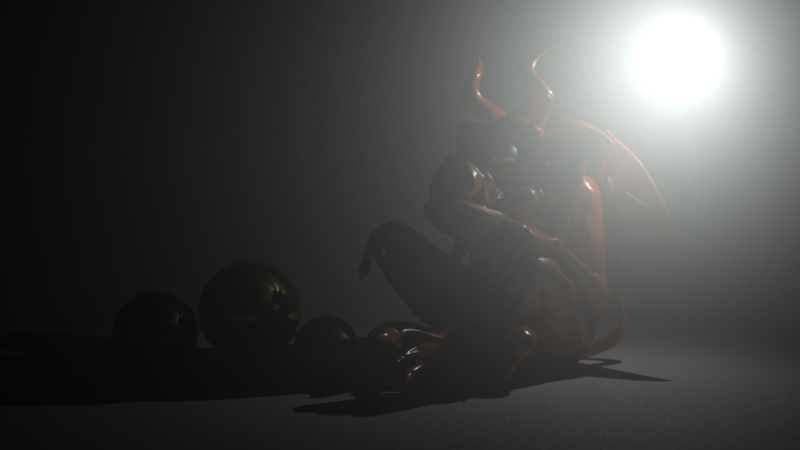
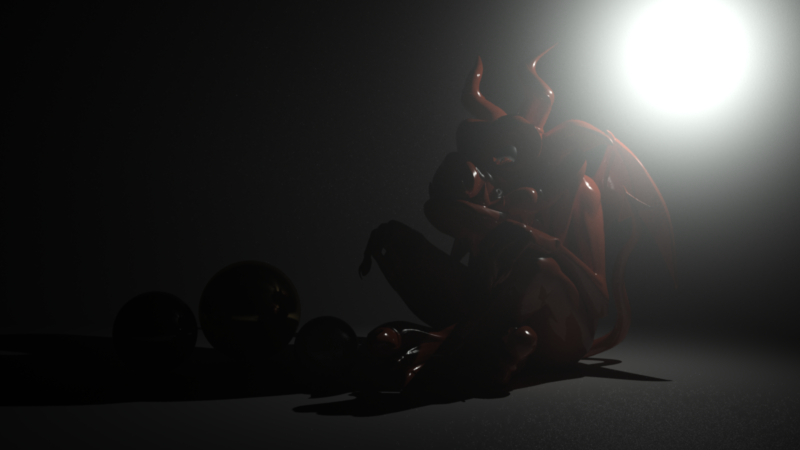
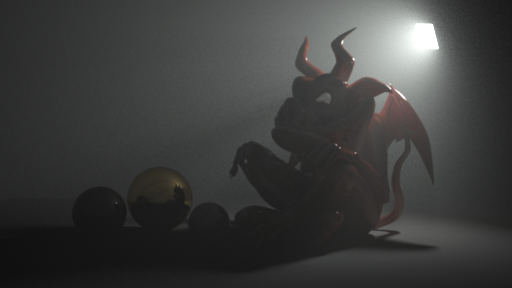
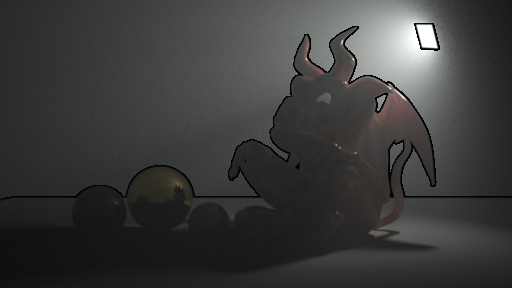
- Volumetric light beams and shadows
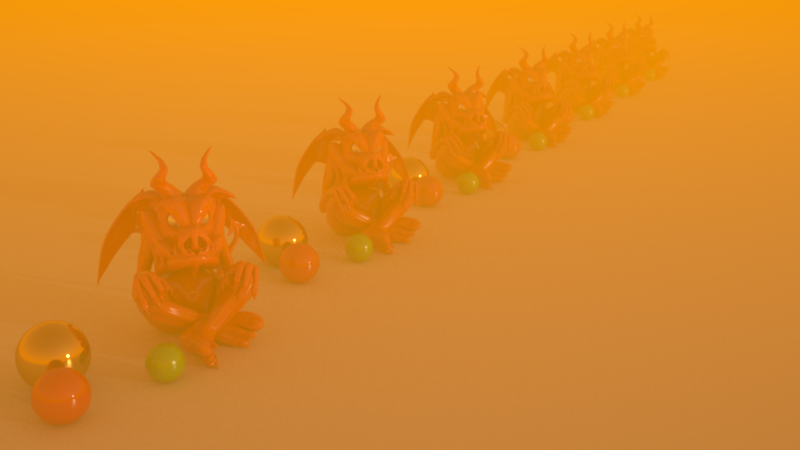
Orange fog
|
|
|
|
Quad area light casting volumetric lighting |
A smaller area light casts more defined shadows |
Using The Volumetric Scatter Shader
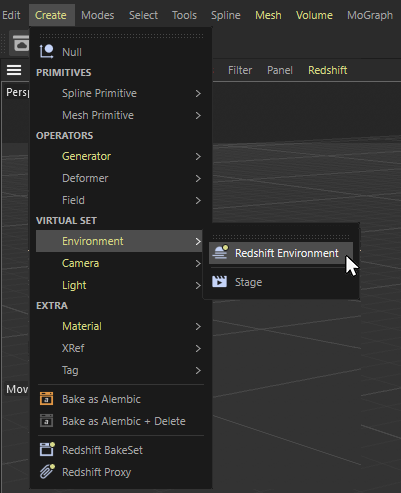
To use the Volumetric Scattering effect simply create a Redshift Environment object from the Create menu like so:
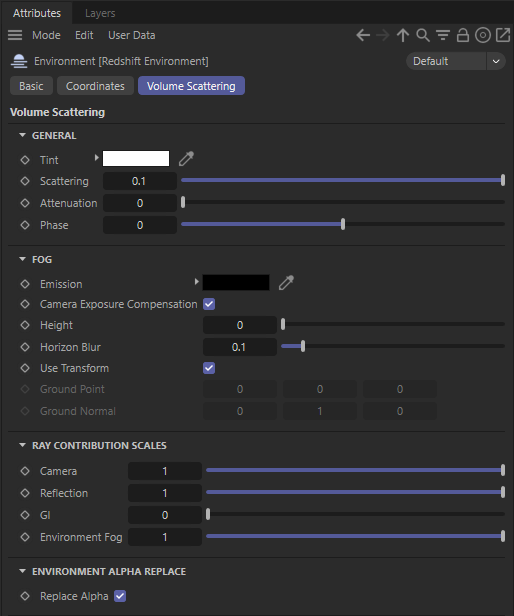
General Settings
Enable
Toggles the volumetric scattering effect (fog and volumetric lighting) on/off
You can find this option in the Basic tab or just use the green checkmark icon to the right of the Redshift Environment in the Object Manager.
Tint
A global tint for all volumetric lighting effects (this doesn't include global fog)
Scattering
Defines how strong the volumetric lighting effect should be. Higher values will generate brighter volumetric lighting and vice-versa. If you enable volumetric scattering and you get a completely washed-out-white frame, you might need to reduce this setting significantly.
Attenuation
Controls both the strength of the fog and the amount by which light gets attenuated as it travels through the medium. Higher numbers introduce stronger fogging and more light attenuation.
Lighting attenuation only happens for non-infinite lights. Dome lights, the physical sun and infinite lights will not be attenuated. This is intentional! Because these lights are at an infinite distance, any amount of attenuation (which is dependent on distance) would completely block them out.
Phase
The "Phase" parameter controls how much the lighting will bounce around inside the medium and get scattered. In some ways, this setting is similar to the "Diffuse/Specular" settings of a surface material.
A phase of 0.0 means that the lighting will bounce around more and will appear more diffuse. Values greater than 0.0 produce what is known as "forward scattering". Forward scattering means the lighting doesn't bounce around in the medium as much and is mostly visible when travelling towards the camera. On the other hand, negative numbers will produce "backward scattering' which means that volumetric lighting will mostly be visible as it travels away from the camera.
We show some forward scattering examples below.
|
|
|
|
|
|
|
Original settings. Phase 0.0 |
Phase 0.5 |
|
|
|
| Phase 0.8 | Phase 0.9 |
Fog Settings
Emission Color
Allows fog to be self-illuminating. This is useful when you want the fog to have color and not just be black.
Apply Camera Exposure Compensation
Since the fog can be self-illuminating via the "emission" setting, this option ensures that, if a photographic exposure lens shader is present, the emission color will be scaled appropriately so that the user won't have to use large RGB numbers.
We strongly recommend users leave this option enabled.
Height
When height is set to zero, fog is omnipresent. A non-zero value enables "height fog" and sets the height of the fog. See examples images below.
|
|
|
|
|
Low Height Fog (yellow emission) |
Higher Height Fog |
Same as last image but with a lower attenuation value |
Horizon Blur
When using height fog on a large-scale scene, there might be a sharp shading line where the fog joins the horizon. Even though "correct" this effect is not visually appealing. The horizon blur setting allows the height fog's horizon to be faded out which will smooth out the effect.
Use Transform
If activated, you can control the orientation and location of the fog by moving the Redshift Environment object directly in your view. If deactivated, you can set a starting point and direction for the fog by using the Ground Point and Ground Normal parameters.
Ground Point
If using height fog, this setting determines where the fogging effect starts.
Ground Normal
If using height fog, this setting determines the direction of the fog. Using this setting you can create a 'wall of fog' instead of a 'blanket of fog'. See example images below.
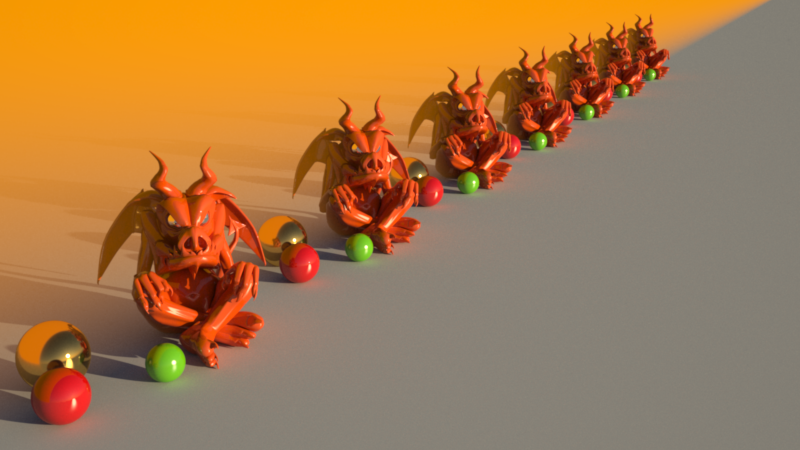
Adjusting the fog plane to create a wall of fog. Instead of the default (0, 1, 0) ground normal, we used a (0, 0, 1) setting instead.
Ray Contribution Scales
Camera
Defines how much fogging and volumetric lighting should be applied to rays that hit scene objects.
Reflection
Defines how much fogging and volumetric lighting should be applied to rays that were spawned from reflection.
GI
Defines how much fogging and volumetric lighting should be applied to any GI lighting. Applying volumetric lighting on GI computations can wash out the results, produce noise (especially if strong phase settings are used) and be computationally intensive. For this reason, Redshift has this contribution turned off by default.
Environment Fog
Defines how much fogging and volumetric lighting should be applied to rays that don't hit anything and go to infinity.
Environment Alpha Replace
Enable
The 'Environment Alpha Replace' option replaces environment alpha with 1. This is because alpha pre-multiplied output can make the volumetric effect disappear in areas where the alpha is not 1 or 0. The example below shows a light volume over a black environment with an alpha of 0. You can clearly see the artifacts caused by disabling the option in the preview window of Softimage, where anti-aliasing produces 'halos' of alpha values between 0 and 1. You should only disable this option if you expect to composite and effectively replace the volumetric effect where the environment is.
|
|
|
|
Enabled (the default) |
Disabled |
Enabling Volumetric Lighting
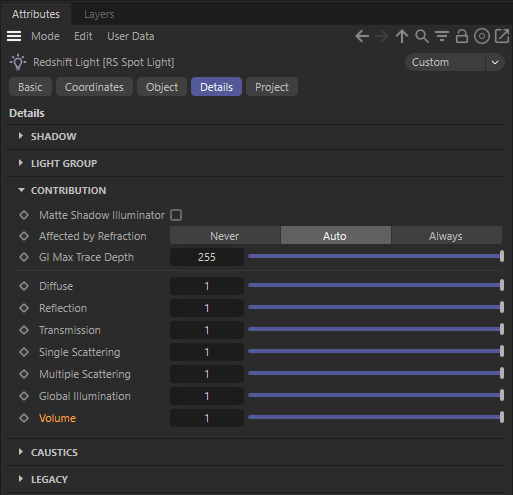
To enable volumetric lighting for a light, take care use a Volume value above 0. You can find this setting in the Details tab of the Redshift Light.
Below, we show the effect of some more volumetric-lighting-related settings.
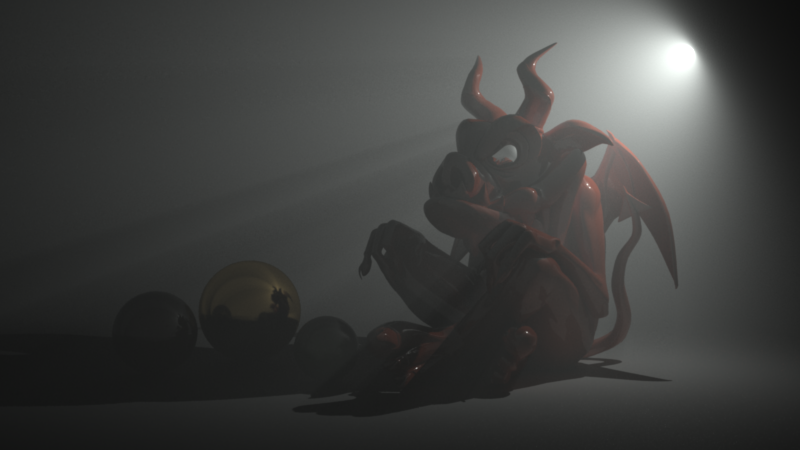
Original settings
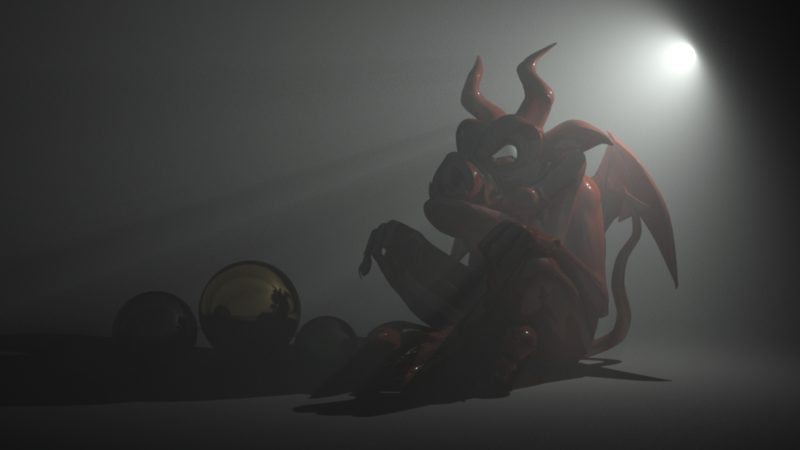
With reflection contribution scale set to 0.0. The reflections can no longer 'see' the volumetric lighting. For this particular scene, it's a subtle difference.
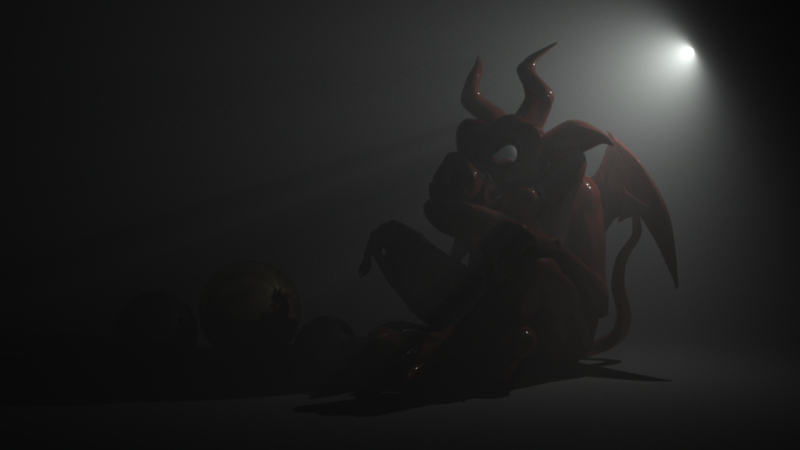
With some attenuation added. Lighting now gets dimmed as it passes through the medium.
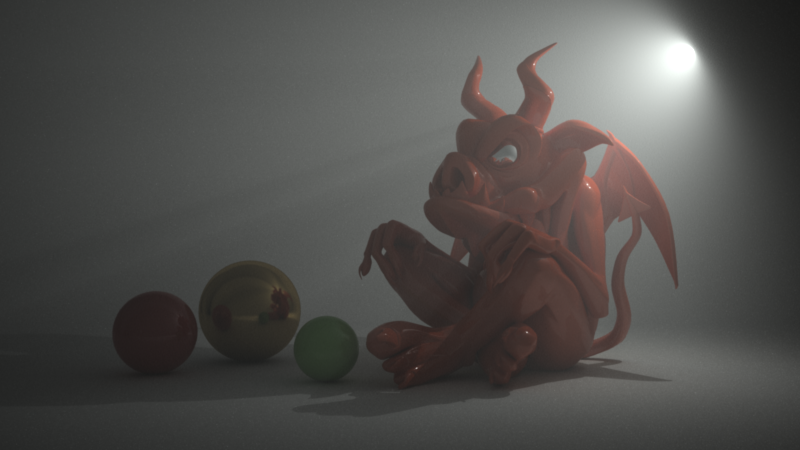
Setting GI contribution scale to 1.0. Now the GI rays can 'see' the volumetric lighting which creates extra lighting in the scene.

