Matcap
Overview
|
|
|
||
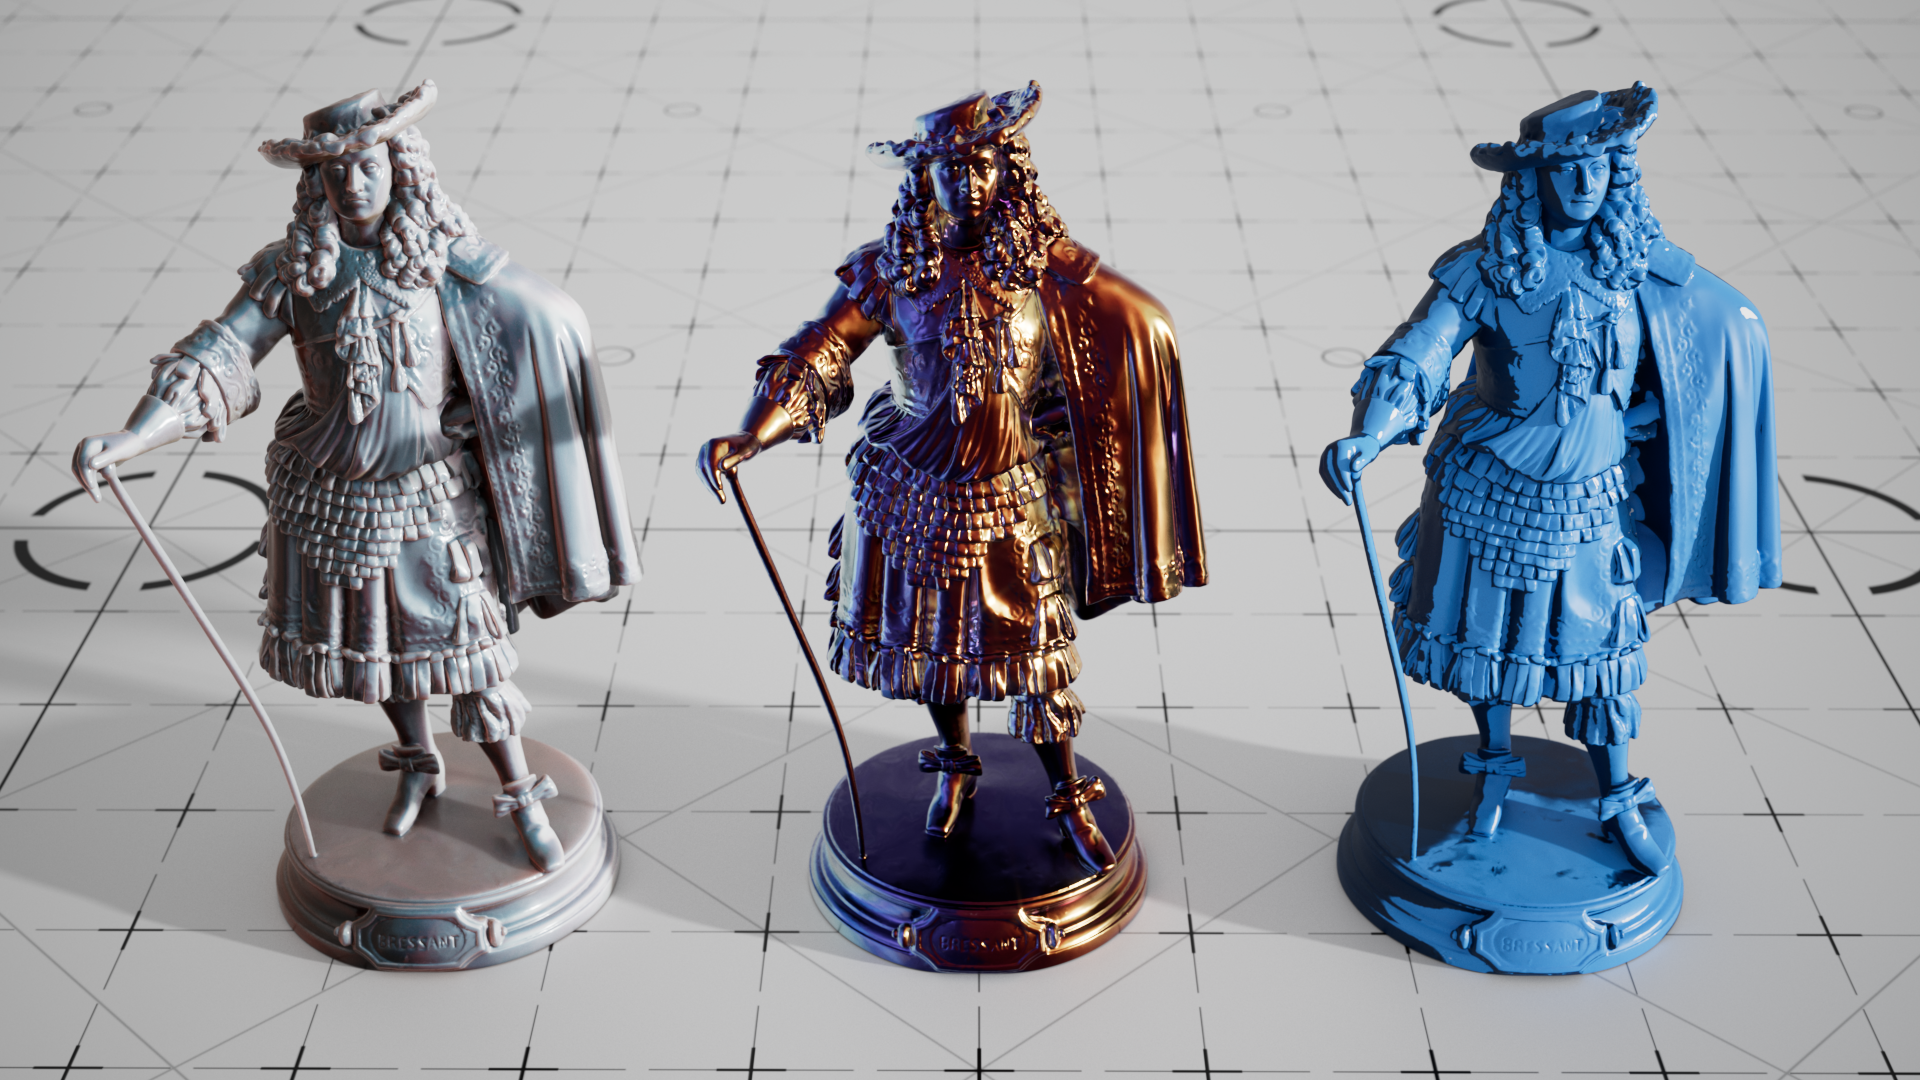
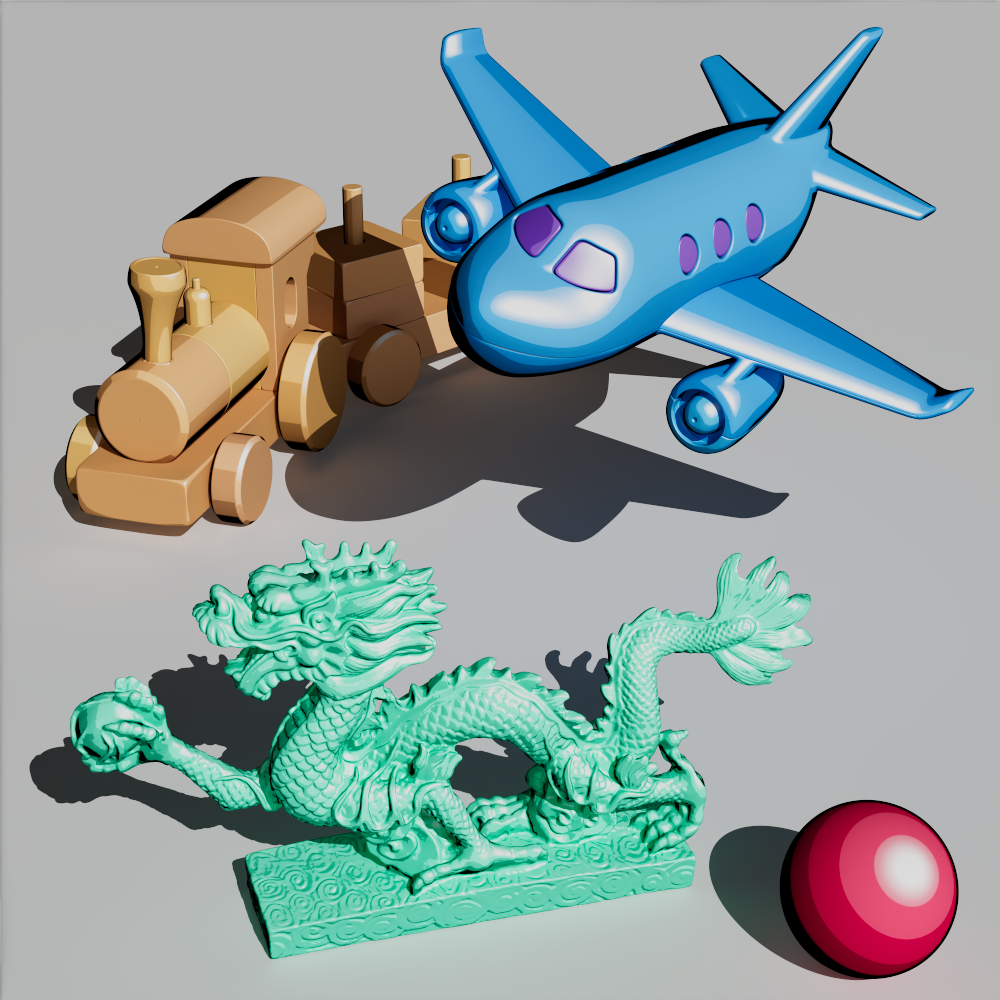
| Toy Plane and Train model by Pavel Zoch Plastic Dragon model from Threedscans.com |
Bressant model from Threedscans.com |
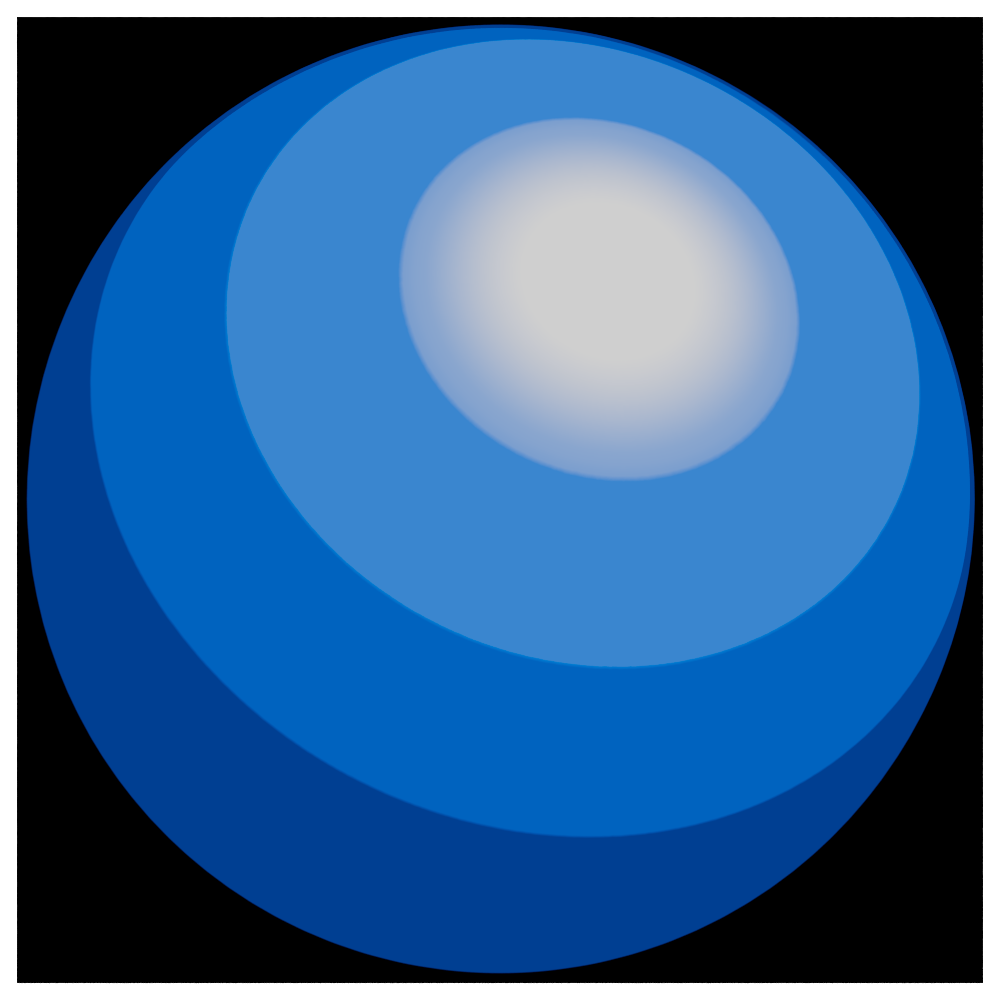
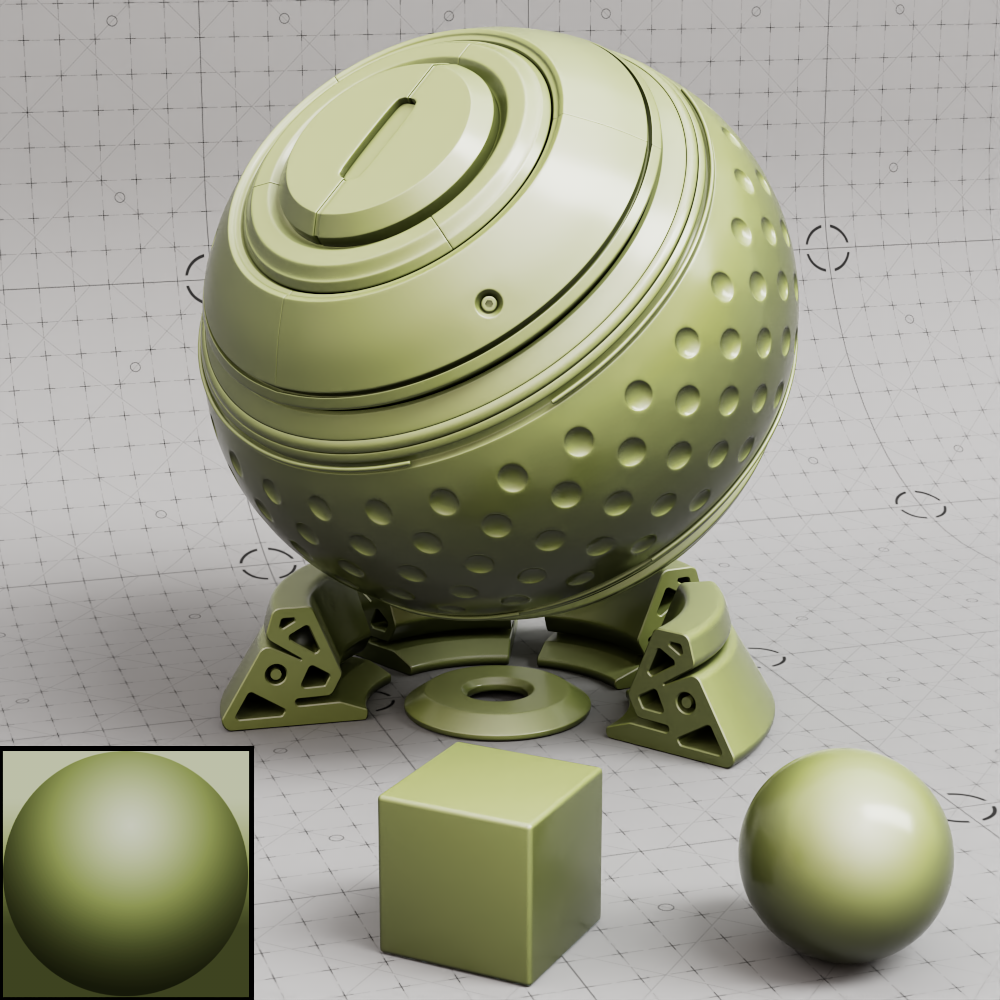
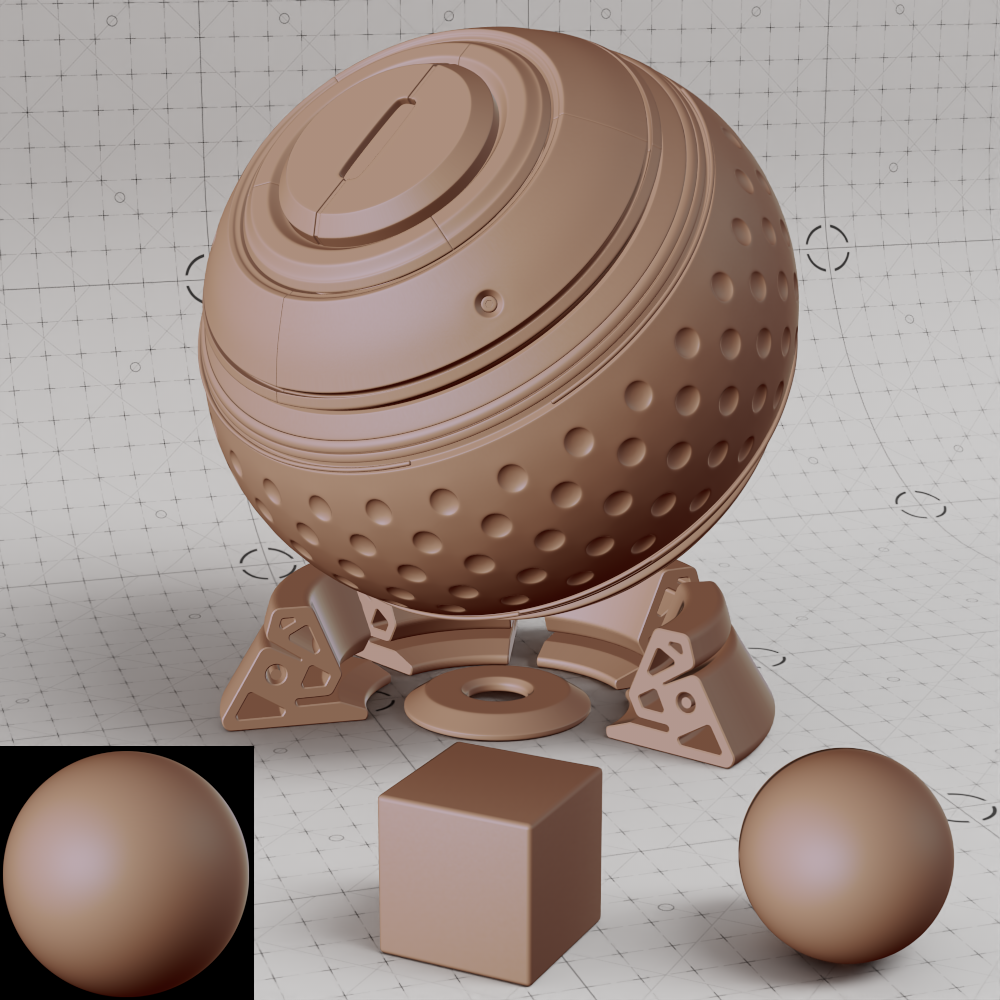
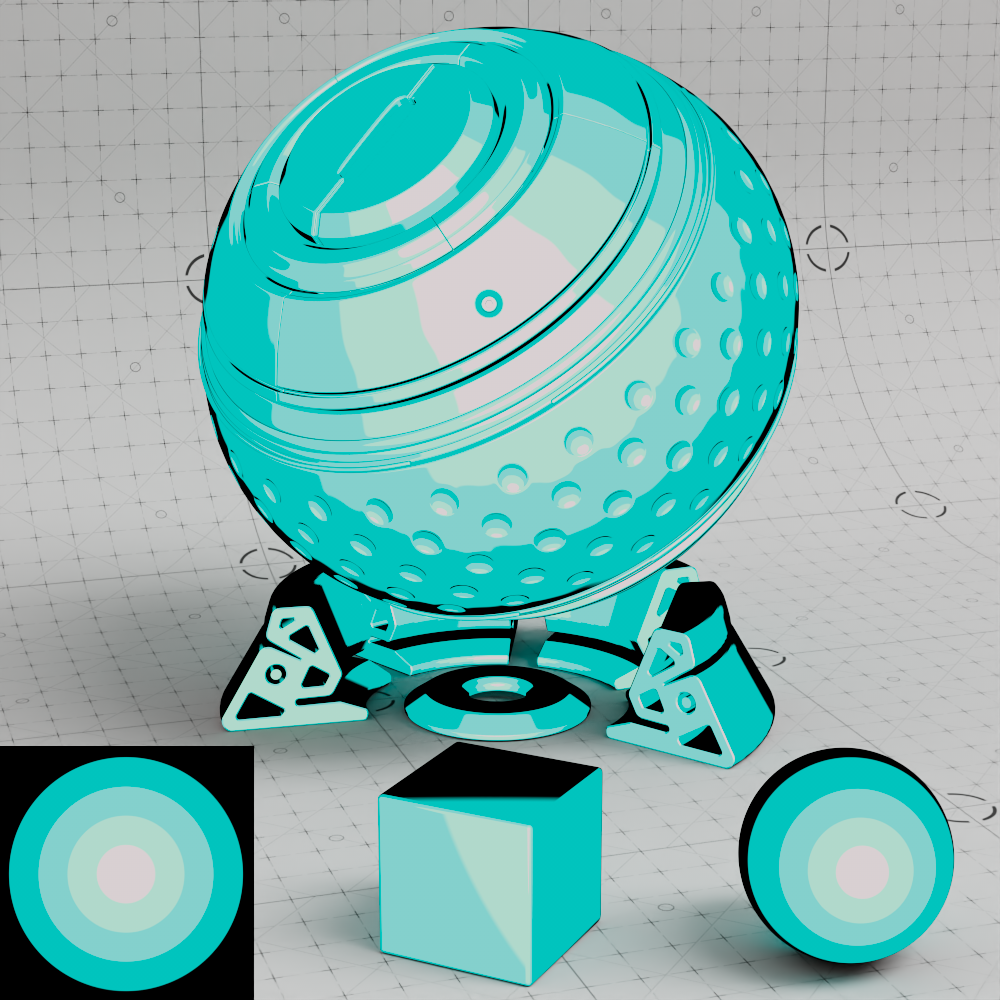
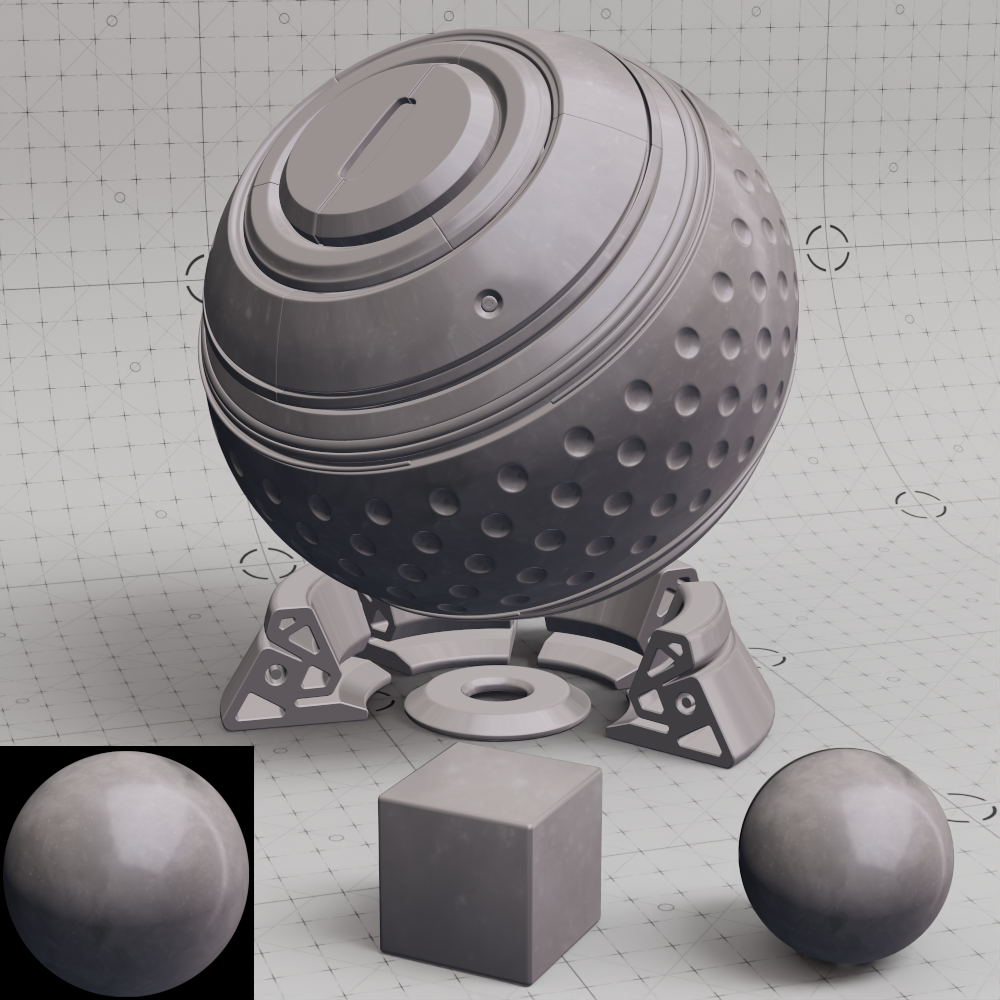
The Matcap (material capture) shader is used to map a square 2D texture depicting a lit sphere onto a 3D object from the camera position. Instead of using lights and complex texture mapping for your scene a picture of a shaded sphere textured and lit the way you want the objects in the scene to look is connected to a Matcap node's Texture input. All by itself a Matcap shader can create a highly stylized or convincing approximation of materials under different lighting conditions. This can be helpful for quickly visualizing 3D models or unique special effects.
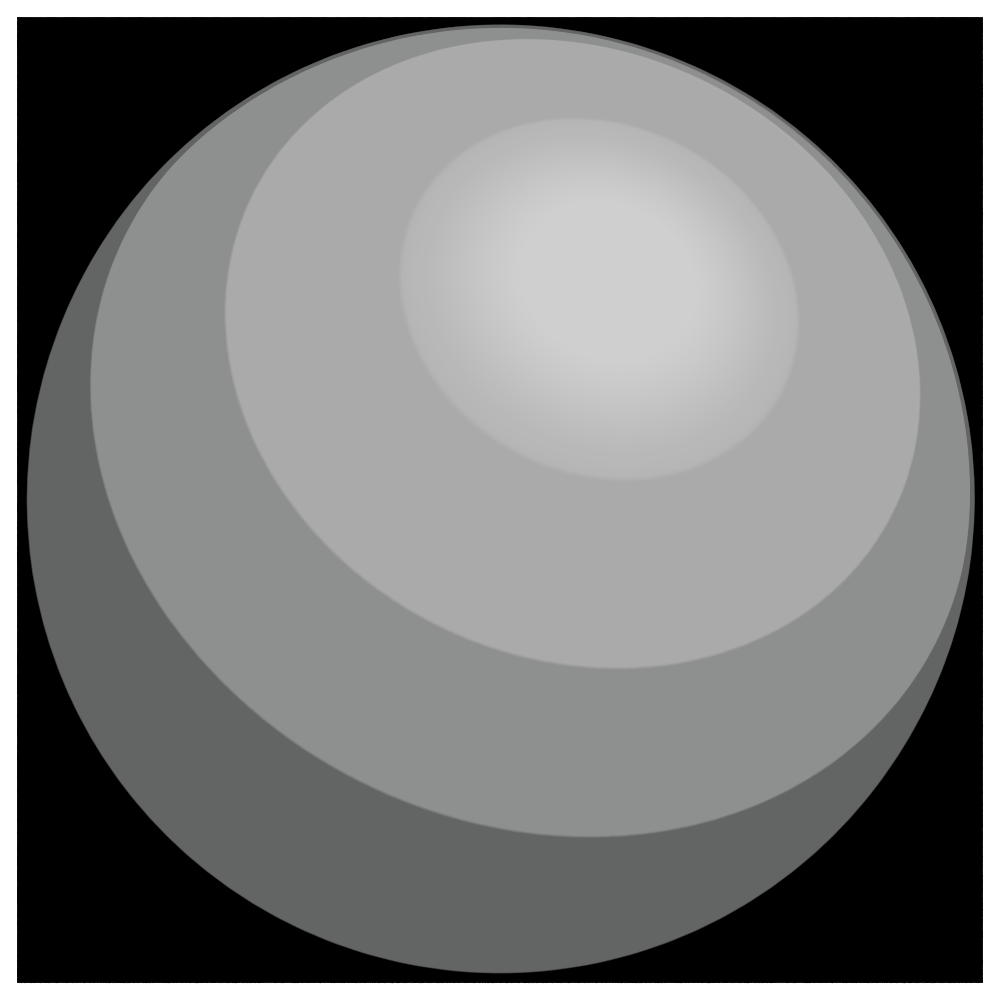
In the example images on this page, the source texture used to drive the Matcap shader can be seen pictured in the bottom left of each image.
Examples
Non-Photorealistic Rendering
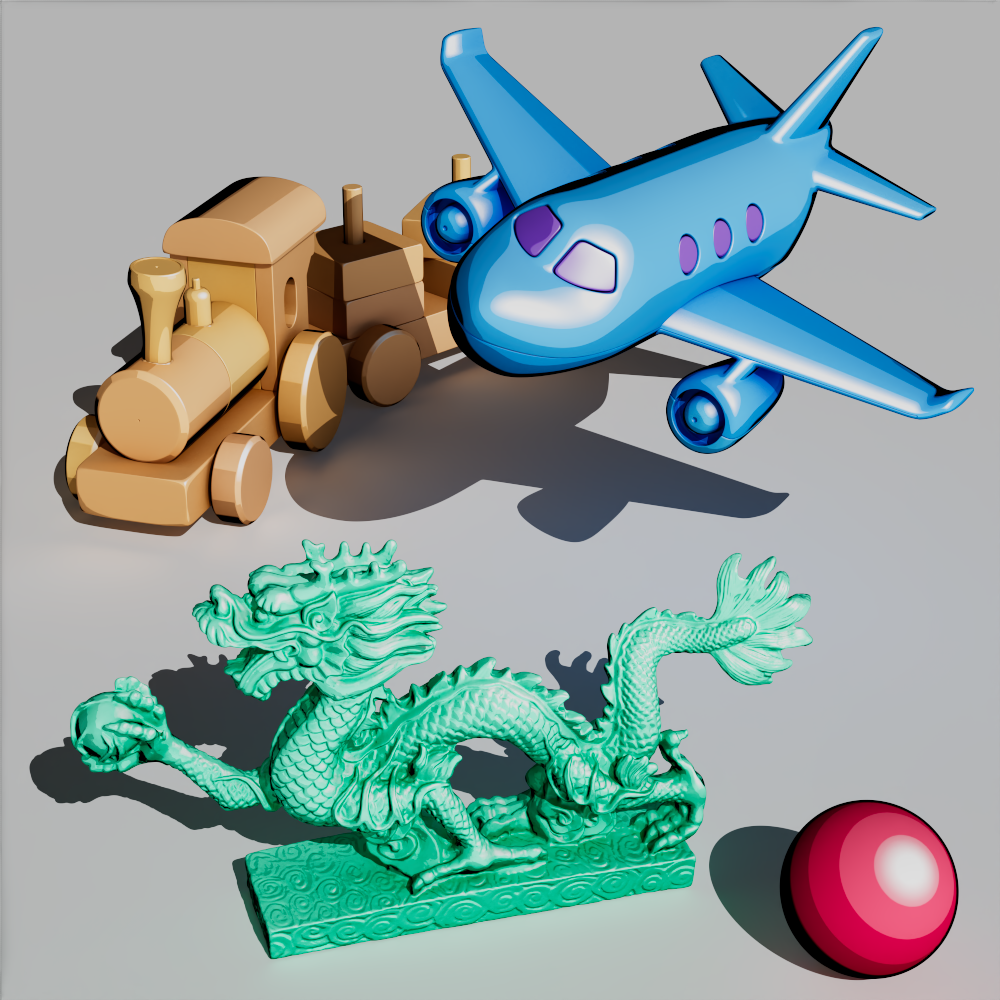
The Matcap shader can be an effective tool for non-photorealistic (NPR) looks and when combined with lighting that matches the matcap texture the effect can be very convincing. In the example below a matcap shader in world space is used to drive the base color of a standard material. A single infinite distant light is used with a shadow softness of 0 and a shadow transparency of 0.1 so that the shadow is completely sharp but isn't completely black. In the last image Global illumination is disabled for an even more stylized and flat look.
|
|
|
| Shadow Transparency: 0.1 Global Illumination: Enabled |
0 Enabled |
0 Disabled |
Increasing the light's GI contribution and adding an AO tint can be used to further stylize the output and bring additional definition to your renders.
|
|
|
| Ambient Occlusion tint: Disabled Global Illumination Contribution: 1 |
Enabled 2 |
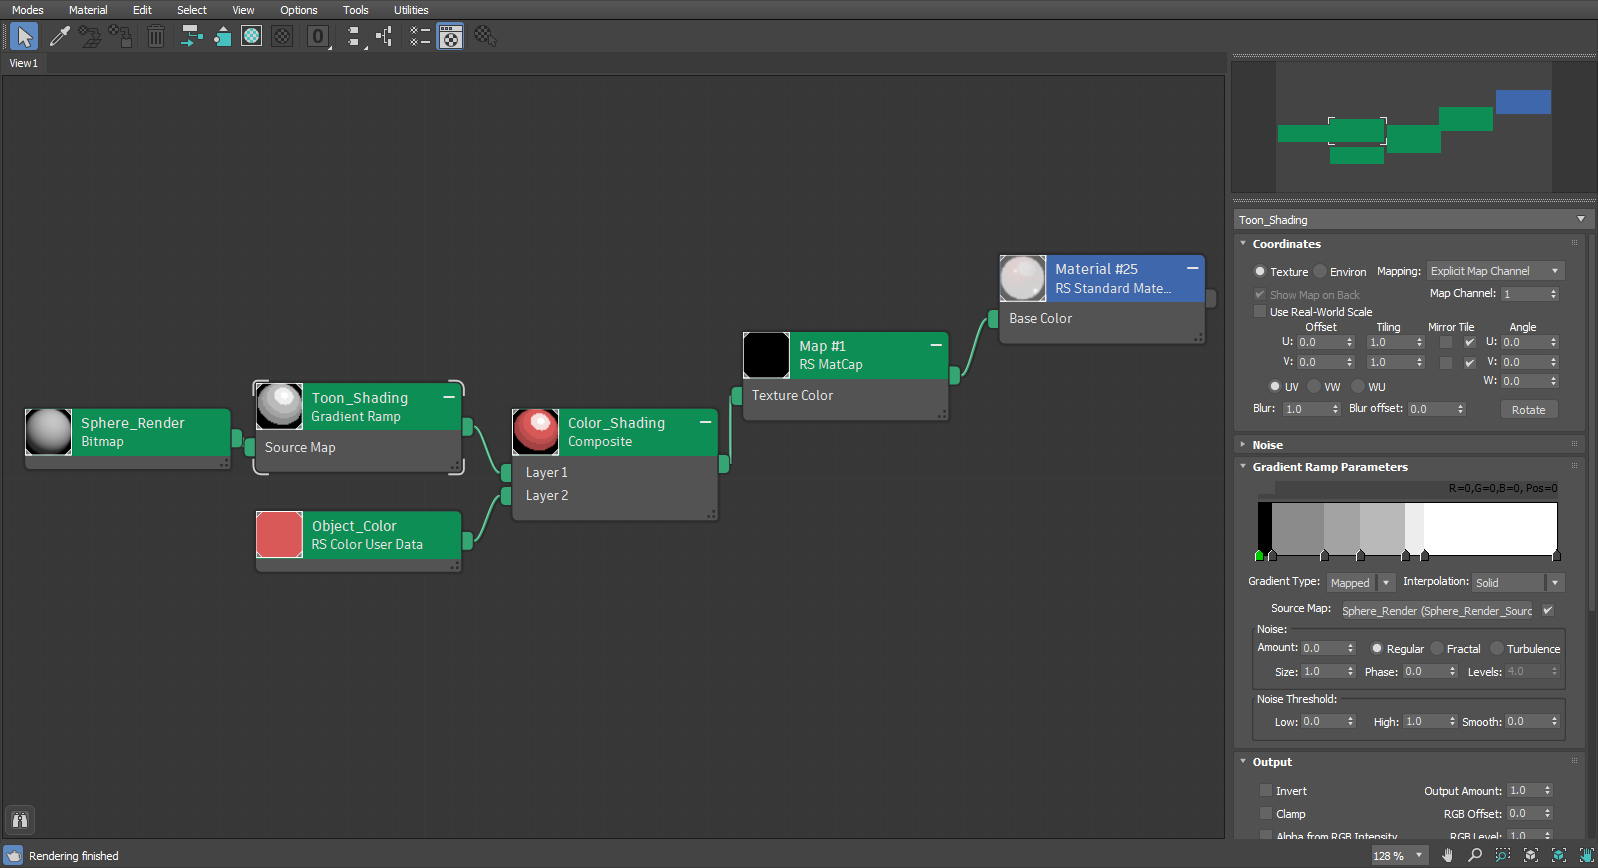
The matcap look used here is created by first remapping this ACEScg EXR source file with a ramp shader to create a stepped shading look. The result is colorized with a color layer node in overlay mode based on color data applied to each object in the scene. This allows you to apply the same NPR look to multiple objects but still get different colors for each. The black background helps creates the look of a dark outline and adjusting the matcap scale is an easy way to control how much of the black outline is visible, lowering the scale value will quickly begin to reveal more of the black outline.

|
|
|
| Source file | Remapped with a shader ramp | Colorized result |
|
Matcap with a Material
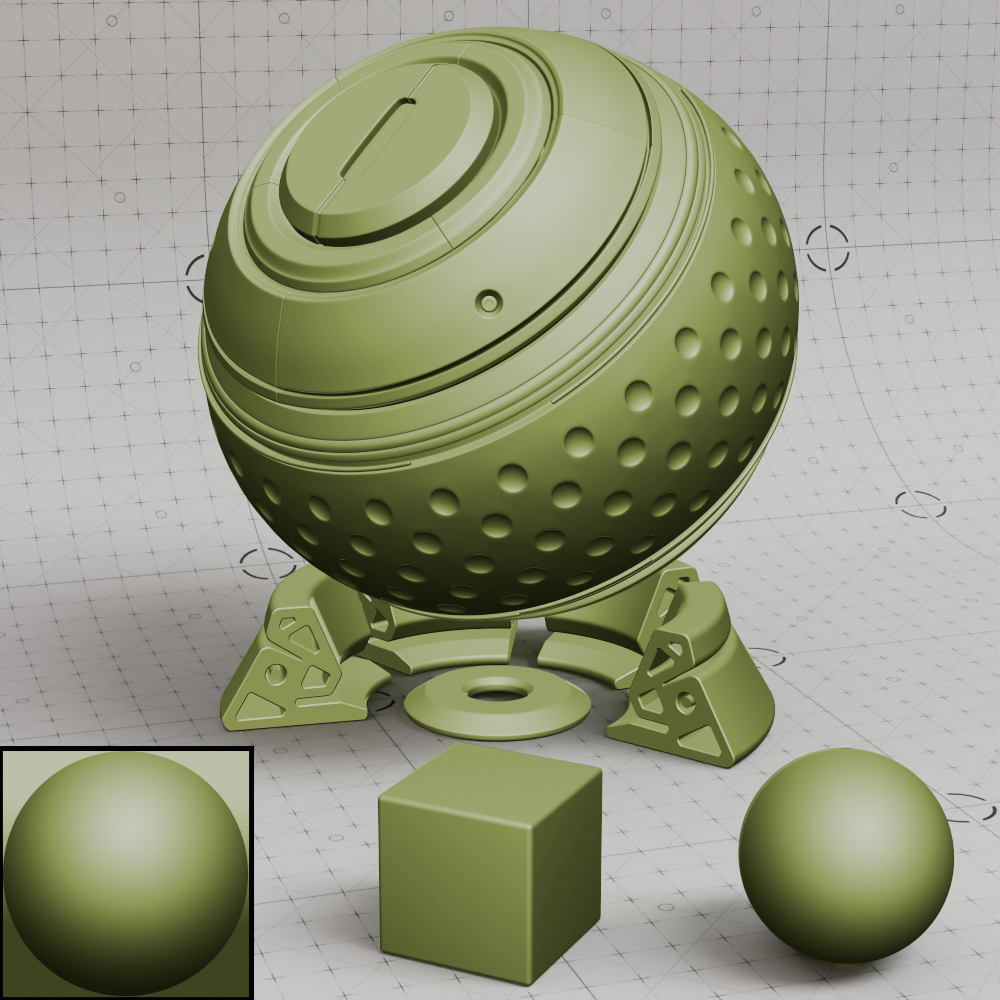
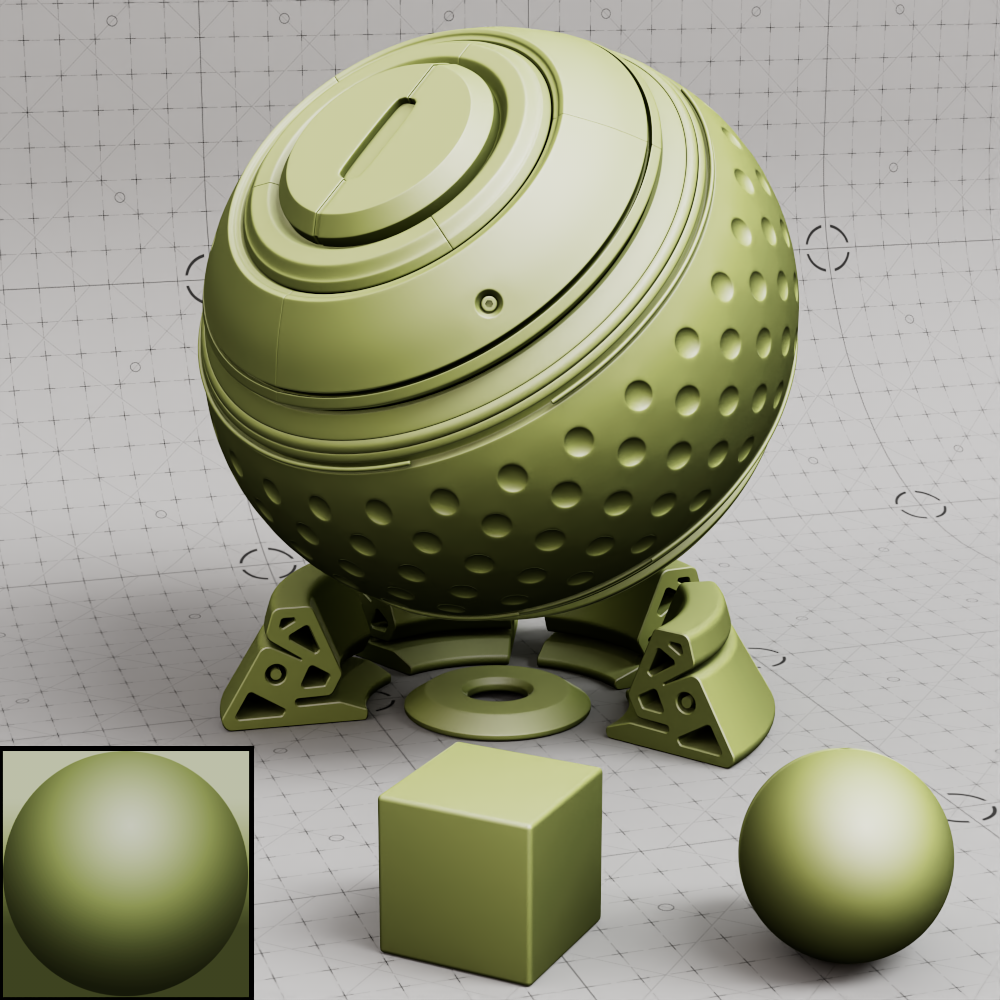
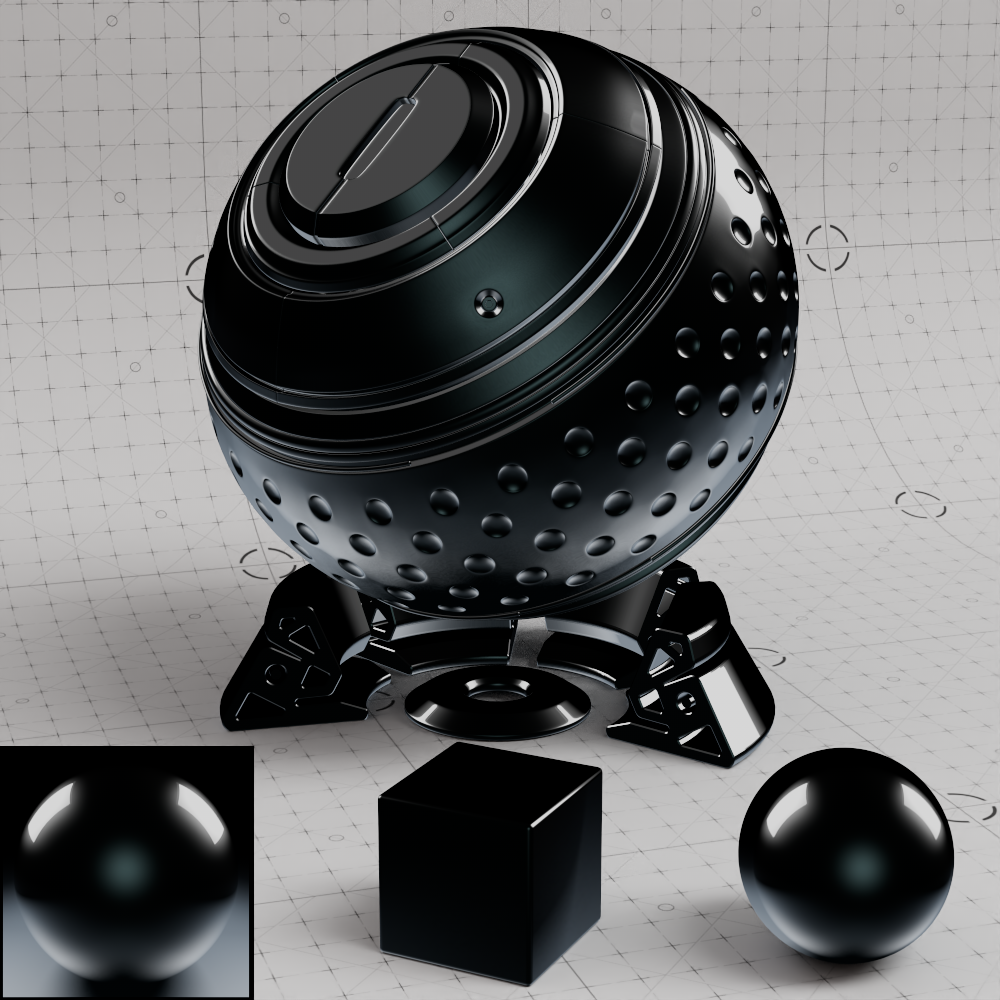
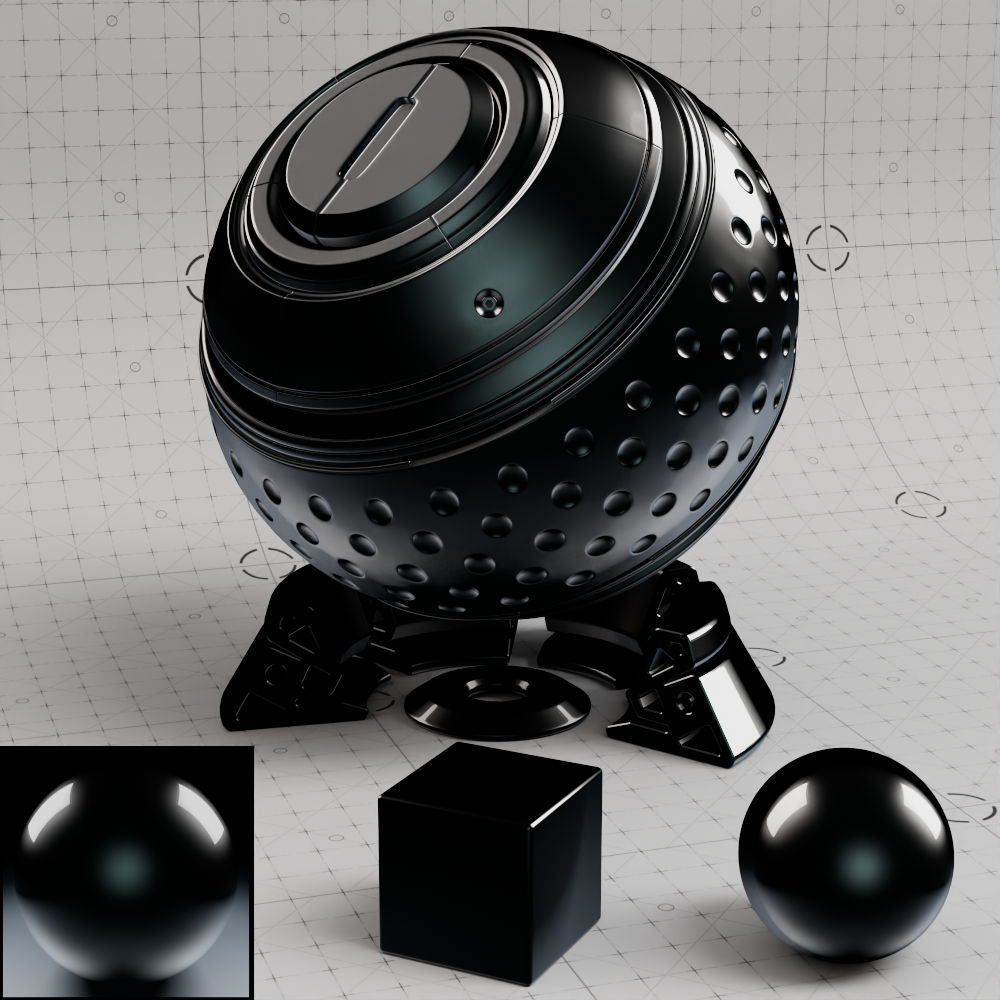
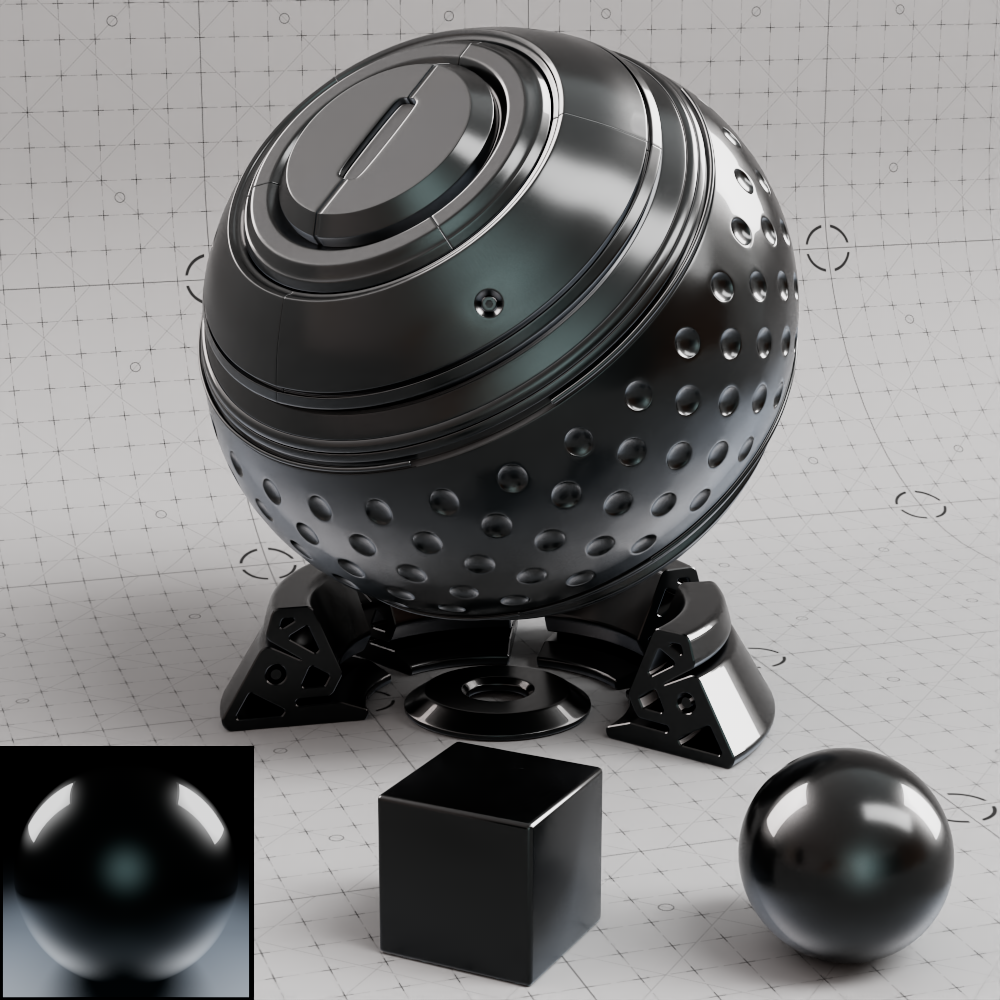
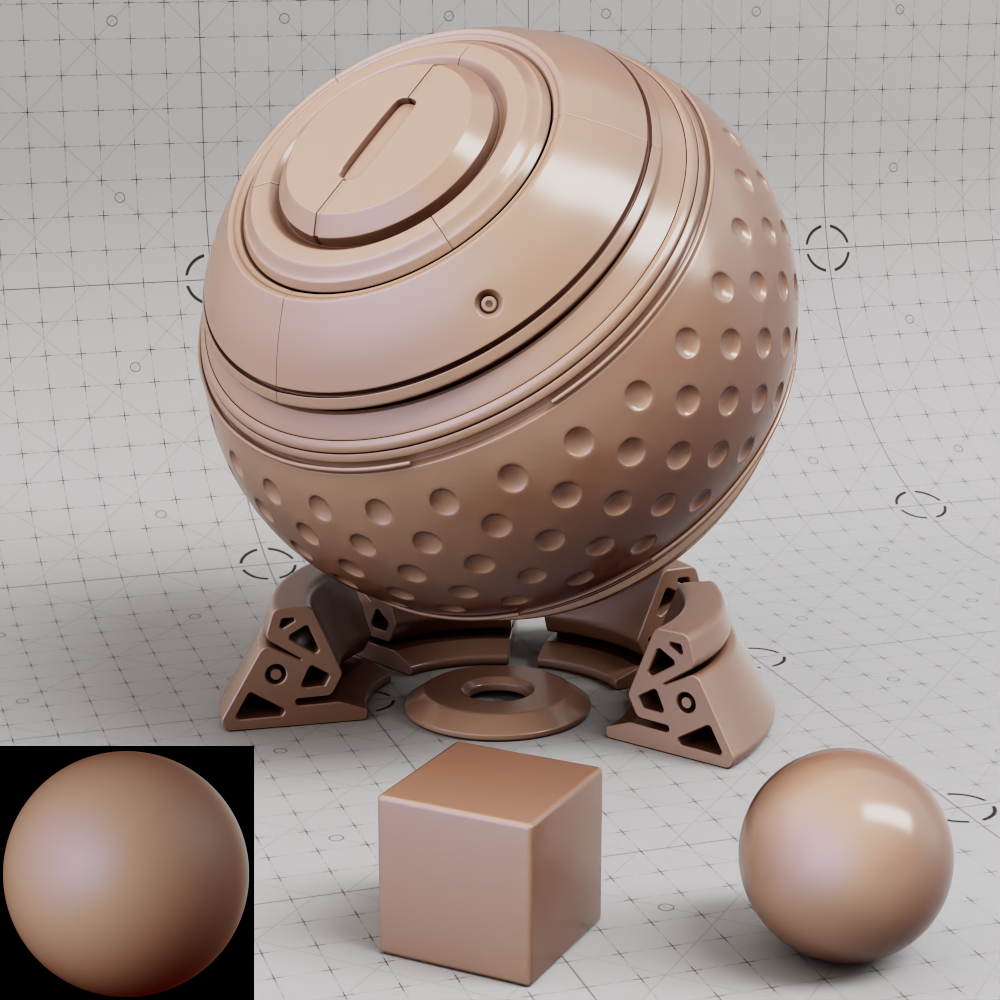
While a Matcap shader can be used entirely on its own, it can also be used like any other texture and combined with a proper material. A Matcap shader by itself does not react to any scene lighting or other objects but when it's used to drive the base color of a Standard Material the effects can become more grounded while still remaining stylized.
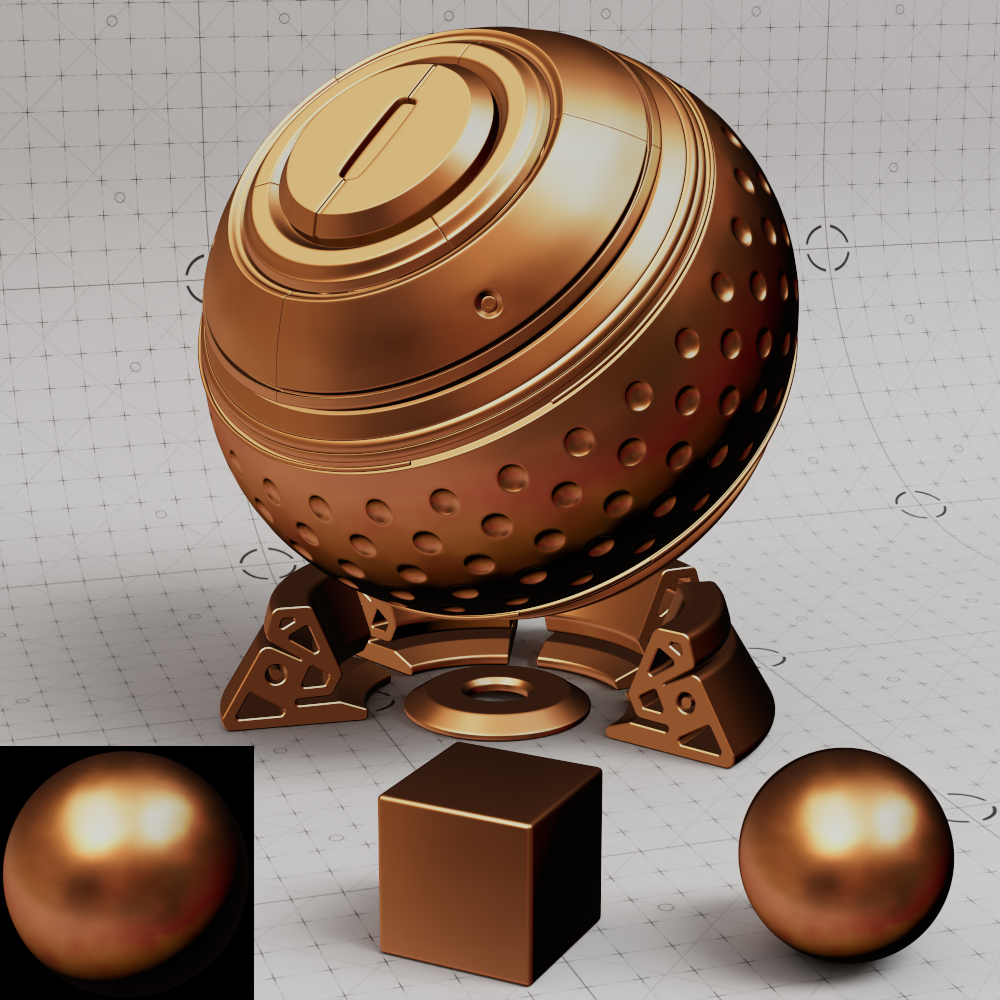
In the example images below, notice how when used with a standard material the shading of the lights in the scene and reflections of the environment can have a significant effect.
|
|
|
| Matcap only | Matcap with Standard Material (no reflections) |
Matcap with Standard Material (with reflections) |
|
|
|
| Matcap only | Matcap with Standard Material (no reflections) |
Matcap with Standard Material (with reflections) |
|

|
|
| Matcap only | Matcap with Standard Material (no reflections) |
Matcap with Standard Material (with reflections) |
Parameters
|
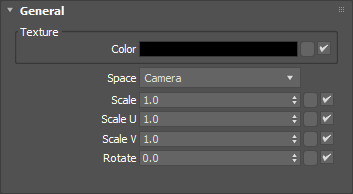
Texture
Color
Use a texture map to connect a square 2D texture here that will be used to drive the look of the material texture.
|
|
|
| Matcap Texture: Metallic | Stylized | Shiny stone |
Space
Controls the matcap coordinate space with the following options:
-
World - Camera dependent projection without camera distortion.
-
Camera - Camera dependent projection with camera distortion.
-
Normal - Not affected by the camera, the texture is projected based on the orientation of the object normals.
| Space: World | Camera | Normal |
Scale
Scales the texture from its center.
| Scale: 0.5-2 |
Scale U
Scales the texture from its center in the U direction.
| Scale U: 0-2 |
Scale V
Scales the texture from its center in the V direction.
| Scale V: 0-2 |
Rotate
Controls the orientation of the matcap texture.
| Rotate: 0-360 |