Table Of Contents
Introduction
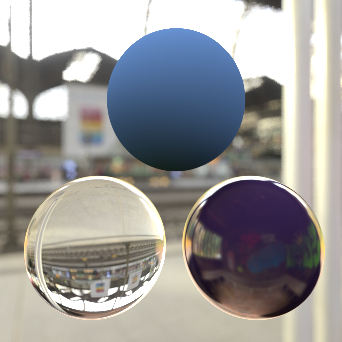
This is our basic environment shader, which takes a texture map as an input and projects it based on the projection mode.
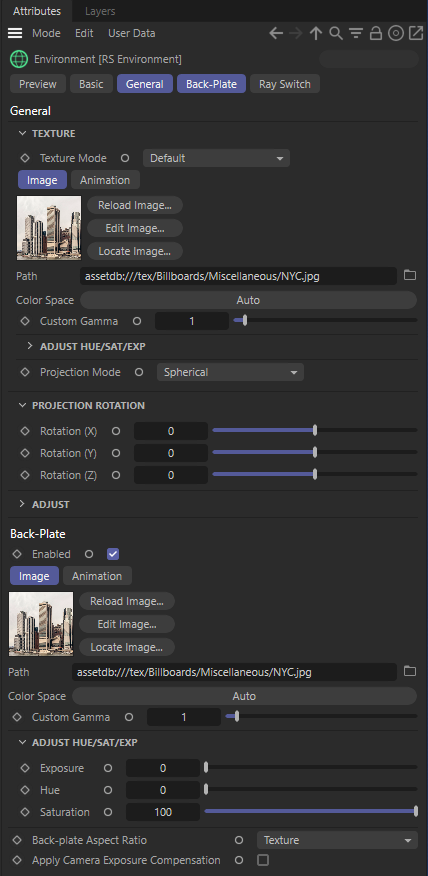
General
Texture
Texture Mode
This specifies how the textures are to be chosen:
- Default – Use the default texture Map and Projection Mode (below).
- Ray Switch – Select separate texture maps and projection modes for background, reflection, and GI rays.
Map
This is the texture map that is to be projected on to the environment.
sRGB / Gamma / Exposure / Hue / Saturation
Common image adjustments.
Most non HDR textures require gamma correction during sampling. If your texture is SRGB compliant then you need to check the SRGB option.
Projection Mode
This specifies the projection mode for the texture, of which can be one of the following:
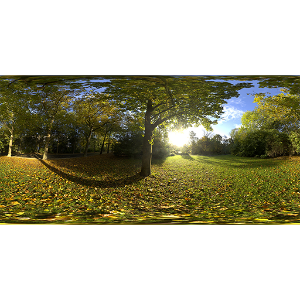
- Spherical – Projects the image as if you were inside a sphere. Note this mode is for panoramic longitude/latitude maps, NOT for 'mirror ball' maps.
- Cylindrical – Projects the image as if you were inside a vertically aligned cylinder.
- Cubic Strip – Projects the image as if you were inside a cube, with each face of the cube laid out horizontally in a strip.
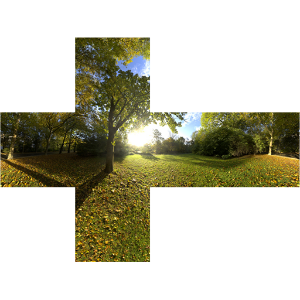
- Cubic Cross Sideways – Projects the image as if you were inside a cube, with each face of the cube laid out as an horizontal cross.
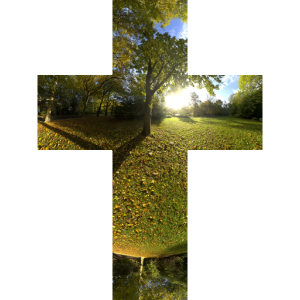
- Cubic Cross – Projects the image as if you were inside a cube, with each face of the cube laid out as a vertical cross.
|
|
|
|
|
|
| Spherical | Cylindrical | Cubic Strip | Cubic Cross Sideways | Cubic Cross |
Use Image Sequence
Allows you to use an animated image sequence for your environment.
Adjust
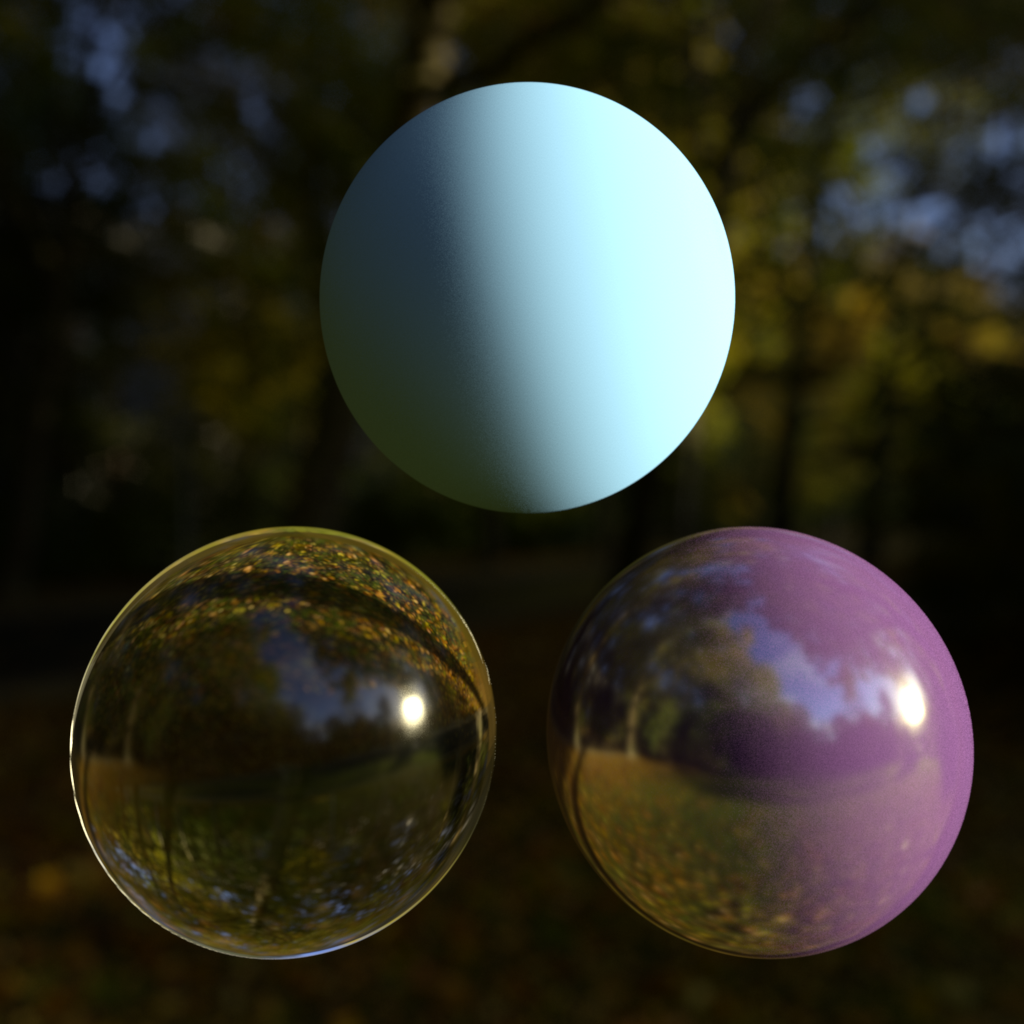
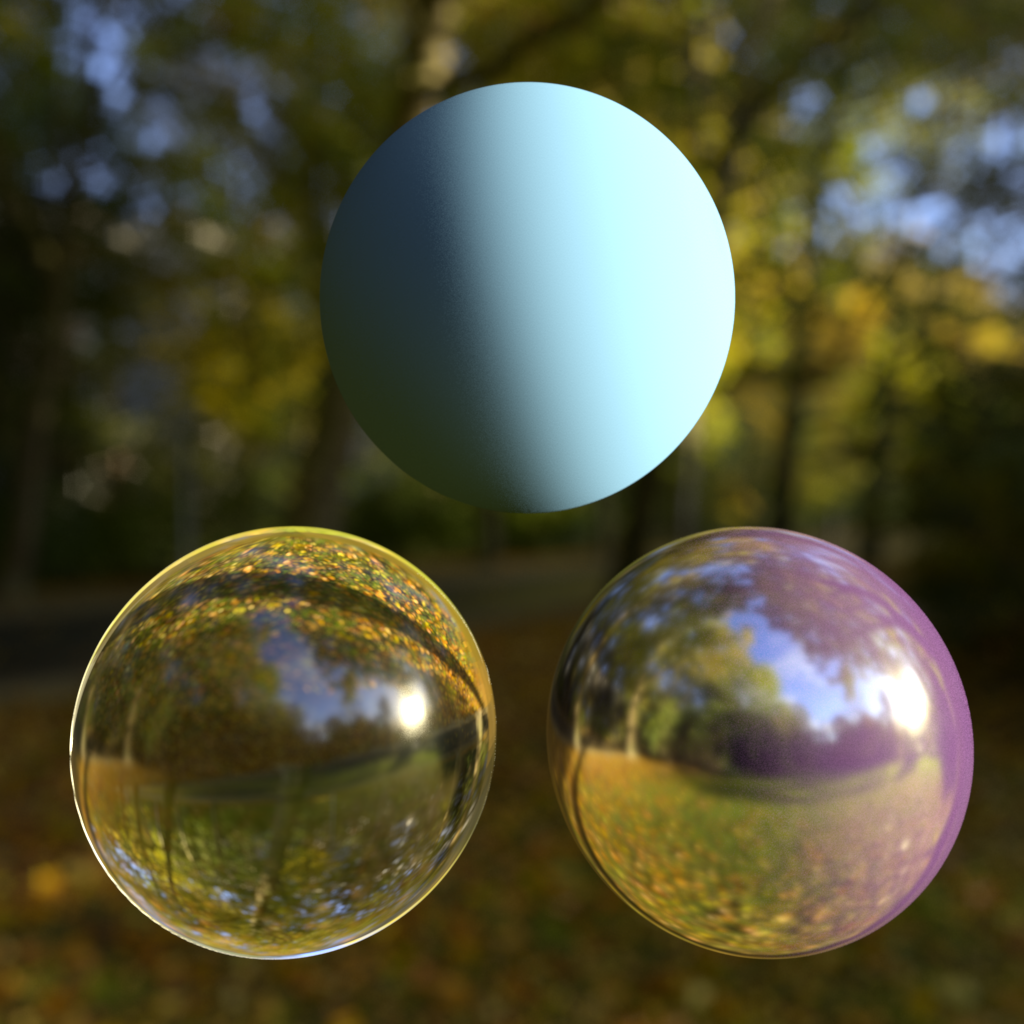
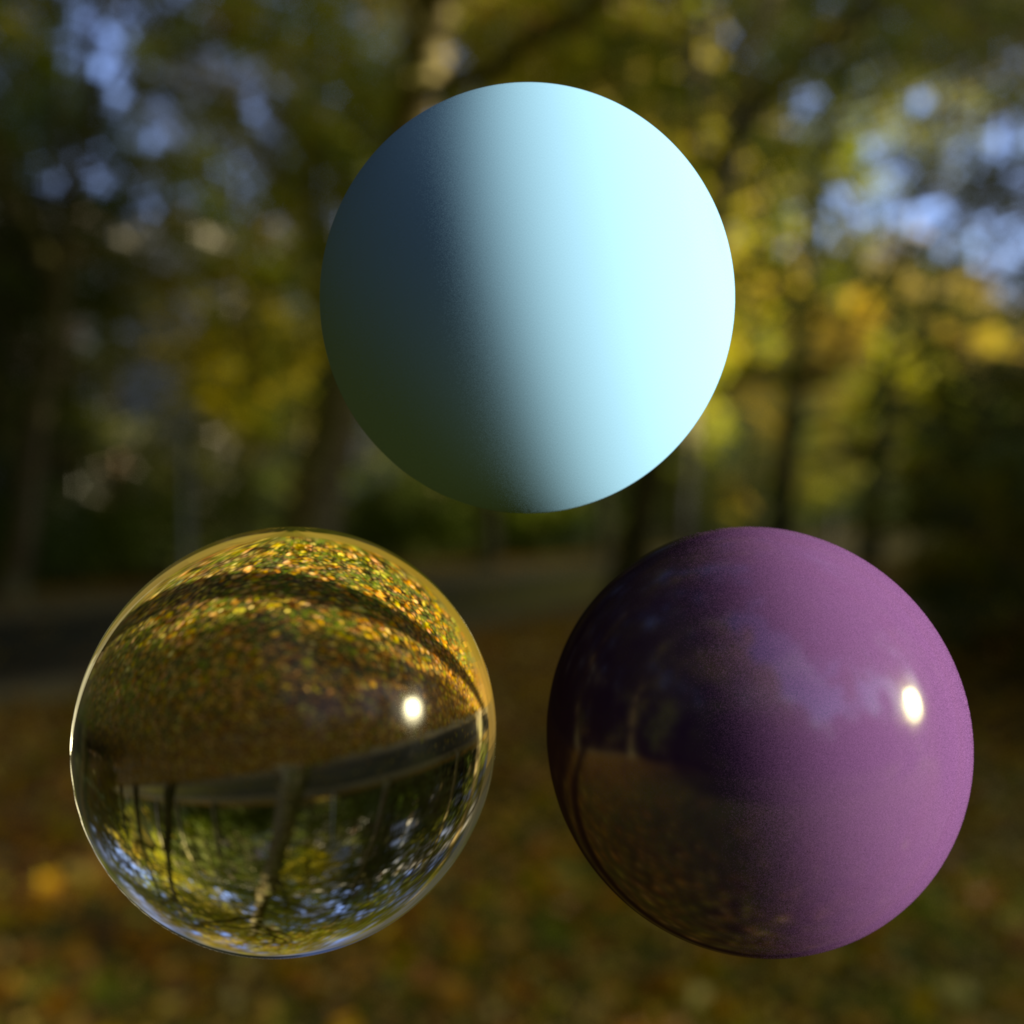
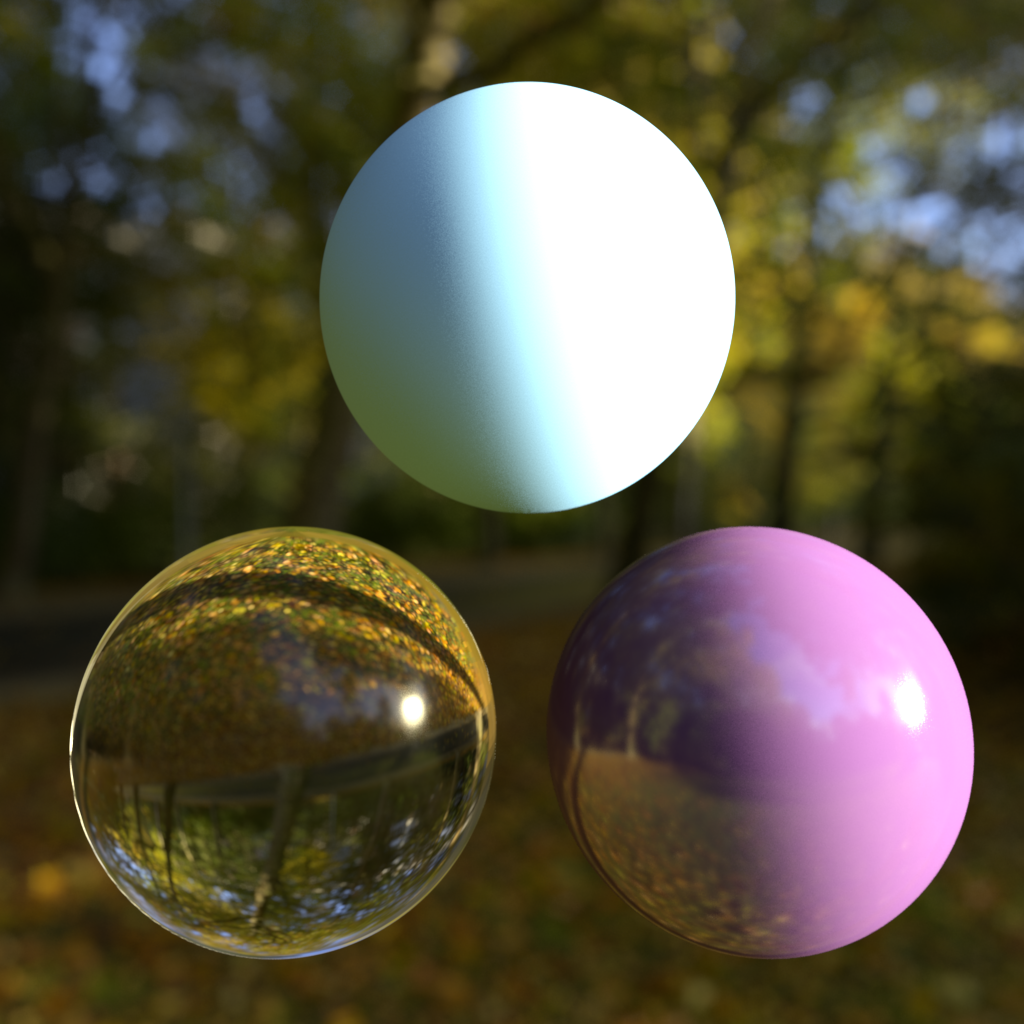
Ray Type Intensity Multipliers (Background/Refraction, Reflections, GI)
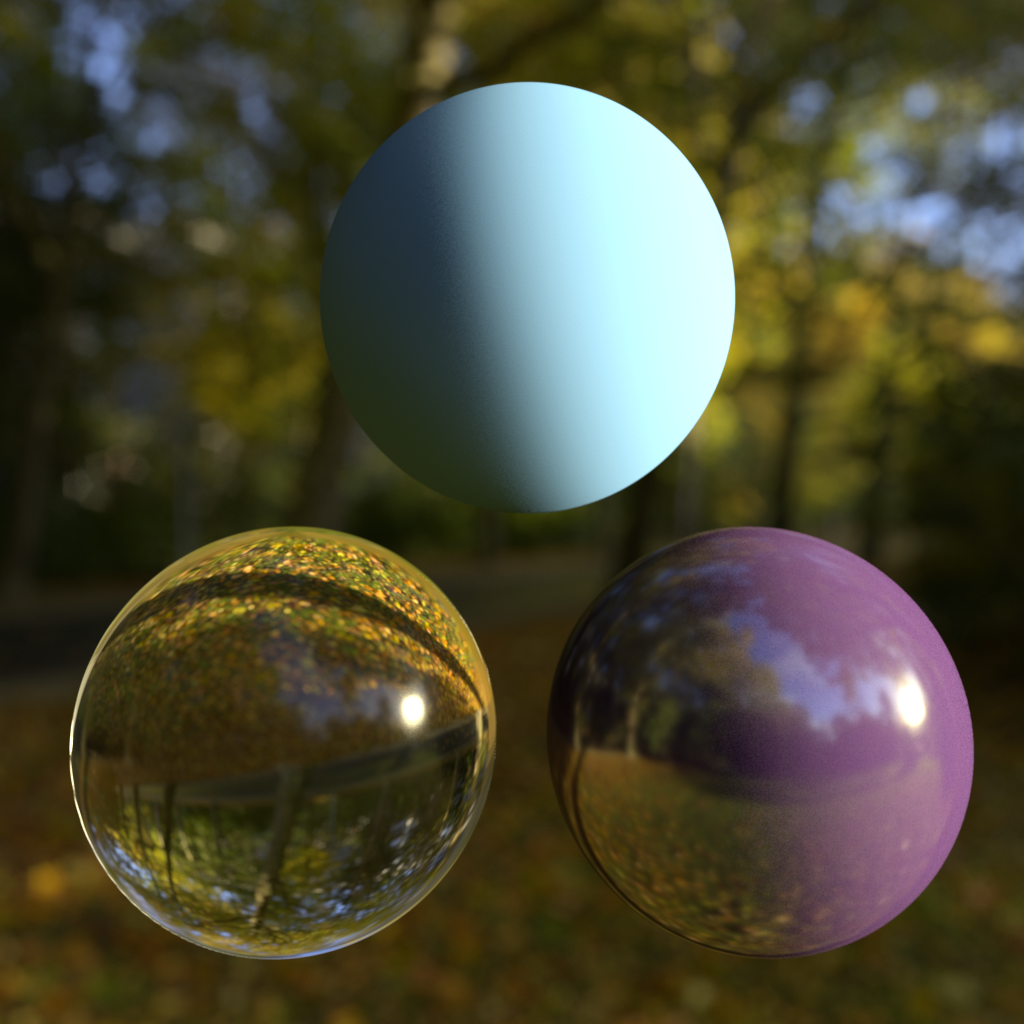
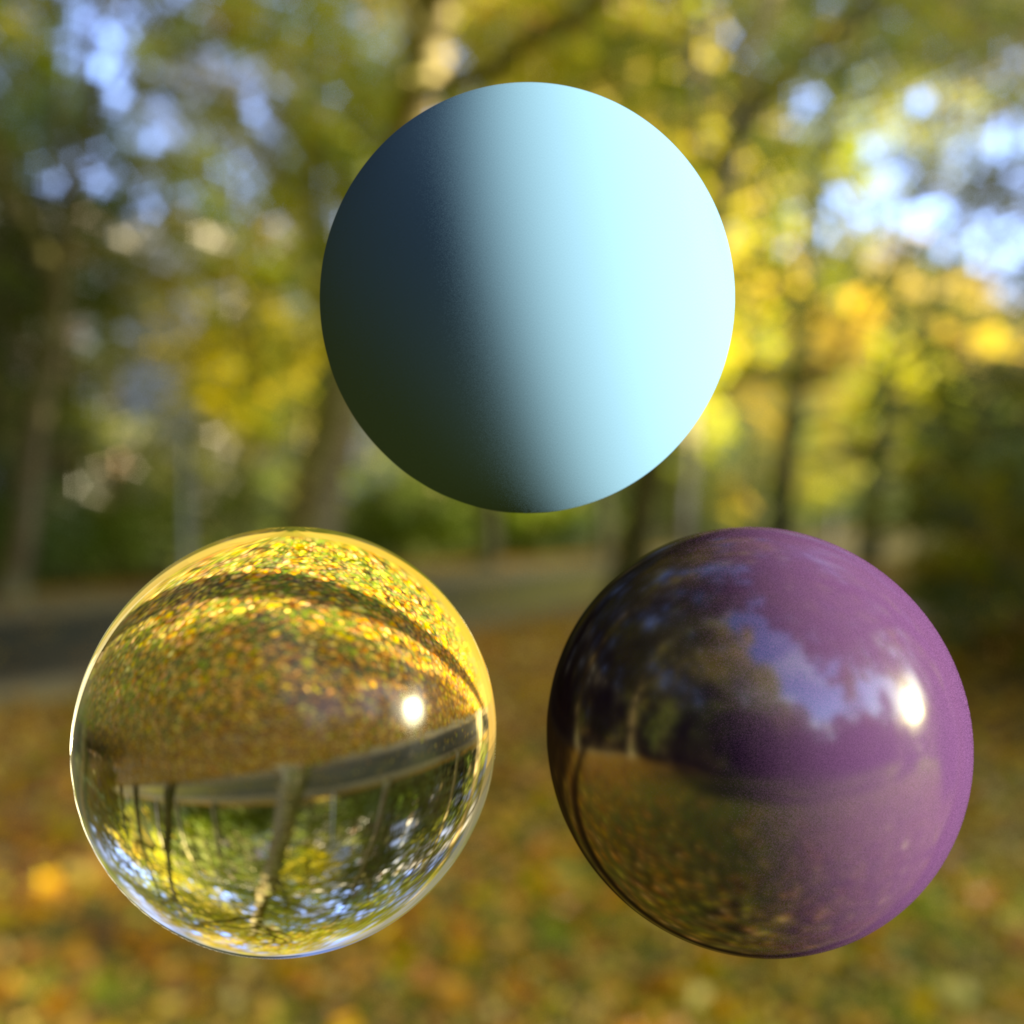
This allows you to adjust the intensity of the environment, depending on the type of ray that 'reached' it. 'Background' refers to primary 'eye' rays, meaning what you see. 'Reflection' refers to when you see the environment map through a reflection and GI means when you see it through GI rays. For example, HDR environment maps with very bright light hot-spots might cause undesirable noisy artifacts during GI tracing, so in this case you would bring down the intensity for GI only.
|
|
|
|
| Background Intensity: 1.0 | 5.0 | 0.2 |
|
|
|
|
|
|
|
|
| Reflection Intensity: 1.0 | 5.0 | 0.2 |
|
|
|
|
|
|
|
|
| GI Intensity: 1.0 | 5.0 | 0.2 |
Alpha Channel Replace Enable
This allows you to over-ride the texture alpha values, which may be necessary if they are either non-existent or not correct. Typically, for environment textures, the alpha value should always be 0.0, if you plan on compositing environment layers.
Alpha Channel Replace Alpha
This is the alpha value that will be used instead of the texture alpha values.
|
|
|
|
| Alpha Channel Replace: 1.0 | 0.5 | 0.0 |
GI Affects Matte Shadow Catchers
Normally you do not want to add environment image GI to Matte Shadow Catcher lighting as it will result in 'double lighting', since Matte Shadow background images will already contain indirect light from the environment. However, this option allows you to enable GI contribution from the environment map for Matte Shadow materials; useful if you are using a ray switch and the GI image is not representative of the real environment.
Transform
This allows you to scale, rotate and offset the projected environment image.
Back-Plate
Enabled
Map
This is the texture map that is to be projected on to the environment.
sRGB / Gamma / Exposure / Hue / Saturation
Common image adjustments.
Most non HDR textures require gamma correction during sampling. If your texture is SRGB compliant then you need to check the SRGB option.
Back-plate Aspect Ratio
This specifies what aspect ratio to use for the back-plate:
- Texture – Uses the texture dimensions to determine aspect ratio. Texture will not be warped.
- Render – Uses the render frame dimensions to determine the aspect ratio. Texture may be warped.
Apply Camera Exposure Compensation
When enabled, this disables the Photographic Exposure nodes effect on your camera map.
Ray Switch
This tab allows you to set a texture and projection mode for each ray type.
Texture Mode must be set to "Ray Switch" in the General section of this shader for these options to become active.
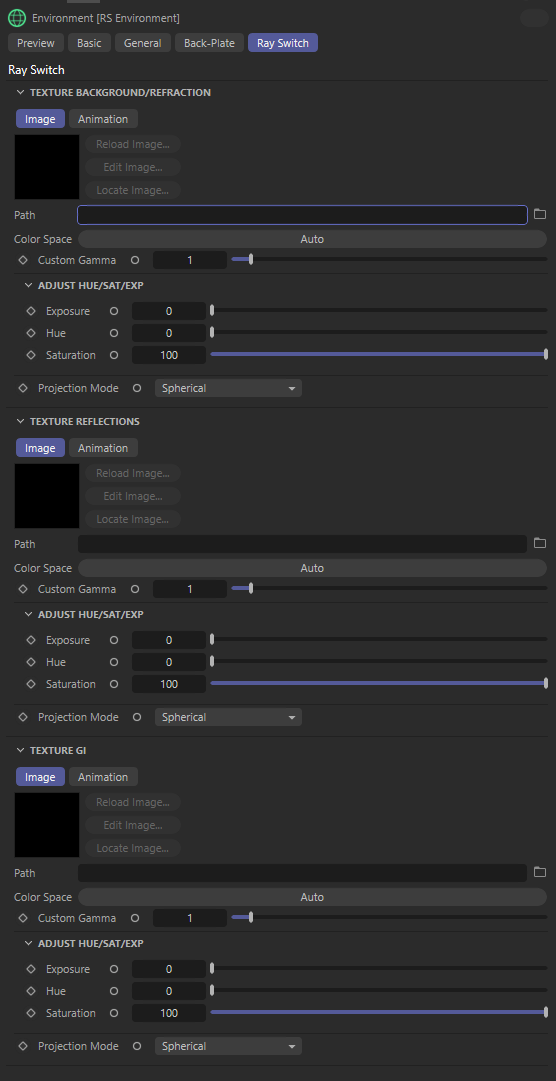
Texture Background/Refraction, Texture Reflections, Texture GI
Map
This is the texture map that will be projected on to the environment for the background, reflection or GI rays.
|
|
|
|
|
|
|
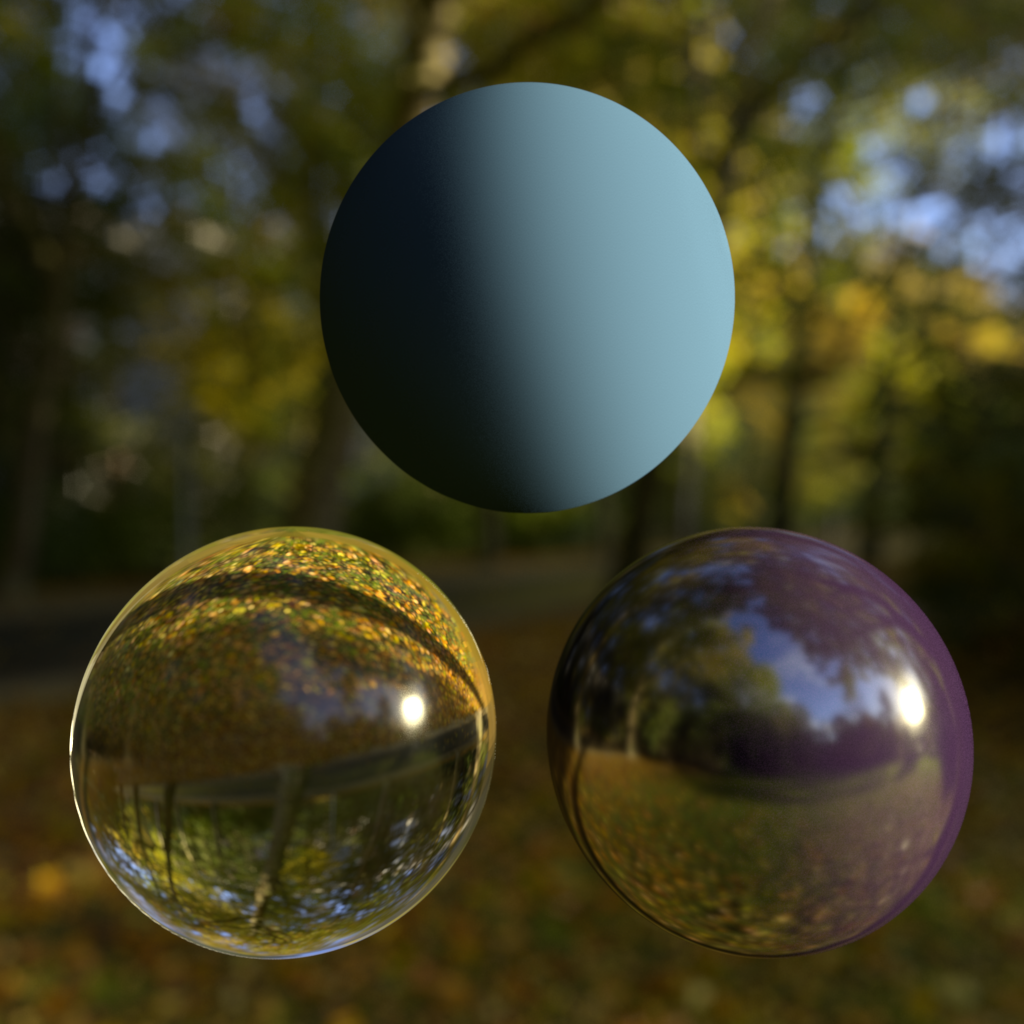
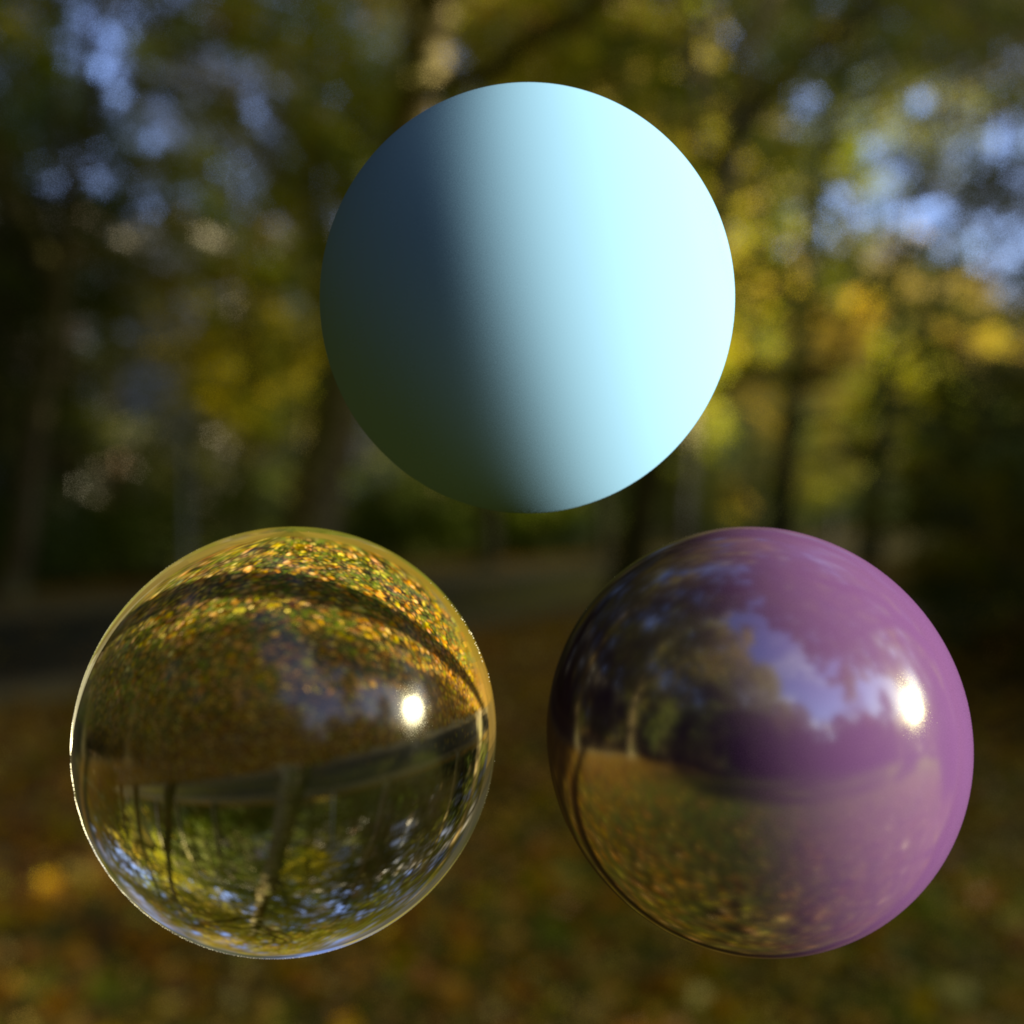
Background: Sunny Forest Reflection: Sunny Forest GI: Sunny Forest |
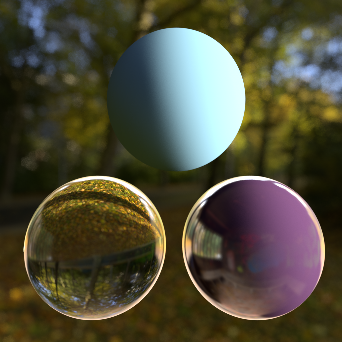
Background: Building Interior Reflection: Sunny Forest GI Texture: Sunny Forest |
Background: Sunny Forest Reflection: Underpass Interior GI: Sunny Forest |
Background: Sunny Forest Reflection: Sunny Forest GI: Overcast Forest |
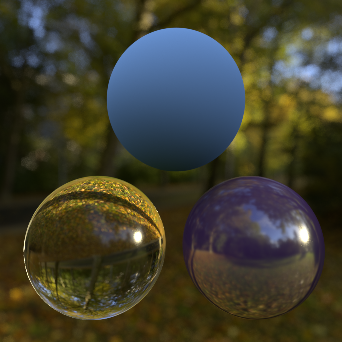
Background : Building Interior Reflection: Underpass Interior GI: Overcast Forest |
sRGB / Gamma / Exposure / Hue / Saturation
Common image adjustments.
Most non HDR textures require gamma correction during sampling. If your texture is SRGB compliant then you need to check the SRGB option.
Projection Mode
This specifies the projection mode for the texture, of which can be one of the following:
- Spherical – Projects the image as if you were inside a sphere. Note this mode is for panoramic longitude/latitude maps, NOT for 'mirror ball' maps.
- Cylindrical – Projects the image as if you were inside a vertically aligned cylinder.
- Cubic Strip – Projects the image as if you were inside a cube, with each face of the cube laid out horizontally in a strip.
- Cubic Cross Sideways – Projects the image as if you were inside a cube, with each face of the cube laid out as an horizontal cross.
- Cubic Cross – Projects the image as if you were inside a cube, with each face of the cube laid out as a vertical cross.
For visual examples, see here.


 >
>
