Bokeh
In Redshift 3.5.14 and later, please use the Redshift Camera for bokeh settings.
Introduction
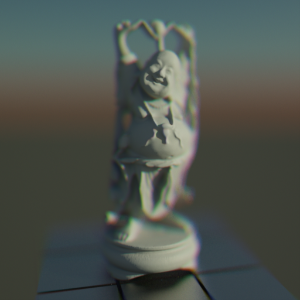
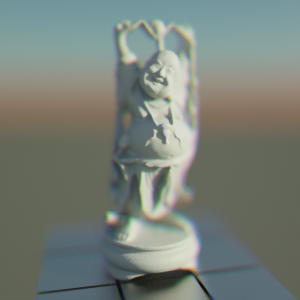
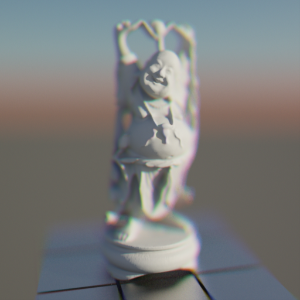
Attaching the Redshift Bokeh Lens shader to a camera provides Depth-Of-Field controls (DOF). This allows the camera to 'focus' on individual objects and blur the rest of the image.
The focusing happens at a specific distance from the camera.
How To Use
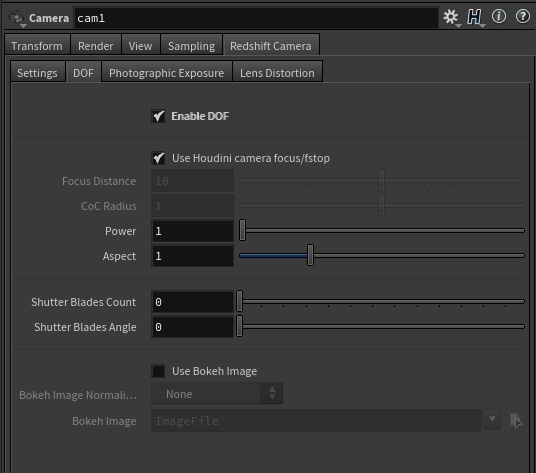
You can enable bokeh via the "Redshift Bokeh" Lens Shader as shown below.
The Bokeh DOF effect is available using the custom camera properties that can be added as spare parameters by selecting the camera node and clicking the CamParms icon in the Redshift toolbar.
Focus Settings
Derive Focus Distance From Camera
Cameras often have specific controls for their "interest", i.e. the 3D position that the camera is focusing on. If you enable this option, the camera interest will be used by Redshift to determine the focus distance.
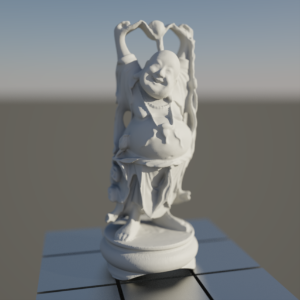
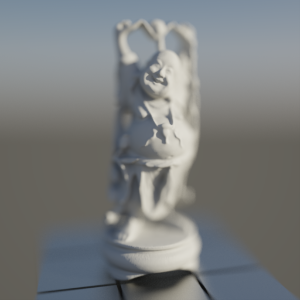
Focus Distance
If "Derive Focus Distance From Camera" is disabled, you can type in a specific value for the focus distance. This can be useful if the camera is already tracking a specific object but you actually want to focus on a different distance.
|
|
|
|
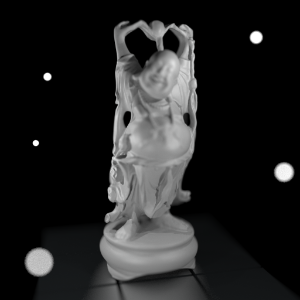
Adjusting "Focus Distance" to focus on the face. |
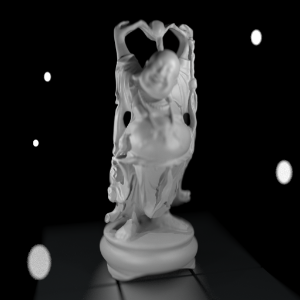
Adjusting "Focus Distance" to focus on the hand. |


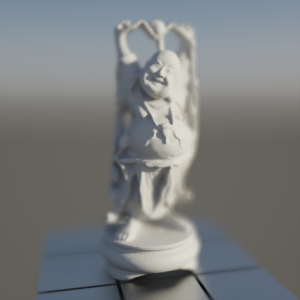
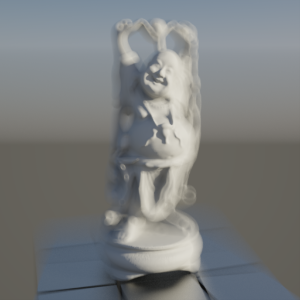
CoC Radius
"CoC" stands for "circle of confusion". This parameter controls how strong the Depth-Of-Field effect will be. Smaller values keep a larger range around "Focus Distance" in focus, i.e. more of the image is in focus. Larger values make the effect stronger – only parts of the image exactly at a "Focus Distance" will be sharp, everything else will be blurry.
The circle of confusion works in conjunction with the F-stop (Aperture) of your camera using the formula below.
dofRadius = focalLength / fStop / 2 / (mm in scene units)
|
|
|
|
|
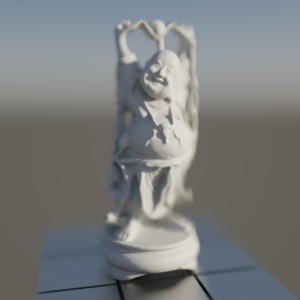
CoC Radius 2.0 |
CoC Radius 5.0 |
CoC Radius 10.0 |

Power
This parameter has no effect when you use a bokeh image. If you're using a bokeh image, you can simulate this effect by multiplying your image by a radial gradient which is dark in the middle and bright on the edges.
You can think of out-of-focus pixels as blurry disks. The blurrier a pixel is, the larger the disk. The "Power" parameter controls how these disks appear.
The default 1.0 value makes the disk intensity even. Values lower than 1.0 make the center of the disks more important than the outer parts. Values greater than 1.0 have the opposite effect: they make the outer parts of the disk more important. This is better explained with the images below:
|
|
|
|
|
Power 1.0. This is the default value. |
Power 0.5. The Depth-Of-Field becomes tighter. |
Power 10.0. A "double vision" effect. |
Aspect
The Aspect parameter can squash the depth-of-field effect and simulate the effect observed on anamorphic lenses. The default 1.0 value produces a perfectly circular disc while values less than 1.0 or greater than 1.0 will respectively squash the shape vertically and horizontally.
On the following scene we lit our model using a few spherical lights. Looking at the following examples, please observe that 0.8 = 1.0 / 1.25.
In other words, if you want to maintain the same amount of aspect, but want it on the opposite axis, you'll need to use the reciprocal of your value.
|
|
|
|
|
Aspect 1.0. This is the default value. |
Aspect 0.8. The Depth-Of-Field shape becomes longer on the Y axis. |
Aspect 1.25. The Depth-Of-Field effect becomes longer on the X axis. |

Shutter Blades
Blade Count / Angle
This parameter has no effect when you use a bokeh image
Like mentioned above, you can think of each out-of-focus pixel as a disk. The shutter of real-life cameras, though, does not look like a perfect disk but is opening and closing using a number of blades. This means that it looks more like an N-gon than a disk.
The "Blade Count" or "Blades" parameter allows you to simulate that shape. The larger the blade count, the more the Depth-Of-Field shape will look like a disk. Lower values will make the Depth-Of-Field shape more angular, as shown below. If you set this to 0.0 (which is the default value), a disk will be used instead.
The "Angle" parameter controls the angle of the effect. If the shape is a disk, this has no effect.
|
|
|
|
|
Blade Count 0.0 (disk) |
Blade Count 3 (triangle). Angle 0.2 |
Blade Count 3 (triangle). Angle 0.7 |


Use Bokeh Image / Image Normalization
Apart from the vignetting effect, real-life camera lenses sometimes also exhibit an artifact called "chromatic aberration". Chromatic aberration means that, depending on the angle of the light reaching the lens, certain light wavelengths (colors) are reflected away and never reach the camera. This creates a rainbow effect which is stronger in parts of the image that are out-of-focus. Just like vignetting, even though this is an artifact sometimes it is desired for artistic reasons.
Redshift allows you to use an image for Depth-Of-Field which can help simulate the chromatic aberration effect. Such an image is shown below.

To get a neutral result in the focused pixels one would have to draw this picture perfectly. I.e. there should be exactly the same number of red pixels to blue to green. Not doing so would mean that the image would either be too red or too green or too blue and also too dim.
But drawing such an image is almost impossible to do! So, for that reason, Redshift allows you to select an image normalization mode. This means that we adjust the texture automatically so that it balances out. Sometimes you might want to ensure that the colors you use all add up to white. In that case, use "White Color Sum". In other cases you might actually want the overall tint to not be white but you still want the final image to not be any darker than it would normally be. In those cases, please select "Unit Intensity".
The bokeh image shown above actually suffers from both issues. It contains black, so it means that it doesn't sum to one. Also the red/green/blue circles are not perfect: the red circle has its top chopped off. But using the normalization modes, this image can still be used without issues!
The examples below show the different normalization modes in action:
|
|
|
|
|
Normalization set to "None". The in-focus pixels are tinted and look darker |
Normalization set to "Unit Intensity". The image is brighter (like the original), but there is still tint because of the red circle being chopped off (so green and blue 'win'). Sometimes following the color balance of the bokeh image is desirable. |
Normalization set to "White Color Sum". The image is now normalized so that all its pixels add up to white. This removes any unwanted tinting in the in-focus pixels |