Photographic Exposure
In Redshift 3.5.14 and later, please use the Redshift Camera for exposure settings.
Introduction
Attaching the Redshift Photographic Exposure lens shader to a camera provides the user with physical camera controls such as ISO, f-stop, vignetting and other controls.
Using Photographic Exposure is important when working with certain features of the renderer such as IES lights and the physical sun/sky. The reason is that these features can generate very high light intensities. By default, the Photographic Exposure lens shader brings these intensities into control so they don't appear too blown out or too dim.

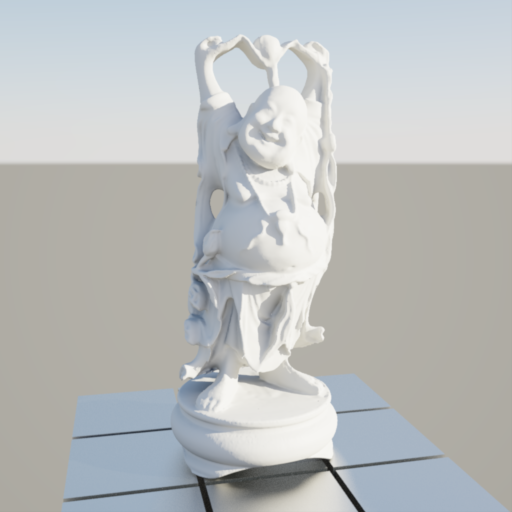
A scene lit with a Sun/Sky rig but no Photographic Exposure lens shader attached. It's completely blown out white!
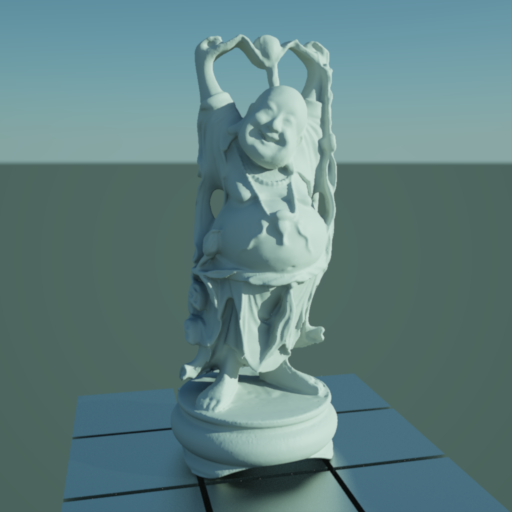
The same scene with a Photographic Exposure lens shader attached to the camera.
How To Use
You can use the photographic exposure settings via the "Redshift Photographic Exposure" lens shader, as shown below.
The Photographic Exposure effect is available using the custom camera properties that can be added as spare parameters by selecting the camera node and clicking CamParms icon in the Redshift toolbar.
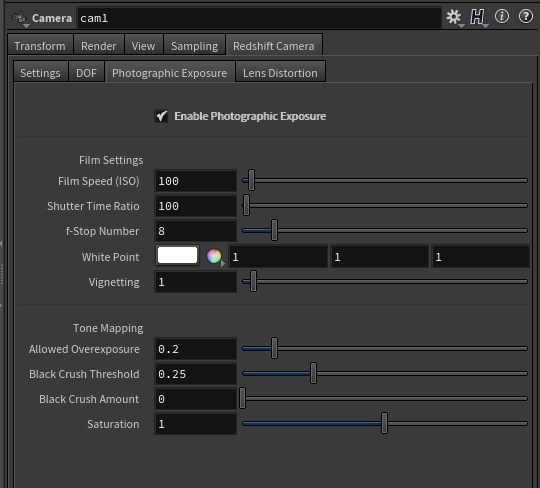
Film Settings
Film Speed (ISO)/ Shutter Time / F-Stop (Aperture)
The "Film Speed" parameter controls the sensitivity of the film. In real-life high ISOs mean that the film is very sensitive and will capture a lot of light in a short amount of time, but the image can be grainy. Low ISOs mean that the shutter has to be open for longer for the film to capture enough light (otherwise the image will be too dark) but the final result will be cleaner. Please note that Redshift does not simulate the chemical properties of film so there won't be any grain issues at high ISO settings!
The "Shutter Time Ratio" parameter controls the duration the camera's shutter will stay open. A value of 30 means 1/30, i.e. a 30 th of a second. Therefore, the smaller the value, the longer the shutter stays open and the brighter the image (and vice-versa).
The "F-Stop" or "Aperture" parameter is a divider of the aperture of the camera (the hole through which light come onto the film). So if the aperture of the camera is 1.0, an F-stop/Aperture value of 2.0 means 1.0/2.0. An F-Stop/Aperture of 16.0 means 1.0/16.0. So the larger the F-Stop the smaller the aperture. Smaller apertures mean that less light enters the camera and lands on the film, so the image is dimmer. So the larger the F-Stop or Aperture value, the dimmer the image.
Redshift combines all the three parameters together to control how dark or how bright an image is. Users that have some experience with photography will find them more intuitive than a simple magic "image brightness" control. Users that are not familiar with camera/film properties can simply pick any of the three controls and adjust that to get the desired result (i.e. how bright or how dark the final image should be)
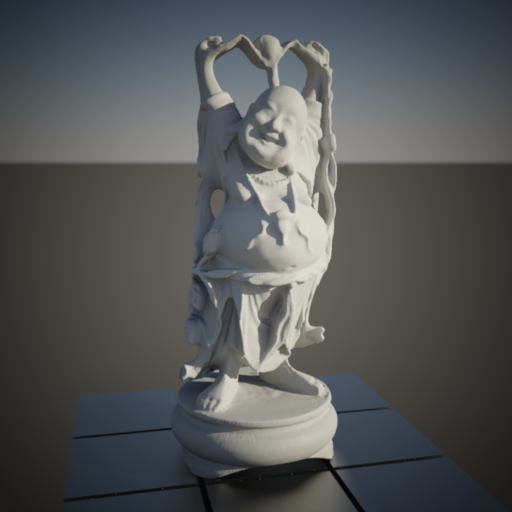
F-Stop was lowered from 8.0 to 4.0. The image is now brighter.
Whitepoint
This parameter controls what is considered "white" in the image. Images that are lit by colored light sources can never achieve a proper white (1.0, 1.0, 1.0) color. An indoor scene, for example, might be lit by incandescent lights which are yellow/orange compared to pure white light.
If you scene has such an overall tint (because of lighting) you have two choices:
- Either adjust each and every light and make it more white. This can be extremely tedious though!
- Adjust the Whitepoint parameter explained here which will re-tint the entire image as a post process
The color you choose for "Whitepoint" is the color that will be removed from the image. So if you image is slightly reddish you should make "Whitepoint" a bit red (for example (1.0, 0.9, 0.9)) in order to remove the red tint.
WhitePoint set to (1.0, 0.5, 0.5). This means that a lot of red and some of green and blue is removed from the image.
Vignetting
Not supported with fisheye, orthographic, spherical, or cylindrical camera projection.
In real-life, just light reaches the film it goes through the camera lens. Lenses are often imperfect and, depending on the angle of the lighting, they might absorb or reflect away some light so less of it eventually reaches the camera. The result is darkening around the edges of the image. This imperfection, however, can sometimes be visually pleasing and 'focuses' the viewer towards the center of the image.
The higher the Vignetting value, the more darkening there will be around the edges of the image.
Vignetting set to 16
Tone Mapping Settings
Most computer graphics displays can reproduce all colors ranging from black (0.0, 0.0, 0.0) to white (1.0, 1.0, 1.0). But, often, lights and other effects use values that go beyond (1.0, 1.0, 1.0). For example, physical sun can produce values that are in the thousands.
Tone Mapping allows these very high values to be "remapped" to the "0.0 to 1.0" range that computer displays use in order to preserve fidelity without washing out the colors.
The photographic exposure window includes a small graph to help demonstrate what will happen to pixel intensities as the individual settings are tweaked. The horizontal x-axis is the input value (before the tone mapping) and the vertical y-axis is the output value (after tone mapping). The intersection of the two gray lines show the (1, 1) point.
Allowed Overexposure
This parameter controls what happens to high-intensity pixel values. It works by 'squashing' the high intensities into lower intensities in order to preserve fidelity that would normally be washed out white (because of these high intensities). A setting of 0.0 is the most aggressive setting. It means that lights have to be extremely bright in order for the final pixels to approach the pure white (1.0, 1.0, 1.0) display color. Larger 'allowed overexposure' values are less aggressive and leave the original intensities more unaffected.
The above can be seen on the graph, too. Lower allowed overexposure settings make high input intensities come out as lower intensities. From the graph one can see that a setting of 0.0 for allowed overexposure means that almost nothing will ever come out as pure white as the curve approaches the 1.0 level (horizontal gray line) but never truly reaches it.
A few different settings are demonstrated below:
|
|
|
|
|
Overexposure set to 0.0 |
Overexposure set to 0.1 |
Overexposure set to 0.25 |
|
|
|
|
|
Overexposure set to 0.5 |
Overexposure set to 0.75 |
Overexposure 1.0 (disables the effect) |

Black Crush
Similar to how 'Allowed Overexposure' controls what happens to brightly lit areas, 'Black Crush' controls what happens in the dimmer parts of the image. It effectively squashes the darker colors in order to provide more contrast for images that have too much ambient lighting.
The 'black crush amount' controls how much of the effect should be applied. A value of 0.0 means 'no crushing'. A value of 1.0 means 'maximum crushing'.
The 'black crush threshold' controls at which parts of the input intensity range the crushing should happen. Low numbers mean 'only crush very dark intensities' while higher values allow more of the input intensity range to be black-crushed.
The effect of both of these parameters on the pixel intensities can be seen on the graph.
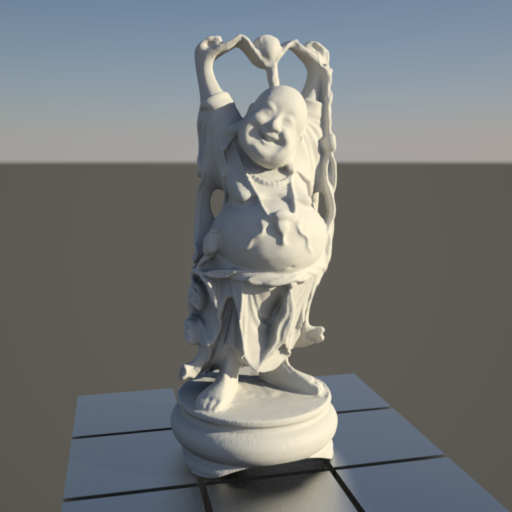
We demonstrate a few different settings in the images below. The black crush threshold was set to 0.25 so that only the darker parts of the image are affected by it.
|
|
|
|
|
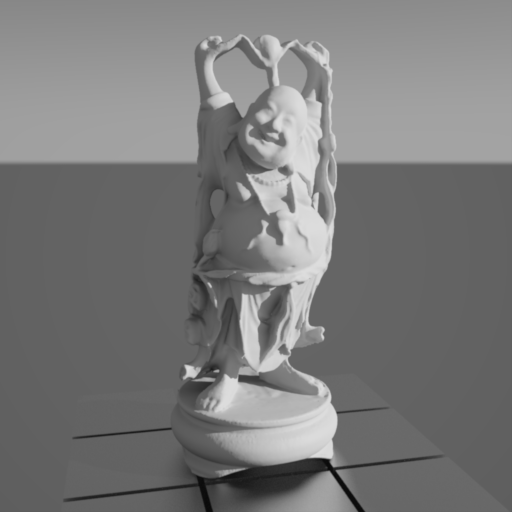
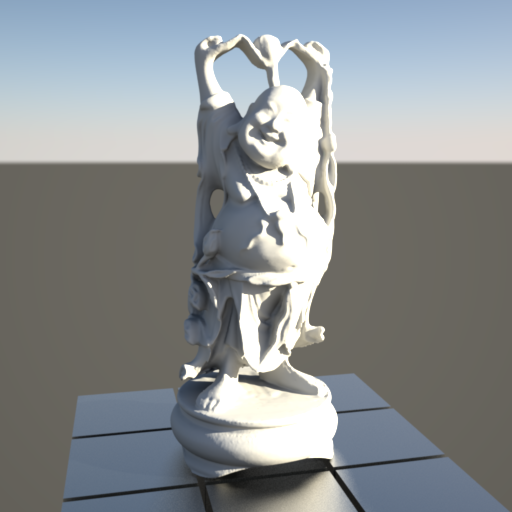
Black Crush 0.0. Threshold 0.25 |
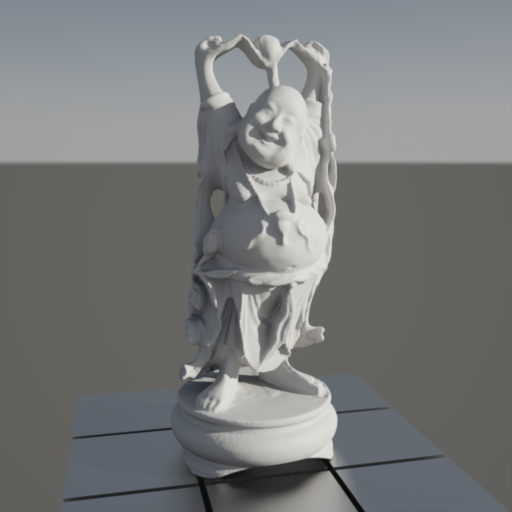
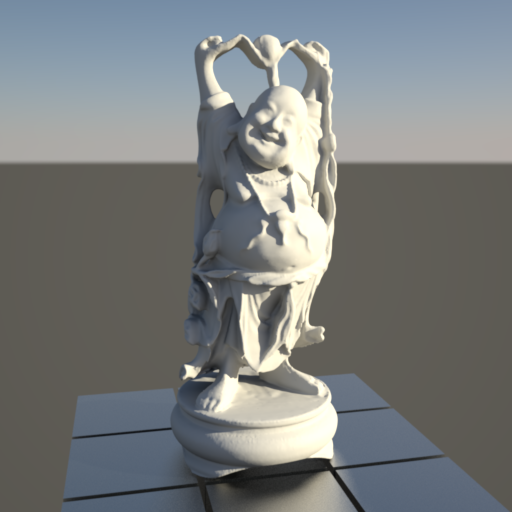
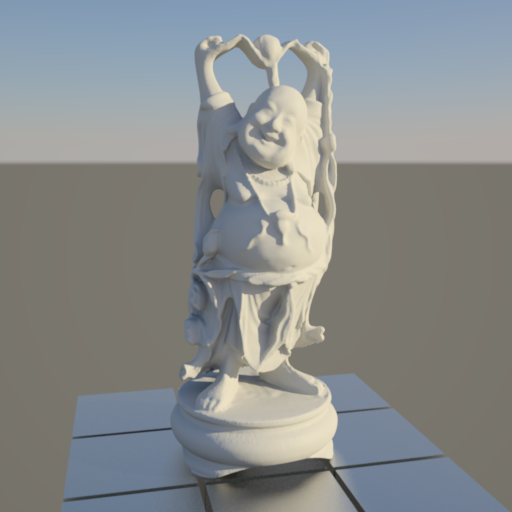
Black Crush set to 0.25. Threshold 0.25 |
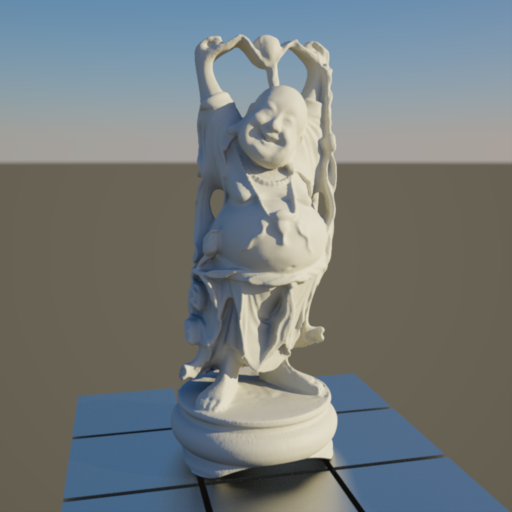
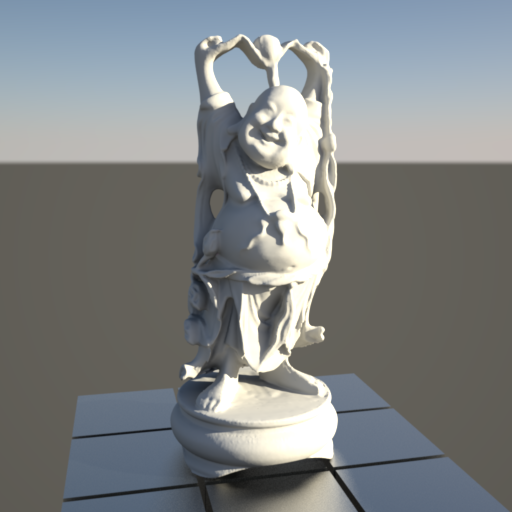
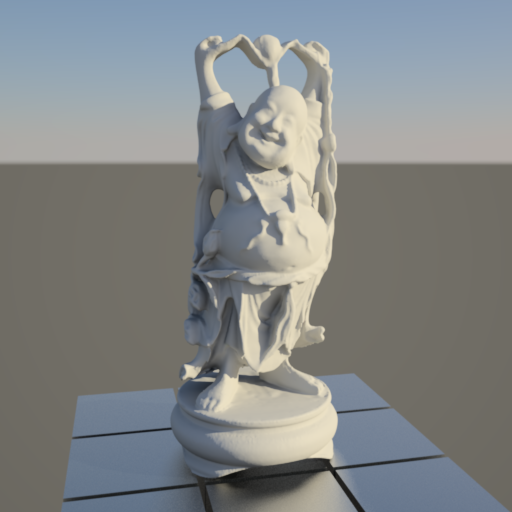
Black Crush set to 0.5. Threshold 0.25 |
|
|
|
|
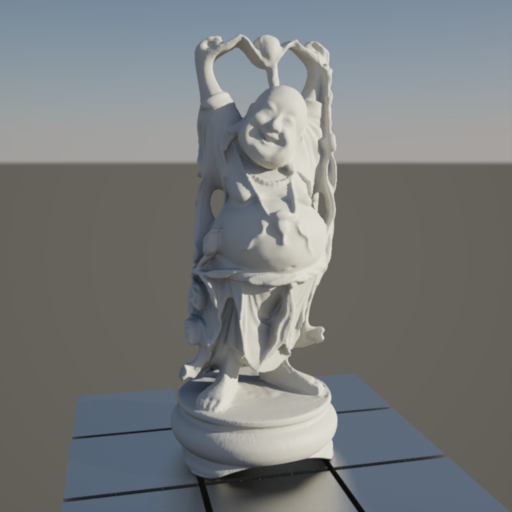
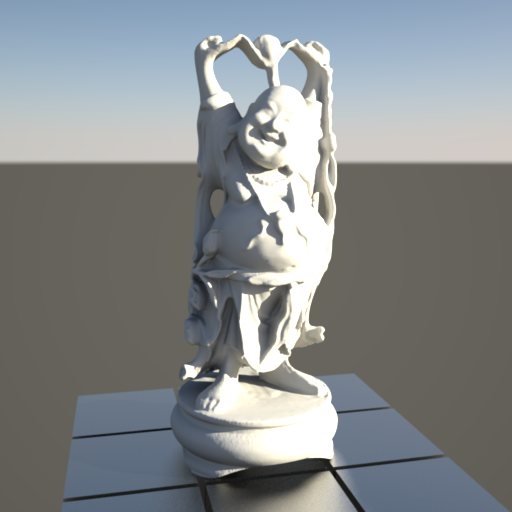
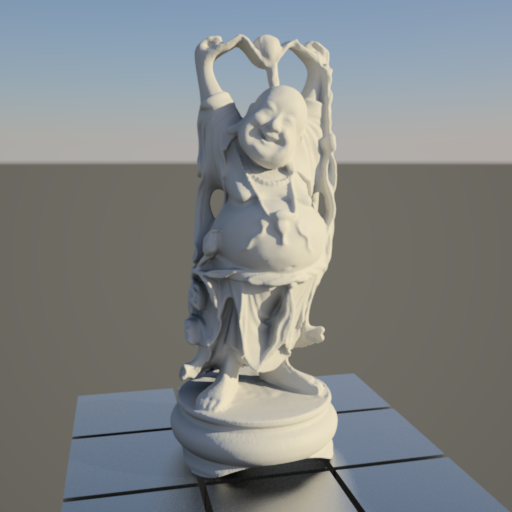
Black Crush set to 0.75. Threshold 0.25 |
Black Crush set to 1.0. Threshold 0.25 |


Saturation
This controls the color saturation. The lower this value, the more grayscale the image. The neutral value is 1.0. If you set it to values higher than 1.0, the colors will appear more saturated.
|
|
|
|
Saturation 0.0 |
Saturation 0.5 |
|
|
|
|
Saturation 1.0 |
Saturation 2.0 |