Table Of Contents
Introduction
Sometimes a material uber shader is not enough for effects that ultimately require the overlaying of several materials, like dirt or extra reflection layers for example. To achieve this efficiently with Redshift, you should use the Material Blender shader.
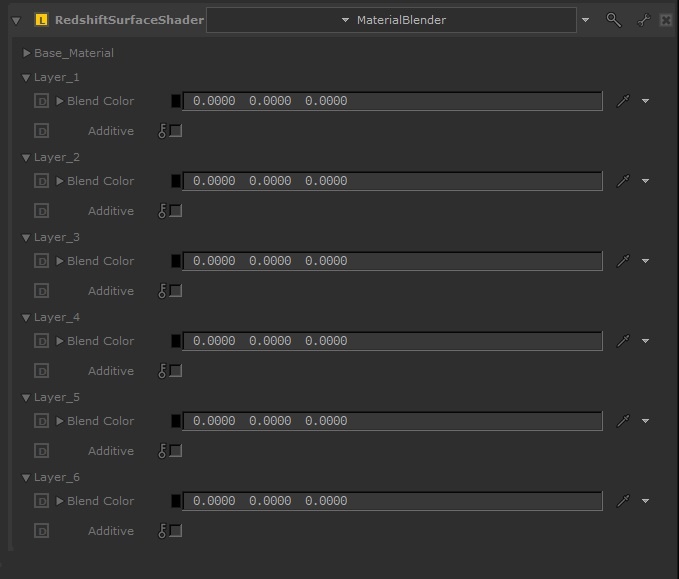
The Material Blender supports up to six 'coat' layers on top a base material shader. Since it is important to preserve energy for 'realistic' materials ( meaning, a material cannot reflect more light than it receives), by default layers are not simply added together, they are instead mixed based on the color of each successive layer.
The default mixing rule is such that a layer blend color of 1.0, 1.0, 1.0 (white) results in the layer material color winning, effectively replacing the previous layers, whereas a layer blend color of 0.0, 0.0, 0.0 (black) results in the previous layers winning, with no contribution from the layer material. Layer blend colors in-between black and white result in a blend of the previous layers and the layer material.
Base Material
Color
This input defines the base material shader color. Plug your base shader in here.
Layer 1-6
Material Color
This input defines the layer material shader color that will be tinted by the Blend Color. Plug your other shaders in here.
Blend Color
This is the color tint that is applied to the layer material shader. Note that these values should be between 0.0 and 1.0 and that anything outside of this will be clamped when not in 'additive' mode.
Additive
This mode switches from layer mixing to layer adding. When enabled, the final material result will be each material layer tinted by its blend color and added to the base color.
Note this mode is not energy preserving and should be used with care.
Material Blender Example
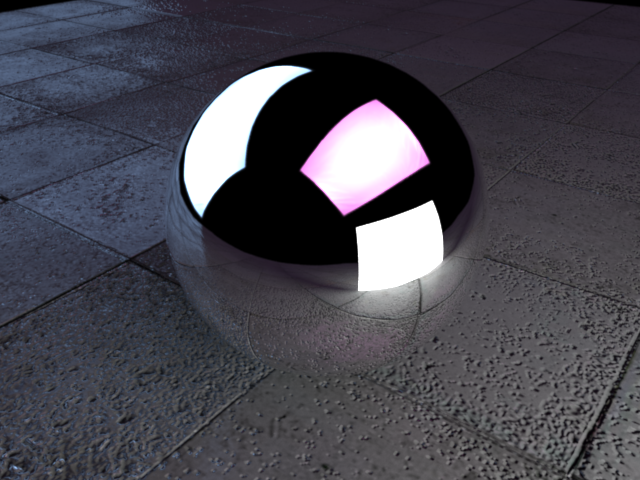
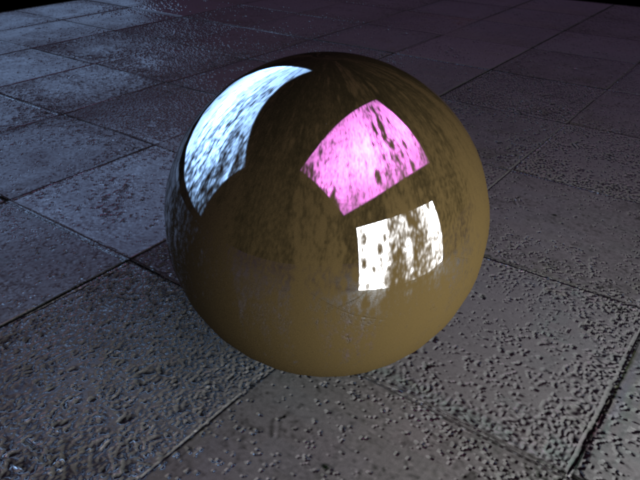
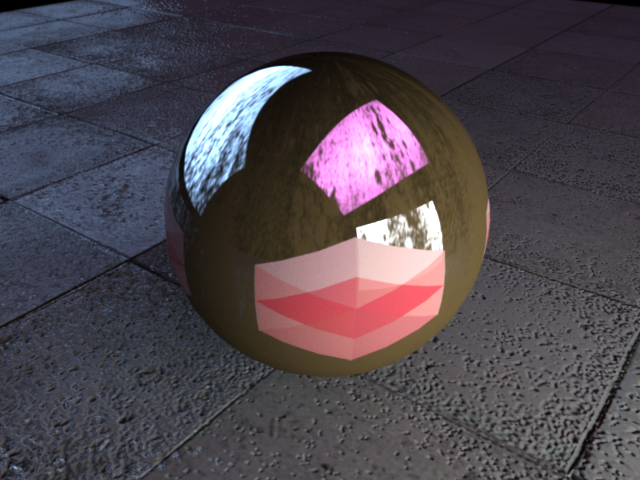
Here is a simple scene, demonstrating the blending of two layers on top of a perfectly reflective base layer.

The first image to the left shows just the base color of the sphere, which is an Architectural material shader that fully reflective. You can see the reflection of an HDR environment map in there, along with a white rectangular area light.

The second image now has a 'dirt' texture layer applied to it, in Layer 1. The layer color is supplied by an Architectural material shader, with just a brown diffuse lighting component. The blend amount is a texture map that contains a monochrome dirt-map. Since we are not in 'additive' mode, the dirt layer appears as a blended decal.

The third image now demonstrates a decal texture map image, in Layer 2. Again, the layer color is supplied by an Architectural material shader, with its diffuse component driven by the decal image. The blend amount is driven by the alpha channel of the decal texture map.
