Sprite Node
Overview
|
|
|
|
|
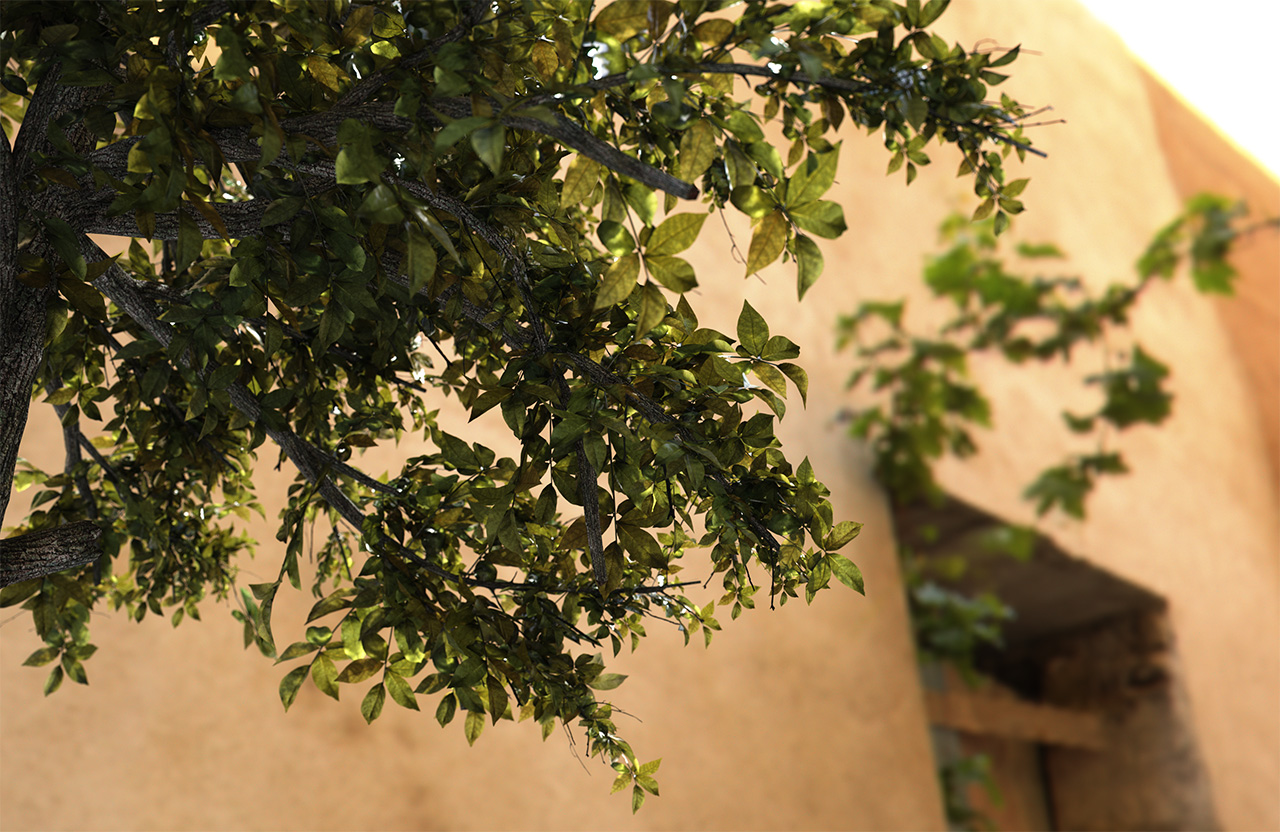
| Scenes by Saul Espinosa | |||
The Sprite node can render transparencies much faster than standard Opacity cutouts and does not rely on Transparency Trace Depth. However, the Sprite node does not support semi-transparency and the stencil textures cannot go out-of-core.
Sprite vs Opacity
When a ray hits a polygon using opacity, Redshift has to execute operations to read the texture at that location, setup the next transparency or refraction ray and so on. These operations are wasteful if the ray hits an area that is completely transparent but the process can't be skipped because that part may be semi-transparent and Redshift cannot assume otherwise. Because of this, the transparency trace depth has to be increased in order to prevent rays from being terminated prematurely which introduces visual artifacts. The Sprite node, on the other hand, is optimized to skip fully transparent parts of a polygon and with very few operations.
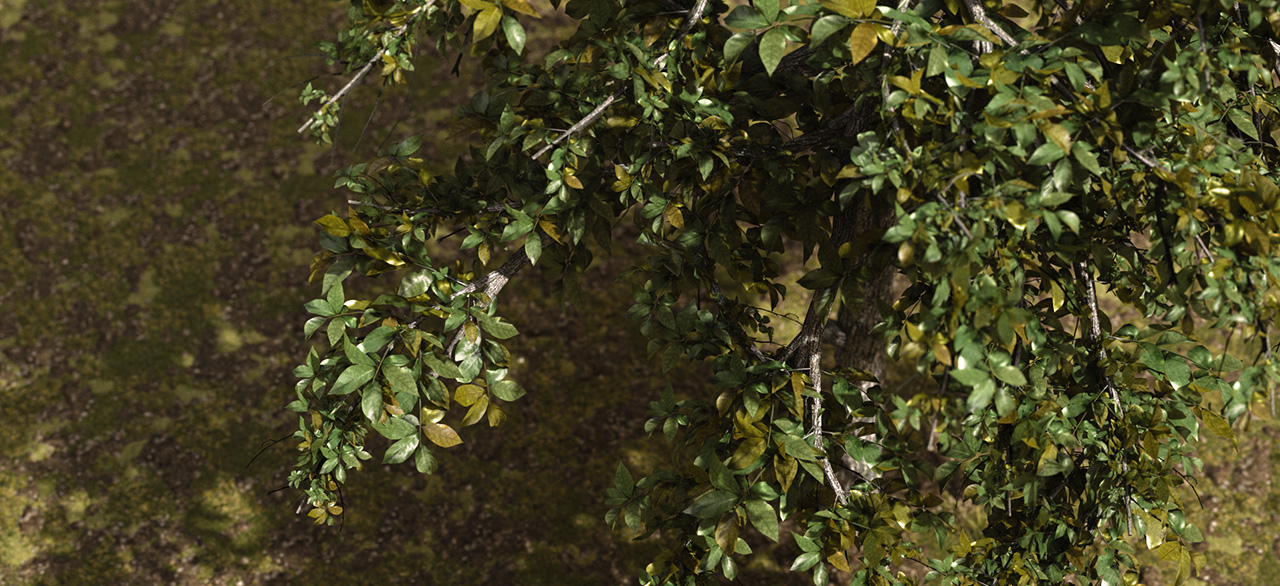
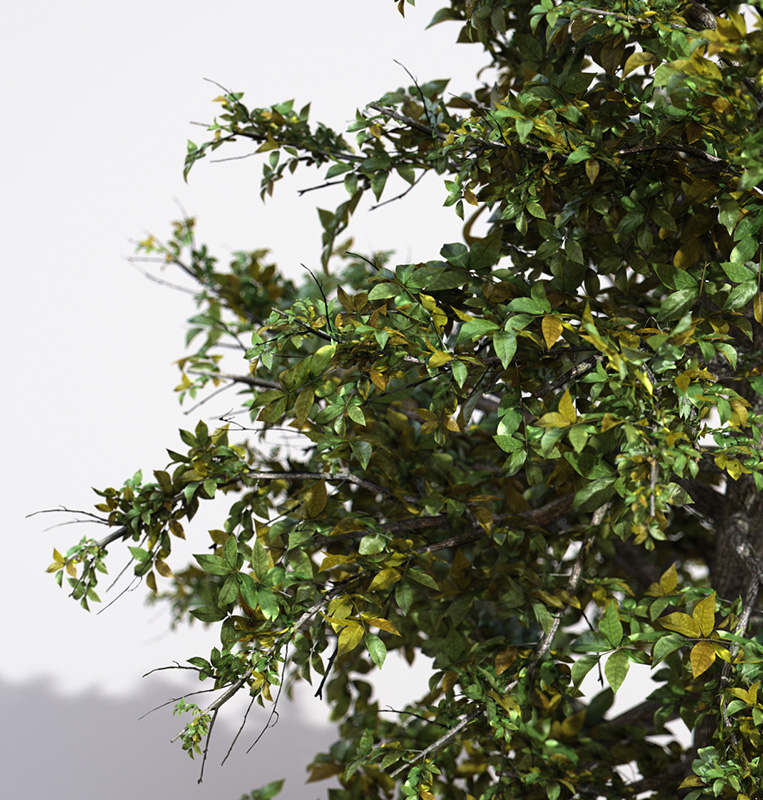
In the examples below trees are rendered using Opacity for transparency effects and the Transparency Trace Depth is animated from 0 to 24. Note that when the trace depth is low transparency rays are terminated too early resulting in a tree that looks sparsely covered in leaves when it should be dense. This artifact becomes even more apparent when you have multiple trees like a forest setting.
| Method: Opacity Transparency Trace Depth: 0 - 24 |
|
| Tree model from the C4D asset library by Laubwerk | |
To fix this, the Transparency Trace Depth must be raised but this comes at the cost of performance depending on how high you need to go. In the examples below the render settings are exactly the same except the Transparency Trace Depth has been set to 32 for the Opacity method while the Sprite method can be set to 0. The Sprite method is able to render ten times faster than the Opacity method with no impact to image quality.
|
|
|
| Method: Opacity Render Time: 2:26 Transparency Trace Depth: 32 |
Sprite 0:14 0 |
The difference is compounded when you need more Transparency rays, this time the Sprite method renders almost fourteen times faster than Opacity. Again, the render settings are identical except for a Transparency Trace Depth of 32 for the Opacity method and 0 for the Sprite method.
|
|
|
| Method: Opacity Render Time: 6:21 Transparency Trace Depth: 32 |
Sprite 0:28 0 |
Limitations
The Sprite node's ability to render transparency more efficiently comes with some limitations.
- The Sprite node does not support semi-transparency.
- Stencil textures used by the Sprite node cannot go out-of-core. If too many high-resolution stencil textures are used Redshift may run out of GPU memory.
Because the Sprite node does not support semi-transparency it will always result in a harsh cutoff. Meanwhile, opacity supports a soft transition from opaque to fully transparent. In the examples below a black and white gradient has had its contrast animated from 0 to 1. This results in the transition between black and white shifting over the course of the animation, the transition starts slowly until it becomes abrupt. Take note of how the sprite node cannot demonstrate any sort of soft transition, instead the Opacity Threshold cutoff of 0.5 moves with the contrast animation as the color values change. This demonstrates the main difference between sprite vs opacity.
| Method: Sprite | Sprite |
| Method: Opacity | Opacity |
Example
There are 3 requirements for setting up a Sprite shader.
-
The Sprite node must be the last shader in the node graph before the Material Output.
-
A material shader, like a Standard Material, must be routed into the Shader Input. This is responsible for the primary beauty rendering.
-
A texture must be connected to the Stencil Shader input or (not shown) loaded externally via the file path to perform the cut out.
The example below illustrates the Sprite Node using texture baking via the Stencil Shader input.
|
|
Parameters
|
|
Shader Input
Shader
Connect the material used for shading and rendering that you want cut out, a Standard Material for example.
|
|
|
|
|
| Shader: Purple Standard Material | Blue Standard Material with bump | Red transmissive Standard Material | Leaf setup with Standard Material |
Stencil
Stencil Shader
Connecting a shader to this input forces the sprite node to automatically bake down the incoming connection for use as the stencil cutout. This allows you to use procedural shading networks instead of an external texture.
The Stencil Shader requires UVs. When a shader is connected to the Stencil Shader input, loading an external texture is disabled and the Opacity Threshold only works with color value, not a dedicated alpha channel.
|
|
|
|
|
| Stencil Shader: Spiral Tiles shader Opacity Threshold: 0.5 |
Leaf opacity texture | Circular ramp | Linear ramp |
Stencil Size
Sets the resolution for the baked texture when using the Stencil Shader input.
Stencil textures used by the Sprite node cannot go out-of-core. Using very high stencil resolutions may cause instability.
If too many high-resolution stencil textures are used in a scene Redshift may run out of GPU memory. A 1024x1024 sprite node texture uses 1MB of memory, a 4K texture occupies 16MB of memory and so on.
AMD GPUs have a maximum sprite texture resolution of 16k x 16k. Nvidia GPUs have a maximum sprite texture resolution of 65k x 65k.
|
|
|
||
| Stencil Size: 2 - 64 | 512 | 2 - 64 | 512 |
General
Map
Load an external texture for use as the stencil cutout here.
Stencil textures used by the Sprite node cannot go out-of-core.
UV Channel
Controls which UV set is used for the stencil texture.
Opacity Calculation
Controls how the transparency value is derived in one of two ways:
- From Color Intensity ( uses the RGB channel color information) - Compatible with baked texture and external texture
- From Alpha ( uses the alpha channel information) - Only compatible with external texture
Stencil Opacity Threshold
Controls at which point the shader is rendered transparent vs opaque based on the value found in the stencil texture. When the value from the stencil texture is greater than the Opacity Threshold, the material is rendered as normal. When the value is less than or equal to the Threshold, the material is cut out as if completely transparent.
In the examples below the Opacity Threshold is animated from 0 to 1. Lower values only cut out the darker parts of the stencil texture while higher values cut out more. The spiral texture has a black background (0) and three different greyscale lines, one has a value 0.33, the next a value of 0.66, and the last a value of 1. The circular and linear ramps demonstrate a greyscale gradient from 0 to 1. Note how the plane is cutout as the Opacity Threshold is raised above the different brightness levels found in the stencil texture. On textures like the circular and linear ramps the cutoff point smoothly transitions between each value because of the smooth gradient, where as the different sections of the spiral cut out as soon as the Threshold matches the value in each section.
| Opacity Threshold: 0 - 1 Stencil Shader: Spiral Texture |
0 - 1 Circular Ramp |
0 - 1 Linear Ramp |
Texture Repeats
This option allows you to repeat the stencil texture without having to repeat the UV coordinates.
|
|
|
|
| Texture Repeats: 1 - 1 | 2 - 2 | 5 - 2 |
Custom Gamma
Sets a custom gamma value for the stencil texture.
Warnings and Errors
The Sprite shader node settings must be correct in order for it to function. Here are the conditions:
- A texture map file must be assigned.
- The texture space uv channel assignment must exist in the mesh the material is assigned to.
If one or more of these conditions are not met, the sprite shader will be disabled. When there is a texture space miss-match, Redshift will also issue a warning or an error ( see below).
Proxy Mesh
If you wish to assign a new material with a sprite node to an imported proxy mesh, it is important to make sure the texture space uv channel property that your new sprite shader will use was exported with the proxy. If the proxy mesh does not contain the named uv channel, you will see this warning:
Mesh 'NAME' is a proxy and is using a sprite shader node that is referencing a uv channel that does not exist on the original exported proxy.
Instanced Mesh
As with Proxy Meshes, an instanced mesh (or model) template must contain the texture space uv channel property that your new sprite shader will use. If the instanced mesh does not contain the named uv channel, you will see this warning:
Mesh 'NAME' is instanced and its instances are using a sprite shader node that is referencing a uv channel that does not exist."
Another more problematic situation will arise if your instanced mesh template uses a sprite shader that references a
different uv channel to the instance, but both channels exist. In this case, you will actually get the following error message and rendering will be aborted:
Mesh 'NAME' is instanced and its instances are using a sprite shader node that is referencing a different uv channel to the template. Aborting rendering.
Instanced Proxy Mesh
An instanced proxy mesh will have had its sprite node uv channel baked into it on export (if it exists and is even using a sprite node shader). So, bearing this in mind, if you instance a proxy mesh, the original proxy material must also be using a sprite node with a matching uv channel to your instance. Failure to do this will result in the following error and rendering will be aborted:
Mesh 'NAME' is instanced and its instances are using a sprite shader node that is referencing a different uv channel to the one exported with proxy template. Aborting rendering.