Table Of Contents
Particles
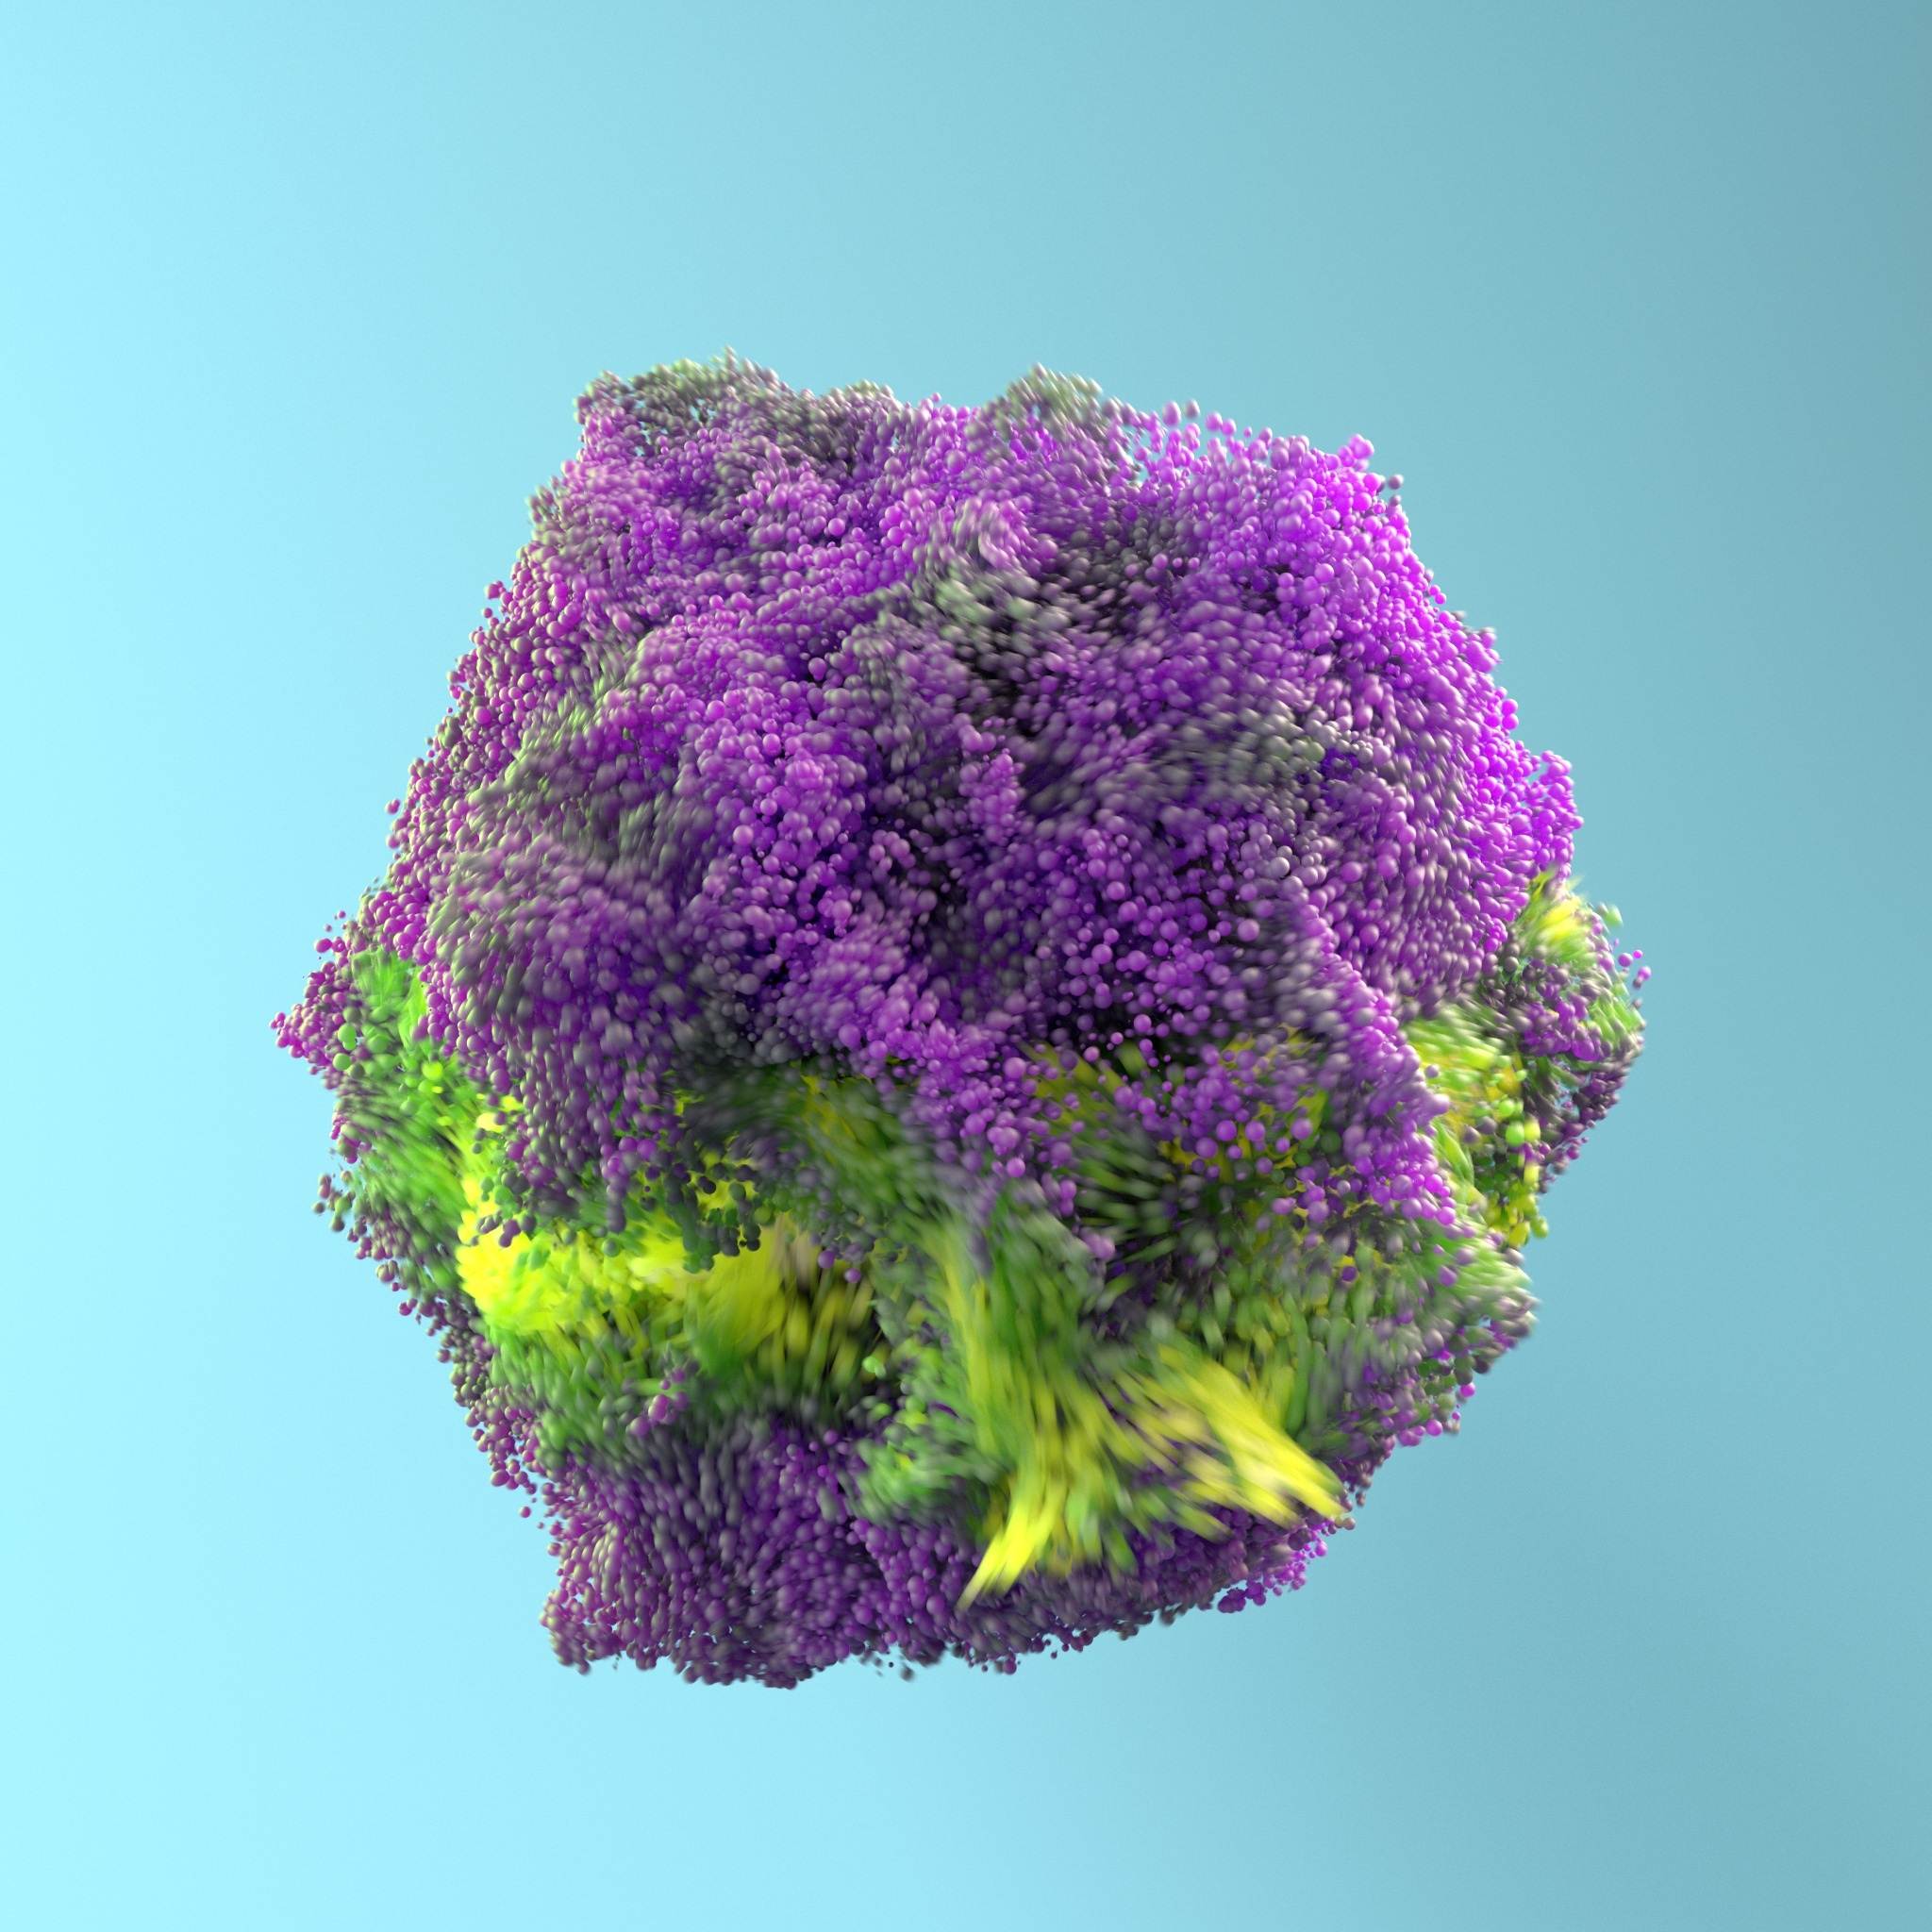
Redshift supports the rendering of Maya's nParticle and legacy particles systems as instanced sphere primitives or instanced geometry by using the particle instancer functionality. A brief overview of particle setup is covered below.
Maya Nparticles example
Other particle primitives are currently unsupported by Redshift for Maya.
|
|
|
|
| Maya Viewport with nParticle sim | Redshift nParticle Render | + Motion Blur |

Particle setup for sphere instancing
With a newly created Maya particle system there are a couple of steps to setup first to ensure that viewport feedback will match the Redshift rendered result. In the examples below this setup is covered for both nParticles and Legacy Particles. The image below illustrates the example scene used here:
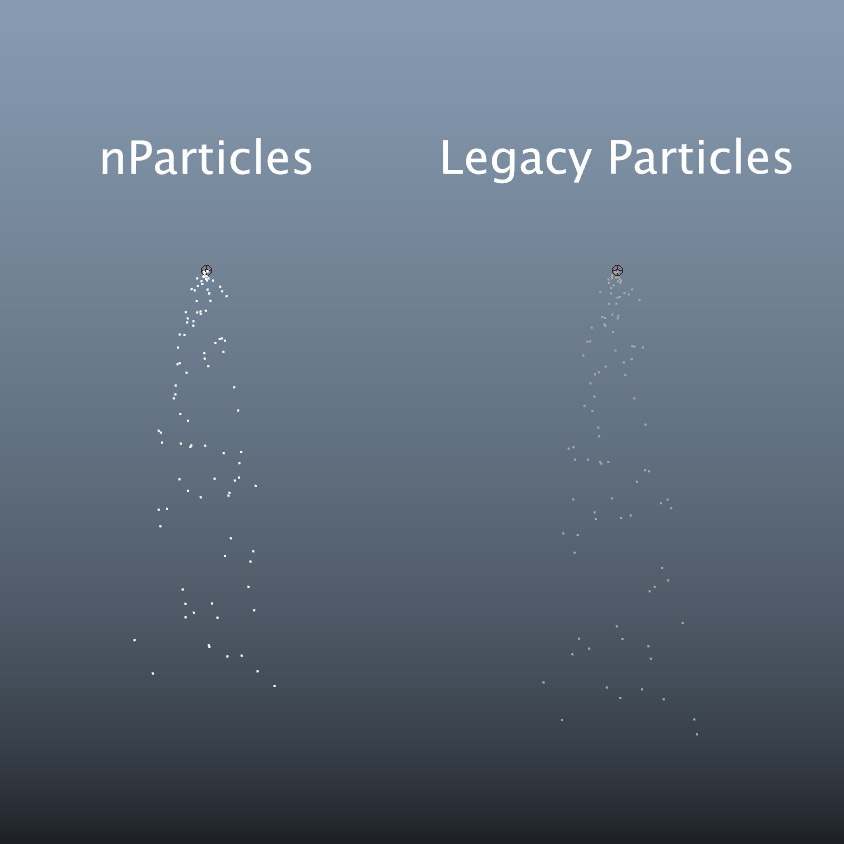
Maya particles example scene
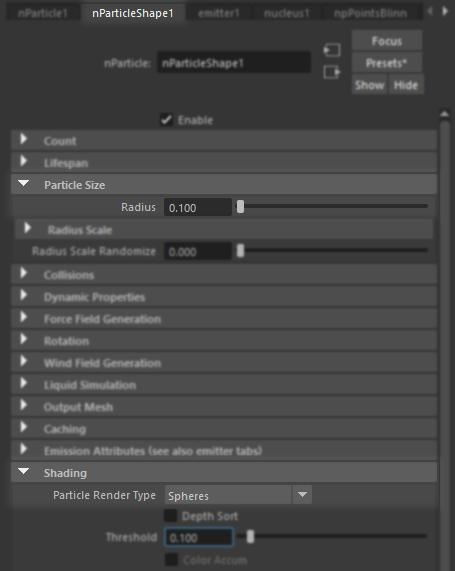
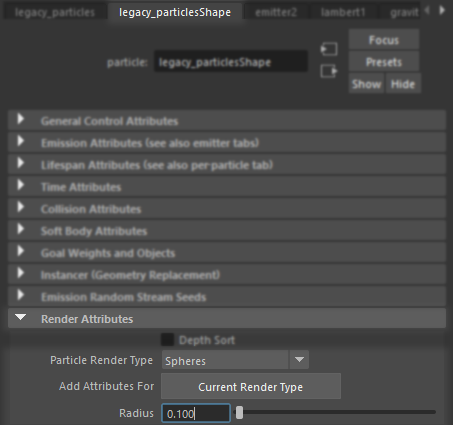
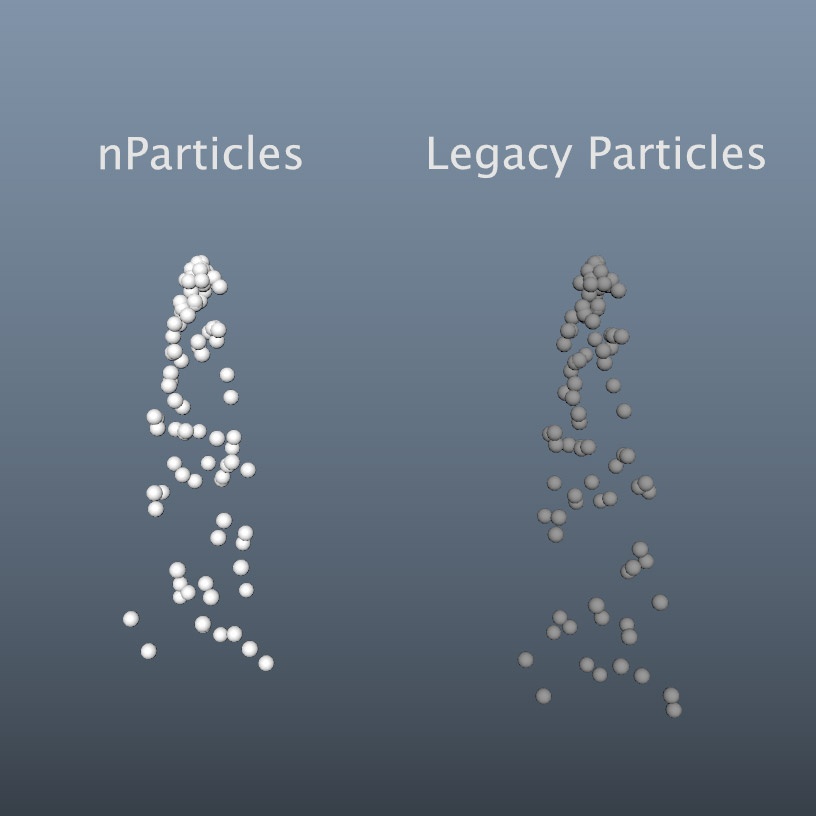
First set the particle primitives to sphere since that is what Redshift will be rendering like below. For this demonstration the particle size "Radius" has been set to "0.1"
Redshift will render the sphere primitive sizes according to the "Radius" specified by its respective particle system, this includes different per-particle radius scales.
|
|
|
| nParticle spheres | Legacy Particles spheres |
Redshift honors the default Maya render stats for particles pictured below:
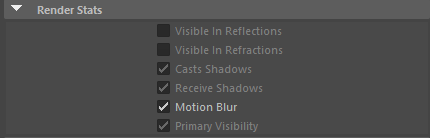
Default Maya particle Render Stats
This means out of the box particles will render but they will not be visible in reflections or refractions. This is easily fixed by adding a Redshift Visibility set to the particles as pictured below:
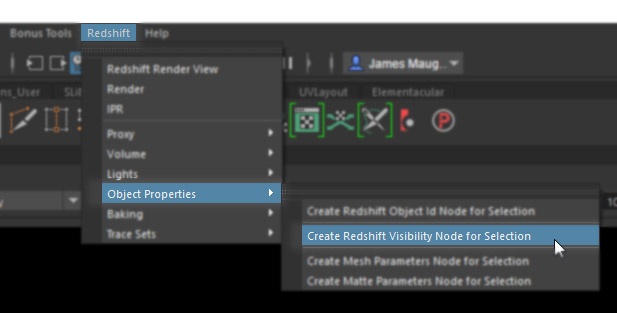
Adding a Redshift Visibility set to the particles
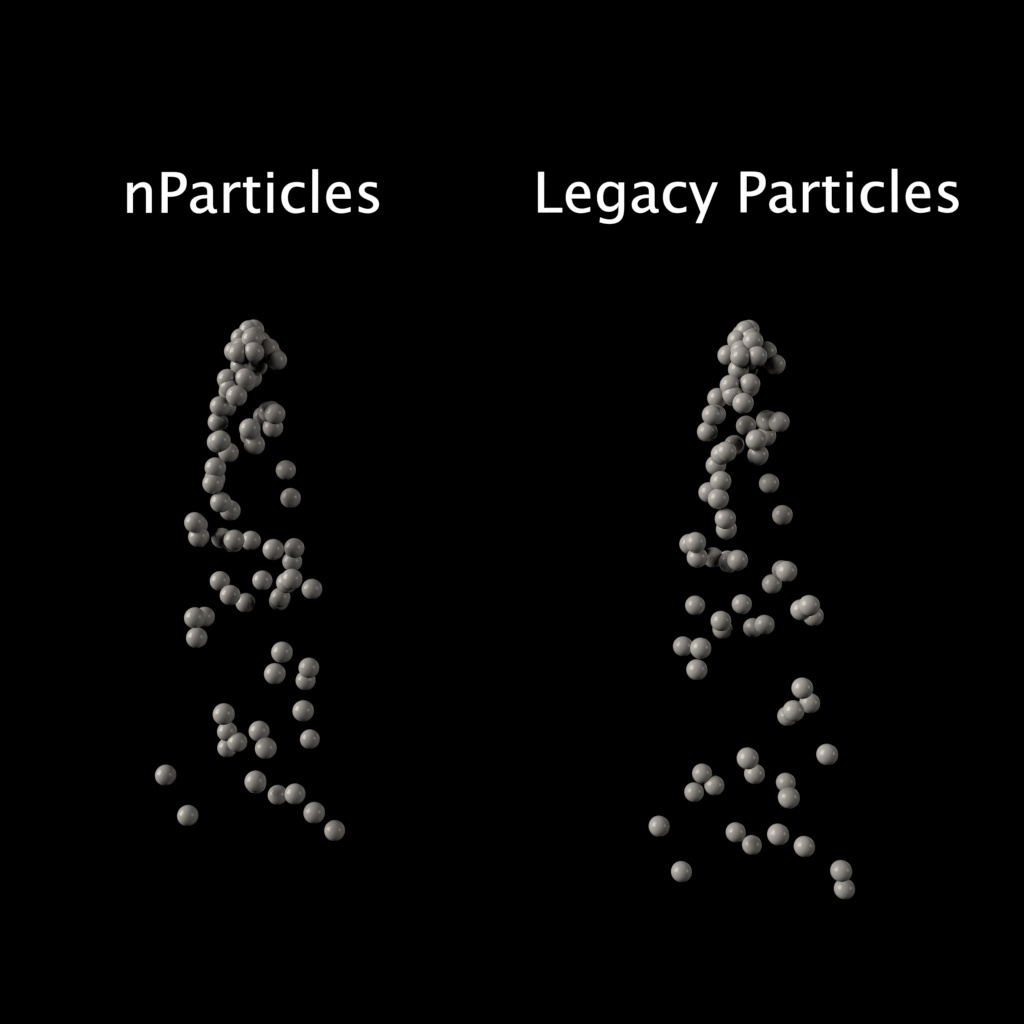
With a Redshift Visibility set and Redshift Material now added to the particles a quick test render illustrates that the shape, position, and size all match up with the viewport:
|
|
|
| Maya Viewport | Redshift Render |
Per-Particle Attributes
Redshift can use several per-particle attributes derived from the Maya particle simulation but there are some key things to keep in mind when working with them. The per-particle attributes currently supported by Redshift are:
- rgbPP
- userScalar1PP
- userScalar2PP
- userScalar3PP
- userScalar4PP
- userScalar5PP
- userVector1PP
- userVector2PP
- userVector3PP
- userVector4PP
- userVector5PP
Even though common per-particle attributes like opacityPP are not directly supported they can be easily linked to the 10 different custom user attributes listed above with a simple expression covered here.
Color
There are two main methods of passing per-particle color attributes to Redshift for rendering, a Redshift UserDataColor node or Maya's "Particle Sampler Info."
Using a UserDataColor (UDC) node is easy, create a UDC, set the "Attribute Name" to "rgbPP" and connect it to your Redshift material as necessary.
Please keep in mind that UserDataColor nodes are gamma corrected so make sure to linearize your output if necessary.
Similarly, the Particle Sampler Info node is simple to use as well, however instead of using the "rgbPP" output use the Particle Sampler Info node's "out color."
The color output from a UserDataColor and "out color" of a Particle Sampler Info node is identical.
These methods of passing color attributes along to Redshift apply for both nParticles and Legacy Particles. In the example shader graph below a UDC is used to drive the Diffuse Color and a Particle Sampler Info node is used to drive the color of the multiple sub-surface scattering and overall color of the shader.
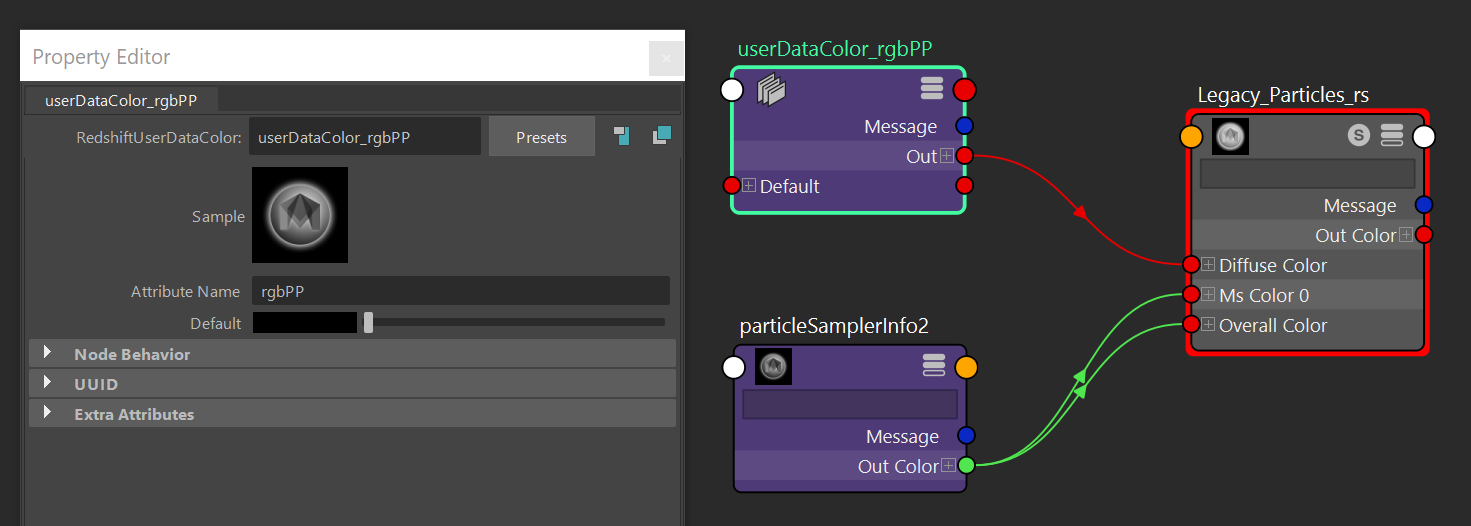
Redshift shader graph for particle colors
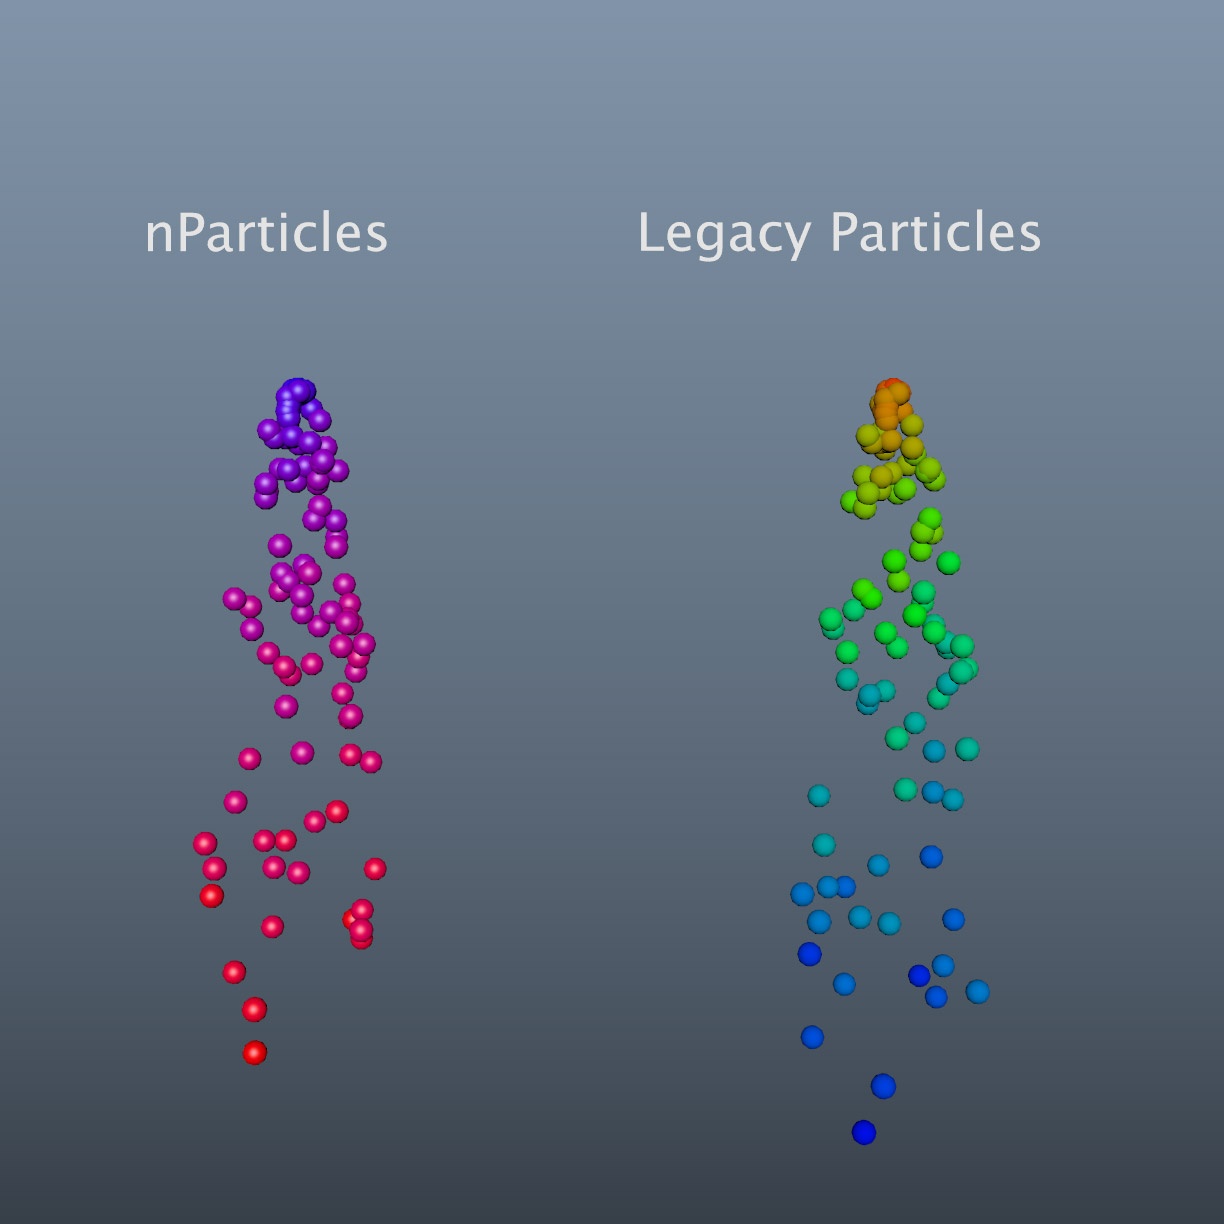
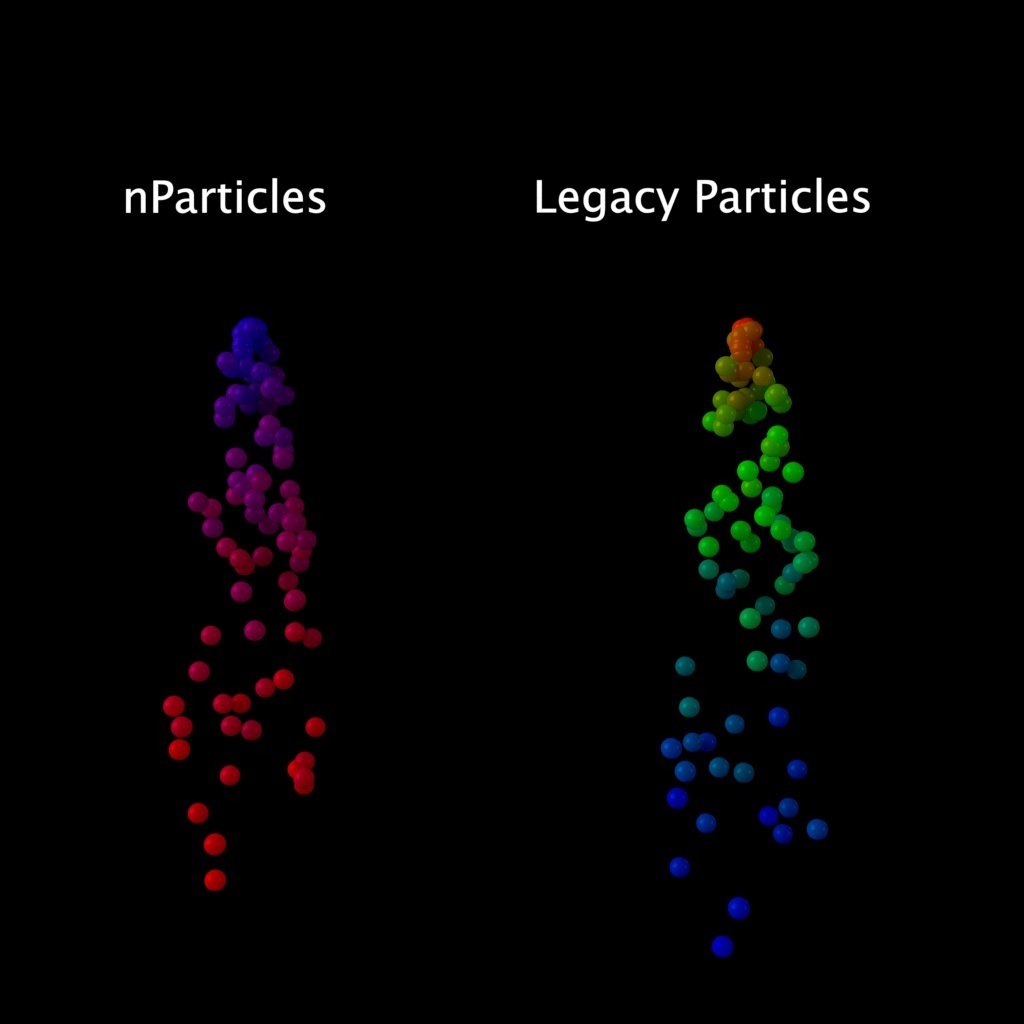
You can see below that the colors in the viewport match the colors in the Redshift render:
|
|
|
| Maya Viewport | Redshift Render |
Other Attributes
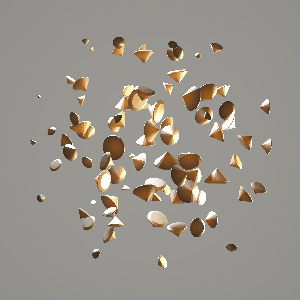
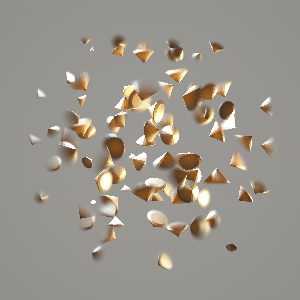
You can also use other attributes to guide the look of your particle render. For example you can use the "OpacityPP" data with the attribute "transparencyPP" inside of a rsColorUserData node to guide the Redshift Materials Opacity controls which will vary the opacity of the particles.
![]()
Example of the attribute "TransparencyPP" guiding the materials opacity
![]()
Redshift shader example using the attribute "TransparencyPP" inside a color UserData node to guide opacity
FX
Bifrost & BOSS
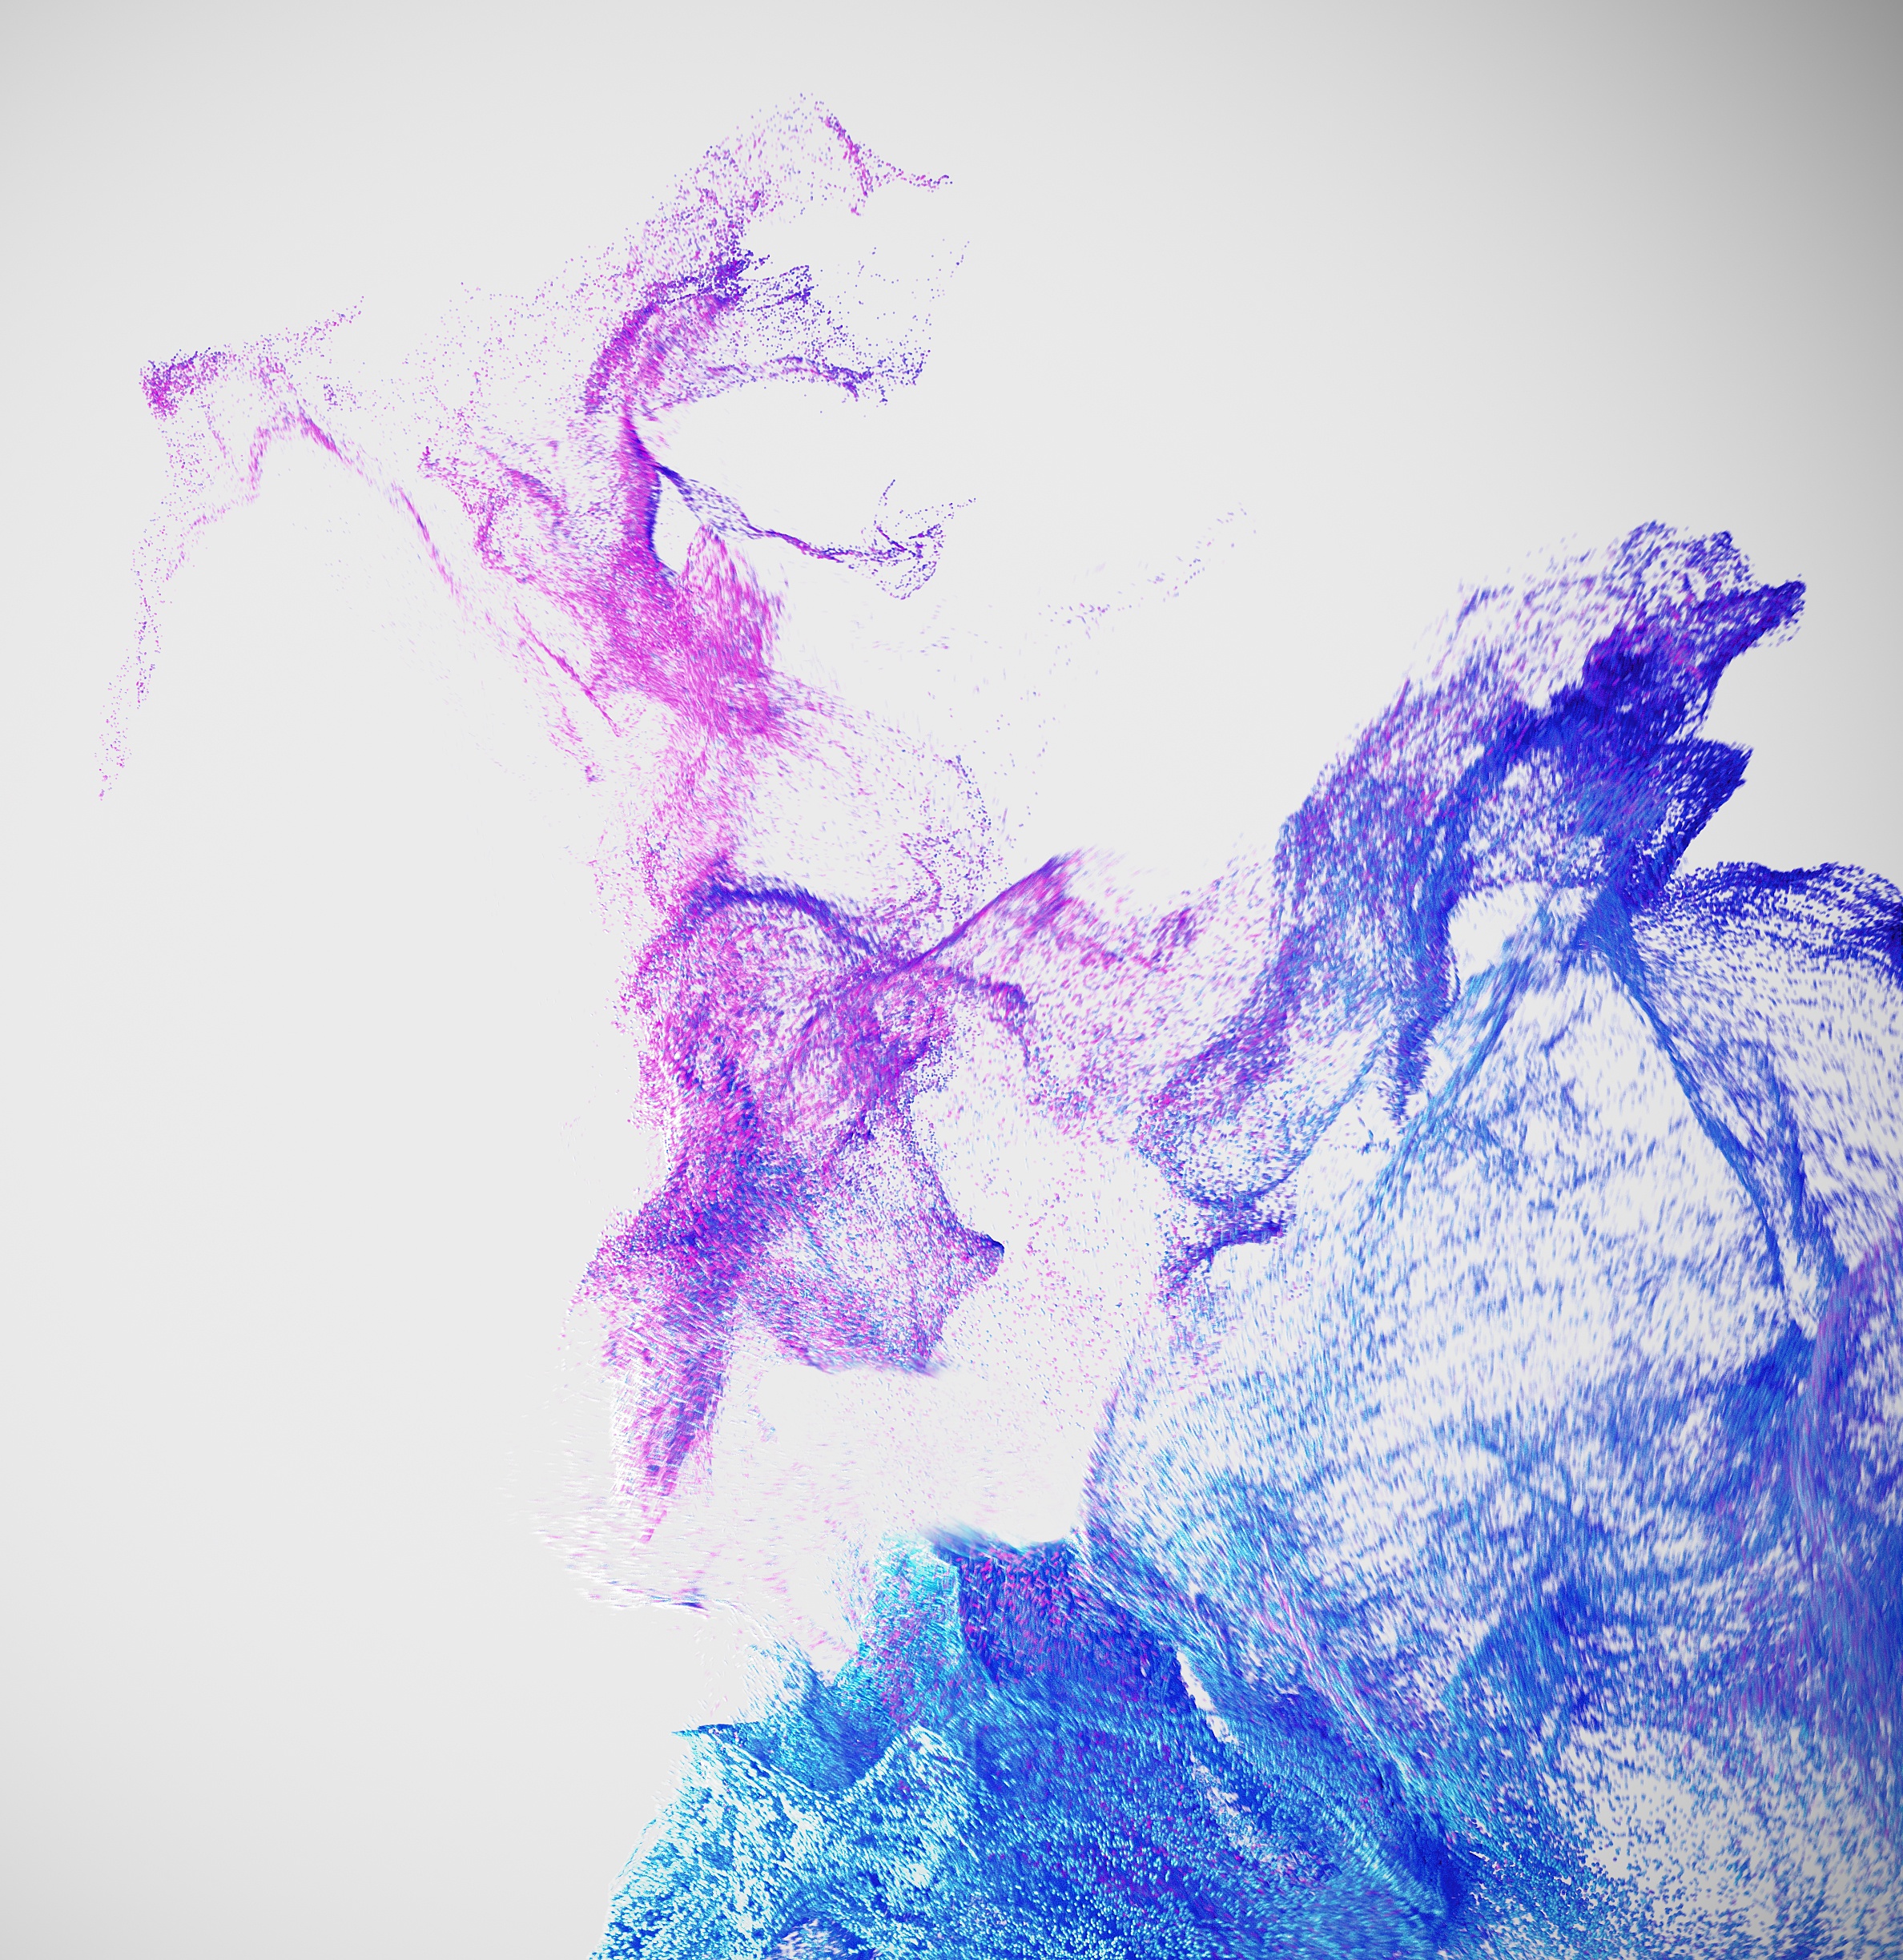
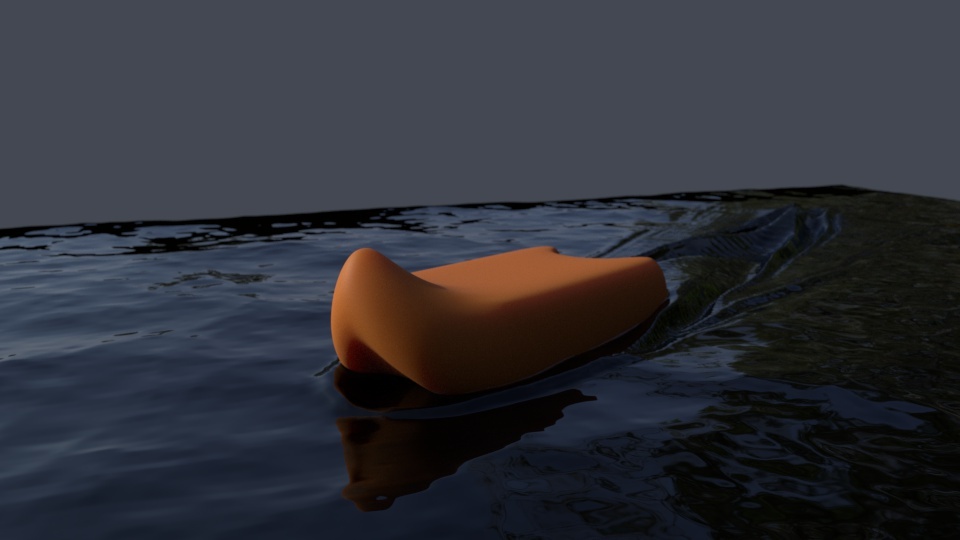
Redshift supports the rendering of BOSS (Bifrost Ocean Simulation System) and bifrost simulations as long as they are output as a mesh. Redshift supports rendering bifrost meshes with motion blur as long as the mesh has per-vertex velocity data and is setup appropriately, this setup is covered in the section below.
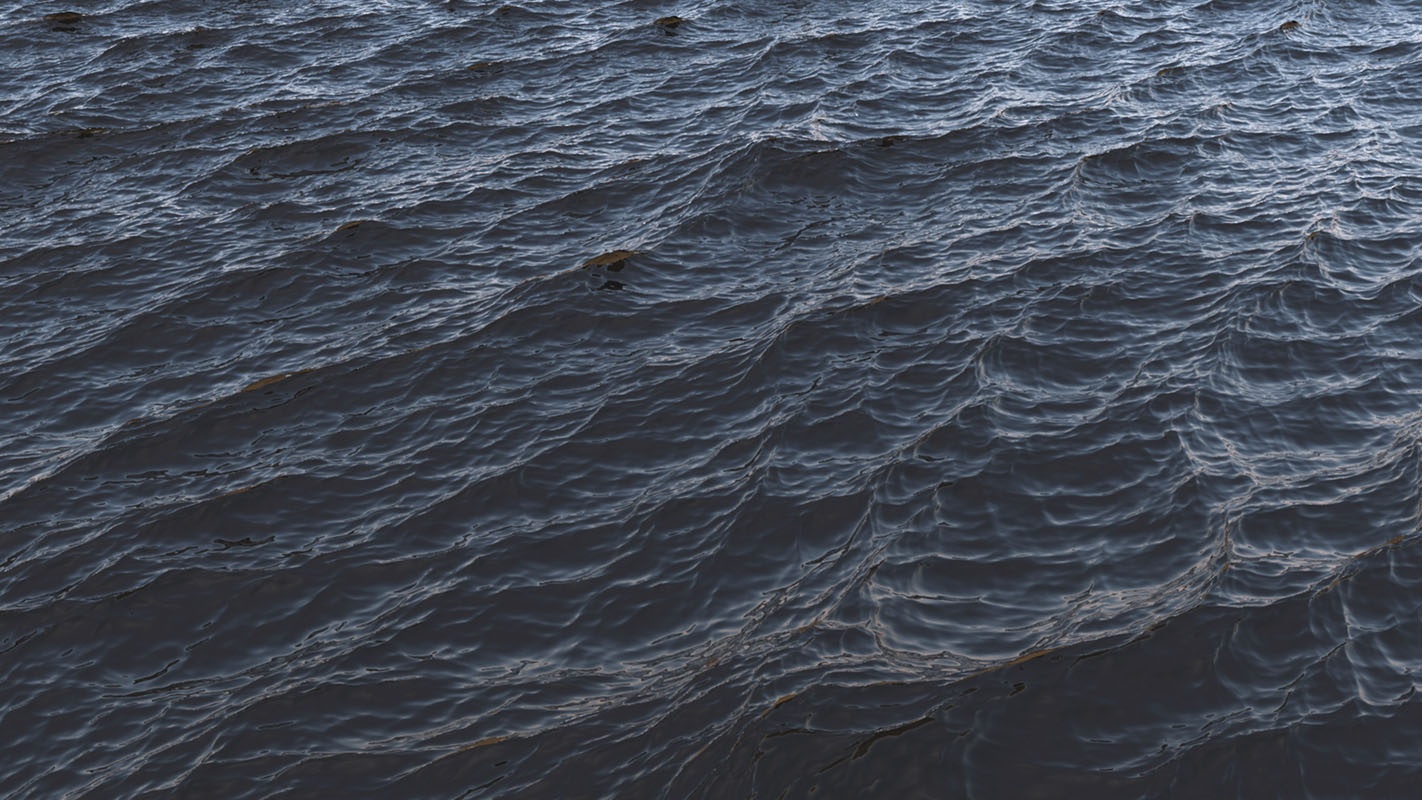
Redshift Bifrost BOSS Ocean example
Redshift does not currently support the rendering of bifrost particles or voxels.
BOSS simulations work out of the box since they are simple displaced meshes, all you need to do is add a material and Redshift is ready to render.
The demonstration images were taken from a default bifrost example Maya scene.
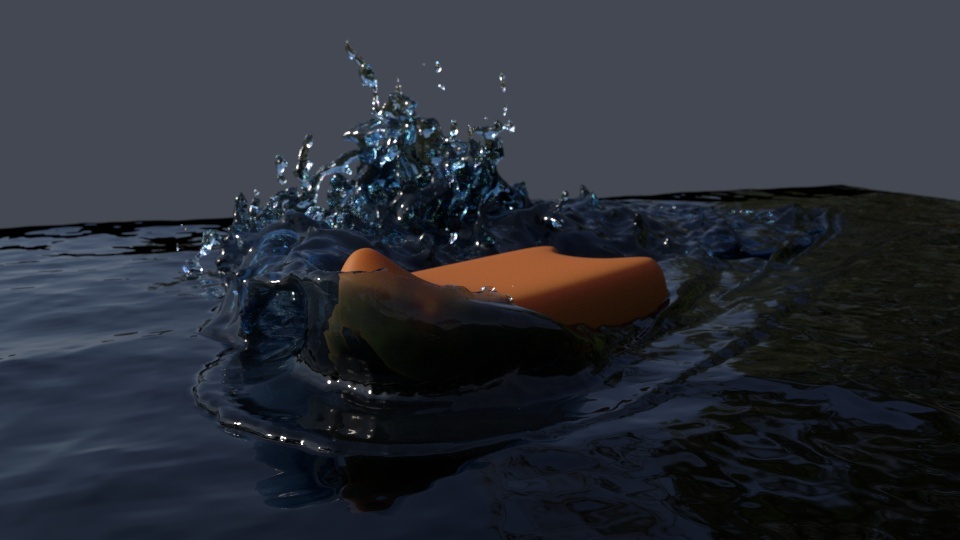
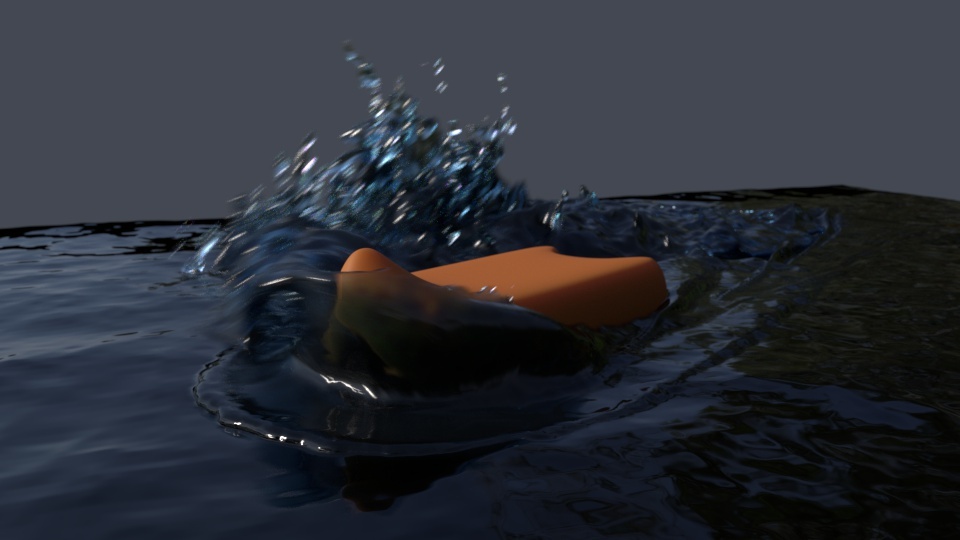
|
|
|
|
| BOSS Render | + Bifrost Meshed Sim | + Motion Blur |
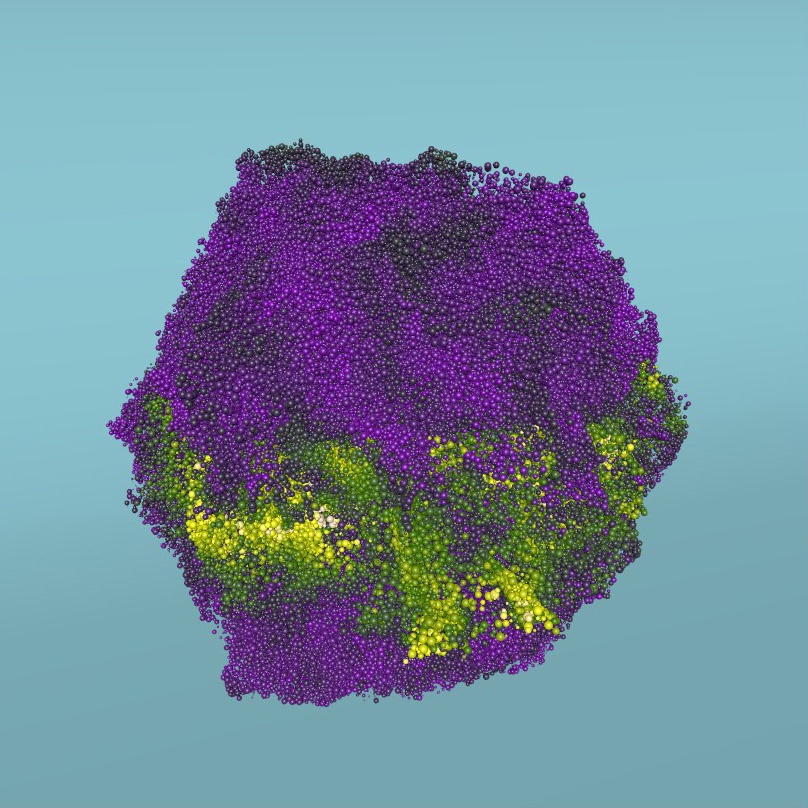
In bifrost you start off by previewing your simulation as particles or voxels:
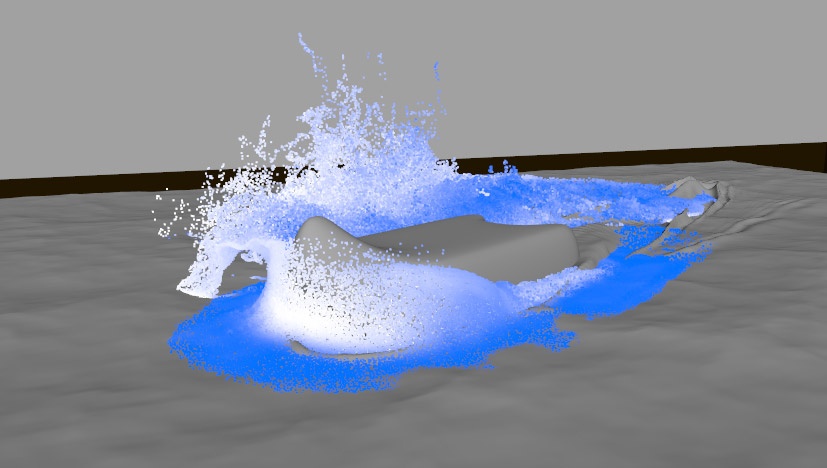
Bifrost liquid simulation as particles
Once you are happy with your bifrost sim and you and want to render it in Redshift you must first enable "Bifrost Meshing" on your liquid or aero shape as depicted below:
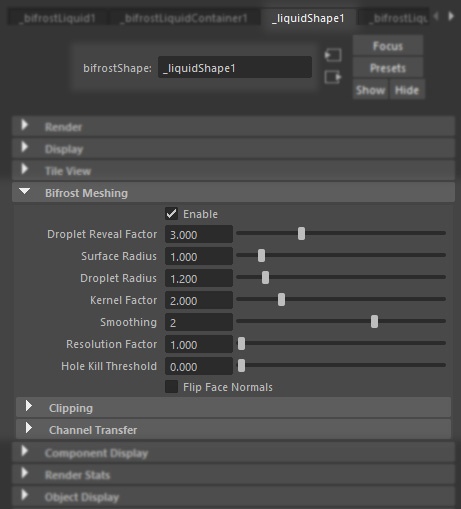
Bifrost Meshing Options
This will create a separate mesh object in the outliner corresponding with your Bifrost Liquid, this is the object you can apply materials to and render in Redshift. In this example the object is named "_bifrostLiquid1Mesh" as depicted below:

Bifrost Liquid Mesh object in the outliner
In the viewport you can also see the meshed result of your particle simulation:
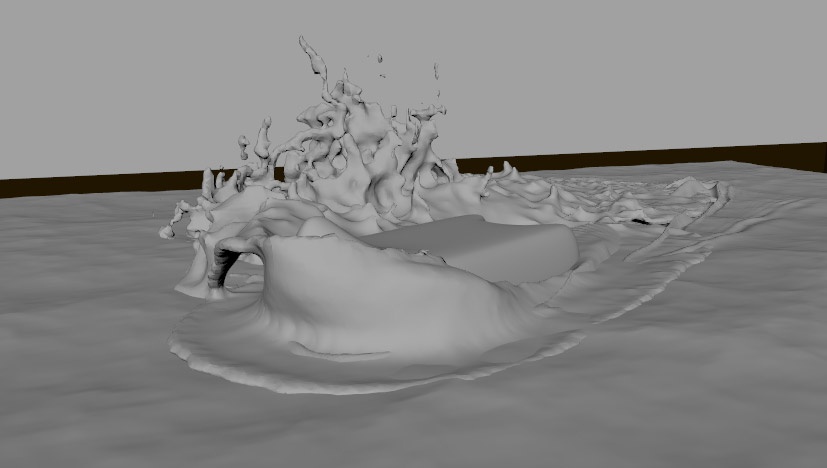
Meshed Bifrost liquid sim
In order to render a bifrost sim with motion blur you must first cache your meshed bifrost sim and ensure that per-vertex velocity data is specified as a motion vector color set for Redshift to use.
By default bifrost meshes generate 2 per-vertex color sets, a "bifrost_velocity" and "bifrost_vorticity" color set as pictured below.
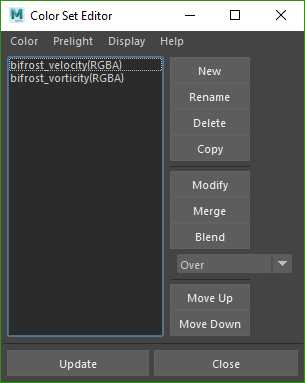
Color Sets on bifrostLiquid1Mesh
The "bifrost_velocity" color set is the one that you will use later for rendering motion blur but first the meshed sim must be cached. To do that export an alembic cache of the bifrost mesh by going to "Cache >Alembic Cache >Export Selection To Alembic" and make sure "Write Color Sets" is enabled like pictured below.
Without the "bifrost_velocity" color sets Redshift will not be able to render any motion blur.

Alembic Export with "Write Color Sets" enabled
Import the newly exported Alembic Cache and go to the "Mesh Controls" section of your alembic bifrost mesh shape as depicted below:
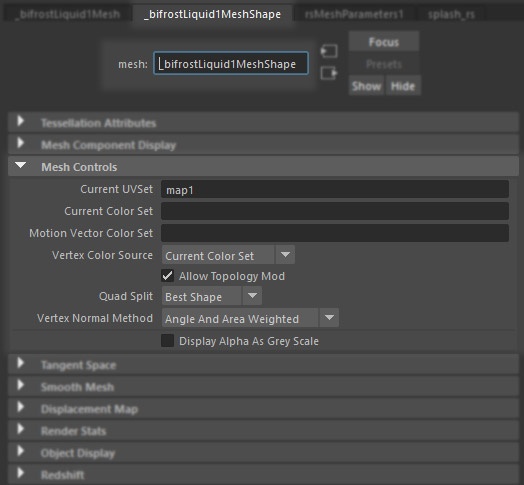
"Mesh Controls" section for meshed bifrost alembic cache
Under the "Motion Vector Color Set" section specify the per-vertex velocity data to be used, in this example the bifrost default color set "bifrost_velocity" is used as pictured below:
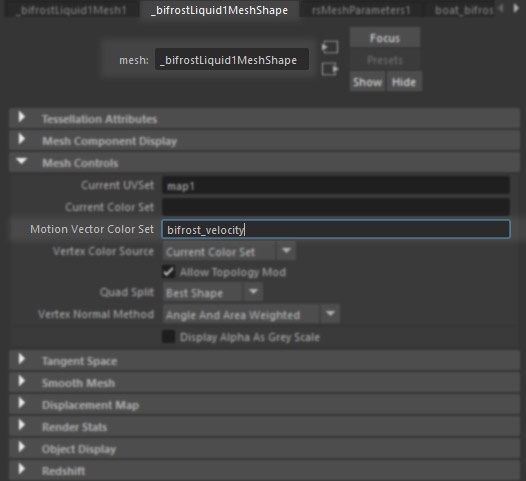
Setting the Motion Vector Color Set
At render time Redshift checks for data in the "Motion Vector Color Set" section and uses it to calculate motion blur the motion blur.
Deformation motion blur must be enabled for bifrost motion blur rendering.
MASH
Redshift supports the rendering of MASH as long as they are output as a mesh. Redshift supports rendering both MASH Repro and Instancer modes. This also includes Redshift Proxies in MASH Instancer mode.
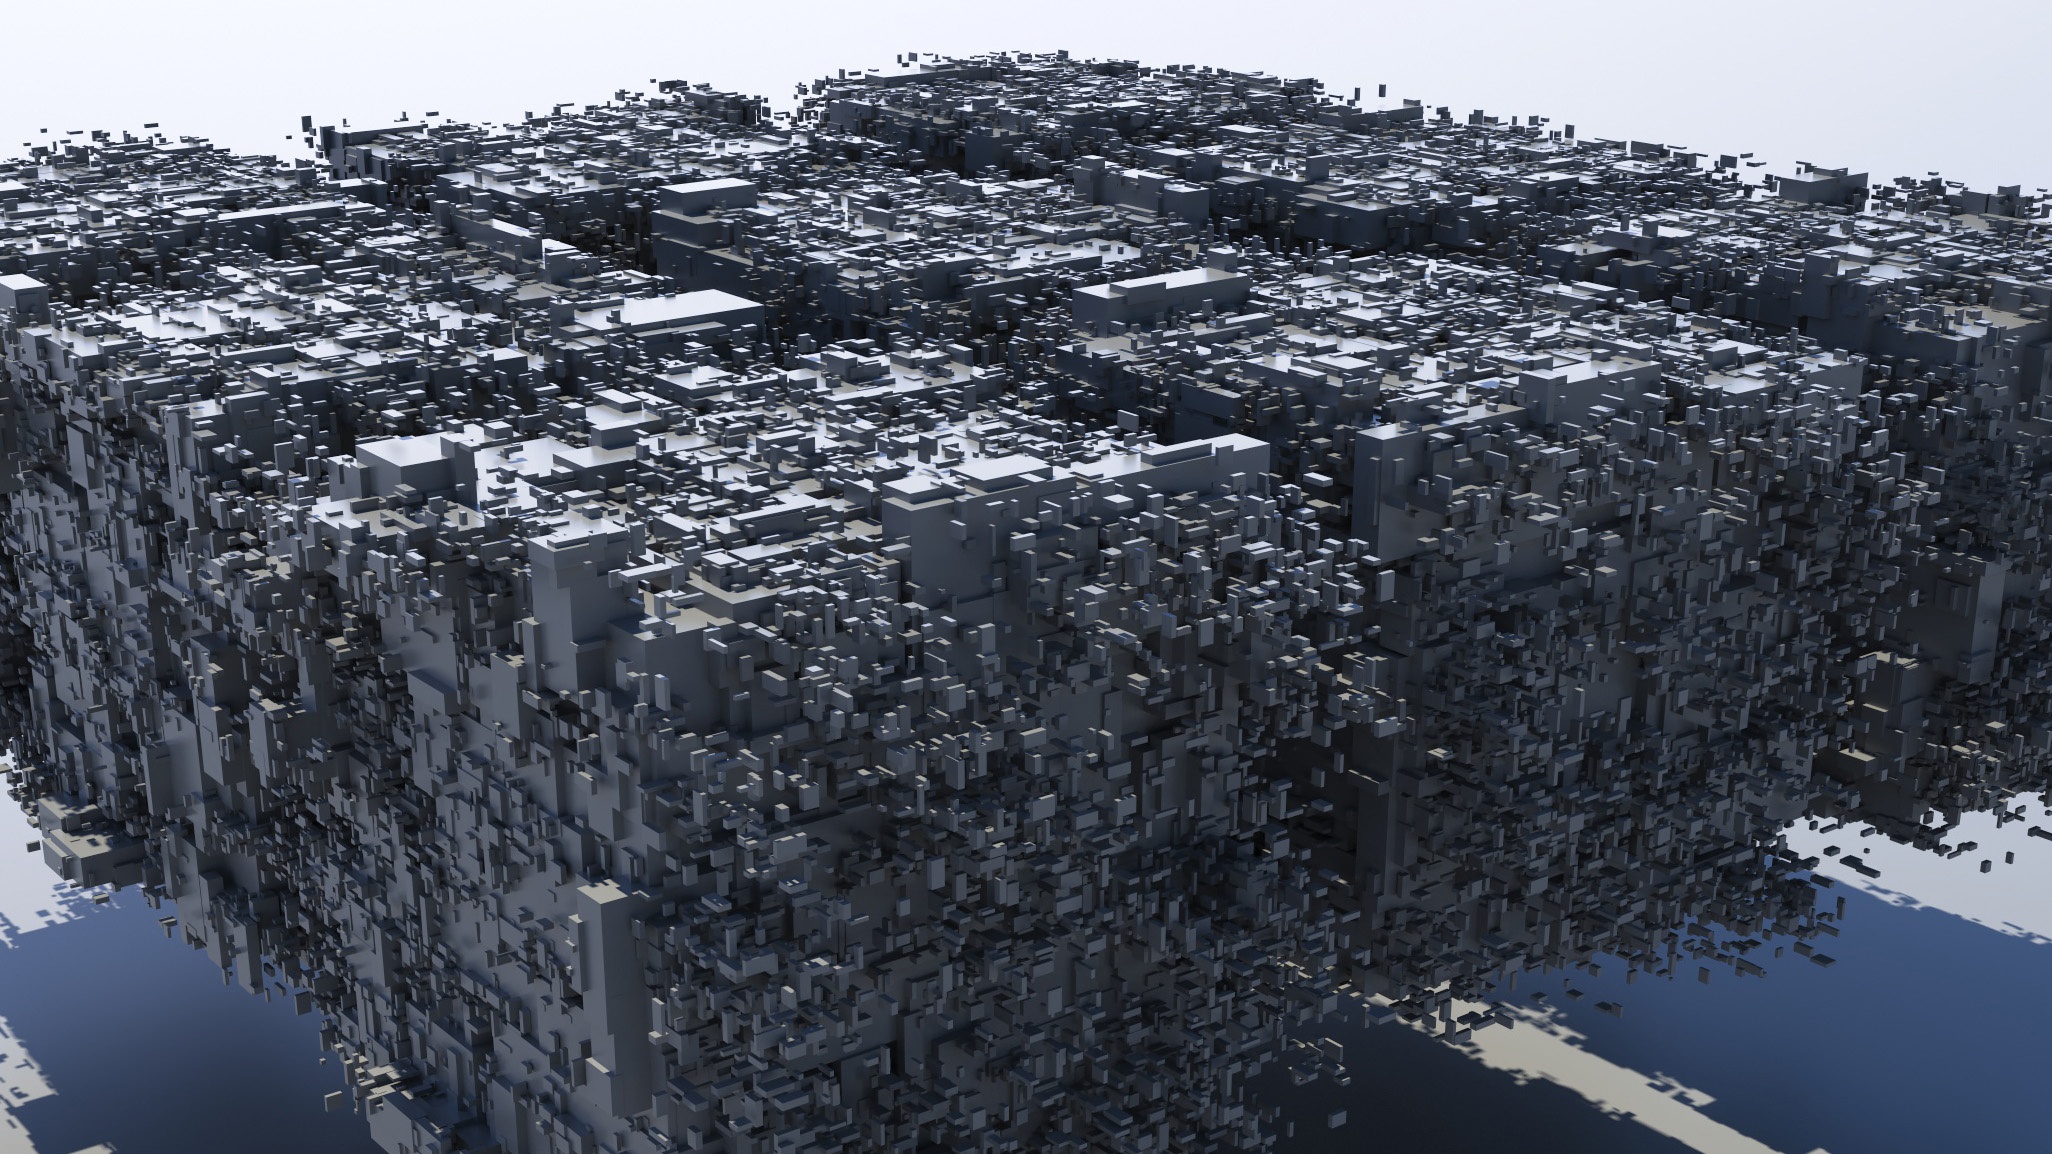
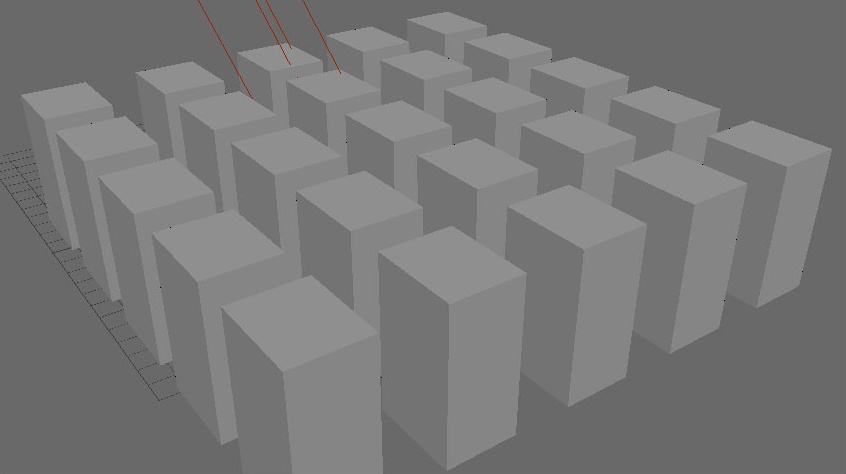
MASH Greebles Example Scene
MASH works out of the box since it is using Maya's native Instancer system, all you need to do is add a Redshift material to the base mesh and it is ready to render.
Redshift Is able to work with both MASH Instancer and Repro modes active. The Repro mode creates unique geomtry while the Instancer mode instances the objects. Translation and object based deformation motion blur are both supported in Instancer and Repro modes.
|

|

|
|
|
MASH Instancer Mode
|
MASH Repro Mode
|
MASH Repro Mode + Motion Blur
|
MASH Instancer Mode + Motion Blur
|
|
|
|
|
|
| MASH Repro + Camera Translation | MASH Repro + Camera Translation With Motion Blur Active |
MASH Instancer + Camera Translation | MASH Instancer + Camera Translation With Motion Blur Active |
Deformation motion blur must be enabled for MASH Repro Mode object based motion blur rendering. Camera translation motion blur works by just activating motion blur.
You can switch between the different MASH object modes using several methods. At any give point you can change from MASH Repro mode to MASH Instancer mode by using a MASH utility option for switching between geometry classes.
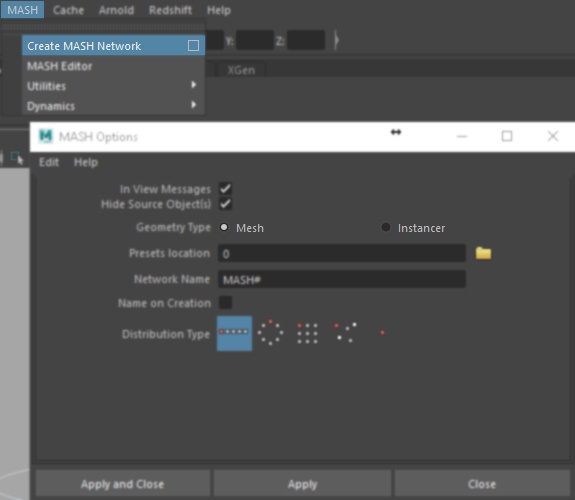
When first creating a MASH object you can select the extra properties box & choose
between MASH Mesh/Repro mode or Instancer Mode for the geometry type.
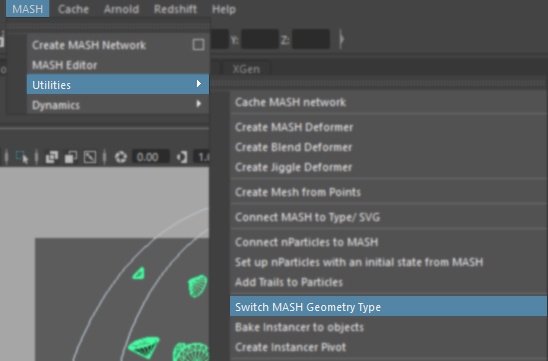
If you already have a Mash object created you can use a MASH Utility option called "Switch Geometry Type" which is found in the MASH Options
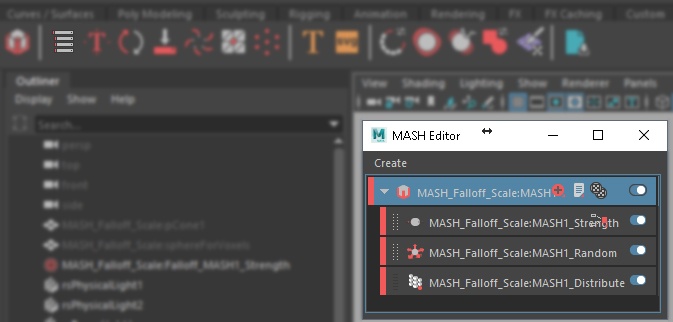
You can also change the geometry type using the MASH Editor window in the MASH Shelf options. This opens up a new panel.

Inside the new MASH Editor panel you will see a list of all your MASH objects and attributes, selecting the root MASH object and clicking the page icon
allows you to use the "Switch MASH Geometry Type" option to switch between Repro and Instancer modes.
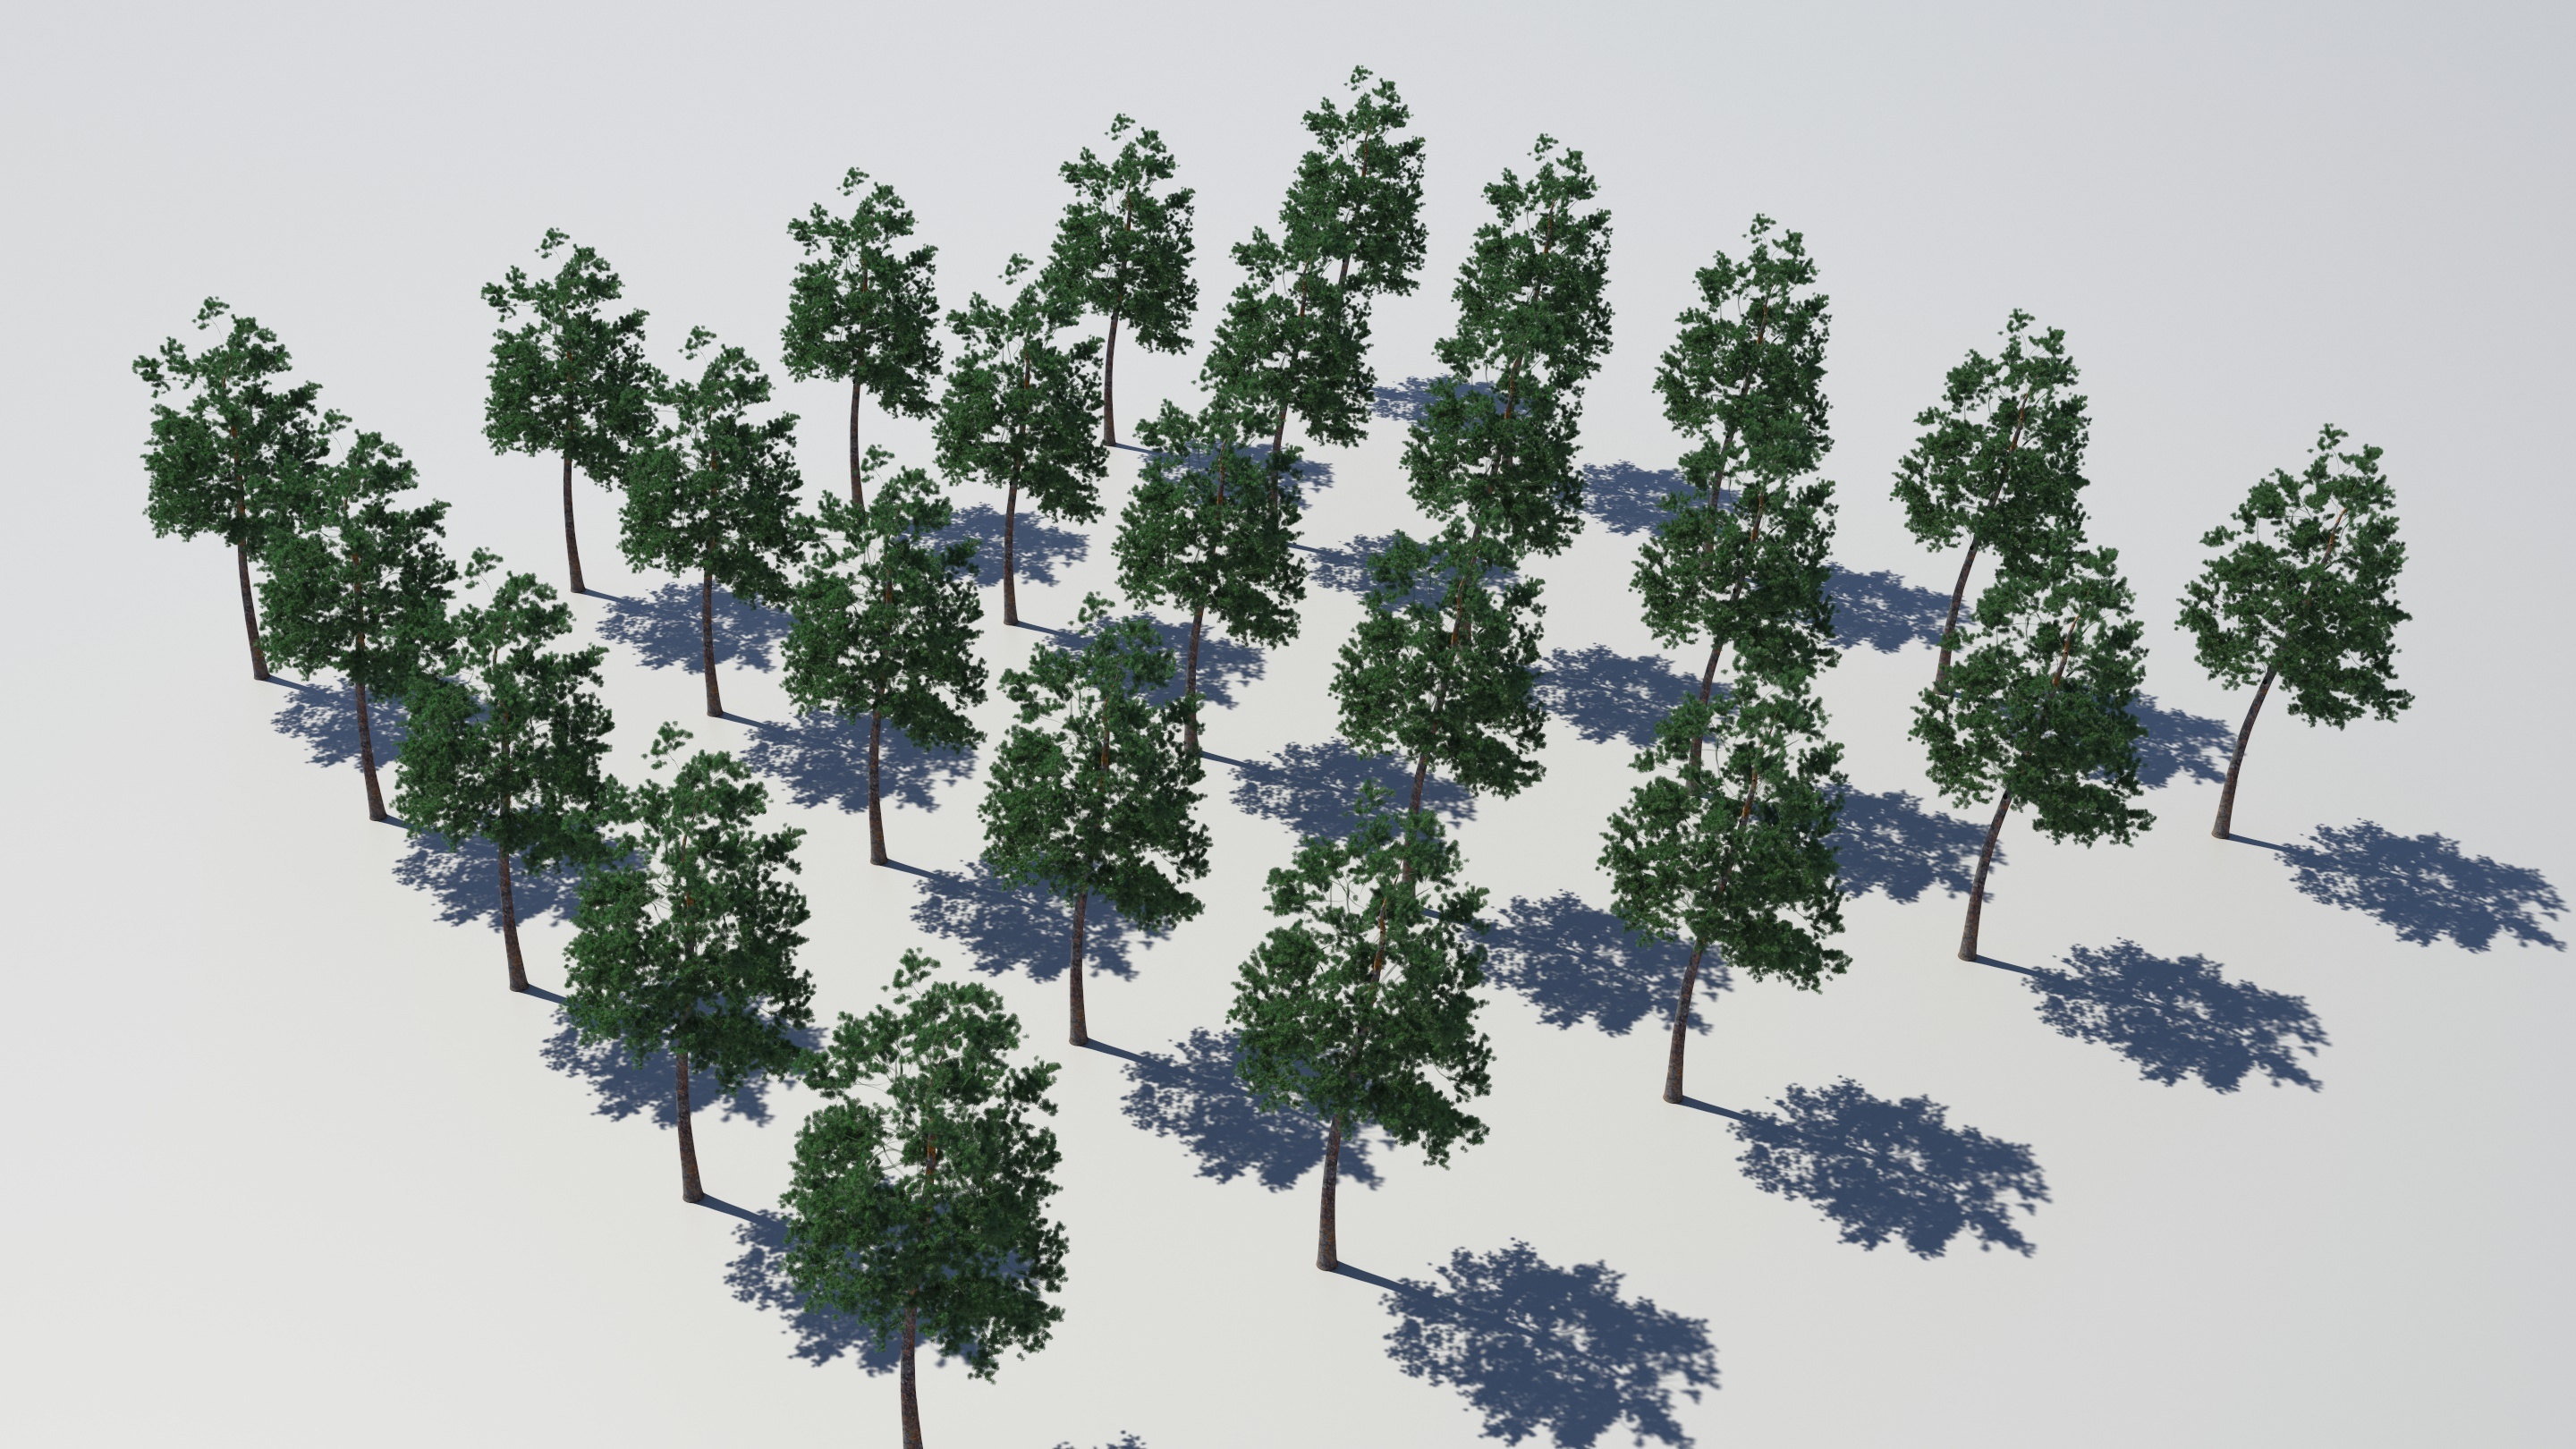
MASH can also be used to scatter and render Redshift proxies. This lets you render many proxy assets with a light Maya viewport and will improve the performance of the Redshift render. For Redshift to render proxies correctly with MASH you need to be using the MASH Instancer mode. You can change the MASH geometry type using the options found above.
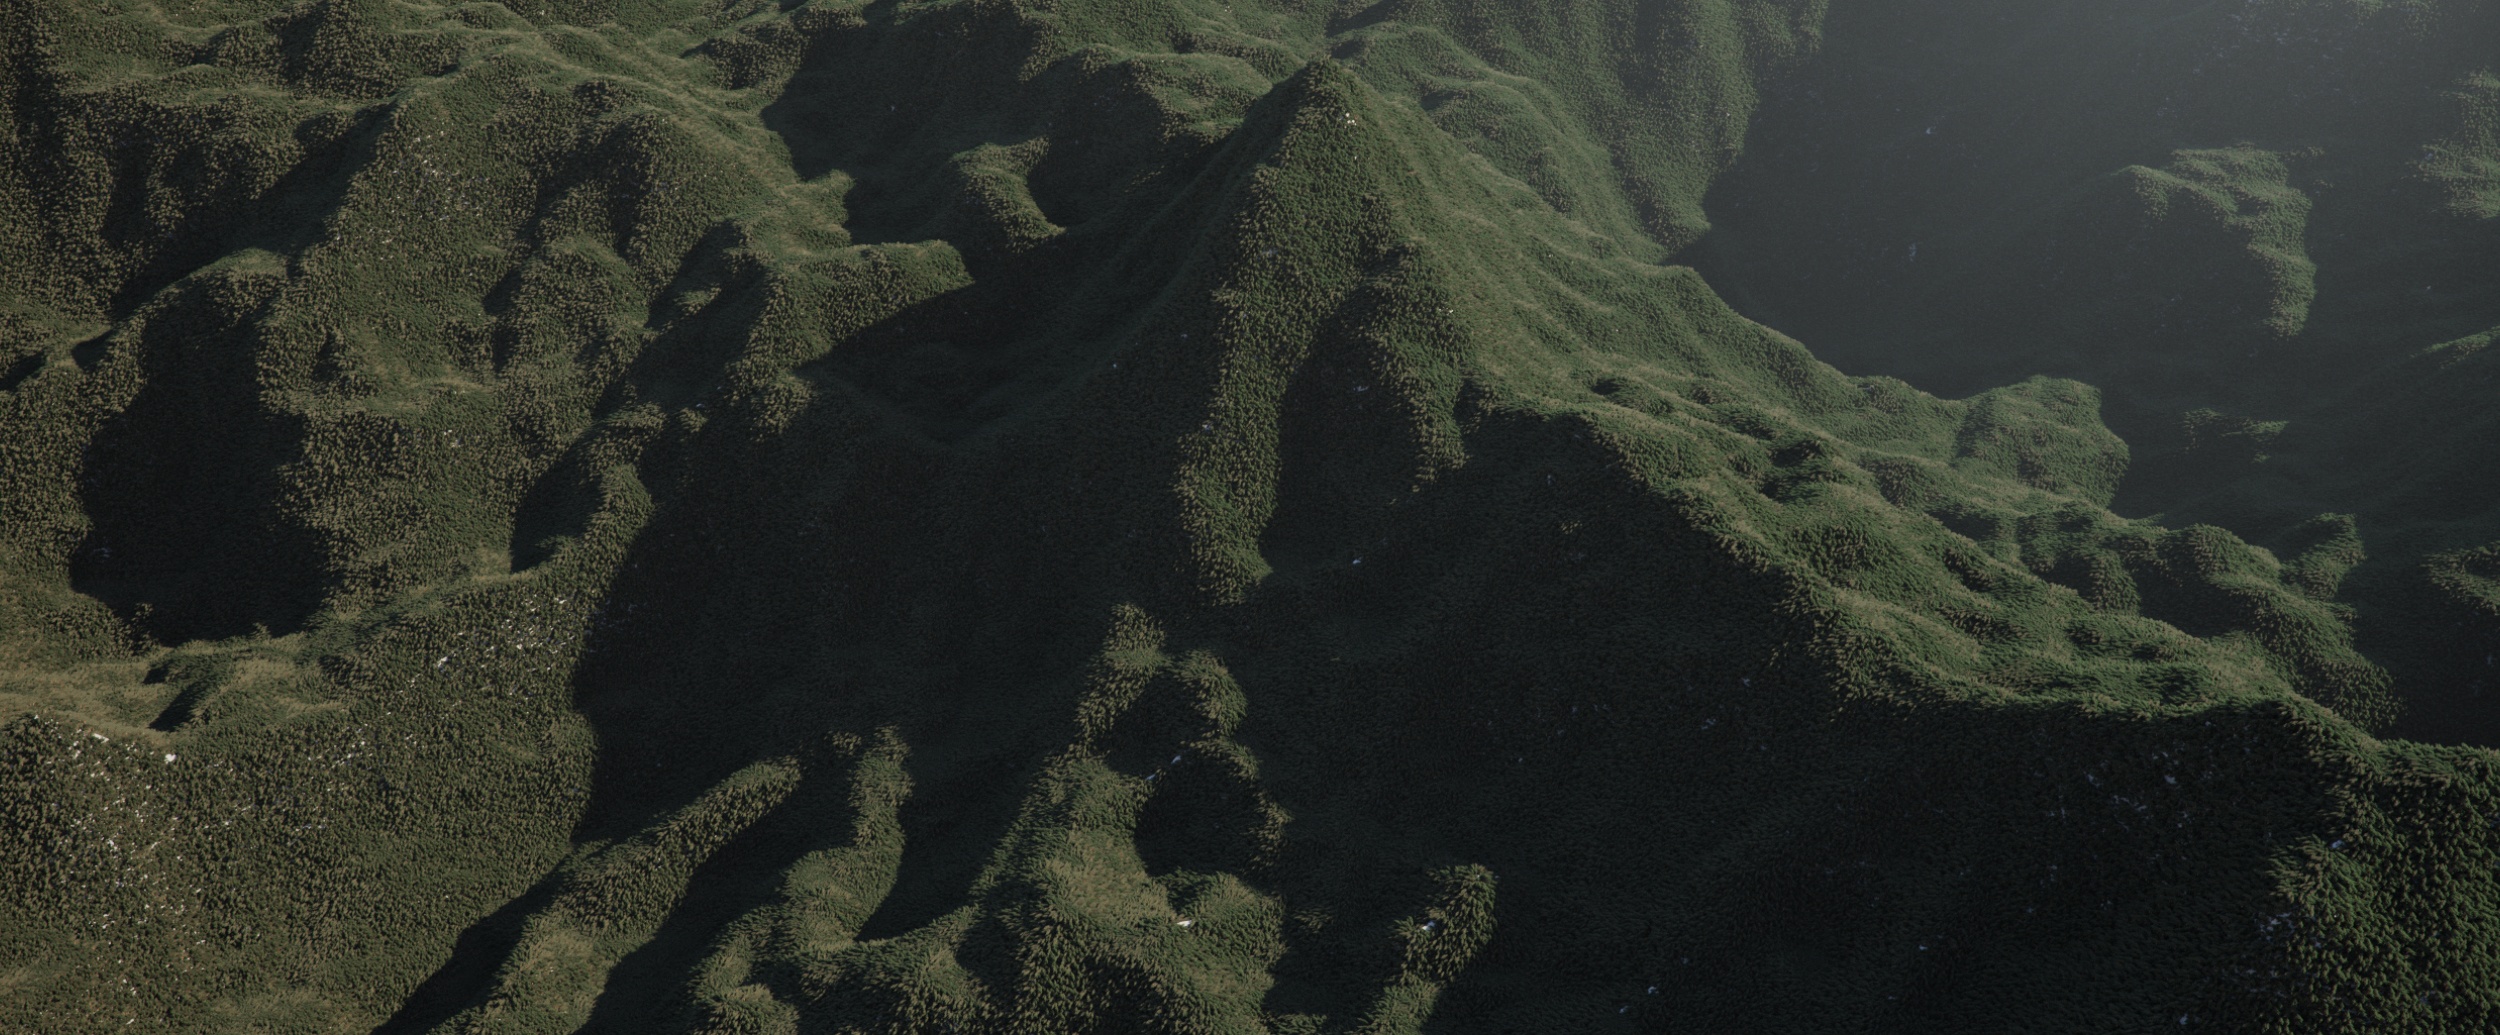
Example of Redshift proxy assets scattered on a terrain using MASH + Instancer mode
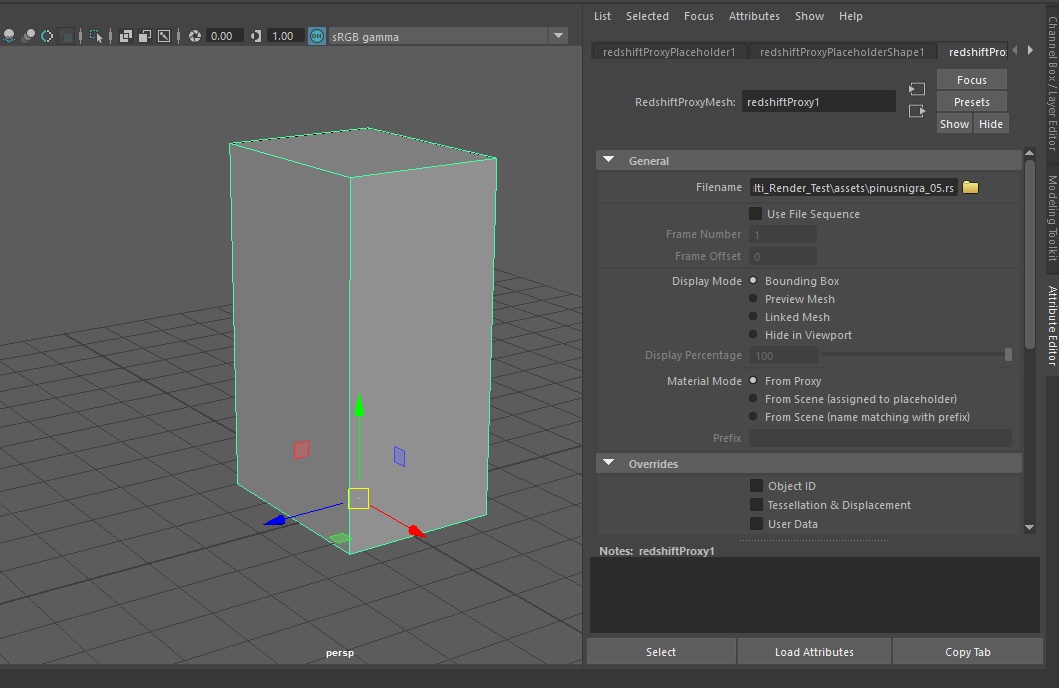
|
|
|
| Redshift proxy displayed as a bounding box preview | Redshift proxy displayed as a preview mesh at 100% |

Once the Redshift proxy is loaded into the scene you can then use it with a MASH Instancer system. Activating MASH on the proxy object like you would any other object will distribute the proxies according to how MASH is setup. When you go to render the scene it will render the asset loaded into the proxy as expected.
|
|
|
| Redshift proxy displayed as a bounding box in the Maya viewport and distributed using MASH Instancer mode |
Redshift Render of the proxy distributed with MASH Instancer |