Important
There currently exist two version of Redshift: 1) One for macs with NVidia GPUs. That version requires macOS High Sierra. 2) One for macs with AMD GPUs. That version requires macOS Big Sur or later.
If you are using High Sierra and NVidia GPU, you will need to install the latest version of Nvidia's Web driver as well as the corresponding CUDA driver. Both of these can be found on Nvidia's website. Once installed, driver updates can be applied via the NVIDIA Driver Manager and CUDA options in the MacOS System Peferences. MacOS CUDA drivers can be downloaded from here: http://www.nvidia.com/object/mac-driver-archive.html
Running The Installer
Run the Redshift Mac OS install package once you've downloaded it here.
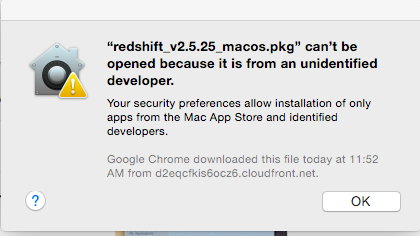
If you receive a warning similar to the one below you will need to modify your Mac OS security settings in order to continue.
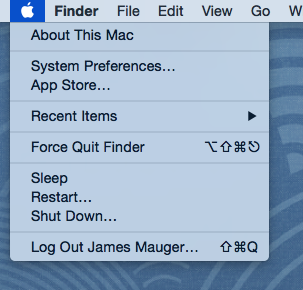
First you need to go to your System Preferences.
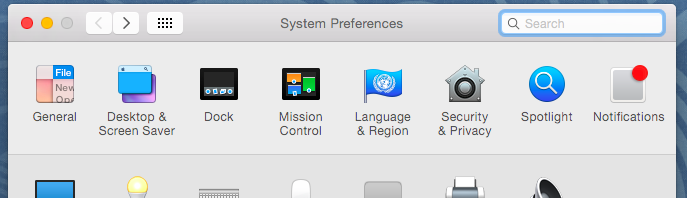
Then select Security & Privacy.
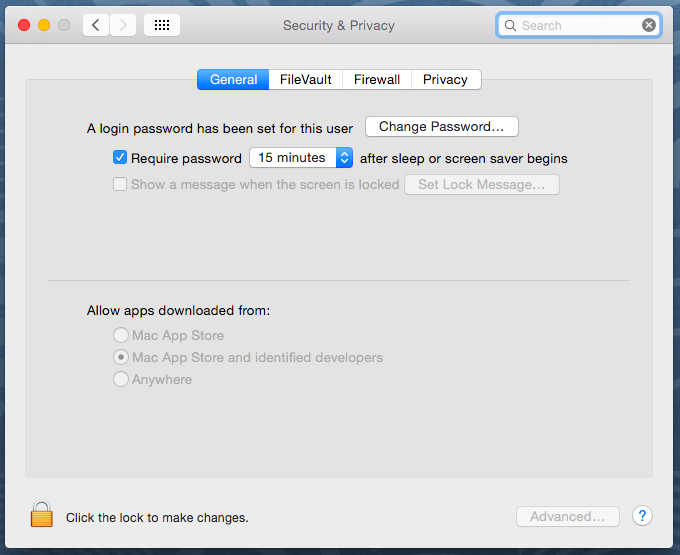
You need to change the "Allow apps downloaded from:" section in order to install Redshift. In order to make this change you must click the yellow lock icon in the lower left, enter your password, and set this to "Allow apps downloaded from" to "Anywhere."
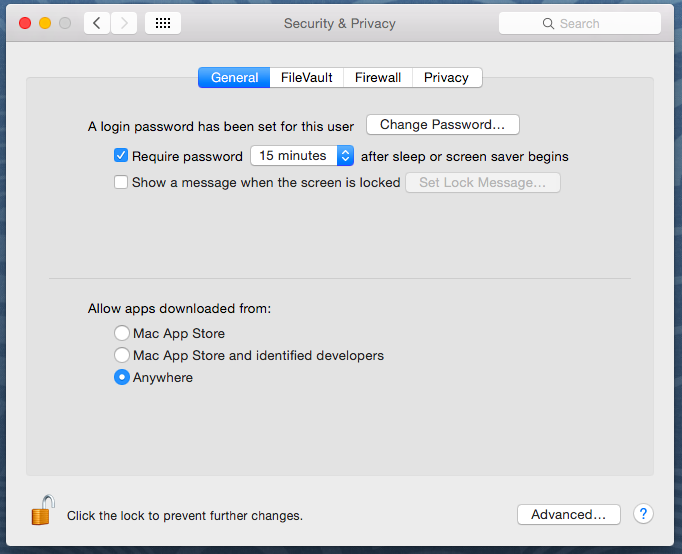
With your security settings changed you can now proceed with the rest of the instructions on this page.
You can change your security settings back to what they were before installing Redshift after installation is complete.
The installer will guide you through everything step by step.
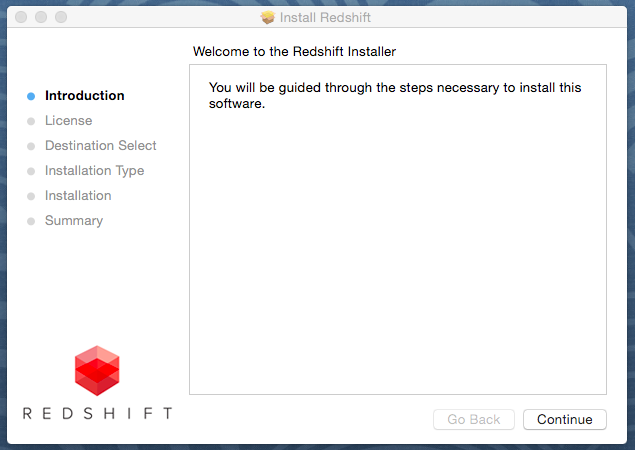
Click Continue to proceed to the License agreement screen.
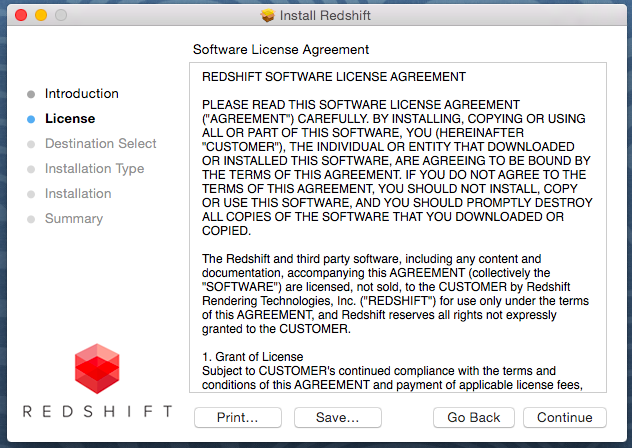
Please review the Redshift Software License Agreement carefully before continuing. By clicking Agree, you are agreeing to be bound by the terms of the agreement. If you agree with the terms and wish to proceed with the installation, click Agree. If you do not agree with the terms, you must not click Agree and you must exit the installer (by clicking Disagree) and remove the installer from your system.
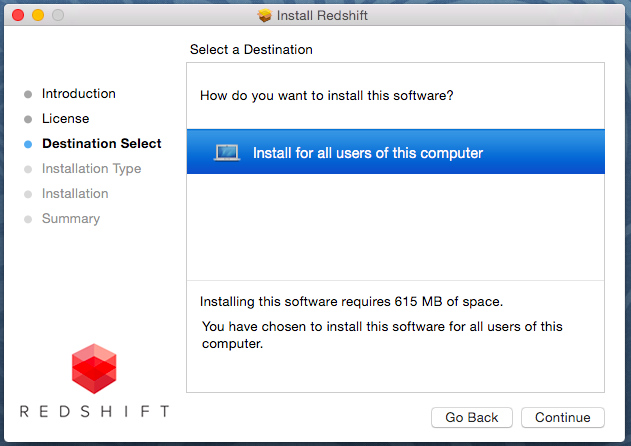
After you agree to the licensing terms you are taken to the Destination Select screen where you can select the users to install Redshift for. Click Continue to proceed to the Installation Type screen.
Here you can specify an alternate installation location, if you do not "Change Install Location" then Redshift will be installed in the standard installation directory. Click Install to proceed to the next screen and begin installing Redshift.

You're now closer than ever to extremely fast fully GPU-accellerated biased rendering...

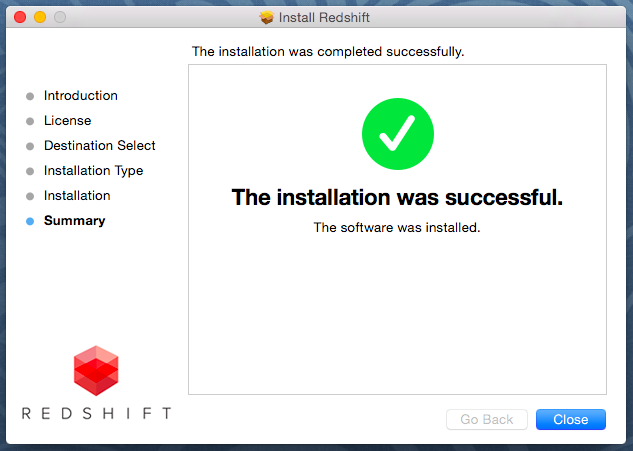
Once the installation is done you're all ready to go! You can now click Close and start rendering in your favorite DCC!