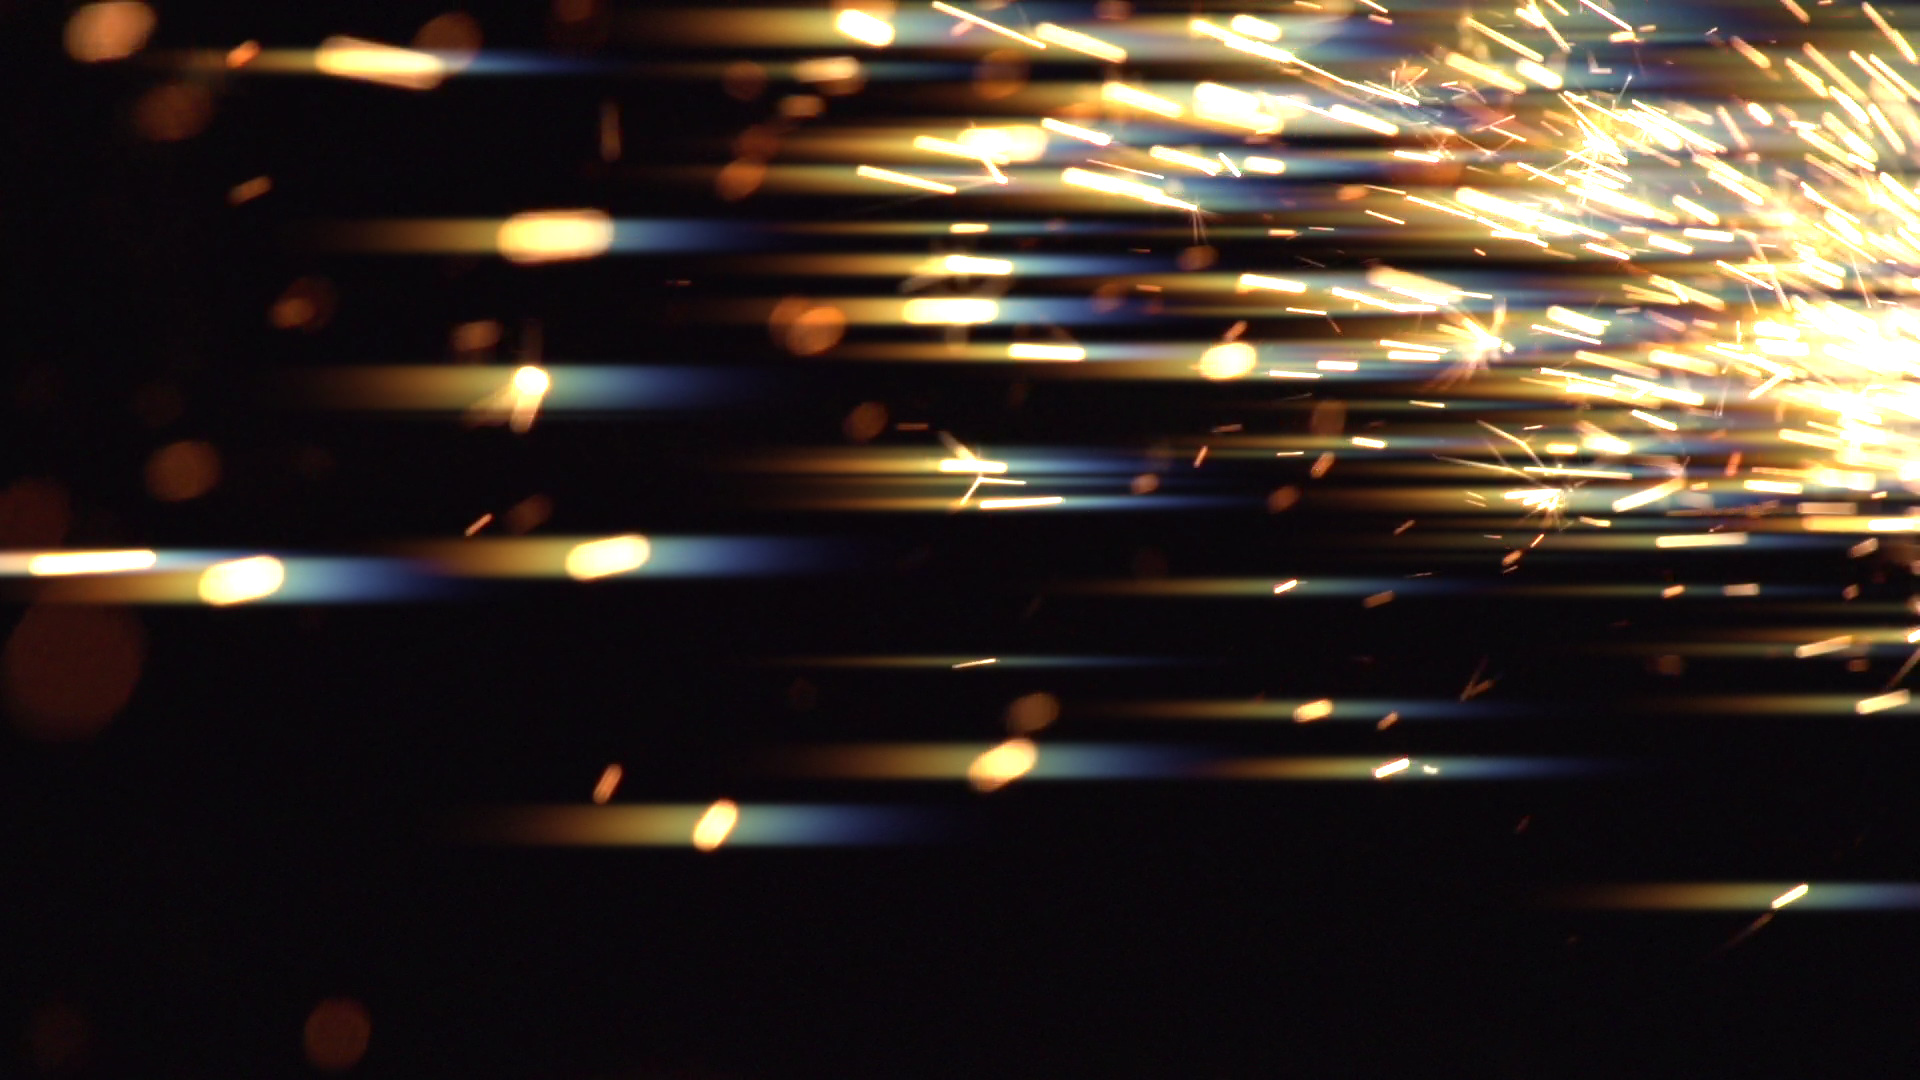
Add colorful, rainbow-like glows around titles and bright areas in any shot. Creates multi-chromatic diffuse glows or sharp-edged highlights.
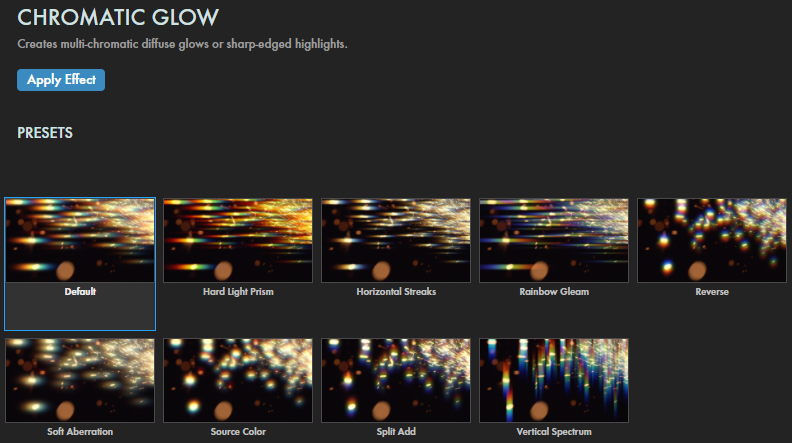
Presets
Chromatic Glow offers a diverse collection of presets that showcase various colorful glow results. Find these via the blue Open Dashboard... button or the Choose a Preset... button below it.
As with all other Universe tools, you can modify or create a Chromatic Glow look and then save it under its own name by pressing the Save Preset... button.
Modify the Effect
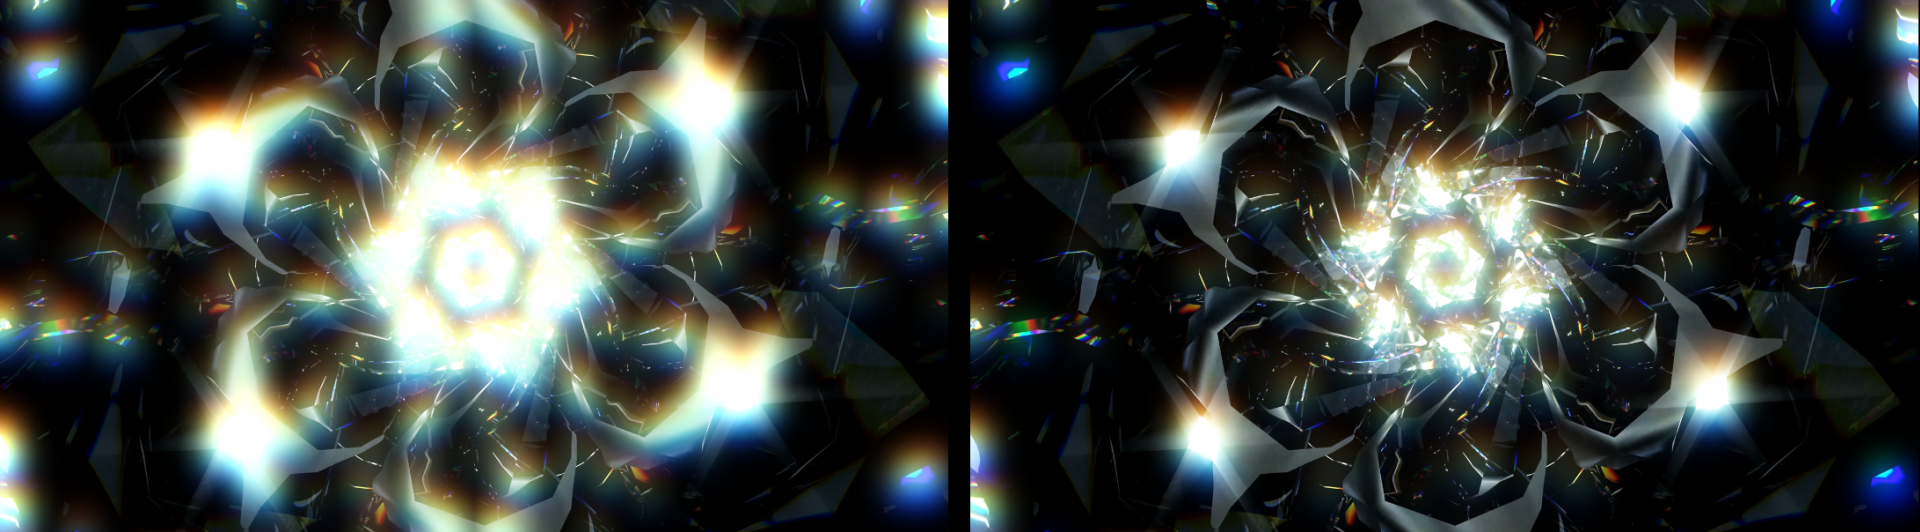
Increasing
Threshold
limits affected areas to only the brightest spots. Lowering Threshold widens the glow to affect darker areas. Observe the difference between values of 0.50 (left) and 0.95 (right) in the below comparison.
Highlight Cutoff constrains glow to only the image's brightest areas. Raise this number to expand where the glow's presence in the image.
Threshold Blur limits how far the blur extends from glowing spots. Lowering Threshold Blur
widens the blur to affect less of the bright glow areas.
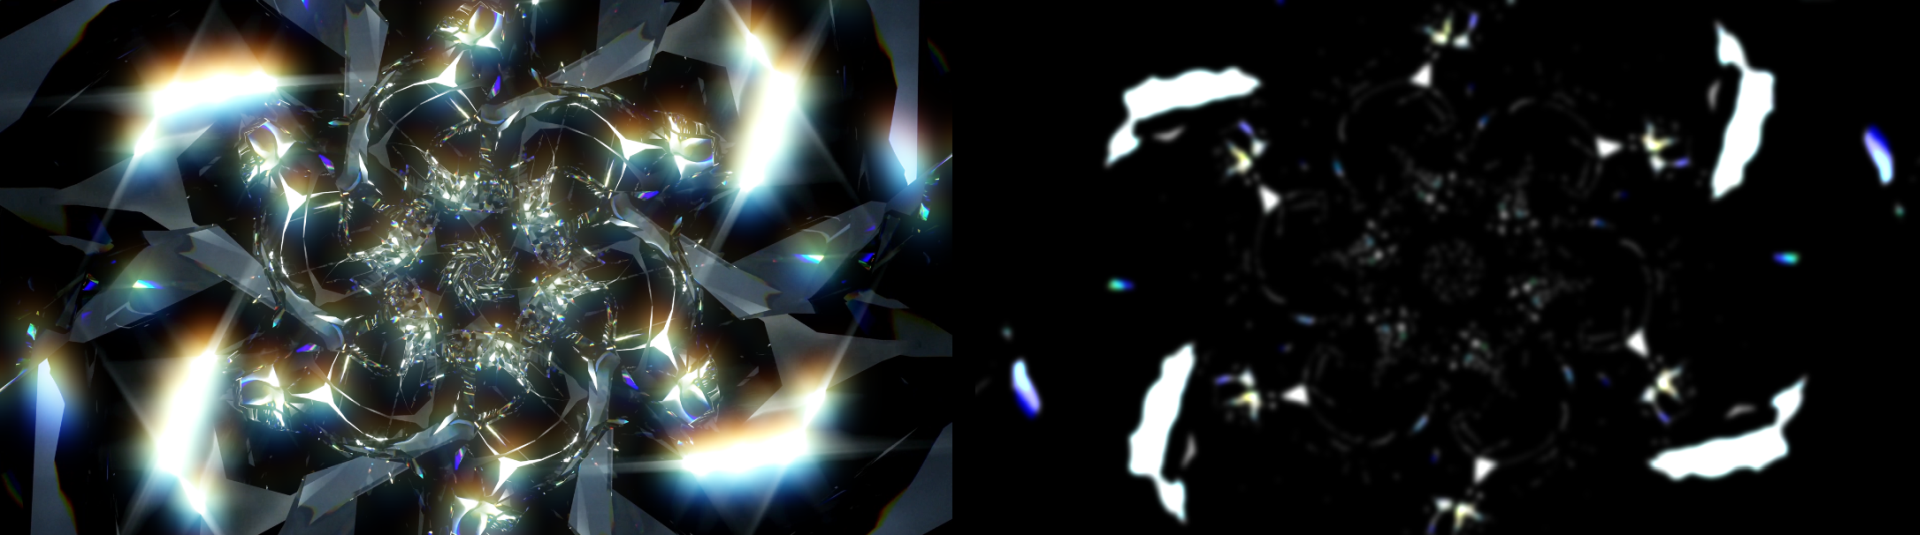
To see the map of the bright spots affected by the glow and adjust the above tools more accurately, check the
Show Threshold box to display the brightness map, as shown below. (Note that we have Threshold Blur set to 1.2.)
Intensity raises the glow's brightness, lowering its opacity and giving it a more solid, neon-like effect.
Higher Boost values increase the glow effect's overall brightness. The following triptych illustrates values of 0 (left), 10 (center), and 100 (right).
Glow Radius
control to expand or shrink the glow emanating from the brightest areas. The chromatic color effect accentuates as values increase, as you can see from the comparison of 10 (left) and 50 (right) below.
Radius X stretches or shrinks the chromatic glow radius direction along the horizontal axis while Radius Y does the same in the vertical axis direction.
It's easy to see this control as a "smearing" effect, but spend a little time here, because it's not quite that simple. Check out the following example, with Radius X and Y both set to 0 (left), X at 5 and Y at 0 (center), and then X at 0 and Y at 5 (right). As you can see, with no displacement, the green channel is all but invisible behind our white text.
The RGB Split H/V controls separate and offset the red, green, and blue channels. The separated color channels will stack on top of one another when these controls are set to 0.
Consider the following animation, where we set RGB Split H to 70 to get that long, laterally blurred appearance, then we keyframed an RGB Split V change from -100 to 100.
The Color From Source slider brings out color tones from the original layer and adds them to the glow. Lowering this control to 0 almost removes the glow effect, but not quite.
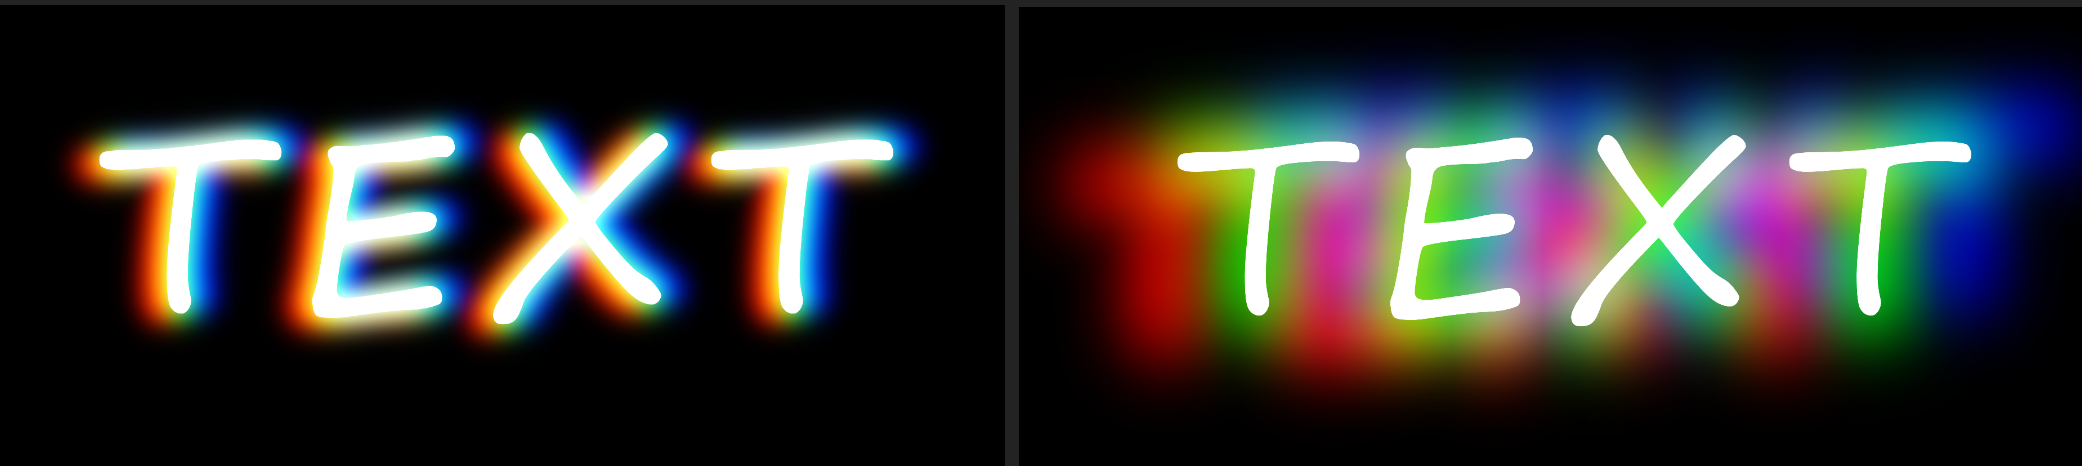
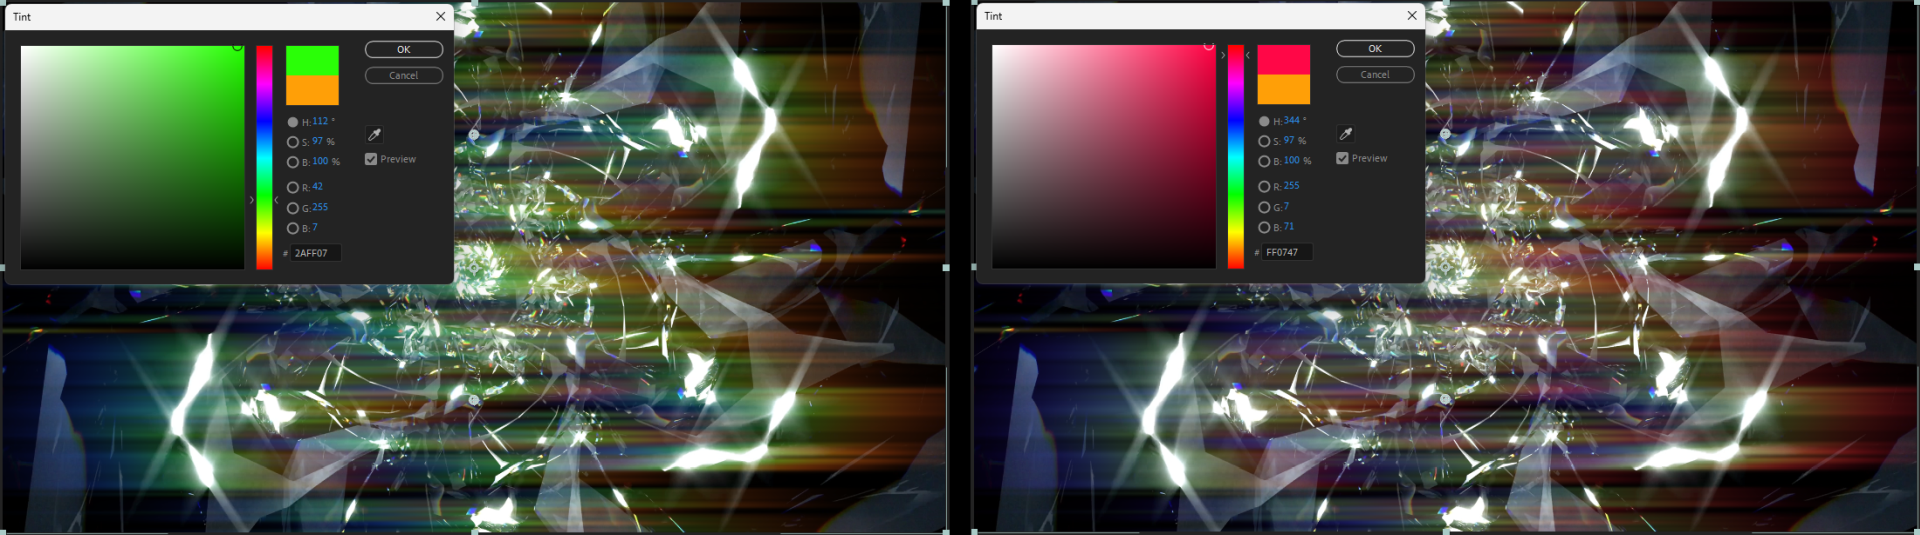
The Tint selector allows you to change the glow's color tint for better compositing and special effects.
You can see the impact of changing Tint in this comparison, which started with the Rainbow Gleam preset before we changed the Tint tone.
Increasing Tint Strength will make these changes even more pronounced.
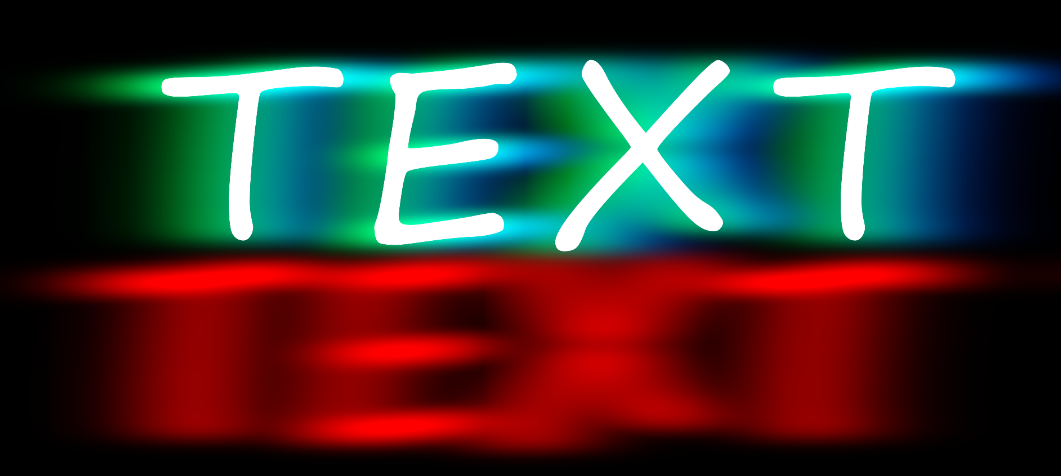
TheRed/Blue/Green Channel groups allow you to control isolated color channels within the Glow effect.
The Shift Horizontal and Shift Vertical controls move the position
of the selected color channel map along the x or y axis without distortion. Here, we used Red Channel > Shift Vertical to lower the glow's red channel below the other two channels.
The Blur H/V controls blur and stretch the color channel along the horizontal or vertical axes. These blurs will soften and spread the channel, reducing their opacity.
The Mix sliders, set to 100 by default, mix the overall effect of the Glow color channels on the layer with the original image. Higher values bring out stronger presence of that color.
Increasing Blend with Original raises the strength of the original layer blending with the Glow effect according to what style is chosen
in the Blend Mode menu below.
The Blend Mode drop-down menu offers the usual assortment of blending modes to composite Chromatic Glow results over the original image.
The Mask control group makes quick work of masking your glow effect, if desired.
To begin, enable the Use Mask checkbox to constrain the glow to the masked area.
To see your mask more clearly and adjust it to your liking, enable the Show Masked Area checkbox.
Select an option from the Shape drop-down menu to set the mask as either an elliptical or rectangular shape.
The Invert checkbox, when enabled, will switch the glow effect to occur outside the selected mask shape instead of inside. We show this inversion in the following comparison.
The Point A cross-hair control corresponds to the position of the top of the mask image.
Point B controls correspond to the bottom position of the mask. Both are pointed out in the above images. Moving these points will
squash or stretch the shape of the mask as well as move its position.
Radius spreads the influence of the masked glow outward from its center. Increasing this value will elongate the mask shape.
Feather Size increases the mask's edge translucency along a gradient.
Feather Direction contracts the feathered gradient toward the mask's center
if lowered toward -100 and expands it toward the edges if increased toward 100.