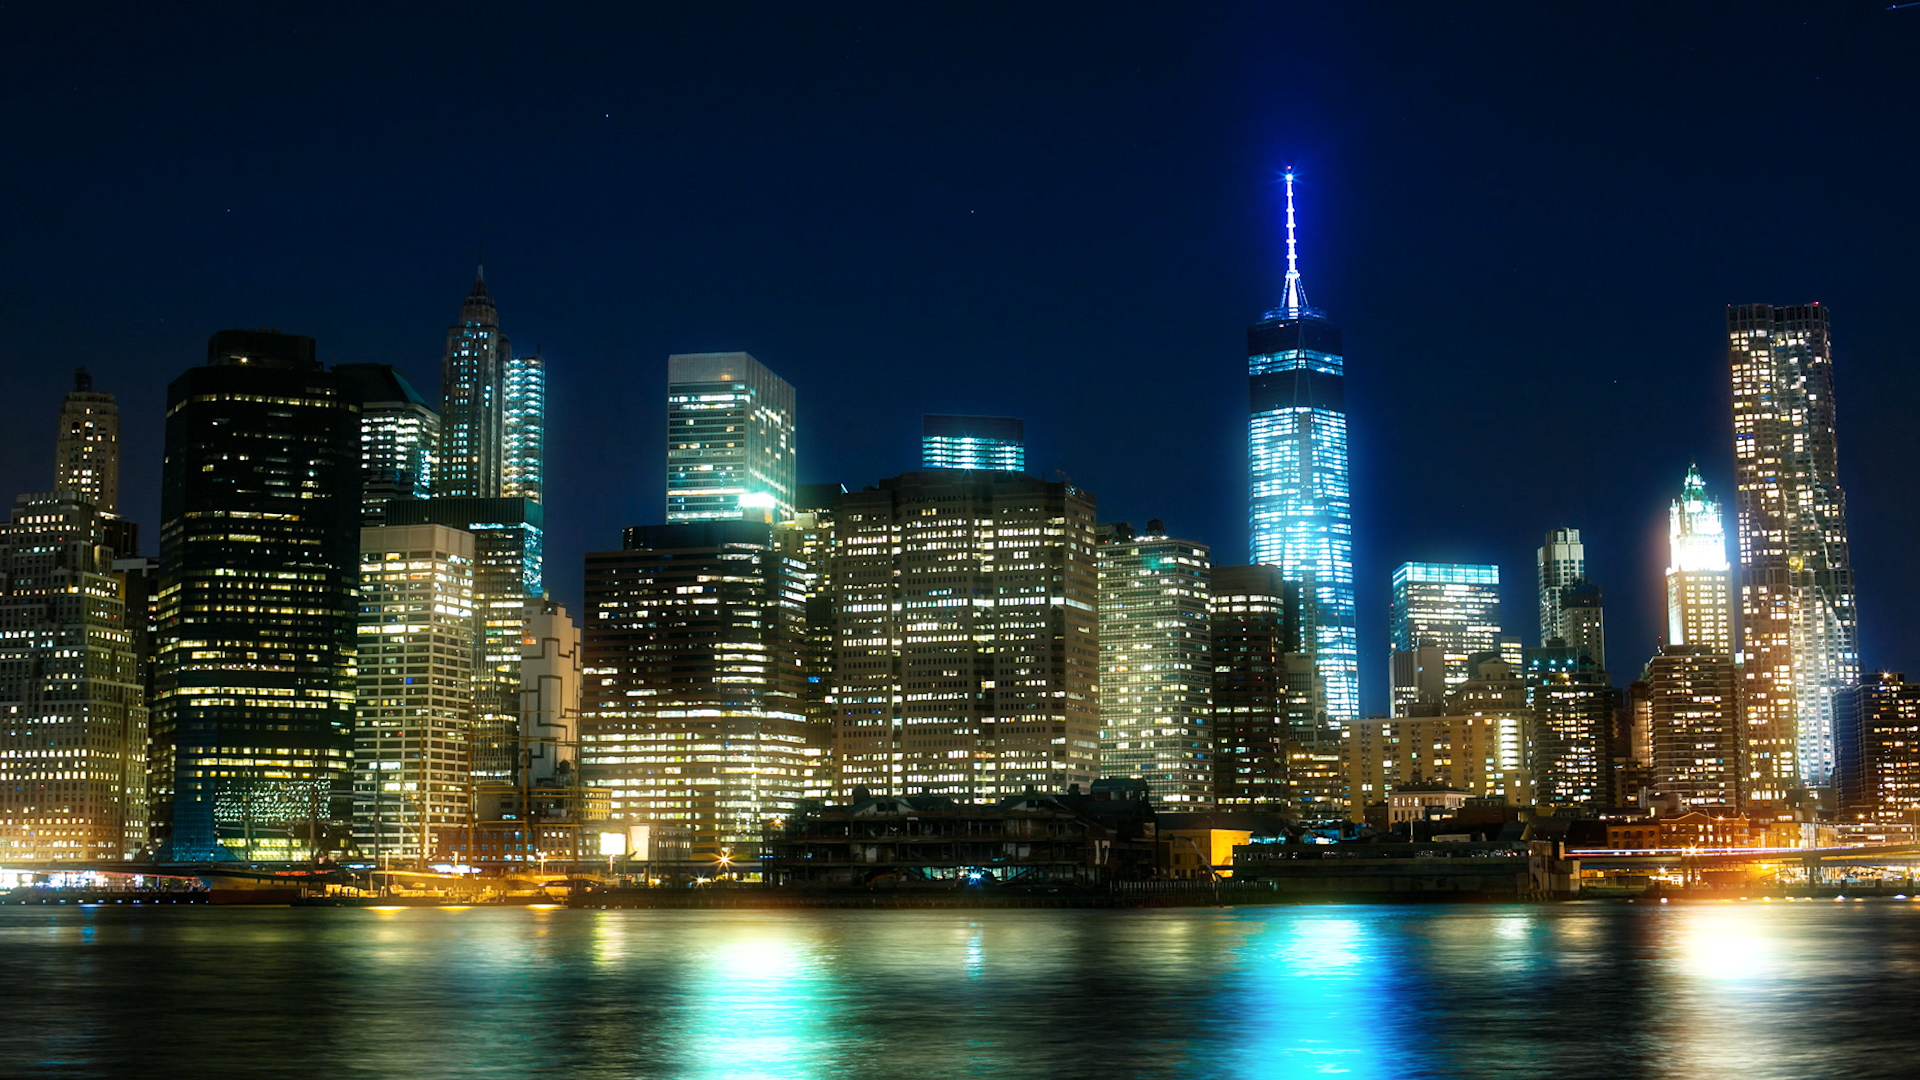
A diffused glow that softens the bright parts of the image. Isolate a specific color within your footage and apply a glow to just that color.
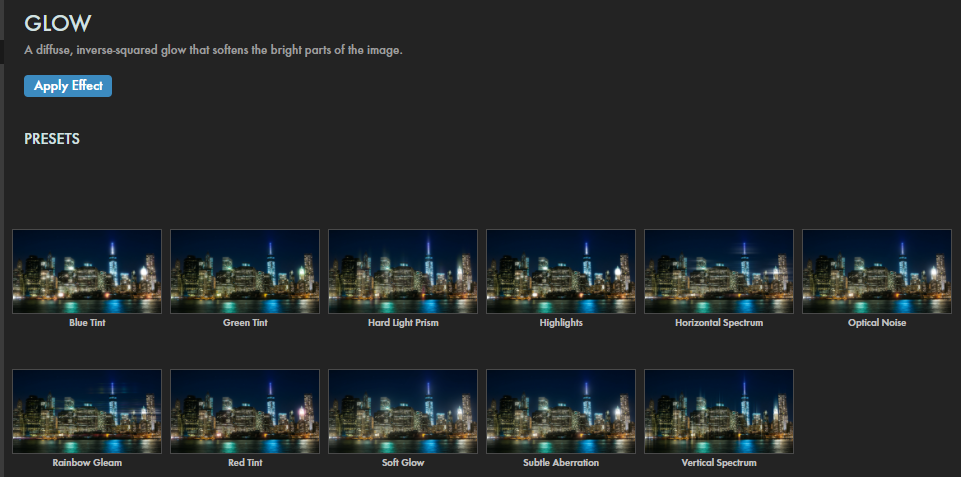
Presets
Glow presets bring you instant application of a range of luminous light blooms. Find these via the blue Open Dashboard... button or the Choose a Preset... button below it.
Presets also serve as a shortcut for learning a Universe tool's capabilities and potential. For example, compare the default Glow settings (left) with the Green Tint (center) and Vertical Spectrum (right) presets below. It can be easy to come into a tool like Glow and think, "This just adds a same-color glow around rights, like a neon effect." Sure, Glow does that, but the presets quickly reveal that it can do much more.
As with all other Universe tools, you can modify or create a Glow look and then save it under its own name by pressing the Save Preset... button.
Modify the Effect
Input Channel refers to the type of information in your image that receives the Glow effect. The pull-down menu offers seven options spanning the three color channels, alpha, RGB and alpha combined (the default), Lightness, and Luminance. (The calculation for Luminance considers the weighted average of color channels to closely mimic how humans perceive brightness. Lightness, on the other hand, merely averages the highest and lowest color channels without taking into account human perception of brightness.) In the example below, you can see how selecting Red for Input Channel (right) adds red glow to the red already present in the base image (left).
Increasing
Threshold
limits affected areas to only the brightest spots. Lowering Threshold widens the glow to affect darker areas.
In the following animation, we start with a value of 100, which adds only a pinch of glow compared to no effect at all. Over the following seconds, we lower the value to 0. You can especially see how the blue glow blooms along the walls as Threshold diminishes.
Threshold Softness feathers the Threshold boundaries, adding some additional subtle extension of glow effects.
Size and Intensity work in tandem. If either is at 0, the result is essentially the same as having no Glow effect. Size governs the reach of each glow, and
Intensity
elevates each glow's brightness, reducing its opacity and giving it a more solid, neon-like effect.
With Intensity, a little goes a long way, as you can see in this comparison of values of 1 (left) and 3 (right).
Falloff refers to the gradual decrease in intensity or brightness of a visual element, typically light, color, or shading, as it moves away from a source or a focal point. Employ Falloff to fine-tune realistic lighting and shading effects with your glows.
Width and Height manipulate the glows' size and shape. Increase these to spread glow along these directional axes, giving a more “streak-like” look to your glow (as with the Vertical Spectrum preset shown earlier).
Increasing
Gamma
provides brighter results in light areas while lowering this slider constrains the glow to more limited areas in the layer.
The
Color
subgroup offers a few controls.
Saturation
allows you to increase the glow's color saturation.
The
Color 1
and
Color 2
selectors let you to change glow colors for better compositing and special effects.
Color 1
is for the glow's outer edges.
Color 2
impacts the glow's interior.
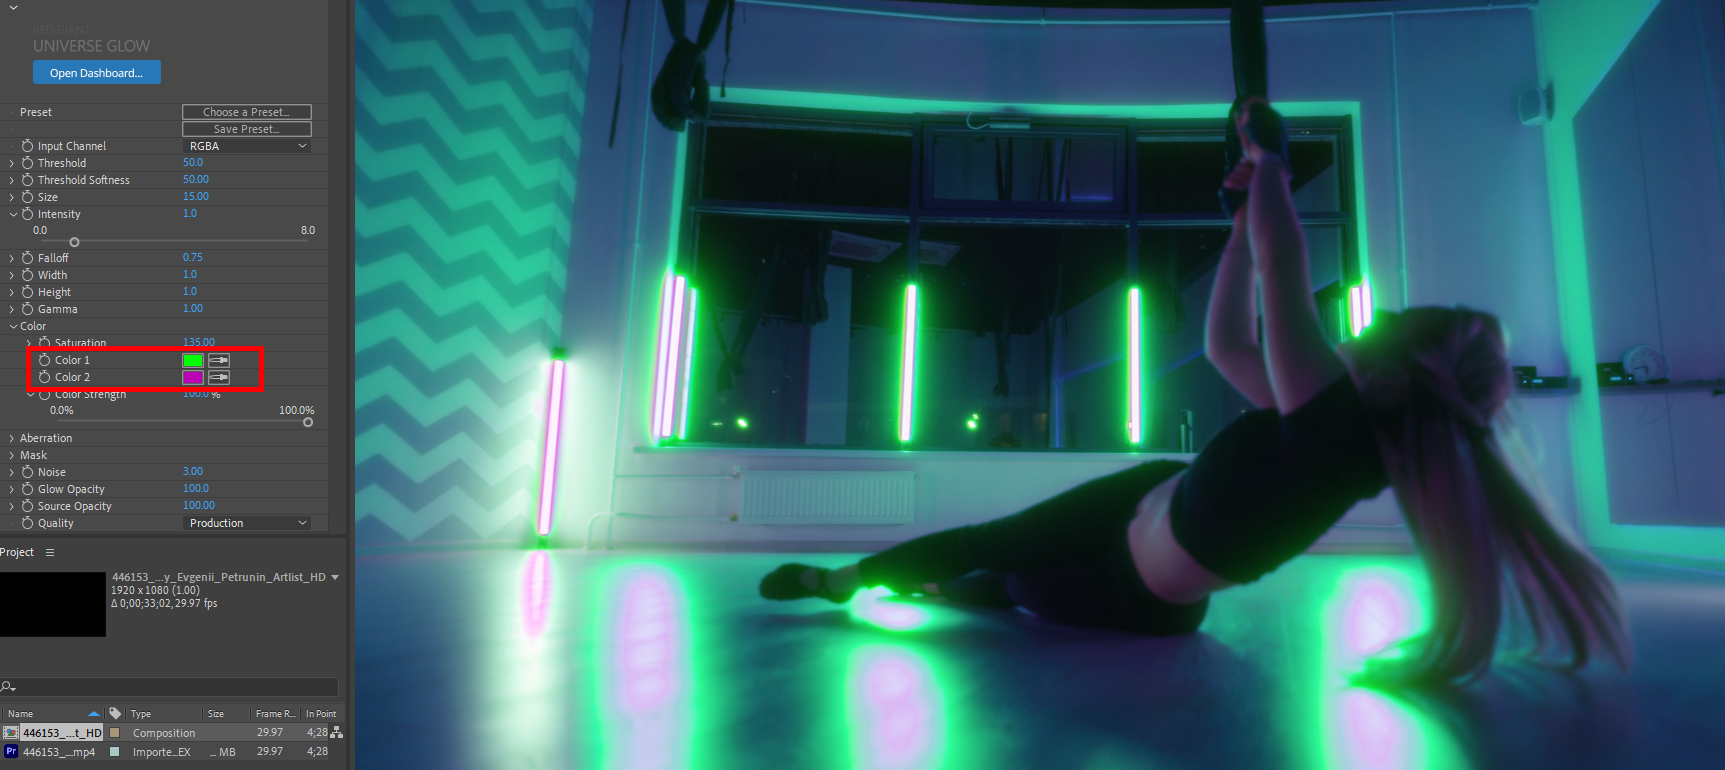
You can visualize this more clearly in the following example. Note how we turned the colors to bright green and purple and how these tones manifest in the glow around each luminous source.
To see the colors of the color controls reflected in the image, turn the
Color Strength
slider up toward 100, as we did in the image above. To eliminate these additive colors completely, turn this control down to 0 to regain the source image's original coloring.
Aberration in Glow, as with chromatic aberration in general, denotes the amount of horizontal and vertical displacement for each RGB color channel in your glow effect. The Aberration subgroup contains a range of controls for this functionality.
The Aberration Falloff pull-down menu offers three options for the behavior of aberrations as they emanate from their source. None exhibits no falloff, so all aberrations will show an equal amount of brightness (although some colors may appear fainter against their specific background). Linear, and Smooth.
Aberration X/Y
controls the amount of aberration on the x and y axes.
Red/Green/Blue Scale
sets the aberration size by color channel.
Chromatic Saturation and Tint govern the coloring of aberrations.
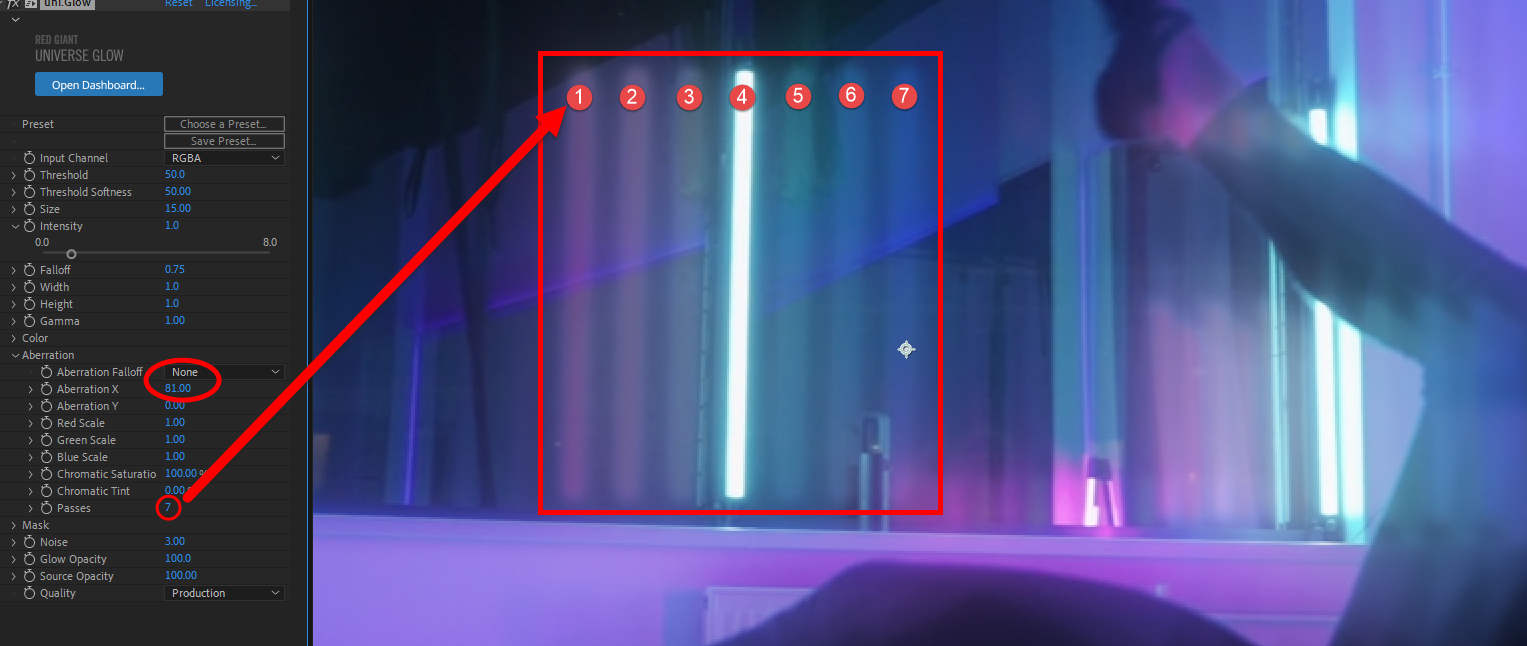
Passes notes the number of times the effect renders an aberration from a given source. You might also think of it as an aberration "count." The below image (at 200% zoom) illustrates this with a relatively large Aberration X value, so the passes are easier to see.
Mask
Enable the
Use Mask
checkbox to constrain the glow effect to the masked area (or its inversion, as per below).
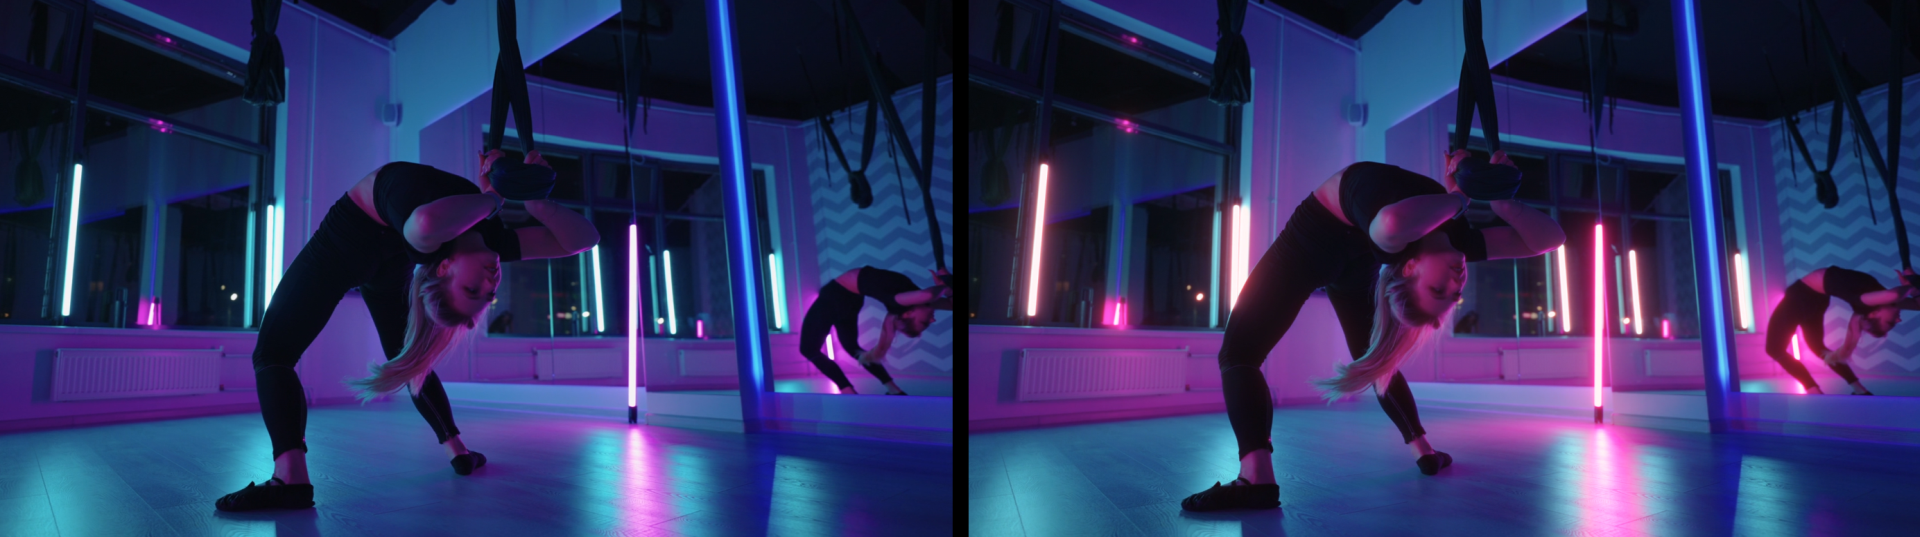
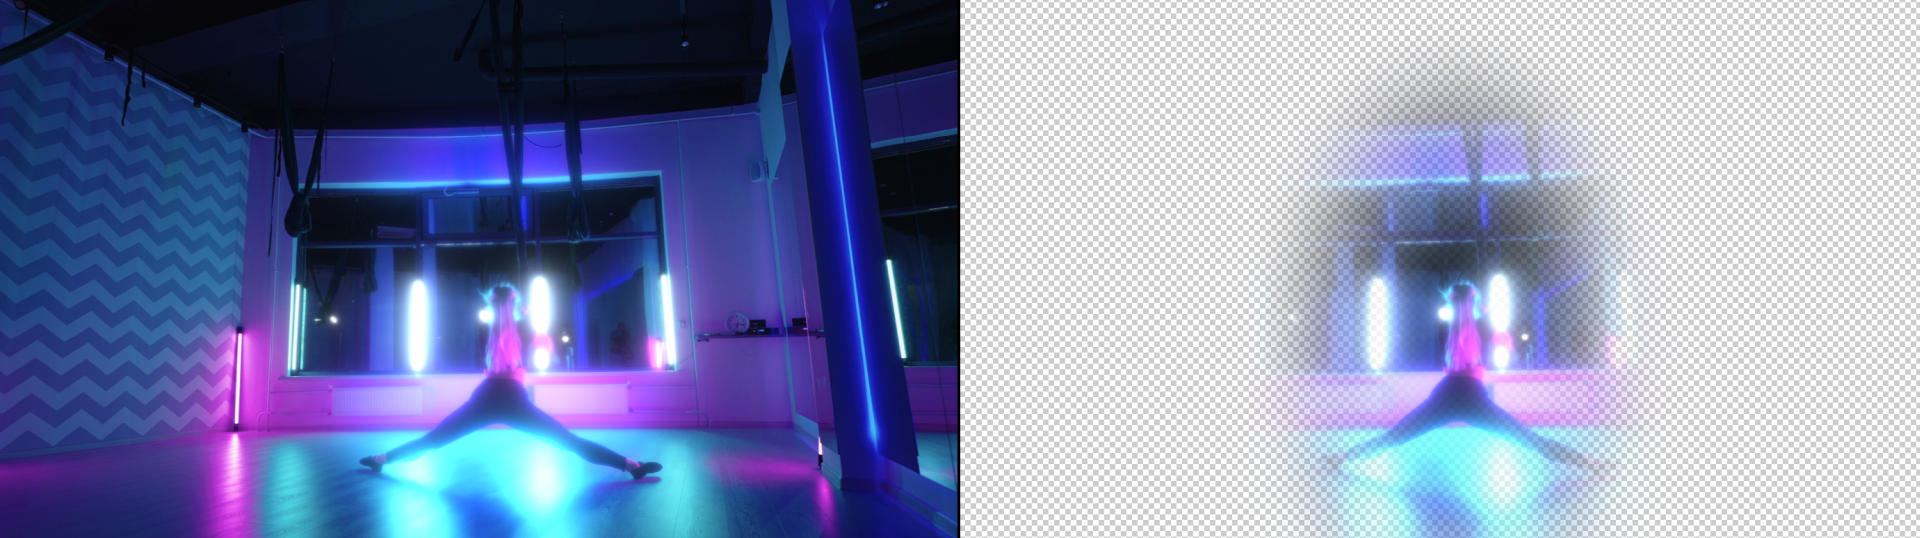
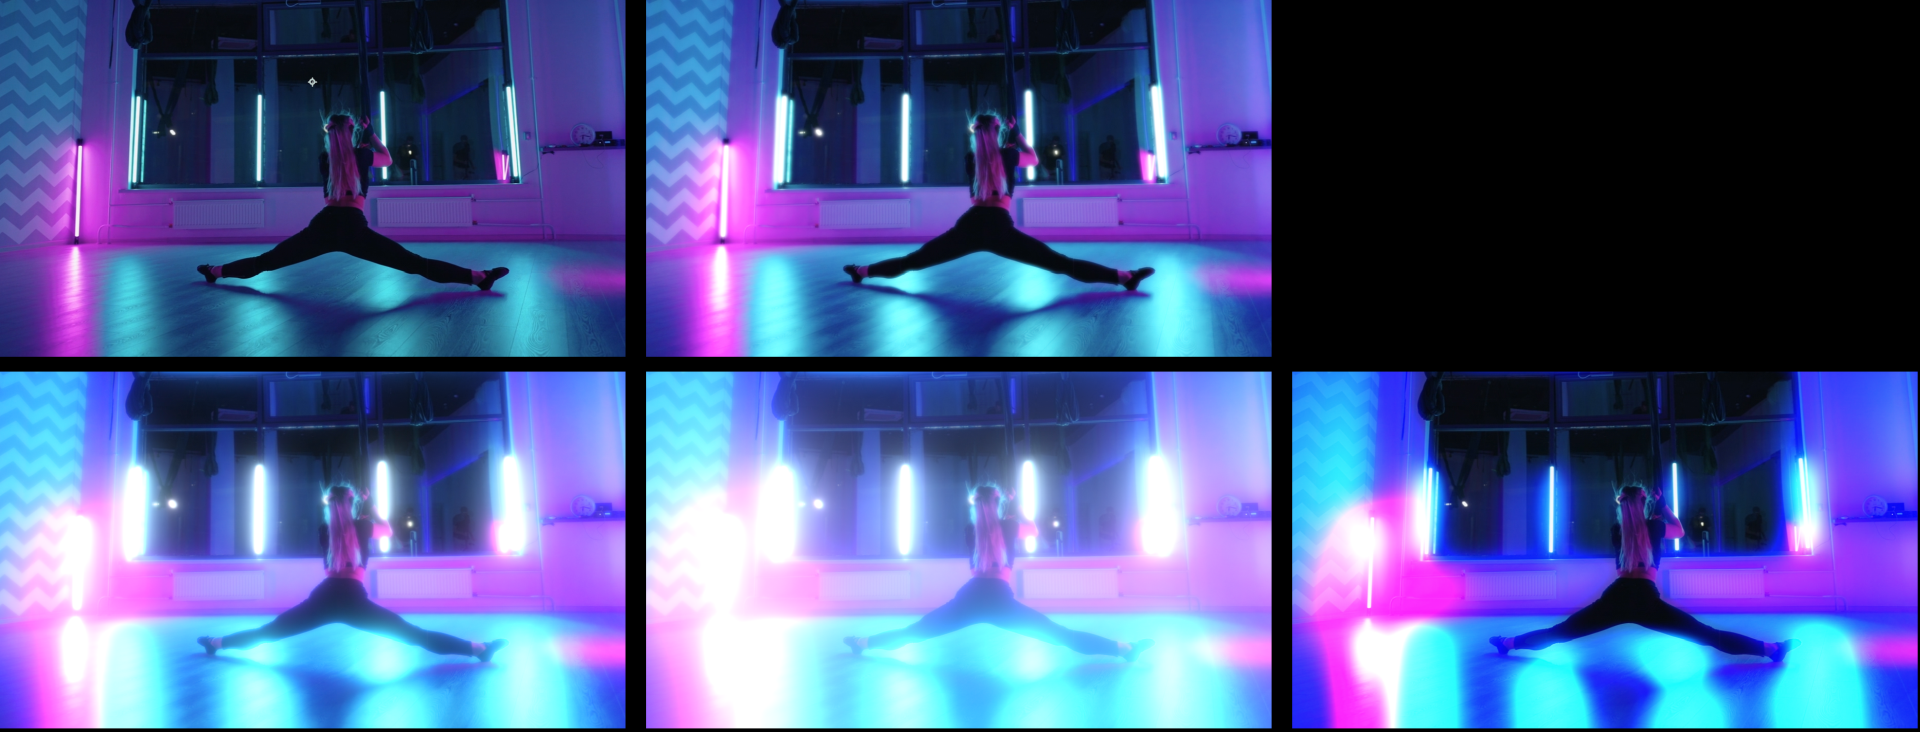
Show Masked Area is invaluable for helping refine the mask shape and location. In the below images, we've employed Use Mask (left) to isolate our glows around the dancer, creating a sort of dramatic spotlight. The right image has Show Masked Area enabled so you can more clearly see how we achieved that spotlight.
Select an option from the
Mask Shape
drop-down menu to set the mask to either an ellipse/circle or a rectangle.
Use
Mask Position
to control where the mask is located via the cross-hair control or manual value entry.
Mask Width/Height
establish the mask dimensions.
Link Width/Height binds the Mask Height to the Mask Width. Thus, if you have a height of 400 and a width of 800, then check the Link Width/Height box, your shape becomes 400 x 400. If you change the width to 500, it becomes 500 x 500. If you alter the Link Height while the box is checked, no change to the mask shape occurs.
Mask Rotation
sets the mask's angle.
Feather Mask
increases mask edge translucency along a gradient.
Setting this to 0 will yield a sharp mask edge. Alternately, giving a square a high enough value will make it seem circular.
The
Invert
Mask
checkbox, when enabled, switches the glow effect to occur outside the selected mask shape instead of inside it.
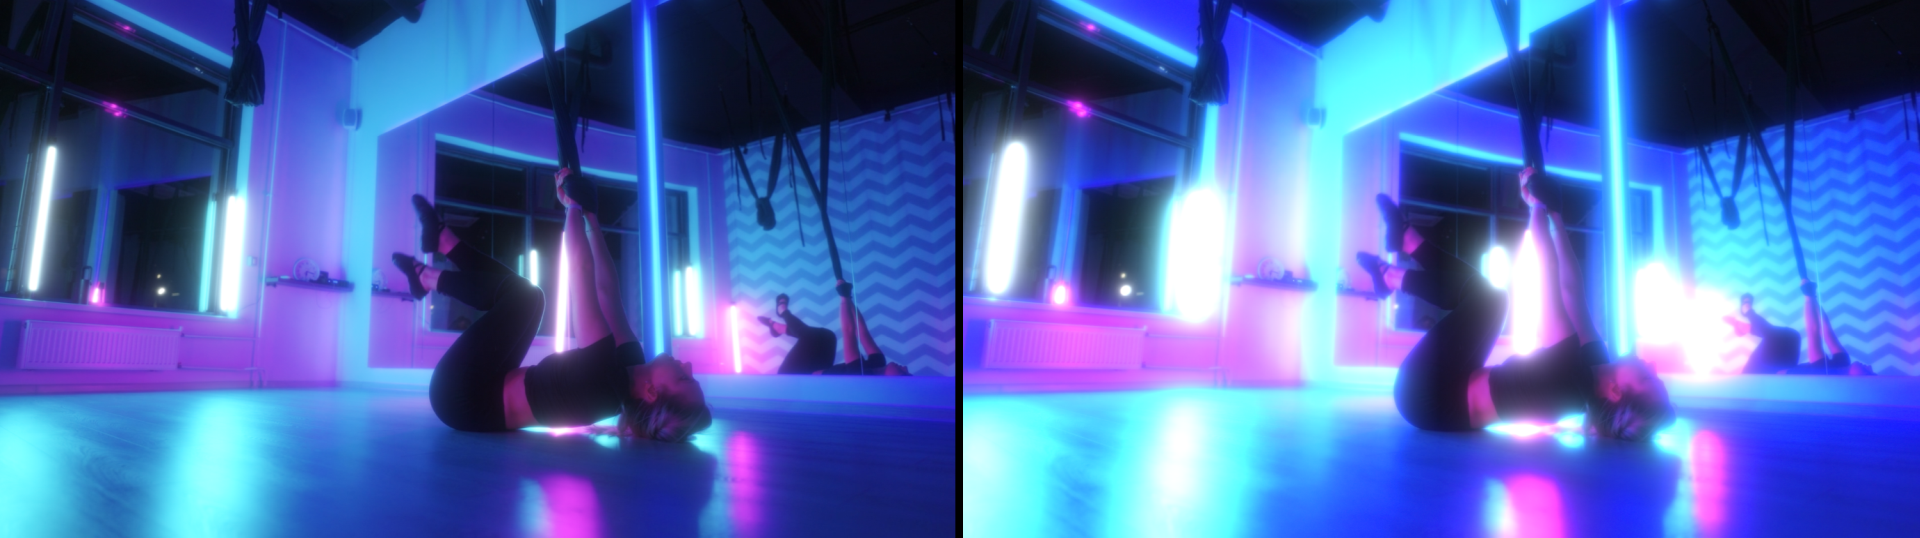
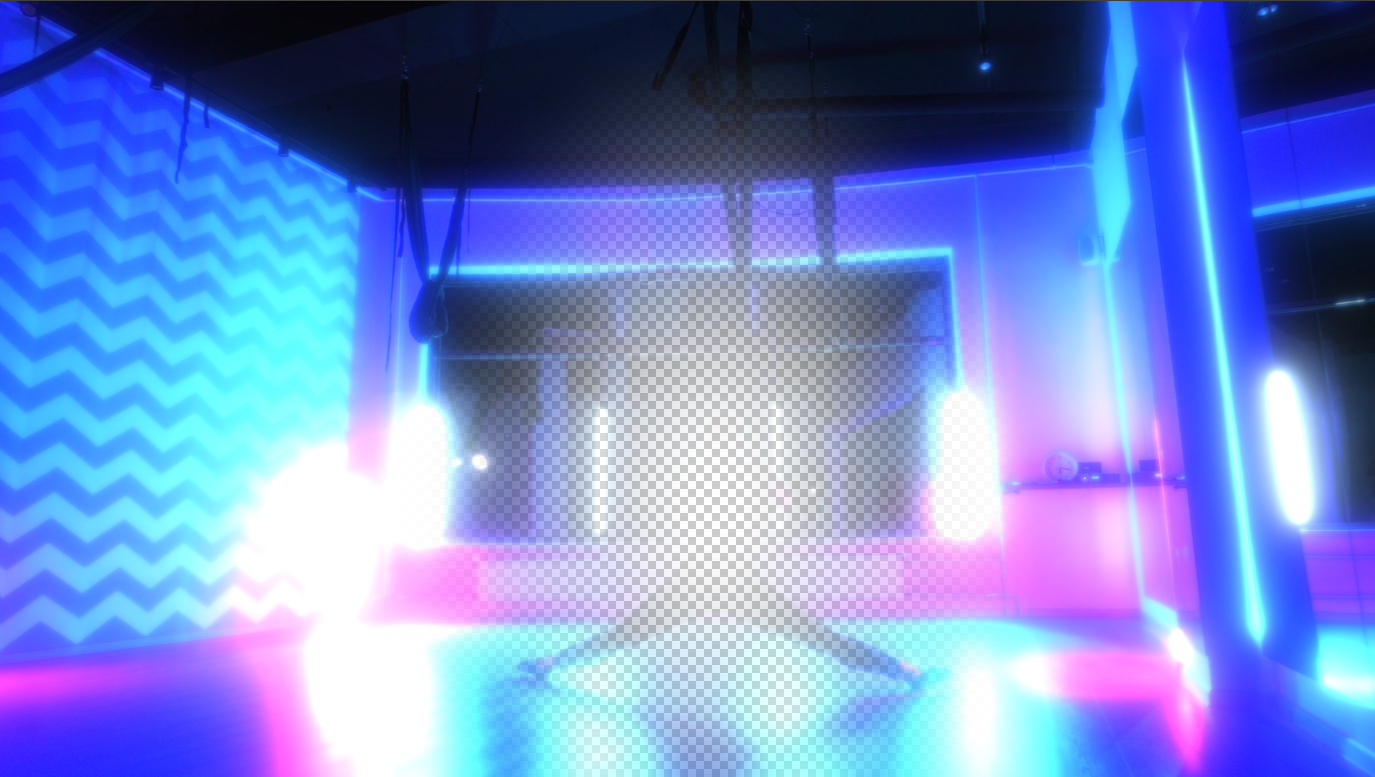
The following image is the same as the prior image, only with this box checked.
Noise introduces static-like artifacts into your glow effect. How much noise you get will depend on your input value (higher yields more) and the relationship between your effect's color channel(s) and your glow's color tonality. The video clip we've been working with in this page emphasizes blue. Thus, when we increase Noise to 100 and have the Input Channel set at default (RGBA, left image below), the noise is noticeable, but it's minor compared to when we set Input Channel to Blue (right).
Glow Opacity and Source Opacity both default to 100, giving your Glow effect and its underlying source maximum visibility. However, you may want to dial down these values for various reasons, such as to soften the glow effect. Taking Source Opacity to 0 (below, right) can be a handy way to see exactly what your glow is doing without modifying other controls.
Quality refers to the quality level at which the Glow effect renders. For the sake of speed and low resource overhead, Glow defaults to Production quality (in the below collection, see the lower-left image). This is a step up from Draft (top center), which offers the fastest performance but the lowest quality. If can seem like Draft is doing very little which is why we show it next to having Glow disabled (top left) for comparison. Extreme (bottom center) gives the truest representation of how your project will look on its final rendering, so it's good to check this before exporting and tweak as needed. Finally, Legacy (bottom right) is supplied for long-time Glow users who need backward compatibility with older projects.