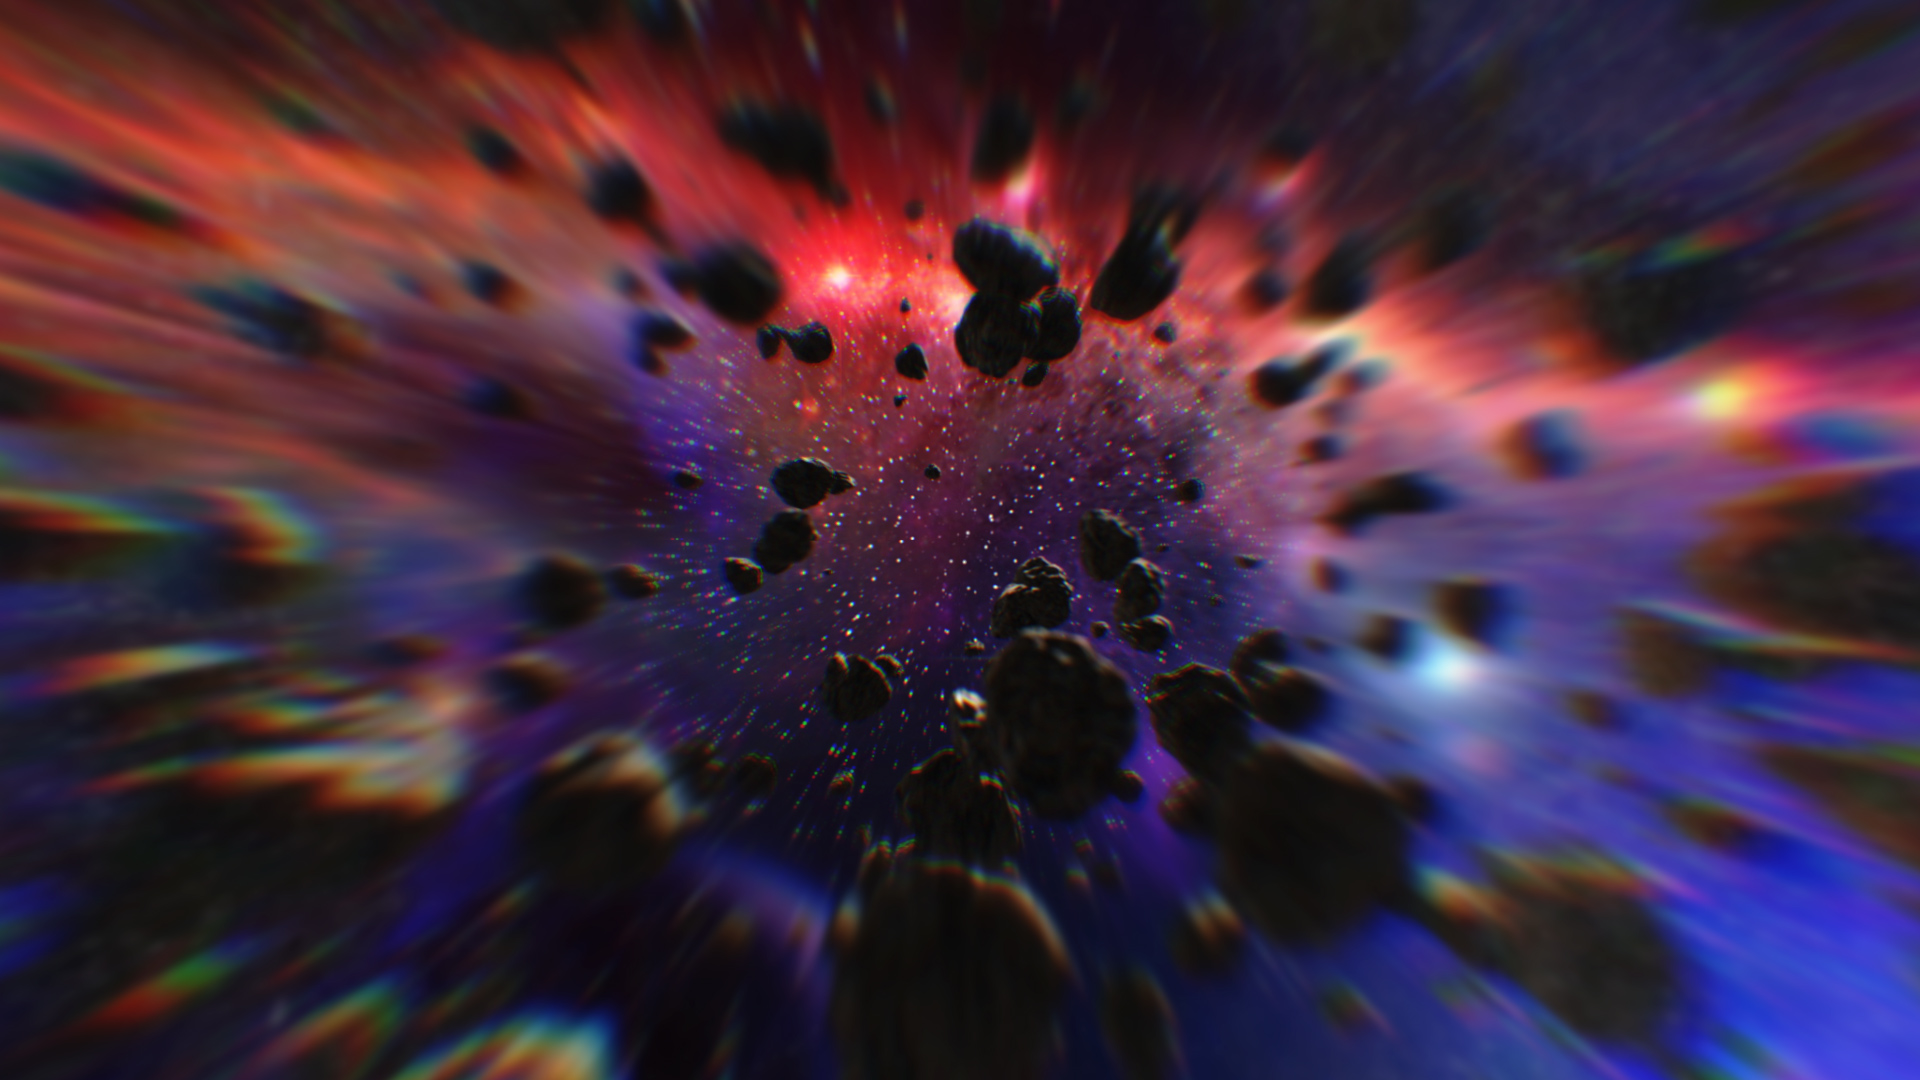
A simulated lens distortion effect that mimics real-world lens aberration in which a lens fails to focus all colors to the same convergence point. This effect includes color splitting, lens distortion, blurs, and lens textures for added realism.
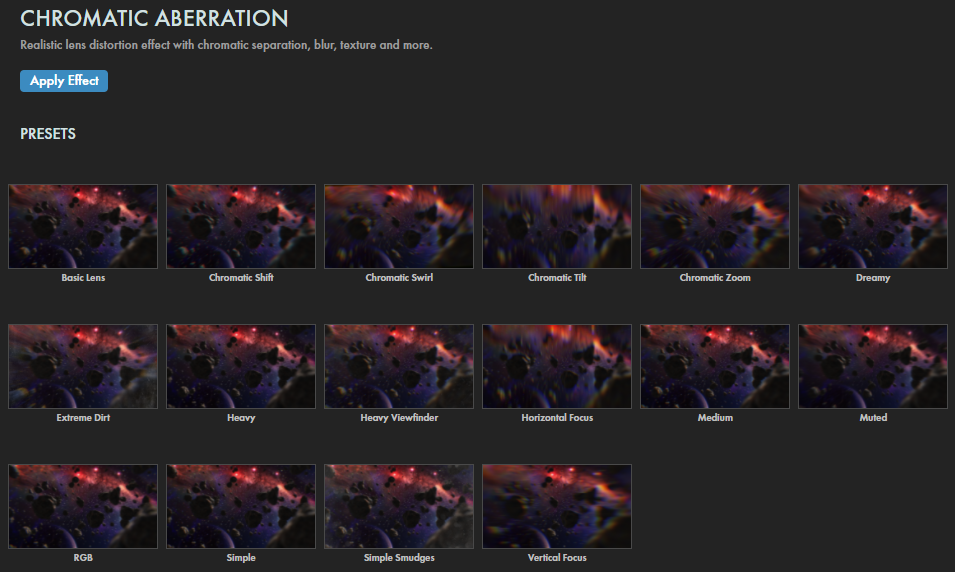
Presets
Sixteen preconfigured presets offer a wide variety of RGB mayhem and textural variety. Find these via the blue Open Dashboard... button or the Choose a Preset... button below it.
Note that the above snapshot doesn't do these presets justice. This is a case where you'll want to apply the presets to your clip to fully appreciate their appearance and range.
As with all other Universe tools, you can modify or create a Chromatic Aberration look and then save it under its own name by pressing the Save Preset... button.
Modify the Effect
Center shifts the nexus point of the aberration effect.
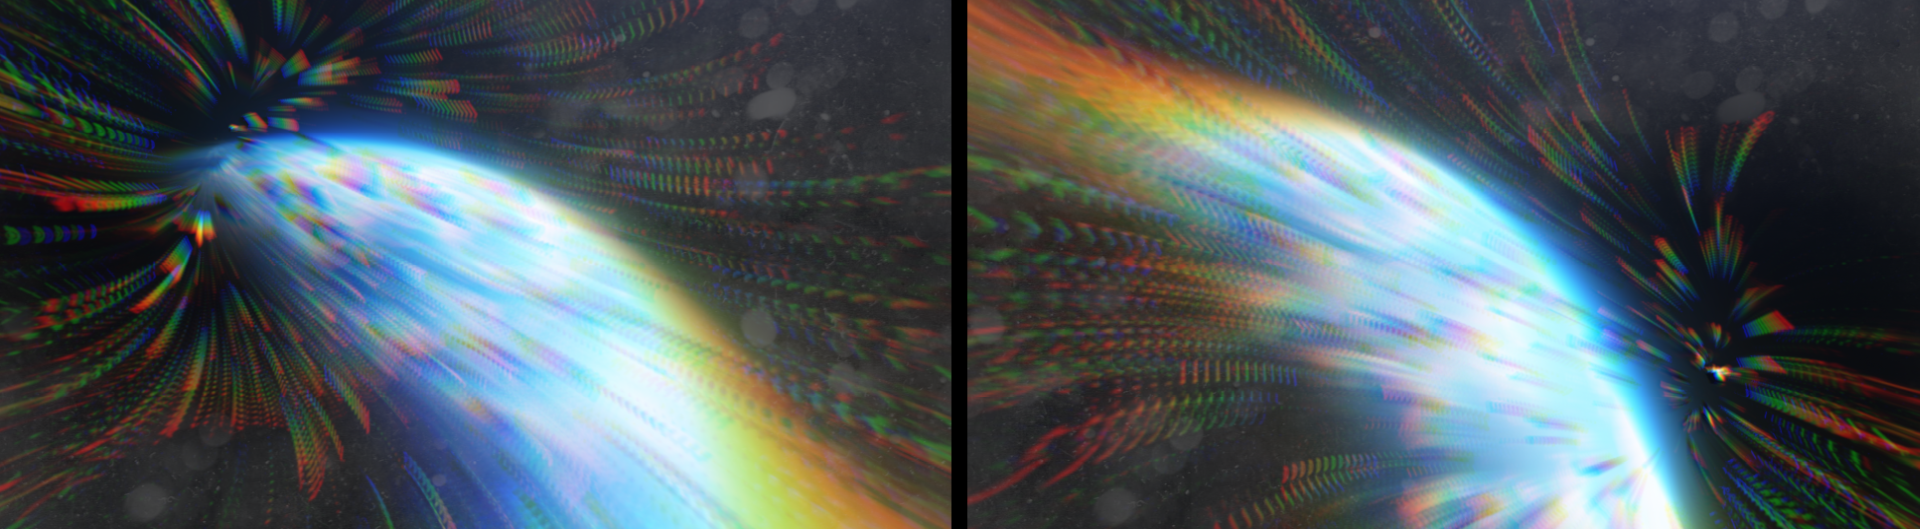
Keep in mind that moving the Center will have more or less impact depending on your other parameter settings. For example, the Basic Lens preset shows almost no change as you move the Center cross-hairs around the effect. With the Chromatic Zoom preset shown below, though, you can clearly see how we moved the Center point from near the top-left corner (left image) to the bottom right (right image).
Distortion Amount bends the aberration effect. At -8 (the minimum), the effect's edges seem to pull toward the viewer. At 8 (the maximum), the center appears to bulge toward the viewer.
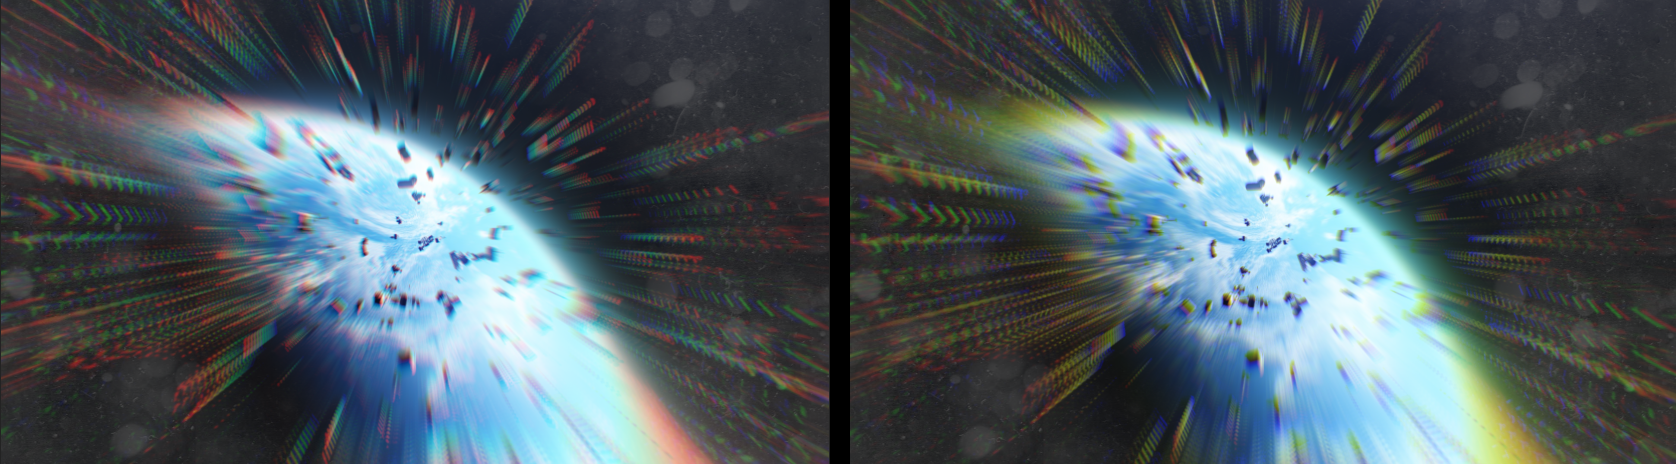
Scale determines how much your effect "pushes" or "pulls" along a given axis across the layer. The Uniform Scale box, when checked, applies changes equally across the x and y axes. If you uncheck this box, the Scale X/Y controls enable, allowing you to control each axis independently. In the animation below, we start with Uniform Scale enabled and with a setting of -2. Over the course of two seconds, we bring that value up to 1.2 so the image's center is in clear focus. This might simulate something like emerging from a wormhole or dropping out of hyperspace.
Rotation turns the entire layer, not just the aberration effect, but it does so at slightly different rates for each red, green, and blue channel. The result of changing Rotation is tough to describe, so another video clip may help. We started with a 2x+0.0 degree (720 degrees) rotation, then unwound the effect back to 0 over three seconds, creating almost a pinwheel appearance.
Gaussian Blur adds increasing amounts of blur from the aberration effect's edges toward the center as the value increases.
Radial Blur mimics the appearance of objects moving toward or away from the viewer. You'll observe Radial Blur more with higher levels of chromatic aberration.
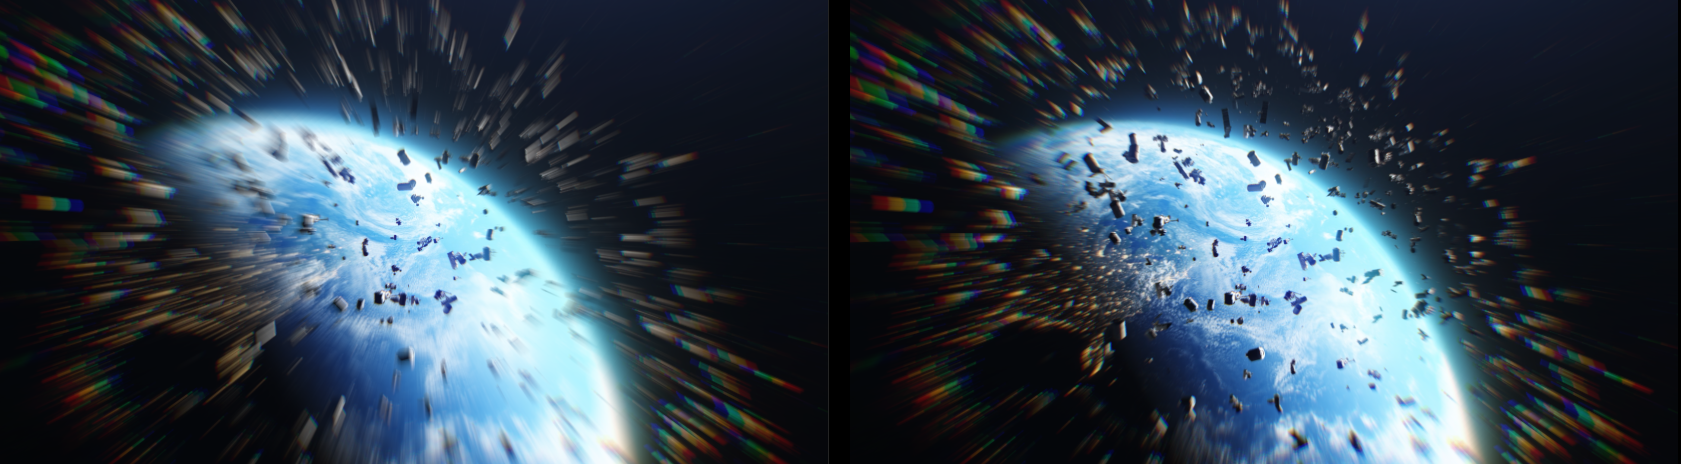
Lens Radius expands or contracts what appears to be a circular mask of in-focus clarity around the aberration effect's center while simultaneously. Values extend from 0 to 5000, but you may not observe much difference from higher values one your radius exceeds the boundaries of your comp. The below example shows values of 250 (left) versus 700 (right).
Edge Falloff increases or decreases how much of the image is affected by the blur.
The higher the value, the more the blurred edge extends into the image.
The Blur Filter drop-down menu defaults to None, but you can also select Cubic or Bilinear. These are ways of interpolating the effect's pixels for smoother results, if desired.
Chromatic Saturation adjusts the color saturation in the effect. A 0 value eliminates all color from the aberration (but not the underlying image).
Chromatic Tint controls the red/green tinting in your effect. The image below begins with the Chromatic Zoom preset, then compares -100 (the minimum, left) against 100 (the maximum, right).
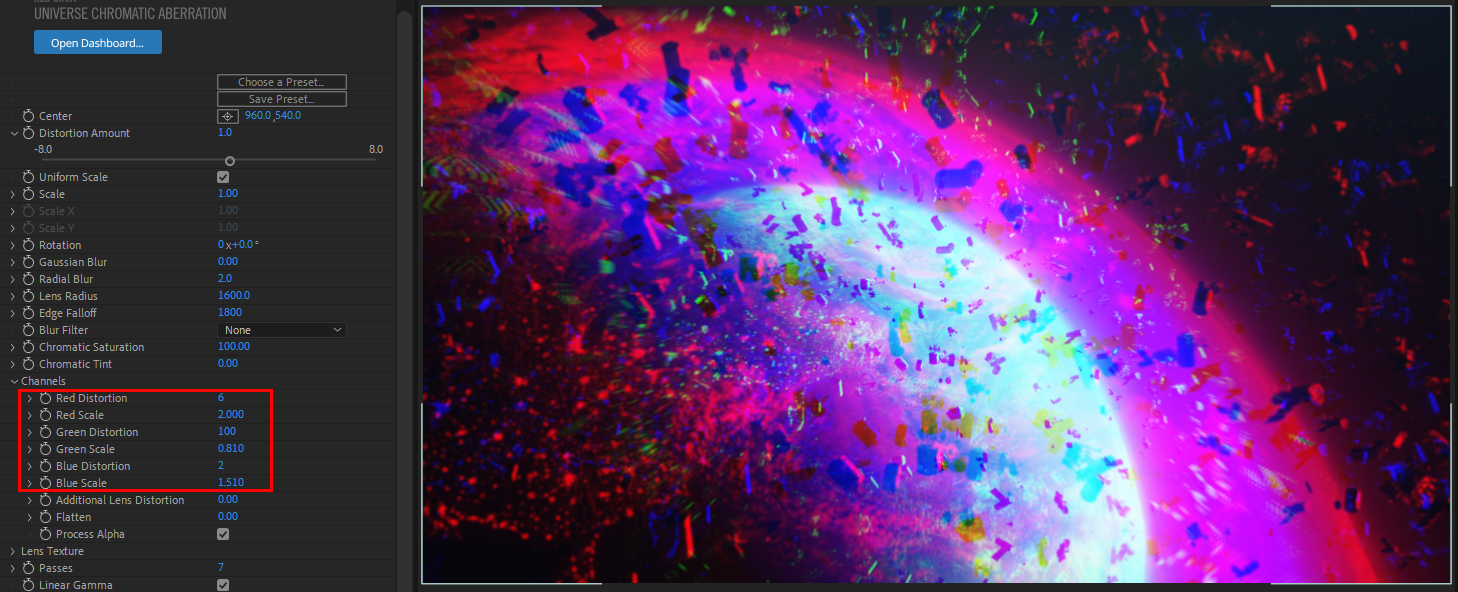
Within the Channels group:
Red/Green/Blue Distortion controls alter the position of the distorted color channel in the footage. Negative values bulge the center of the effect toward the viewer while positive values bring the edges closer.
Red/Green/Blue Scale enlarges or shrinks each color channel's presence within the image. Tweaking these values can yield some intriguing results. In the below image, we contracted the Green Scale (~0.8) to tighten it within the planet's area, expanded Blue Scale to about 1.5, then maxed out the Red Scale at 2.0. This created a purple layer around the planet which was then covered in a red shell.
As Additional Lens Distortion values increase from 0, the effect appears to push away from the viewer in the center while pulling closer at the edges, exacerbating the chromatic aberration as it stretches.
Flatten has practically the opposite role of Additional Lens Distortion. At its maximum (100), color channel separation is eliminated.
The Process Alpha checkbox, when enabled, ensures the aberration effect observes any transparency in the layer.
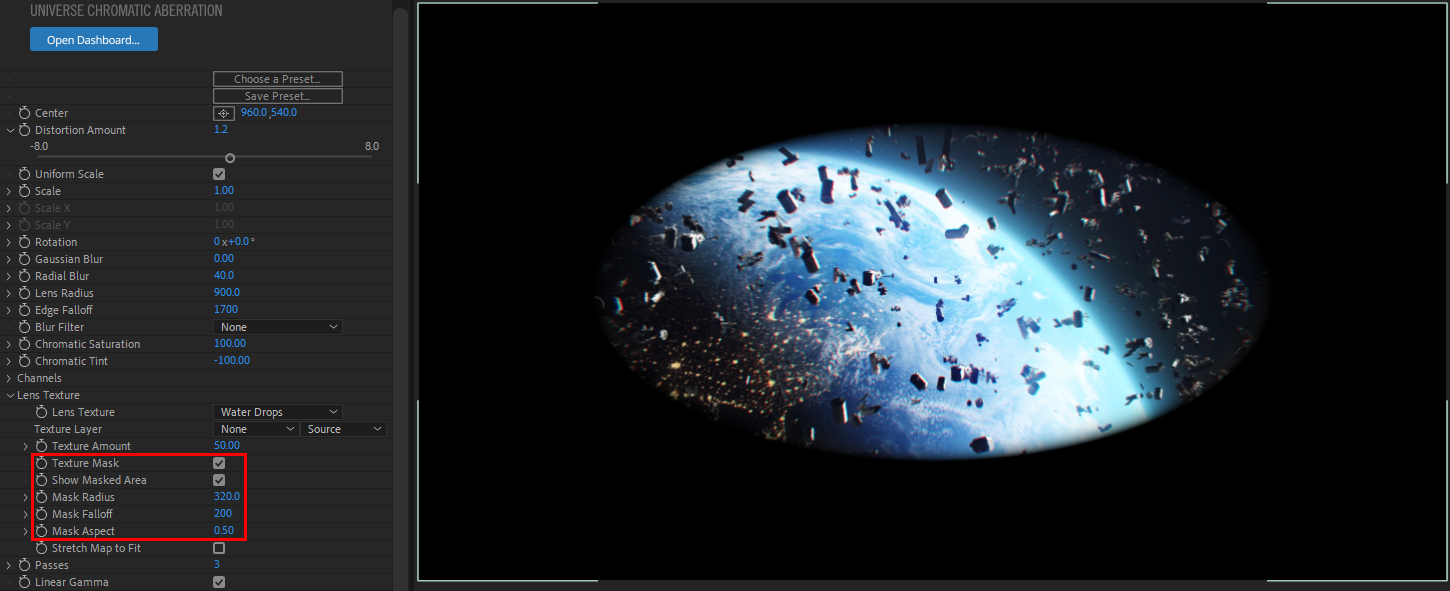
Within the Lens Texture group:
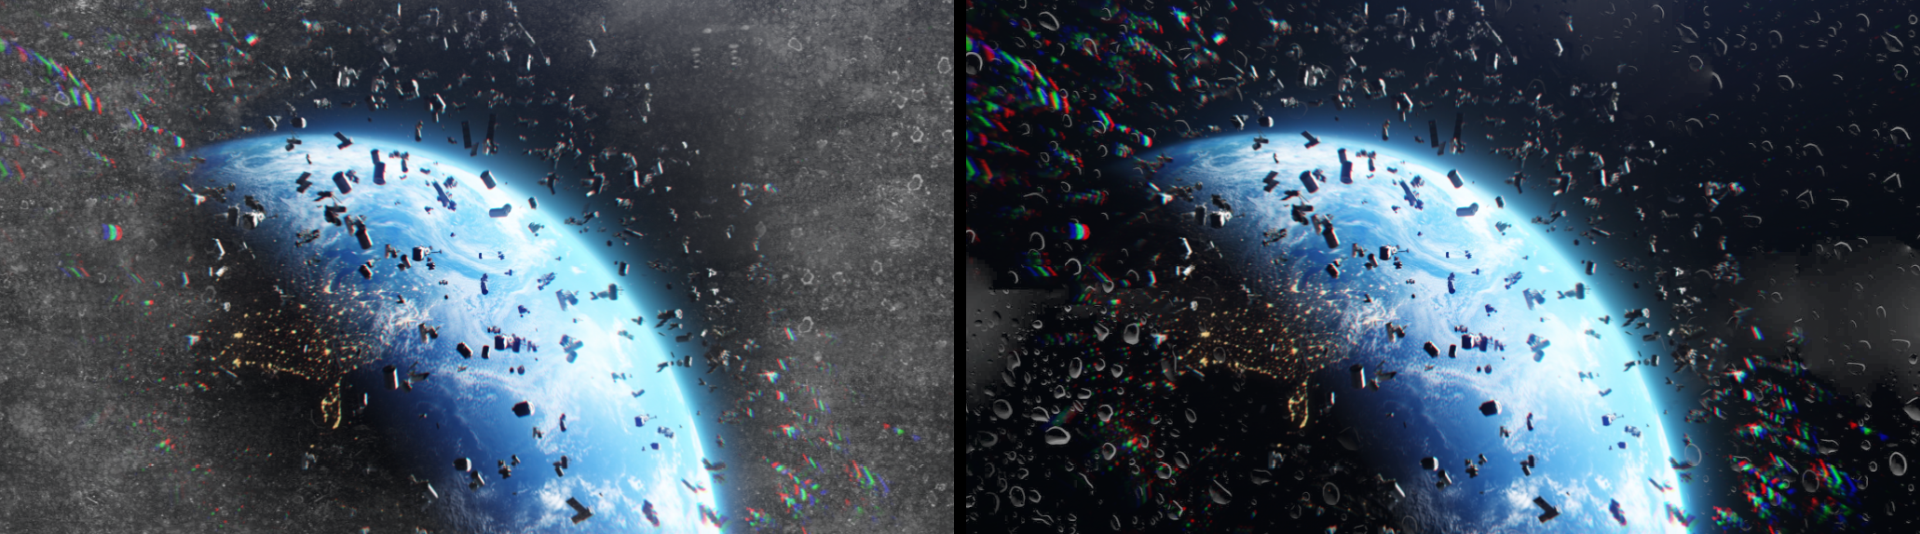
The Lens Texture pull-down menu provides a host of options for adding debris and smudges to the edges of your comp. For example, the Salt option (shown below, left; Water Drops shown at right) mimics the look of a lens exposed to the sea air that's had only its center area wiped clean. Alternatively, the Texture Layer pull-downs allow you to pull your edge texture from another layer as the Source, Masks, or Effects & Masks.
Texture Amount establishes the clarity of the texture in your image. A 0 value renders the texture invisible; 100 renders it with maximum opacity.
The Texture Mask checkbox establishes a mask area around the center of your effect. The texture applies outside of this region. Enabling the Show Masked Area checkbox will turn the unmasked portions of your image black for easier viewing. Use the Mask Radius and Mask Aspect controls to shape your mask.
Mask Falloff establishes the softness of the mask's edges, allowing the texture to bleed into the masked area as values increase.
Stretch Map to Fitforces the displacement map to match the source image size. This is enabled by default.
Passes refers to how many times the chromatic separation effect processes the image. A value of 3 means three passes, 30 means thirty passes, and so on. Higher values may blur the separation between colors.
The Linear Gamma will render colors linearly when this checkbox is enabled.
Enabling the Reverse checkbox flips the order of aberration colors. Thus, if your regular aberration effect showed red, green, and blue channels from left to right, turning on Reverse would flip that to blue, green, and red.
Finally, the Legacy option is for users who grew accustomed to the prior version of Chromatic Aberration several years ago and prefer working with only those options. Checking this box will disable many of the newer operations and UI elements.