Trapcode Particular
Motion Blur gives particles that move quickly a smooth look, much like a camera does.
Technical note about render time: Motion Blur produces significantly more particles, which can make projects more memory intensive. Additional particles are inserted before rendering to create the blurred frame. This also means that per-particle transfer modes apply for each blur level, which produces even more extra particles.
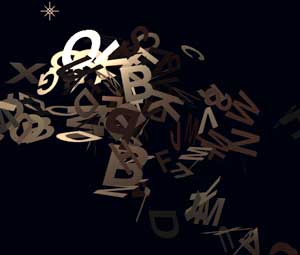
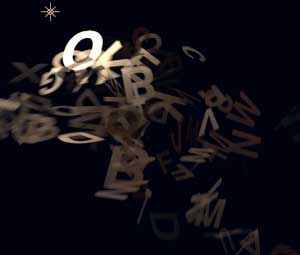
Motion Blur turned off (left) and on (right).
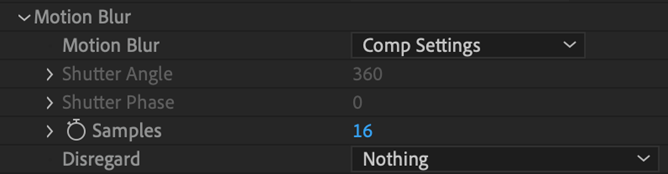
You can tell Motion Blur to be Off or enable it with either On or Comp Settings (the default).
When you select Comp Settings, this disables Particular's Shutter Angle and Shutter Phase controls because the Shutter Angle and Phase values from the After Effects composition are used instead. These values appear in After Effects' Composition > Composition Settings > Advanced menu. To activate Motion Blur with Comp Settings, the comp Motion Blur switch and the layer Motion Blur switch must be turned on.
This control is active when Motion Blur is set to On. Shutter Angle sets how long the virtual camera shutter stays open when a picture is taken. This controls the "streak length" or "blur length" of particles. High values set a longer particle streak. Low values set a short streak.
This is active when Motion Blur is set to On. Shutter Phase offsets the point in time when the virtual camera shutter opens.
This control samples the particle's position and rotation at a number of points while the shutter is open. Samples is useful if particle motion is curvy, like when using Turbulence or Spin. The default value is 16. Higher Samples levels will take longer to render.
Sometimes, not everything in the composition should be motion blurred. With Disregard, some parts of the particle simulation can be ignored when Motion Blur is computed.
The four Disregard settings are: