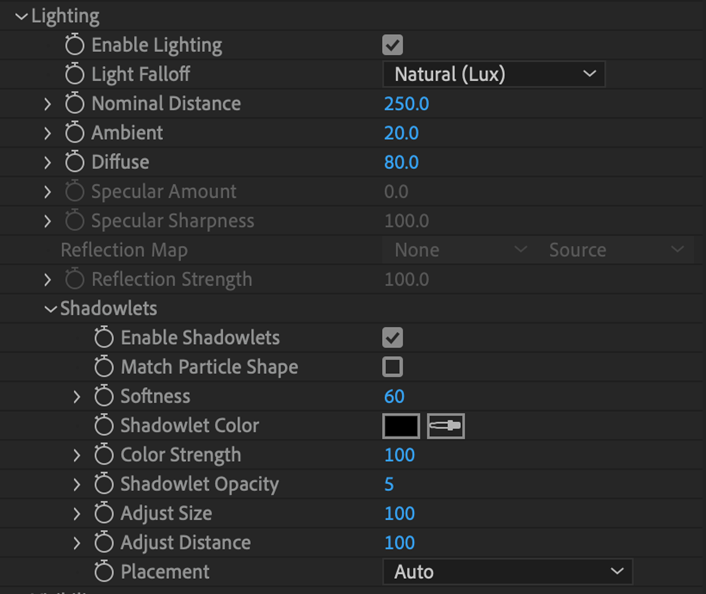
Trapcode Particular
This set of parameters creates shading from composition lights set by After Effects (AE) or Trapcode Lux. Particular supports up to 128 Spot Lights, 128 Point Lights, and unlimited Ambient Lights.
The plug-in needs you to set up an AE Light or Lux Light in the timeline. Once you've done that, Particular can add special effects shading. These particles are illuminated based on the Light characteristics. This page will show its examples with AE Lights, but similar effects can be created with our Lux plug-in.
By default, Lighting is turned off. Check Enable Lighting to turn it on. When you first enable Lighting, the particles will seem disappear if there are no lights in your timeline.
To test the Lighting, add two Point or Spot Lights. Rotate one Light toward the particles and one away from the particles. Keep at least one light a white color. This is a great way to see how the Lighting section works. Intensity is a helpful Light layer property to adjust.
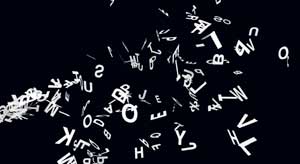

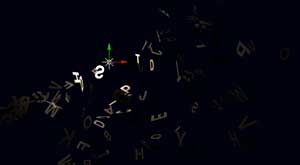
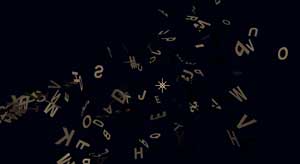
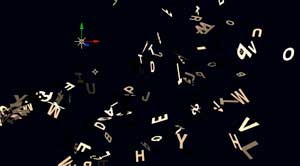
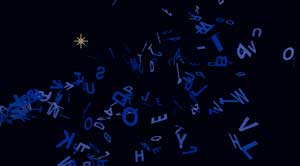
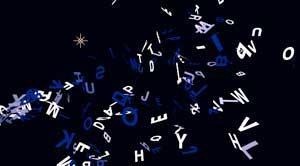
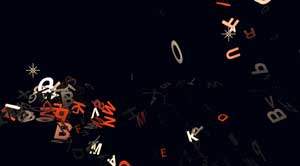
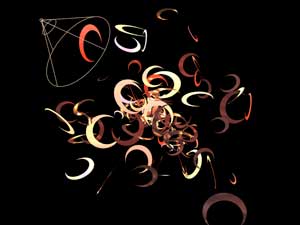
Shading group set to Off (top). Shading On without a light (center). Shading On with an AE Light added (bottom).
The Lighting group reads and uses all AE Light layer properties. There are different types of Lights (Point, Spot, Parallel, and Ambient), and each kind has different properties. This includes Color, Intensity, Cone Angle, Light Angle, Orientation, and Rotation. You make adjustments to Light properties in the timeline, not in Particular's interface. However, Particular benefits from those adjustments by displaying their effects.
Lighting controls can also tie directly into the properties set by Trapcode's Lux plug-in.
Light Intensity is set by the Light's layer property. Light Falloff makes that Light Intensity fall away so particles far from the light are less affected by Lighting. Basically, Falloff controls how Light Intensity varies with distance from the surface to the light. Light Falloff is supported for Spot and Point Lights.
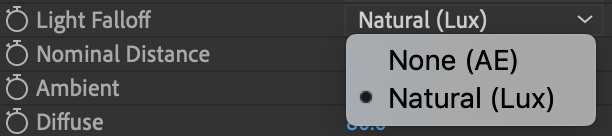
There are two options:

Light Falloff set to Natural (Lux) (left) and None (AE) (right).
Nominal Distance defines the distance, measured in pixels, at which the Light has its original Intensity. This is active when Light Falloff > Natural (Lux) is selected.
For example, if a Light has Intensity at 100% and Nominal Distance is set to 250, this means at a distance of 250 pixels, the Light Intensity will be 100 percent. Farther away there will be a lower Intensity, and closer there will be a higher Intensity.
This control defines how much ambient light particles reflect. Ambient puts the light color in shadows, where there is no light from the Point Lights or Spot Lights. Ambient light is a background light that is everywhere and radiates in every direction. It is useful for giving some light (color) to particles that are not lit by Spot Lights and Point Lights.
Ambient needs to work with an Ambient Light in the timeline. Remember to create at least one Ambient Light in the comp when using this setting. The default value is 20. High values make the light brighter against the shadow. Low values make the light duller.
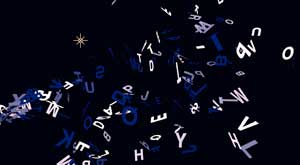
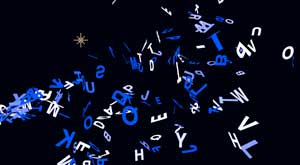
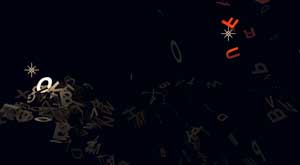
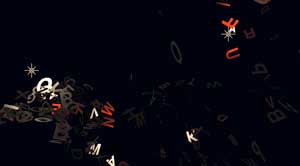
The comp with only a Point Light (top), a blue Ambient Light added and set low (center), and Ambient Light set high (bottom).
Diffuse defines how much particles reflect in a diffuse manner, meaning they reflect in every direction regardless of your viewing direction. This does not tie into any particular Light but instead affects all Lights in the composition.
The default value is 80. High values make the light brighter. Low values make the light duller. Matte surfaces typically have a large diffuse component.
Diffuse set low (left) and high (right).
Specular Amount simulates a metallic or glossy look for particles. Specular defines how much particles reflect in a more directional way. For example, glossy surfaces like plastic or metal have a specular component.
High values make particles more glossy. Low values make them less glossy. You may need to lower the Diffuse value to allow the glimmer to come through. The Specular Amount is very sensitive to a particle's angle.
Specular Amount set low (left) and high (right).
Specular Sharpness defines the narrowness of the specular reflection. For example, glass may be very narrow and plastic slightly less narrow. Sharpness also lets you lower the sensitivity of Specular Amount, so it's less sensitive to the particle's angle. High values make it more sensitive. Low values make it less sensitive.
Specular Sharpness set low (left) and high (right). Specular Amount is set high for both.
Reflection Map mirrors the environment in the particle volume. To create the Map, select a layer in the timeline that is turned off. This is a great effect for a scene that has to reflect the environment in particles. If you can create an environment map from the scene, the particles will blend in beautifully.
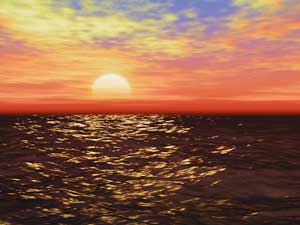

The comp without a Map (top), the layer used as Map (center), and the comp with Map applied (bottom).
Reflection Strength defines the strength of the Reflection Map. Since the Reflection Map can be combined with regular shading from comp Lights, this is useful for adjusting the look. At the default value of 100, Strength is turned off. When set lower, you're reducing the Reflection Map's strength and mixing in the scene shading.
Reflection Strength low (left) and high (right).