Universe AV Club gives text and anything with alpha information the retro look of an old commercial or poorly-keyed footage.
AV Club applies to footage in the usual way. However, in Resolve, you'll need to follow a few extra steps:
Have your text on a video track above your footage's video track.
Create a Compound Clip from your text, select it, and head into the
Color
view of Resolve's interface.
Within Resolve's Node
window, sever the default link between the text's node and the output.
Add a new Corrector node and Alpha
output within the Node interface.
Create links from the Text's RGB and alpha outputs to the newly created Corrector node's RGB and alpha inputs.
Create links from the Corrector node's RGB and alpha outputs to the final outputs for RGB and alpha, respectively.
Right-click in the Node interface and select
Use OFX Alpha.
Apply AV Club to your Text node and select the
Unmult
option.
From here, you have two options:
Option 1:
With your Corrector node selected, key out the black background from your text and click
Invert to flip the key around.
Option 2:
With your Corrector node selected, apply
uni.Unmult.
To see the difference between these two options,
read more here .
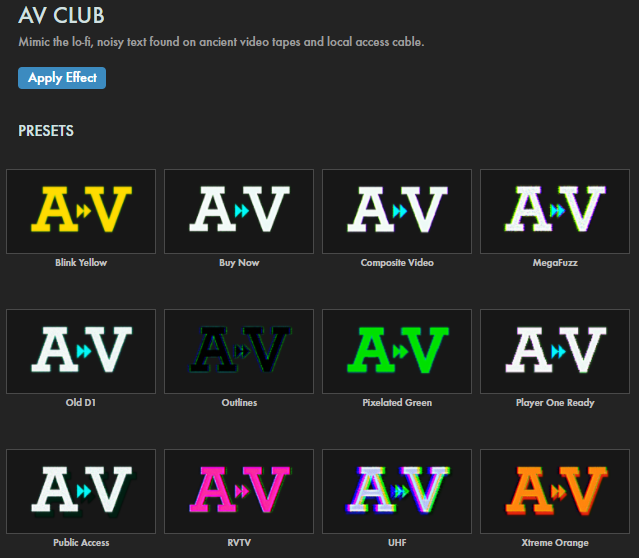
Presets
As detailed below, Analog offers dozens of controls. You can change everything from image dimensions to color characteristics to lighting. However, you might find a handy shortcut in Analog's presets, located in the Red Giant Universe Dashboard (accessible via the blue Open Dashboard... button or the Choose a Preset... button below it).
As with all other Universe tools, you can modify or create an AV Club look and then save it under its own name by pressing the Save Preset... button.
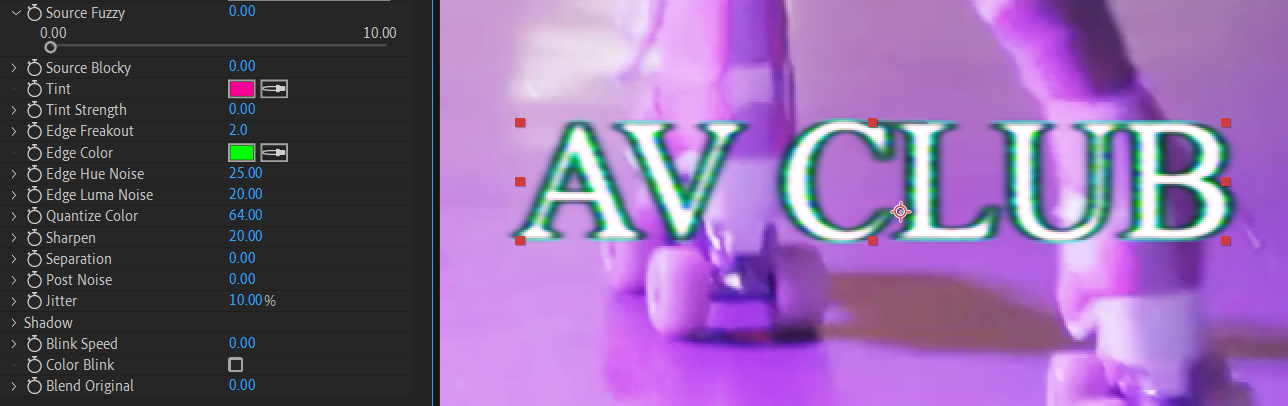
Modifying the Effect
AV Club's default settings produce a text effect like that shown in the image below. However, by tweaking any or all of the effect's controls, you can achieve some striking results.
Source Fuzzy
creates and controls a feathered blur around the edges of your source.
Source Block
controls how "artifacted" or "blocky" you want your source to look.
Tint
controls the tint of the effect during its flickering. (If you don’t see this affect your output, try scrubbing your timeline or adjusting the
Blink Speed
and Color Blink parameters below.)
Tint Strength
adjusts how heavily you want the tint to overlay onto the source.
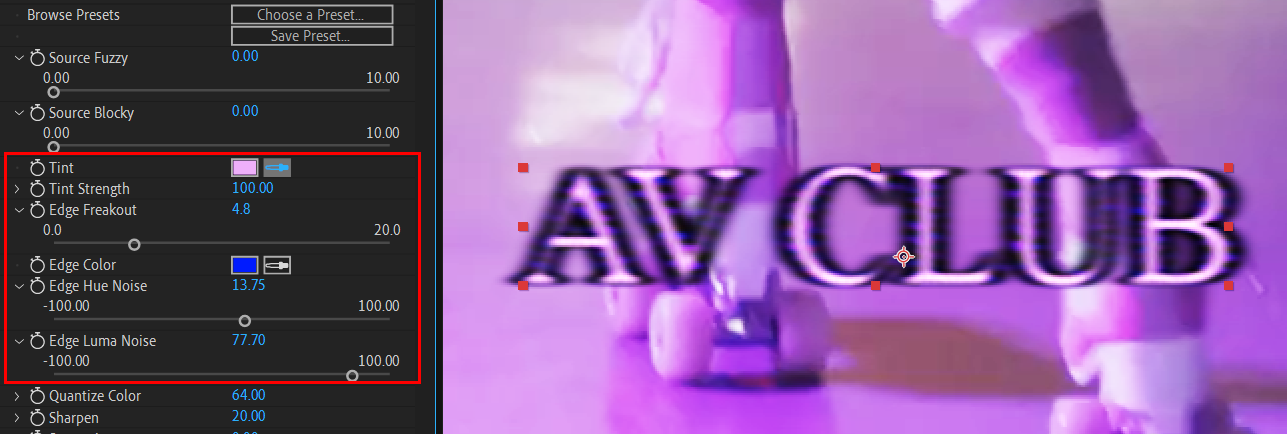
Edge Freakout
controls how damaged and blurry the effect edges appear.
Edge Color
adjusts the color of the source's edges.
Edge Hue Noise
adds a noise pattern over the edge’s color.
Edge Luma Noise
adds a noise pattern over the edge’s luma channel.
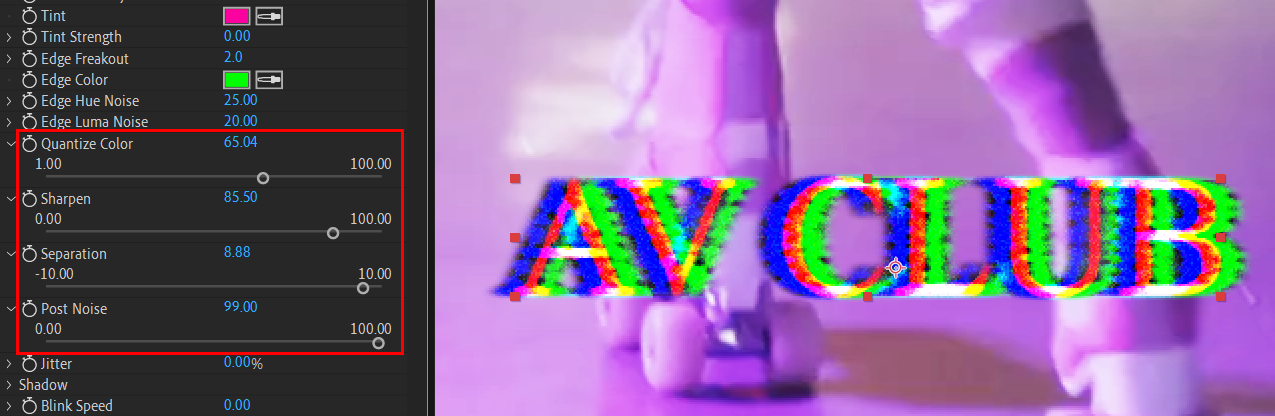
Quantize Color
reduces the number of colors within your source. If you have a gradient, for example, the number of shades within that gradient will be reduced on a scale from 0 (full reduction) to 100 (no reduction).
Sharpen
sharpens the contrast between the effect and its edge details.
Separation
offsets the source from the effect’s edges.
Post Noise
adds noise over the effect and its source.
Jitter
adjusts how much the source irregularly moves around.
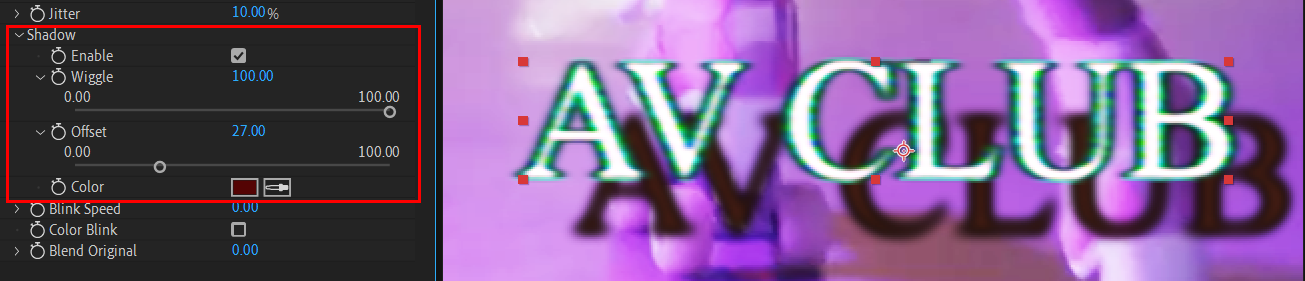
Shadow
twirls down a set of controls for an optional drop shadow:
Enable
creates a drop shadow locked at a 45-degree angle.
Wiggle
sporadically animates the shadow back and forth along the x axis.
Offset
adjusts the distance of the shadow from the source.
Color affects the color of the shadow using a color swatch as a reference.
Blink Speed
adjusts how frequently your source and effect blink in and out of existence.
Color Blink
is an optional toggle which blinks only the color on and off.
Blend Original
adjusts the opacity of the source over the effect. Turning this to its highest setting essentially puts the effect entirely behind the source.