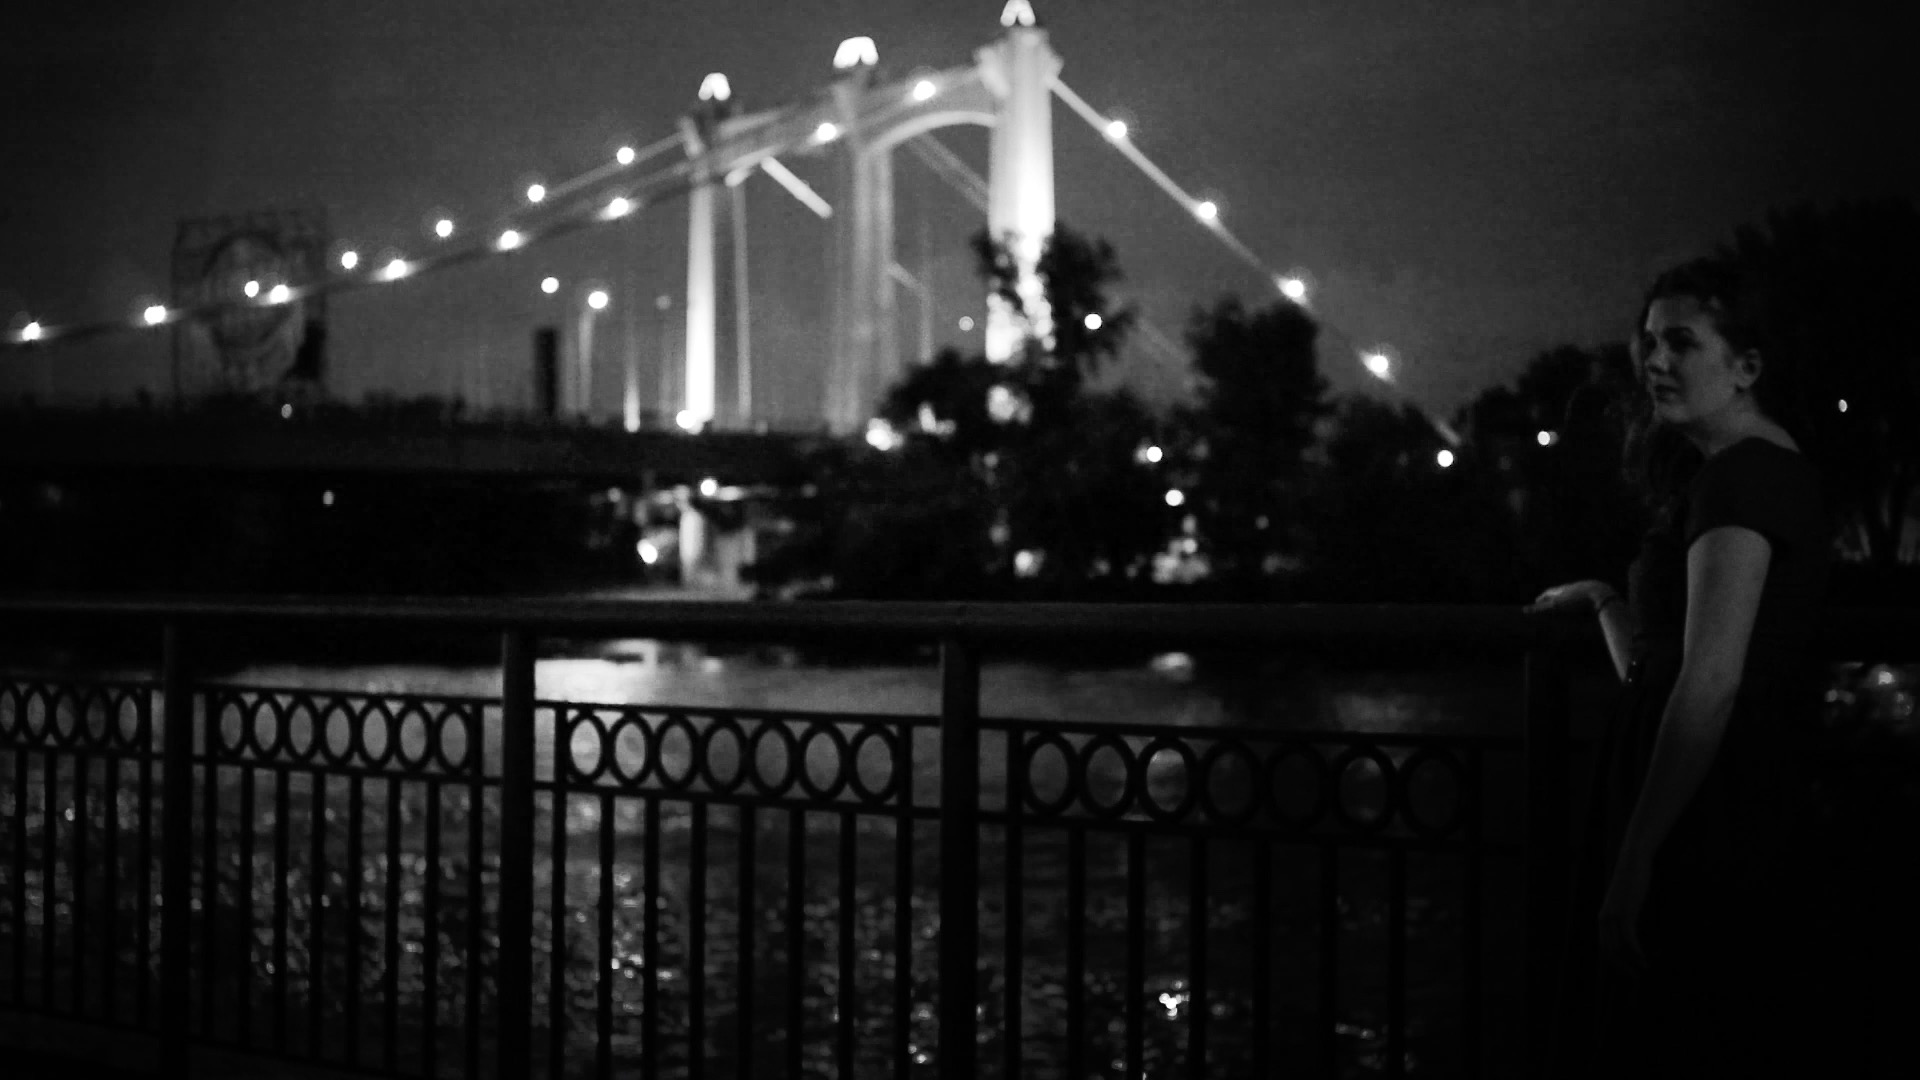
Create dramatic noir lighting effects with saturation controls, optically captured vignettes, flickering, Venetian patterns, and more using Noir.
Presets
Click the Choose a Preset... button to see an animated preview of all available presets. Double-click any preset to apply it. Once a preset is selected, you will see its name highlighted within the
Vignette Preset
drop-down menu below. Presets can also be applied directly from this Vignette Preset menu.
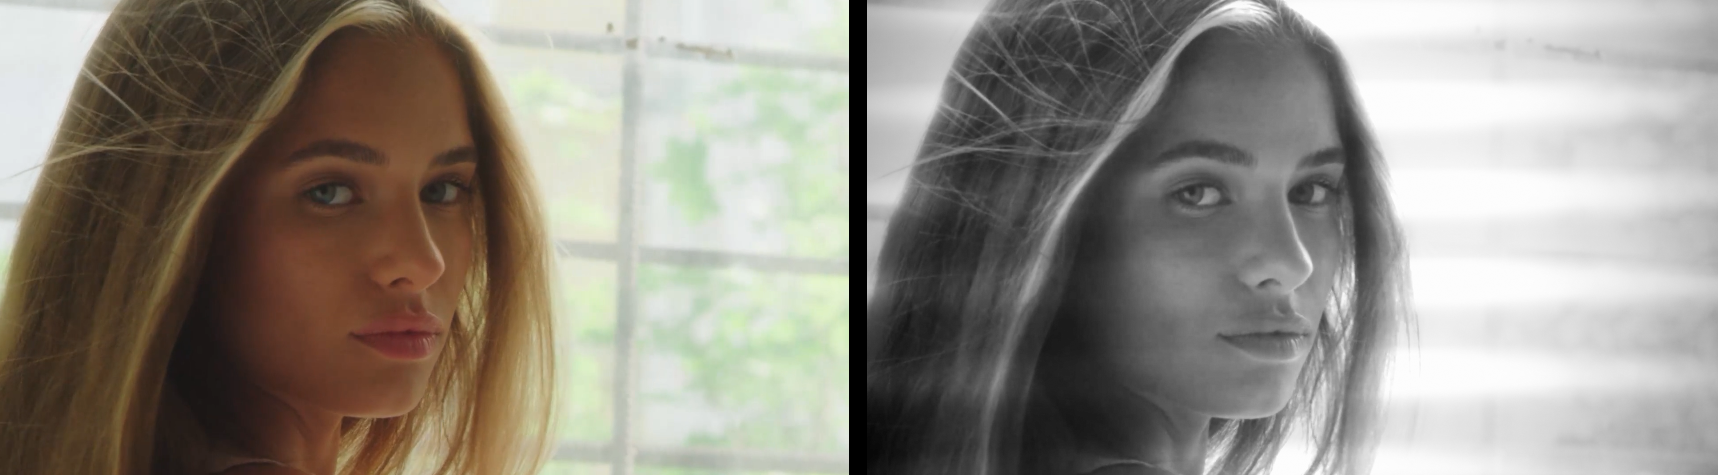
The images below illustrate how Noir changes a portrait with the Venetian preset's default values.
As with all other Universe tools, you can modify or create a Noir look and then save it under its own name by pressing the Save Preset... button.
Modify the Effect
To decrease the overall strength of the Vignette Preset, shift the
Vignette Opacity
value to a lower setting.
Changing the
Noir Contrast
slider from its default of 50 will increase or decrease how evident the difference between darkness and lightness is within the image.
Exposure
controls lighten or darken the overall scene. A -1.0 value yields a dark, underexposed look while +1.0 gives you an overexposed effect that bleaches out shadow details.
Bring the
Saturation
slider up toward 100 to add back the color of the original image or leave it at 0 for a black and white image.
Shift the
Lens Blur
control from 0 to 100 to increase the blur's intensity and influence.
Choose from the
Blend Mode
drop-down to select the blending mode used to composite the Noir result over the original input image.
For example, the Venetian preset defaults to using the Overlay Blend Mode, but changing to Difference creates a solarized appearance that could be useful in transitions or (melo)dramatic advertising clips.
Turning on the
18FPS
checkbox changes the frame rate of your footage to 18 FPS, which gives footage a slightly jerky, distorted feel throughout the effect. If you’d like a smoother animated effect, leave this box off to keep the footage’s original frame rate.