BLINDS

Universe Blinds Transition Plugin

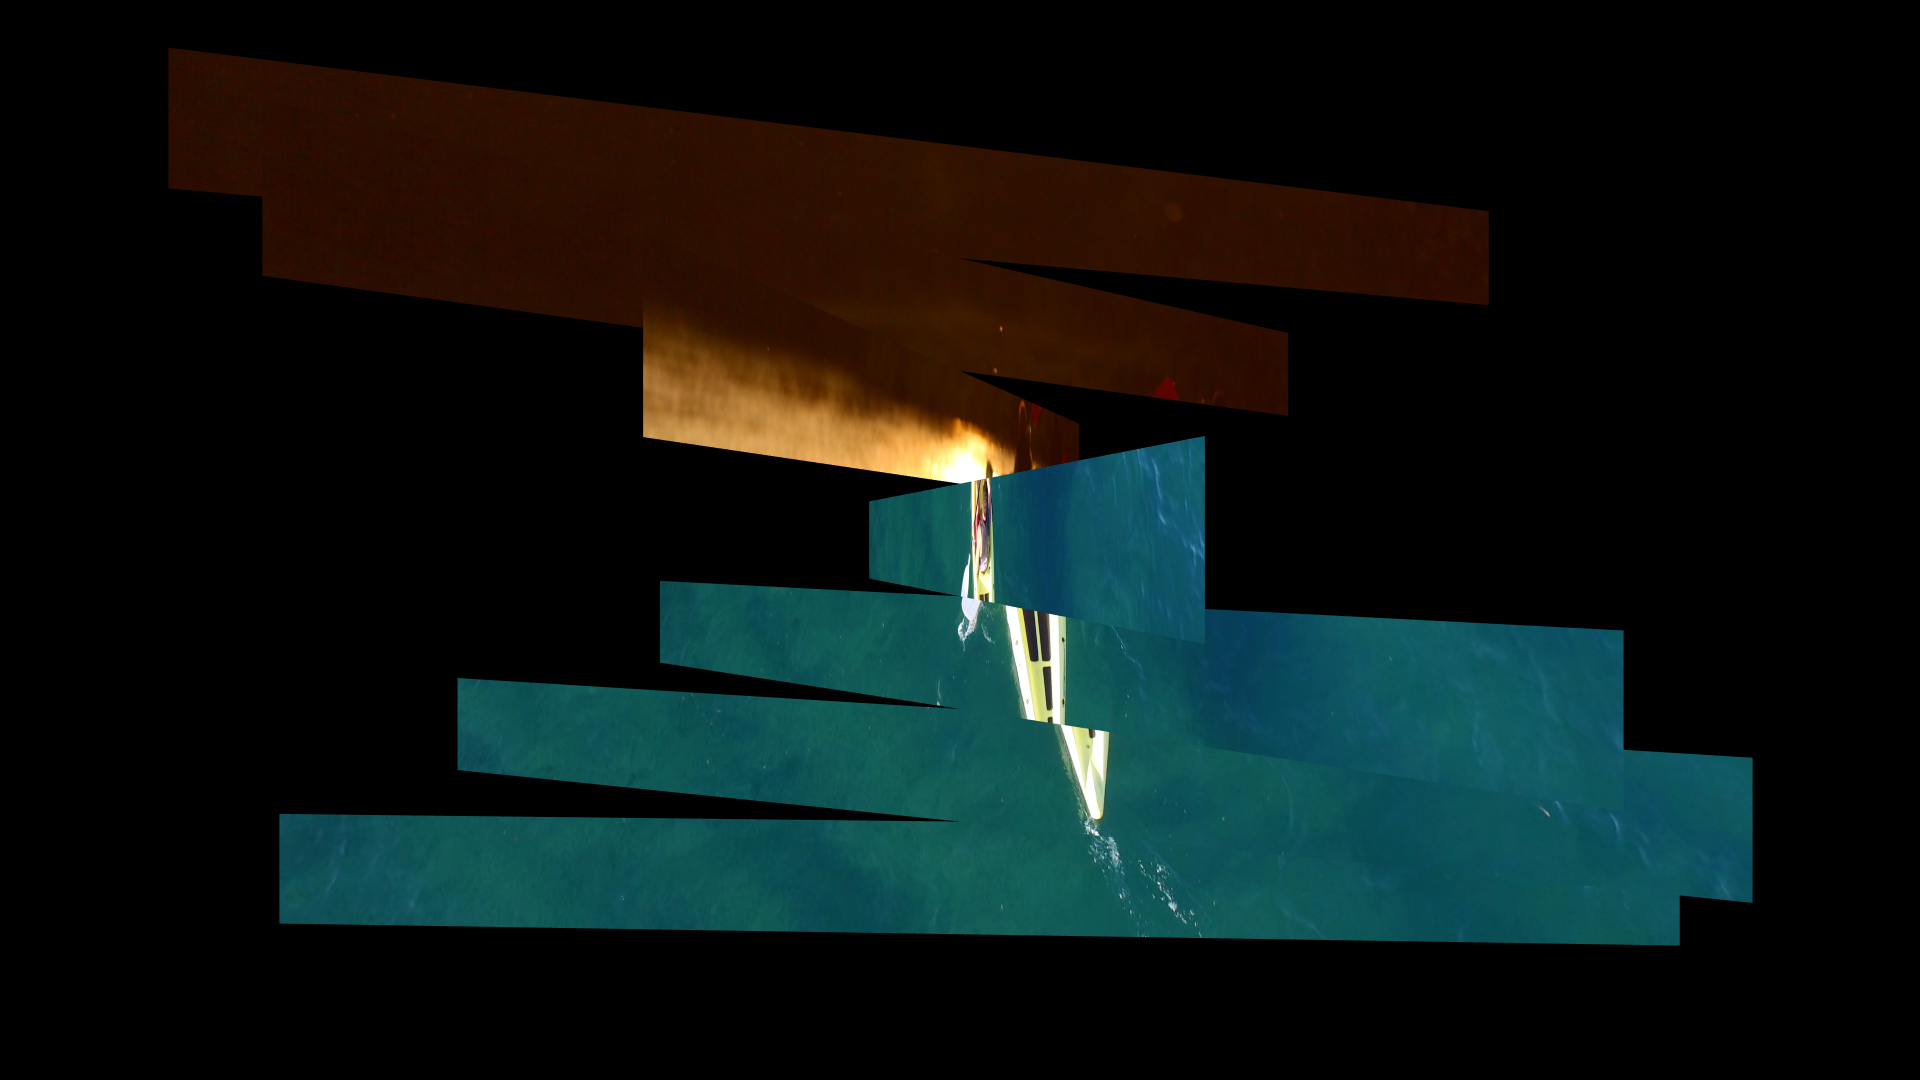
A 3D transition that divides the layer into sections that rotate in an offset fashion vertically or horizontally, revealing the second layer of footage.


Presets

Blinds arrives with four presets. Find them via the blue Open Dashboard... button or the Choose a Preset... button below it.

As with all other Universe tools, you can modify or create a Blinds look and then save it under its own name by pressing the Save Preset... button.


Getting Started in a Timeline Premiere_iconFinalCutPro_iconVegas_iconResolve_icon

  1. Dragging the transition over your edit in the timeline, drop it at the beginning of a clip, the end of a clip, or in between two clips.
  2. Modify the Duration either by entering a length in the field or dragging directly in the timeline.
  3. You can choose the Alignment (Center at Cut, Start at Cut, End at Cut, Custom Start) either by positioning the transition in the timeline or by choosing from the Alignment drop-down in some host applications.

Getting Started in a Compositor AfterEffects_iconMotion_icon

  1. Apply the transition to the layer you want to transition from.
  2. Choose the footage layer you would like to transition to in the Transition B drop-down menu. (Note for Motion users : Drag the footage layer up to the Transition B box.)
  3. Animate your transition using the Mix slider from 0% to 100%. Set a keyframe for 0% where the transition should start, then set another at 100% for the end. Neglecting to set these keyframes will result in no Blinds effect taking place.

Modify the Transition