STRETCH

U_Cube2

One clip stretches away as the next contracts in to take its place. This can be enhanced with a blast of light or a touch of blur, and it works in multiple directions.


Presets

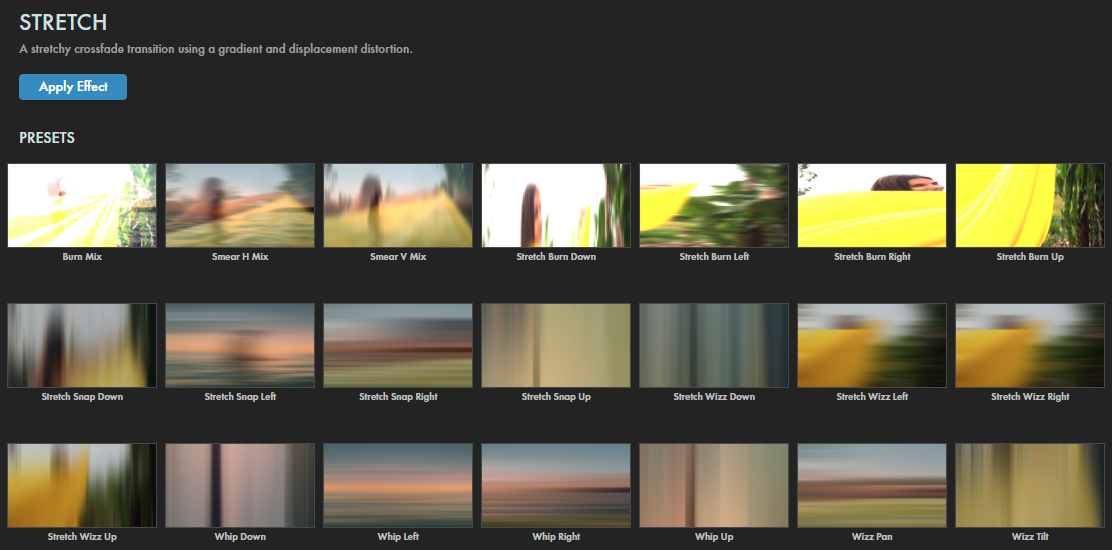
Stretch features over 20 presets offering a range of direction, speed, and burn variations. Find them via the blue Open Dashboard... button or the Choose a Preset... button below it.

As with all other Universe tools, you can modify or create a Stretch look and then save it under its own name by pressing the Save Preset... button.
Getting Started in a Timeline Premiere_iconAfterEffects_iconFinalCutPro_iconMotion_iconVegas_iconResolve_icon

  1. Dragging the transition over your edit in the timeline, drop a Stretch effect either at the end or beginning of a clip or in between two clips.
  2. Modify the Duration either by entering a length in the field or dragging directly in the timeline.
  3. You can choose the Alignment (Center at Cut, Start at Cut, End at Cut, or Custom Start) either by positioning the transition in the timeline or by choosing from the Alignment drop-down in some host applications.

Getting Started in a Compositor AfterEffects_iconMotion_icon

  1. Apply the transition to the layer from which you want to transition.
  2. Choose the footage layer you would like to transition to in the Transition B drop-down menu. (Note for Motion users: Drag the footage layer up to the Transition B box.)
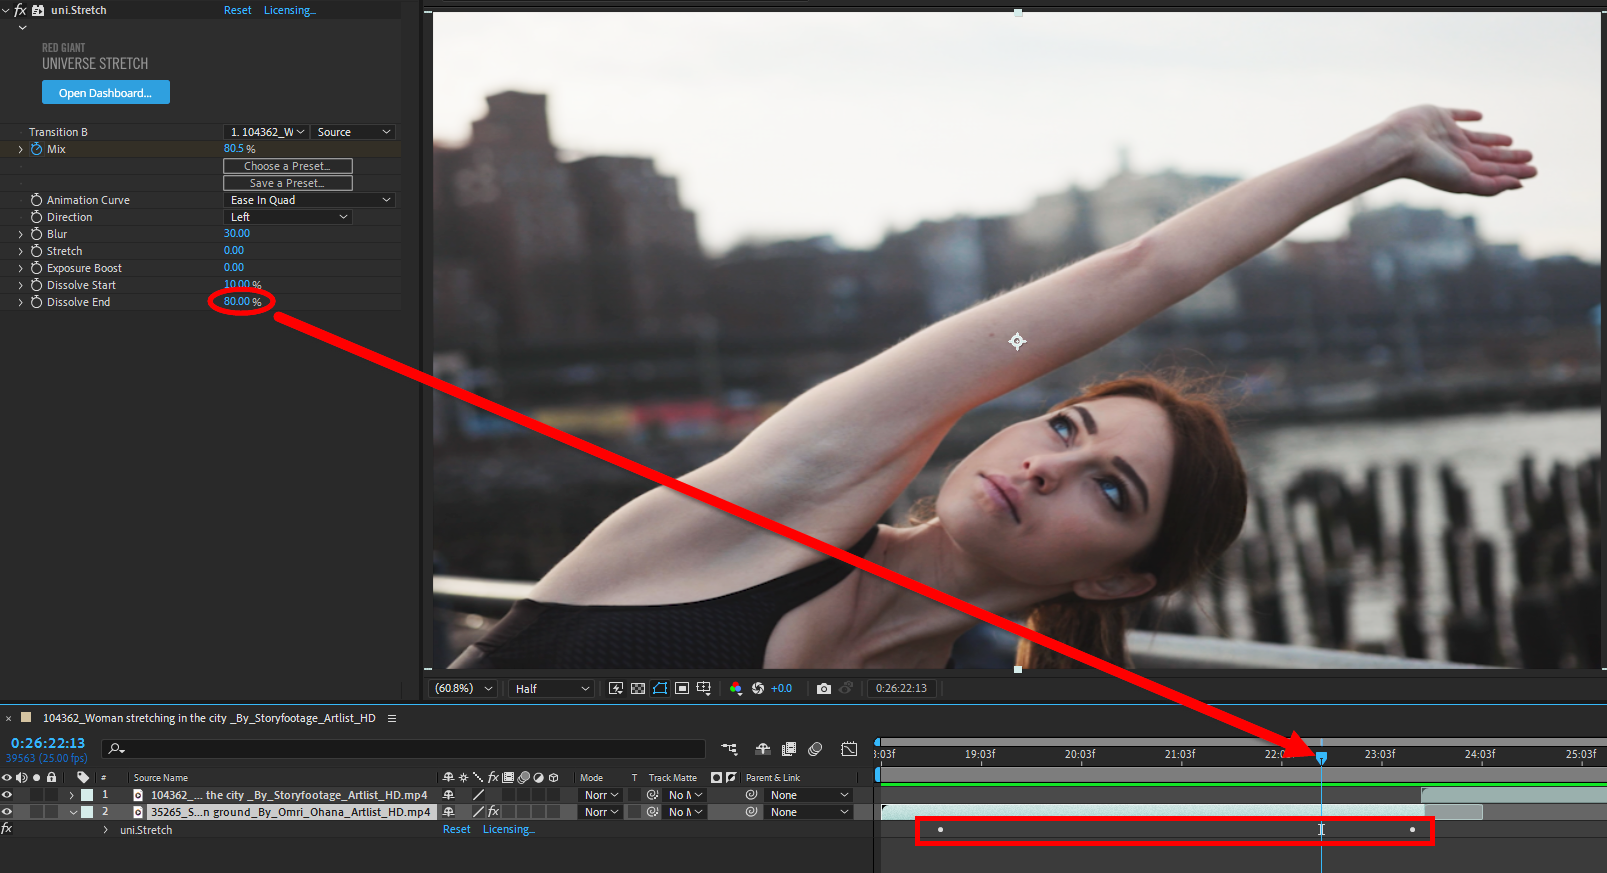
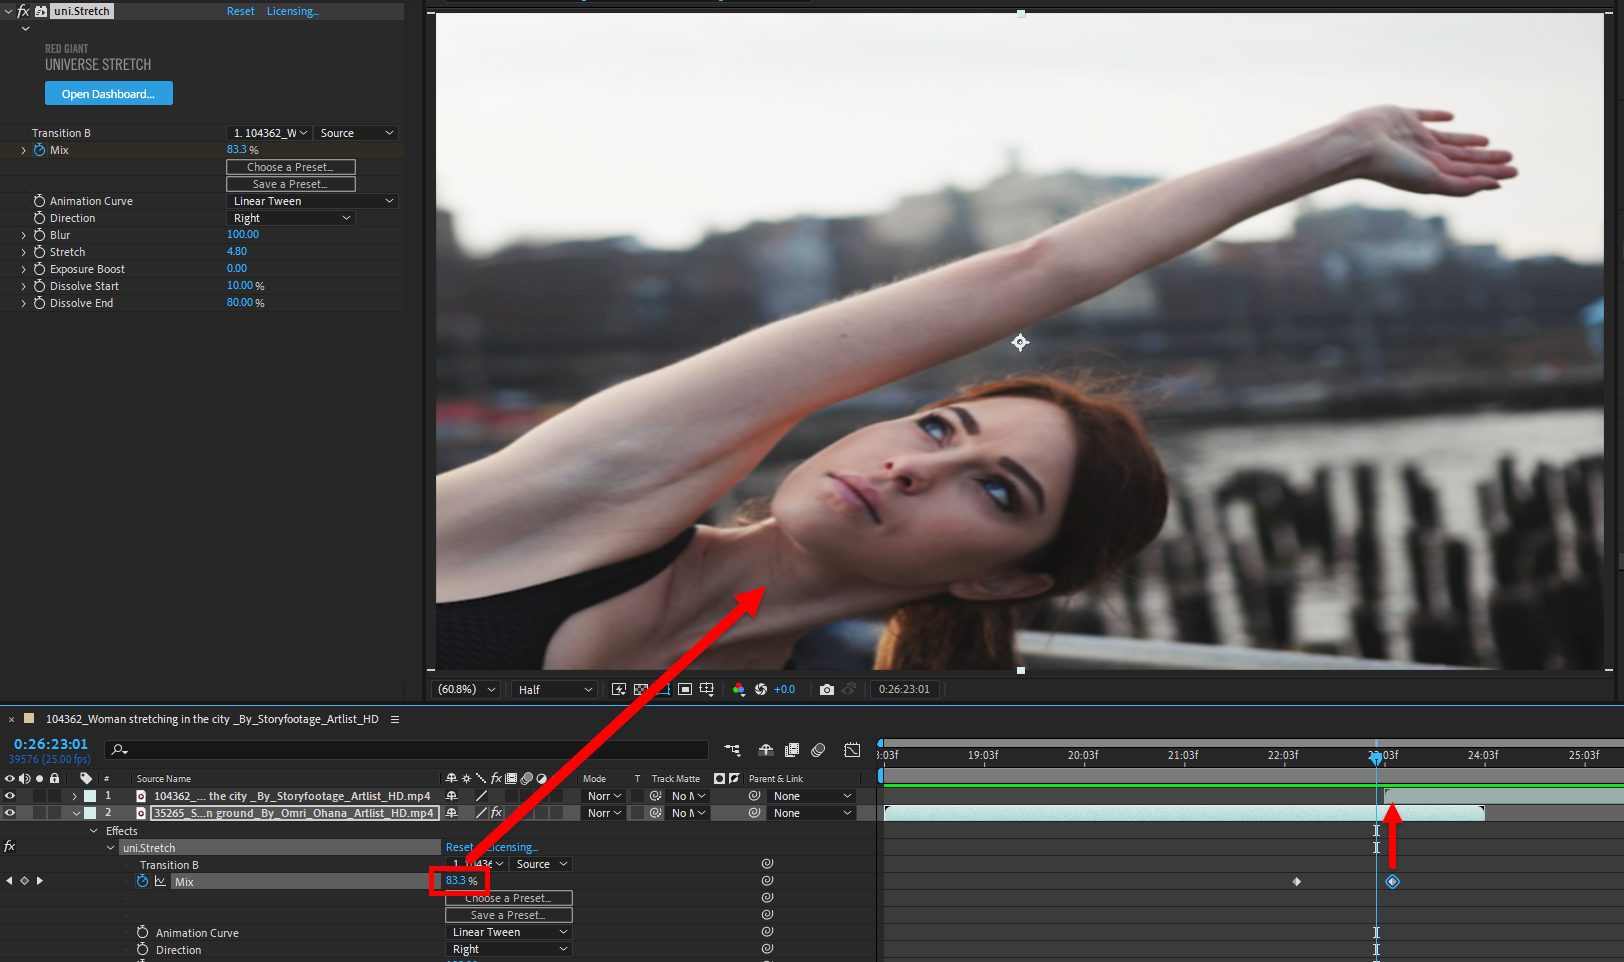
  3. Animate your transition using the Mix slider from 0% to 100 percent. Set a keyframe for 0% where the transition should start, then set another at 100% for the end. In the following example, we show how, a couple of frames before the target clip starts on the timeline, you can already see the still-stretched target clip contracting into place. You should experiment with where you position your final keyframe, but in this example we liked the look of finishing the effect just after the new clip begins. It gave the most seamless result.

Modify the Transition