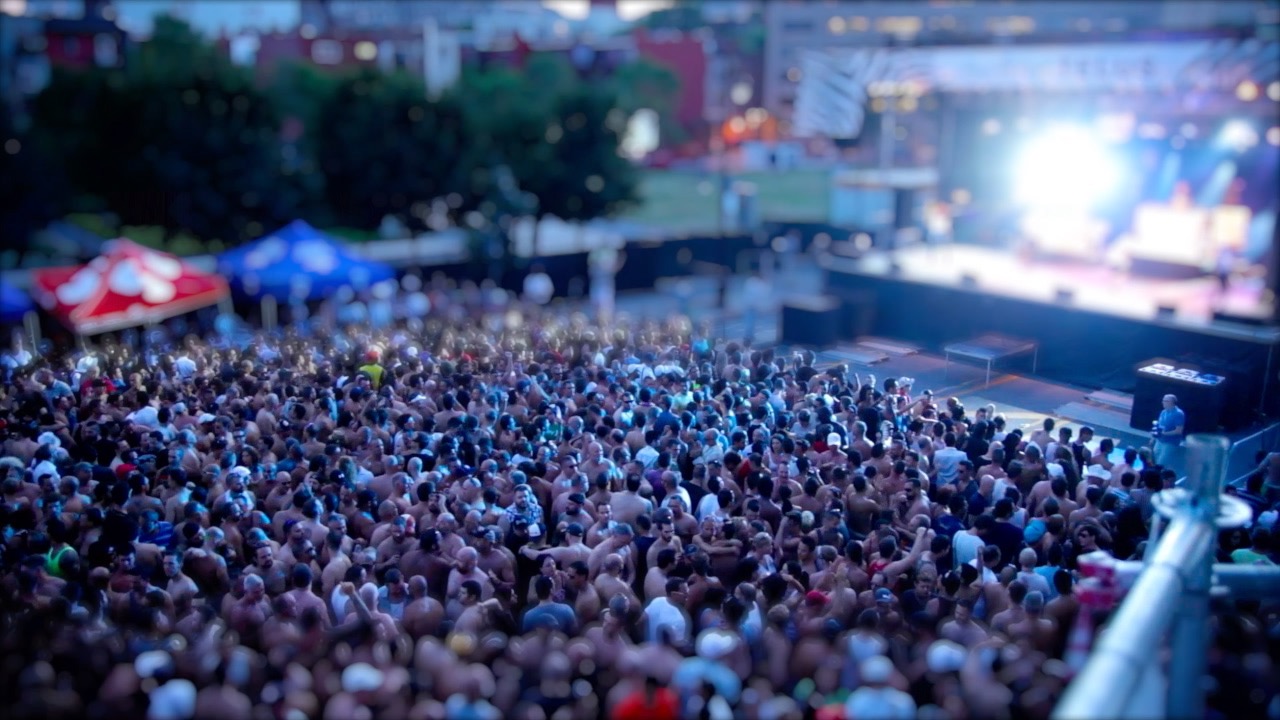
ShrinkRay is a fast and easy way to make big things look tiny by simulating a tilt-shift effect.
Presets
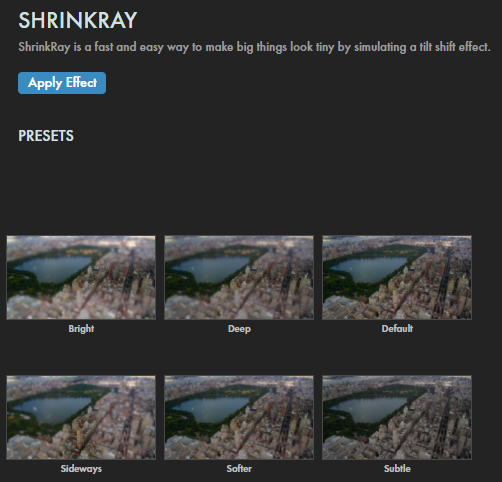
Apply any of six tilt-shift patterns to your compositions with ShrinkRay's convenient presets. Find these via the blue Open Dashboard... button or the Choose a Preset... button below it.
As with all other Universe tools, you can modify or create a ShrinkRay look and then save it under its own name by pressing the Save Preset... button.
Modify the Effect
If you're new to tilt-shift photography, Adobe offers a brief but excellent over view on its topic page. For the more video-inclined, Jake In Motion has a great conceptual overview. Once you're comfortable with the core concepts, dig into our following tool controls. Or just figure it out as you go. Whatever makes you happy, right?
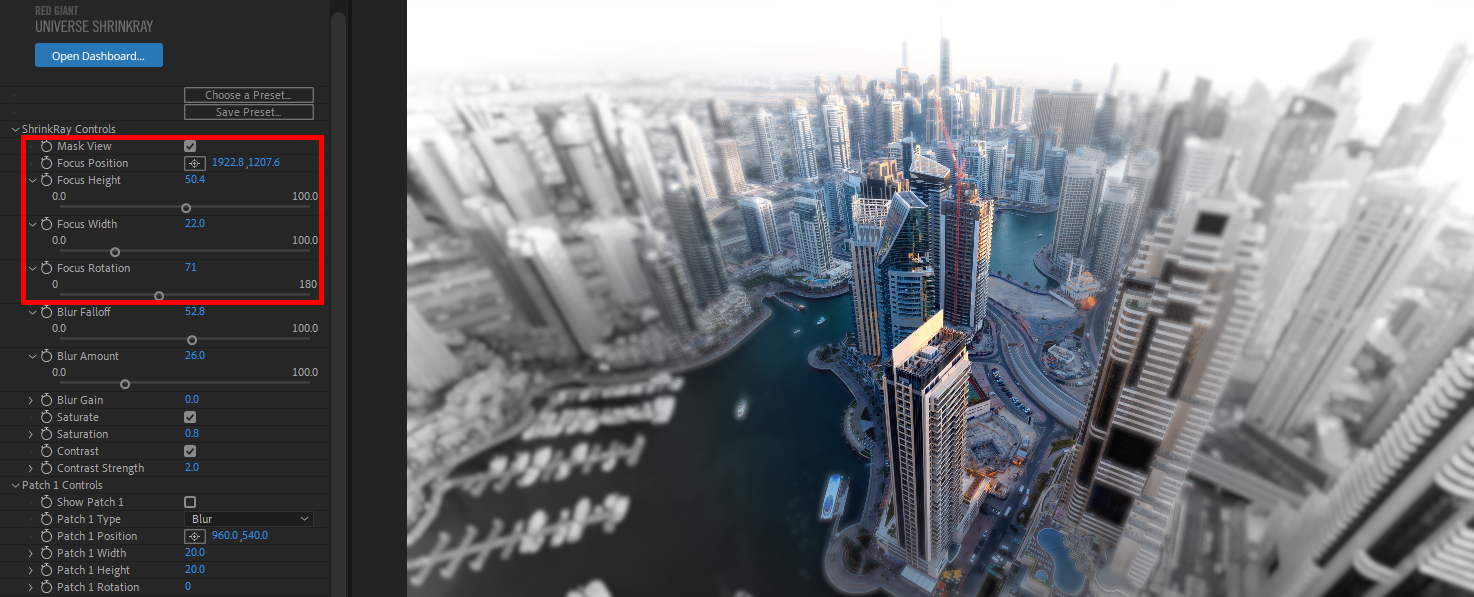
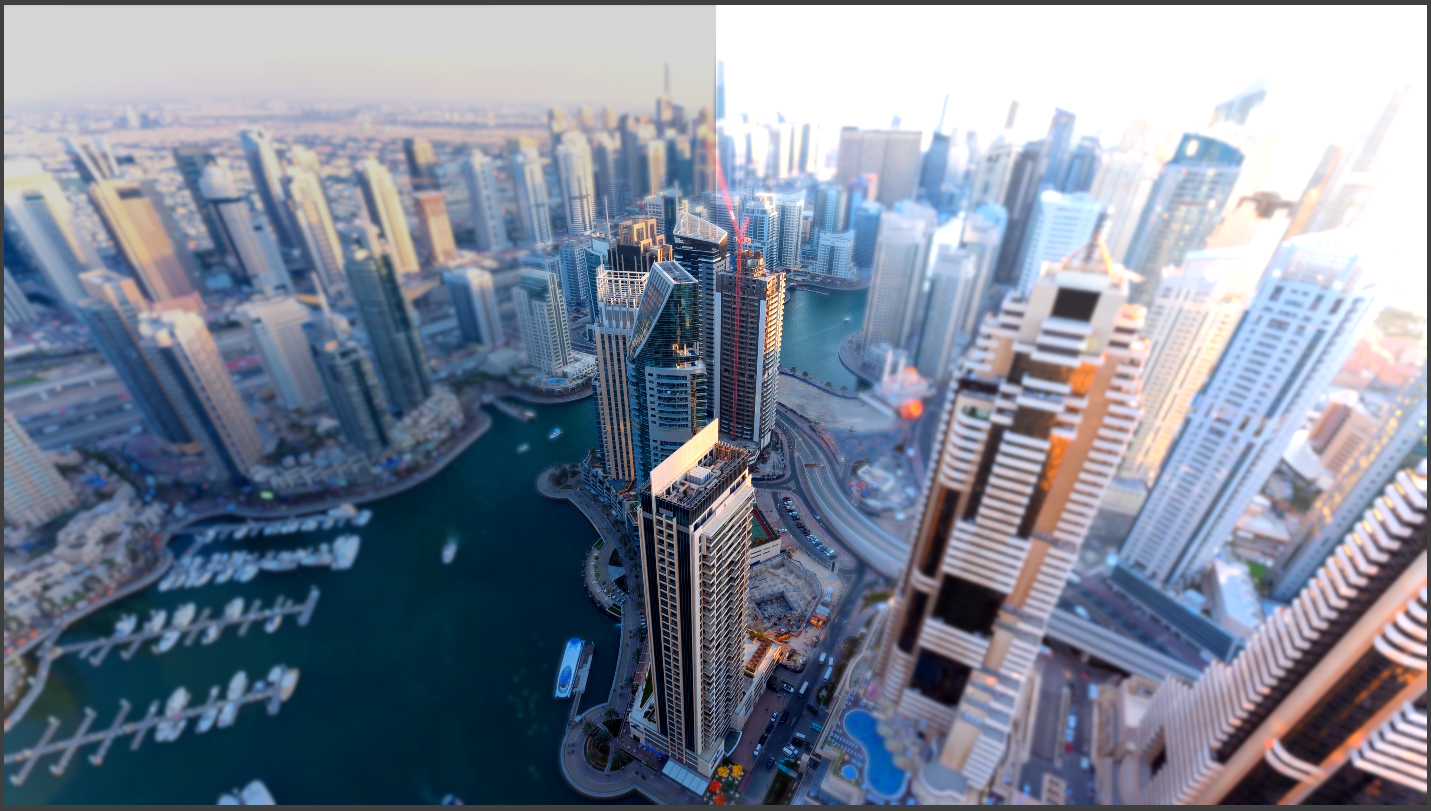
The Mask View checkbox allows you to view exactly where in the footage you’re adding the tilt-shift effect. The masked area remains colored while the unmasked area is shown in grayscale. This masks working with your mask quick and intuitive.
Move the Focus Position cross-hair to change the ShrinkRay effect's center.
Focus Height changes the height of the area in focus. Adjusting Focus Width
allows you to make the sharpened area thinner or wider, if needed. Adjust the Focus Rotation control from 0 to 180 to
rotate the focused area's angle. You can see how we've fine-tuned the prior controls to fit our mask to the central tower
cluster and its surrounding streets in the below image.
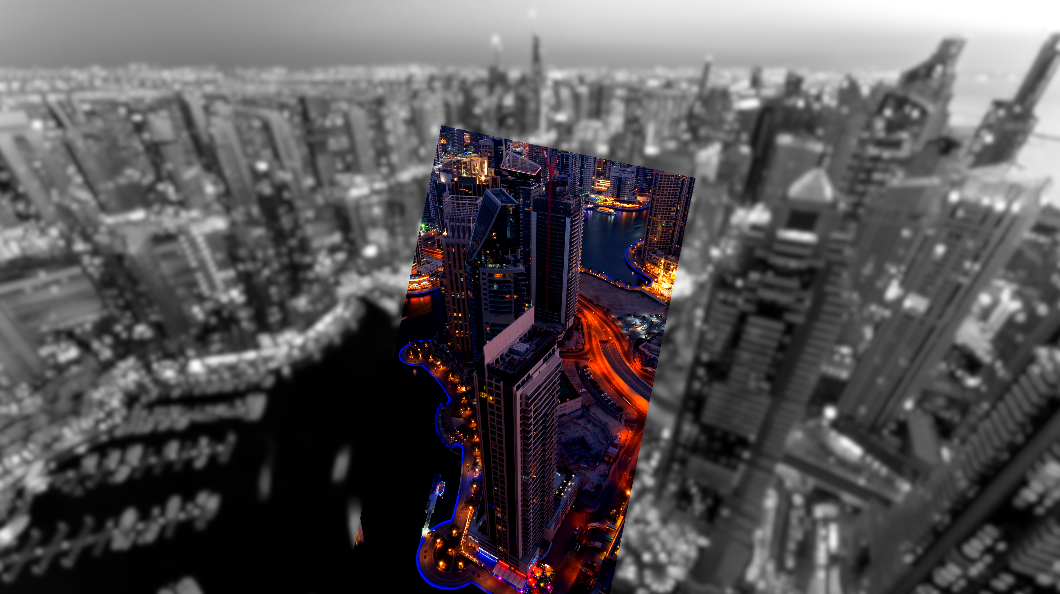
The Blur Falloff parameter allows you to smooth edges where the blur area meets the
focused area. When at 0, Blur Falloff has no effect, and a hard line will be seen between the focused
and blurred areas. You may find it easiest to begin your masking process with Blur Falloff set to 0
(as in the following illustration), then adjust the mask position and dimensions, and then work on finer
points like blur amount and saturation.
Blur Amount adds softness to the area outside the focus mask when brought toward 100. Lowering it toward 0
makes the masked area sharper.
Turning the Blur Gain control up amplifes the brightness in the blurred image areas to add
lightness to the image. The below image contrasts settings of 0 (left) and 4 (the maximum, right).
Checked “on” by default, the Saturate checkbox affects the image's color intensity.
Turn this checkbox off to return the image's original saturation level.
Use the Saturation slider in tandem with the Saturate checkbox to change the ShrinkRay effect's color intensity. A value of -1.0 desaturates the image completely.
As with Saturation, the Contrast checkbox and Contrast Strength slider adjust the intensity difference between light
and dark within the image. Turn the checkbox off to return the image's original contrast level.
Patch Controls
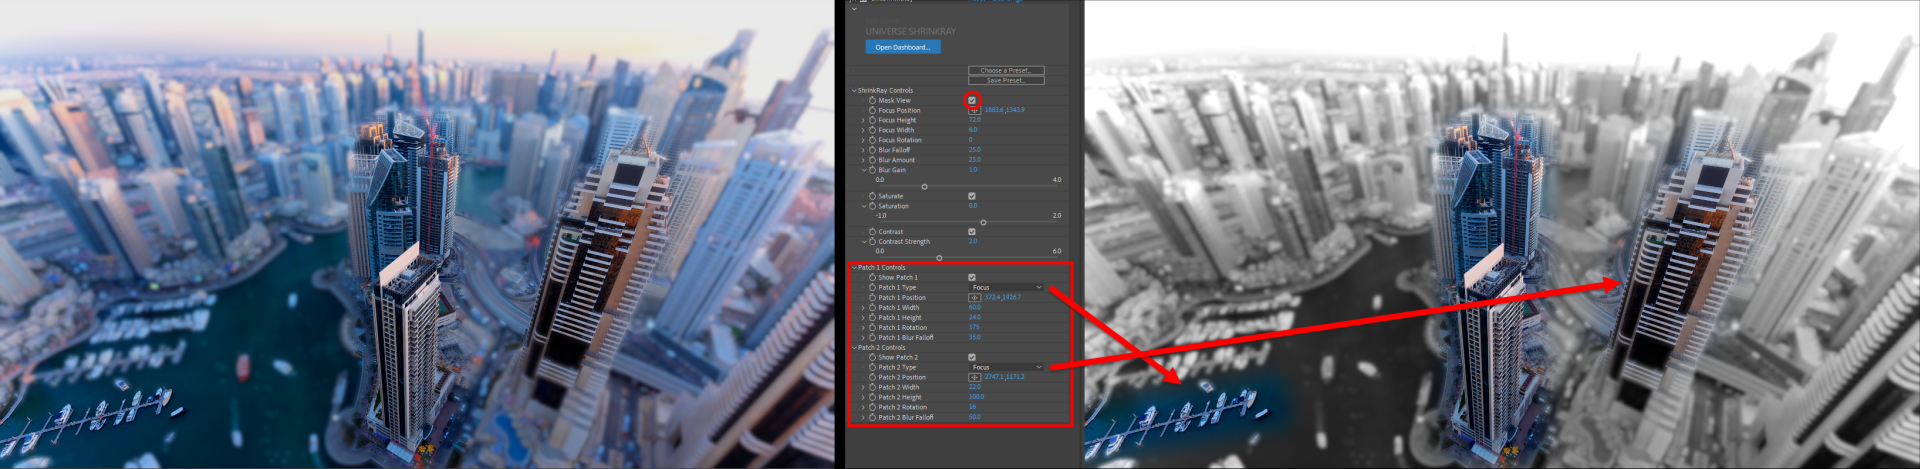
The two Patch Controls allow you to clean up the frame and choose which area of the screen you want blurred or
focused in addition to the main mask view area. For example, in the example below, we used a focus patch to bring a
second skyscraper into focus while leaving the space between them blurred.
Turn on the Show Patch checkbox to activate one of the patch areas, then choose either Blur or Focus
from the Patch Type drop-down menu, depending on how you’d like to patch the image.
Adjust the Patch Position cross-hairs to change the center of patch's blur or sharpened area.
Adjusting Patch Width/Height alters the patch's dimensions.
Patch Rotation changes the patch's rotation angle from 0 to 180 degrees.
Patch Blur Falloff smooths edges where the blurred area meets the focused area. At 0,
Blur Falloff has no effect, and a hard line shows between the focused and blurred areas. As shown earlier,
a 0 value here can help with positioning the patch, then you can soften the blur edges to taste.