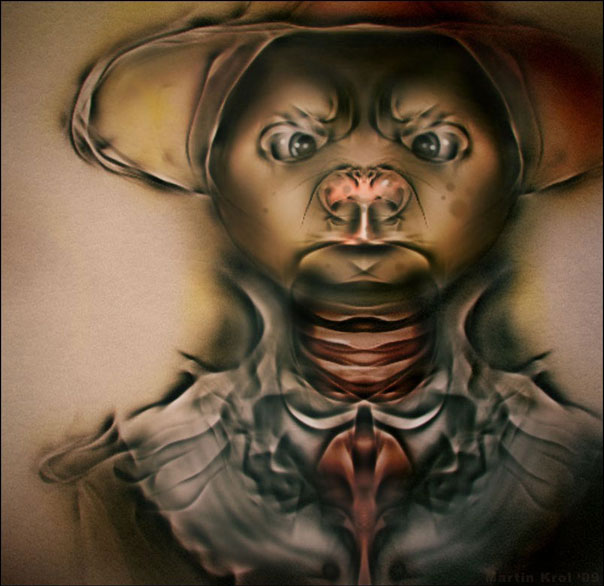
QuickSketch by ZBrush artist Martin Krol
QuickSketch is a 2D sketching and concepting feature designed to allow you to quickly rough out ideas inside ZBrush, just as you would sketch on the back of an envelope.
- The Pen brushes are designed for use with QuickSketch.
Launching QuickSketch

QuickSketch button at the top left of the interface
To get started, all you need to do is click the QuickSketch button. ZBrush will set up the canvas and pick a brush ready for you to start drawing. Symmetry is switched on by default but you can turn this off by pressing the X key or through the Transform palette (where you can also change the axis if you wish).
There are several new brushes especially designed for use with QuickSketch: you’ll find them in the Brush palette and their names all begin with ‘Pen’, such as Pen Shadow, Pen Sketch, Pen Fur and so on. Experiment to find out which best suits your style.
Erasing in QuickSketch
Select the PenSoft brush and paint over. Use the ‘v’ key to switch between dark/light colors.
Saving QuickSketches
QuickSketch is based on polypainting a 3D plane. This means that when you come to save your sketch, you have a couple of options. You can save it as a ZTool by pressing Tool>Save As; this method means you could load the sketch again to continue work on it later. Alternatively you can simply export the drawing as an image file by pressing Document>Export.
Leaving QuickSketch
When you have finished using QuickSketch you can quickly switch back to sculpting by:
- Select a model in the Tool palette.
- Switch to the Material of your choice (such as Matcap Red Wax) in the Materials palette.
- Set the active color to white in the Color Selector.
- Press ‘F’ or Transform>Frame (the Frame button on the right of the UI) to frame your model in the canvas.
- Select a sculpting Brush and continue sculpting.
Alternatively you can initialize ZBrush to its startup settings by pressing Preferences>Init ZBrush – but be sure to first save any files you wish to keep!