Advanced Boolean Process in Action
This advanced process will be very like the basic one, except that it will introduce the usage of Start groups. The goal is to generate multiple SubTools from a single Boolean operation.
- Load the NutAndBolt.ZPR project, located in the Project tab in LightBox. You should see multiple cubes everywhere.
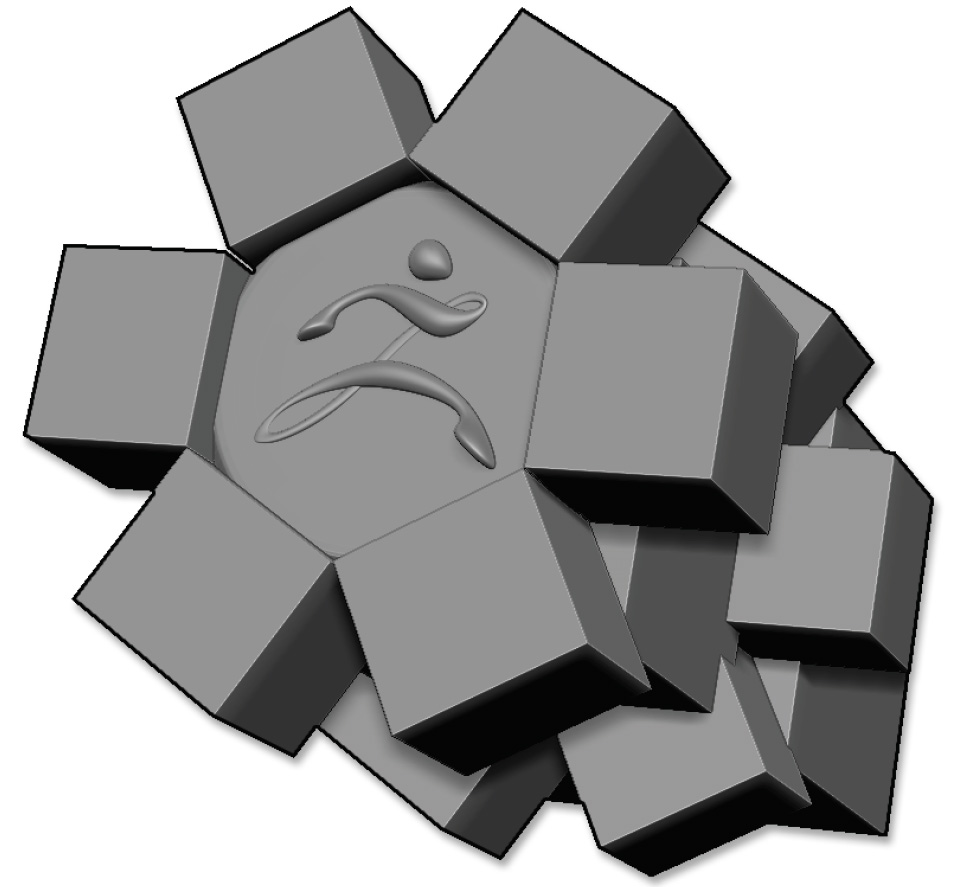
The project when loaded. It includes all the parts which will be added or removed during the next steps.
- Turn on Render >> Render Booleans >> Live Boolean so that you can preview your future Boolean operations. Notice that most cubes are now hidden as they are considered to be subtractive meshes.
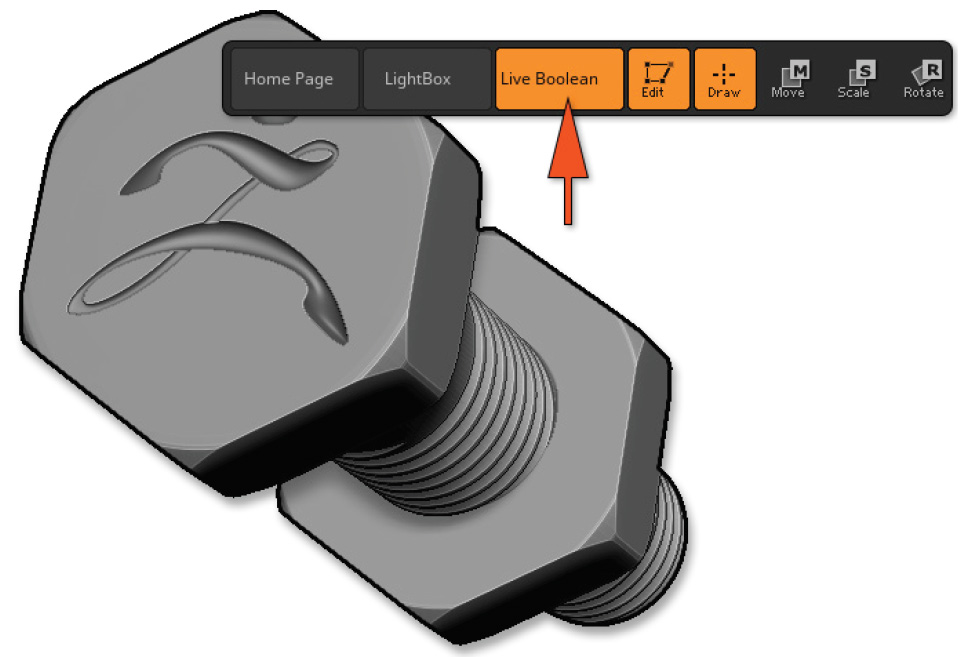
Now we see the preview of the Boolean operation
- Look at the SubTools list in the Tool palette. Notice two points: Rode_bolt and Bolt head have the Start operator enabled (the icon is an arrow going left then down) and each of these SubTools are flagged as additive.
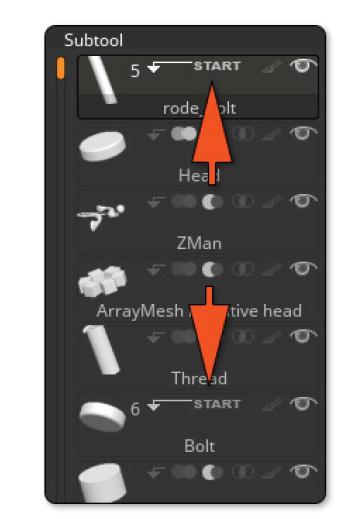
The Start flags, in the SubTool list.
- Play with the visibility of different SubTools to understand how each part is made. Eventually, enable or disable PolyFrame mode to change the way that the subtracted models are displayed.
- Select the “ArrayMesh Negative Head” SubTool and with the Gizmo 3D or TransPose enabled, change the position, scale or rotation of the ArrayMesh source Cube. You will see in real-time the head of the thread being modified.
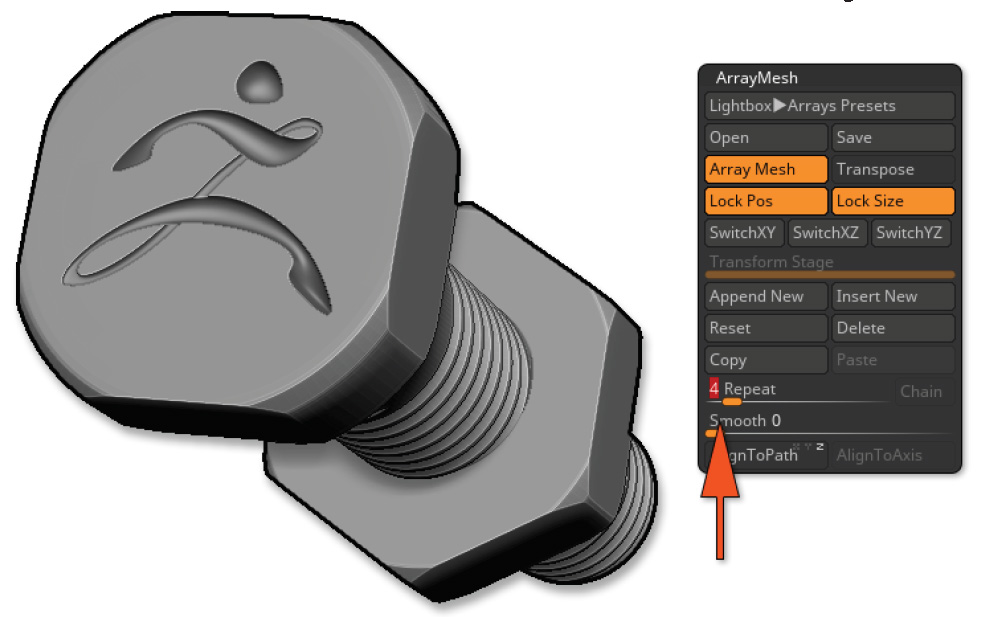
The source of the ArrayMesh has been edited: you can see in real time the modification applied to the model.
- When you are done with your modifications, press the Tool >> SubTools >> Boolean >> DSdiv and then Make Boolean Mesh buttons. After a few seconds of processing, a new Tool is created in the Tool palette with a name starting with “UMesh_.” Select it.
- The resulting mesh is a new Tool composed of two SubTools. Each of them is based on one of the Start Groups. Select this new Tool at the top of the Tool palette.
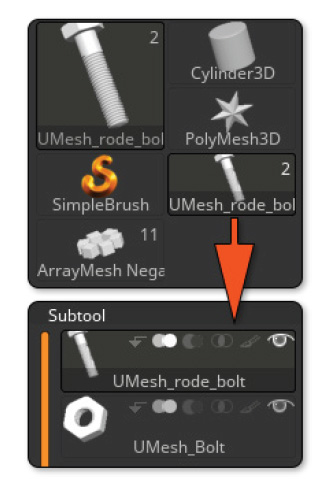
The result of the Boolean operation and the new SubTool list, after selecting the generated Tool.
- Switch to PolyFrame mode (Transform >> PolyF) and look at the first SubTool. Notice the variation of density between the head planar area and the ZBrush logo. Variation in density may cause mesh issues. (See the “Important notice about Boolean Operations” section of this chapter.)
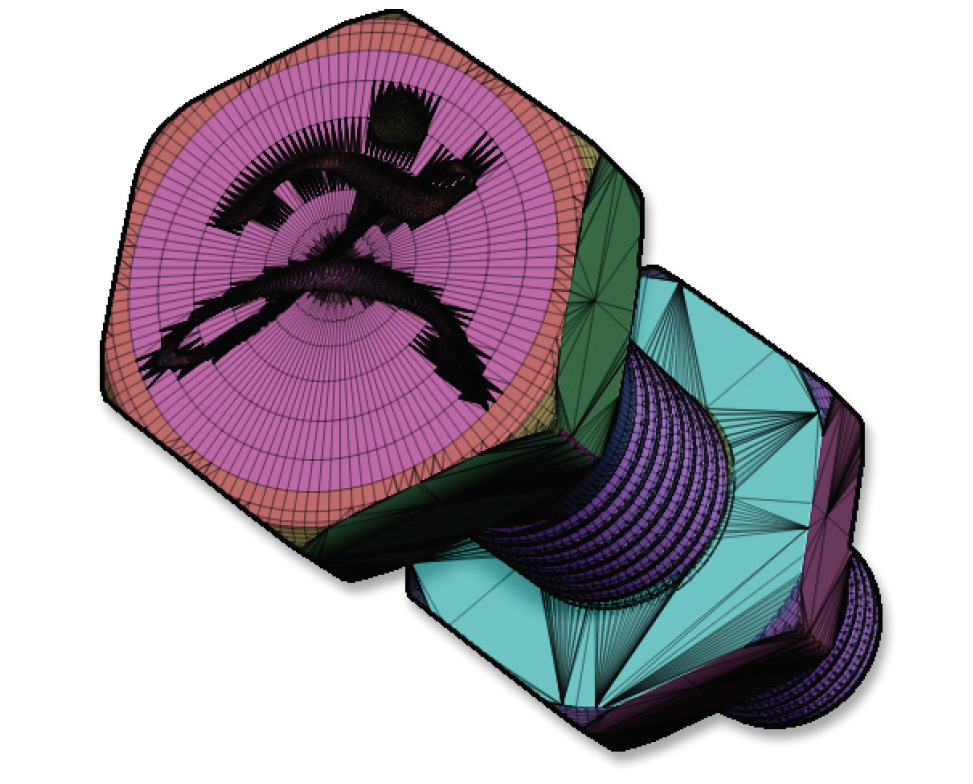
The resulting topology with the PolyFrame visible.