Snapshot3D in Action: a Simple Shape
Follow these steps to quickly create a basic shape which could have taken much longer to produce by other methods:
1. Load the DynaMesh_Sphere_128 project from LightBox (also found in the ZProjects folder in your ZBrush directory).
2. Turn Perspective off and stay in Front view. You can use the Shift key while rotating to perfectly snap to the front view.
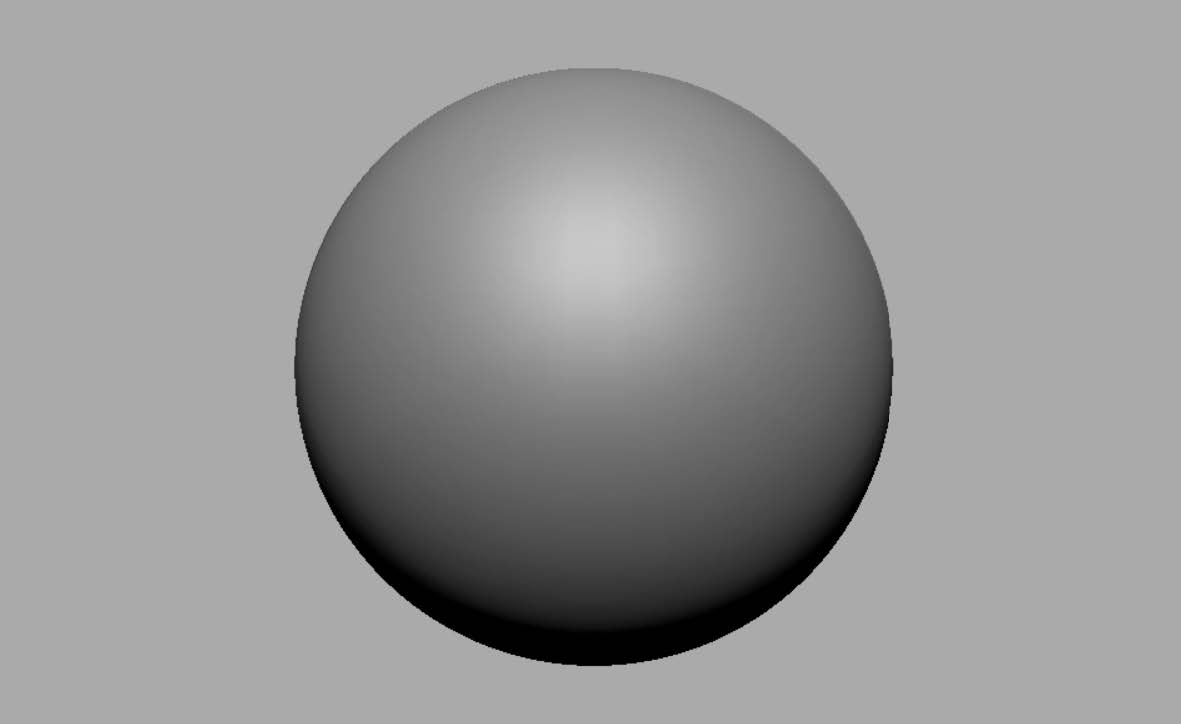
CaptionText
3. Turn on Live Boolean mode.
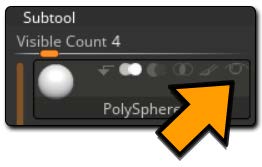
4. Click on the current SubTool’s eyeball icon to turn its visibility off. We need only this model to start a new scene and won’t be using it as part of the mesh generation. Note that because it is the currently selected SubTool it will stay visible until a new SubTool is created.
CaptionText
5. For this project, we will use a SpotLight preset. Open LightBox and go in the SpotLight tab. Double click the 512_hardSurface_SpotLight file. A series of alphas will load on the left side of your screen.

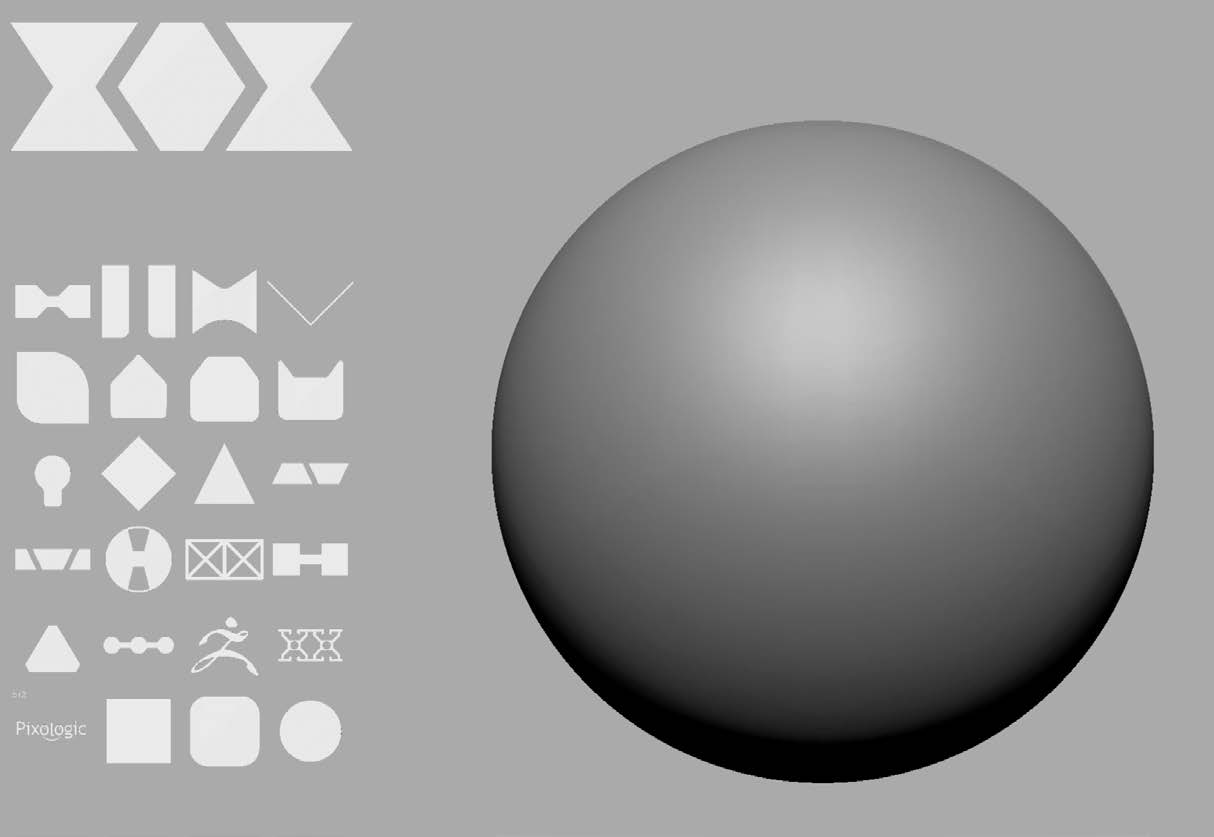
The loaded Alphas
6. Enable SpotLight by pressing the Z key on your keyboard or by clicking the Transform >> Edit SpotLight button.
7. Select the alpha shown in the illustration, clicking and dragging it somewhere on your document. It becomes the active image in SpotLight.
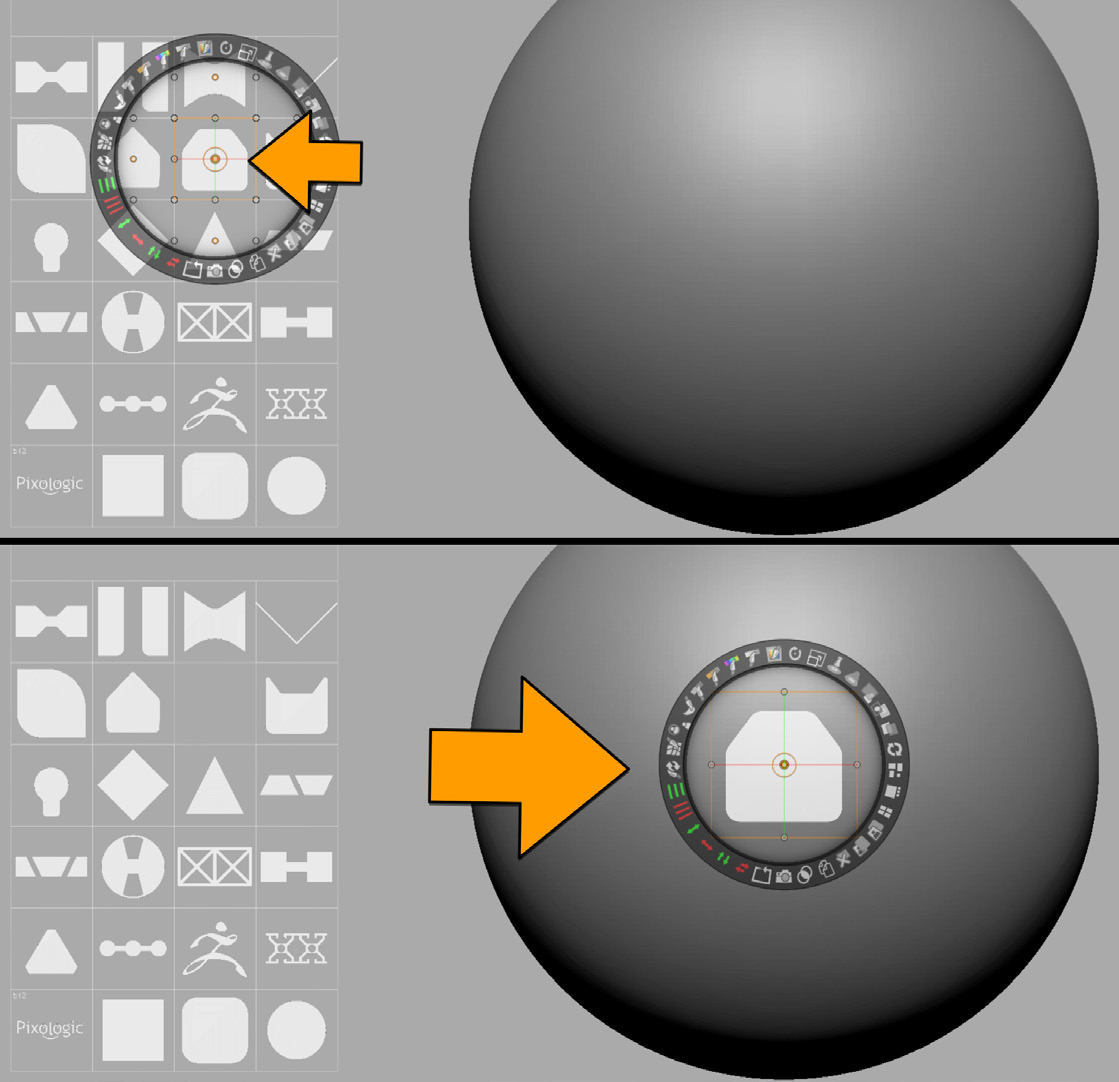
CaptionText
8. Now click the Snapshot icon in the SpotLight wheel. It’s the camera icon located at the bottom of the wheel. A new SubTool is created and the original sphere should disappear since its visibility was been turned off in step 4.
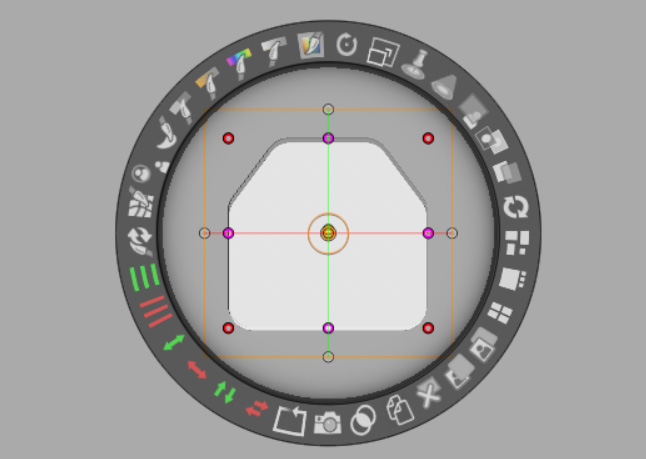
CaptionText
9. If you want to inspect your new 3D model, you can turn off SpotLight Edit Mode by again pressing the Z key and then rotating to fully see what ZBrush created. You will notice that the depth of the new model is exactly the same as that of the original sphere SubTool.
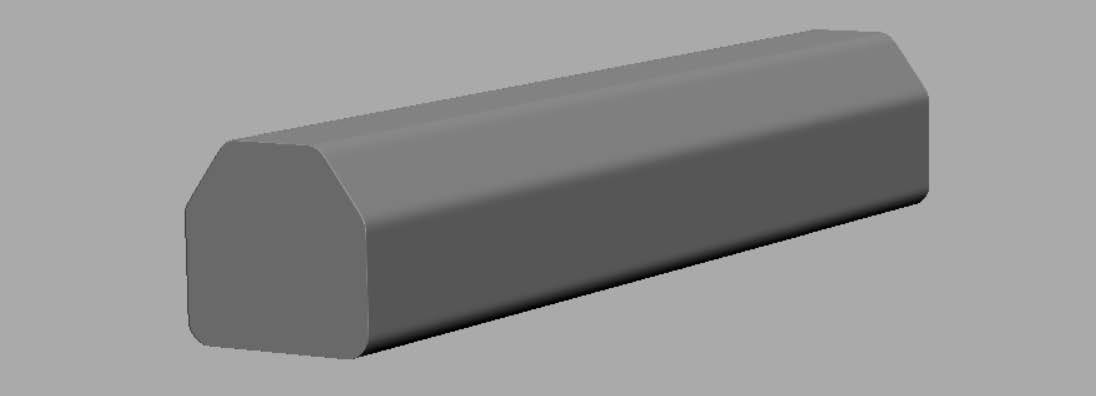
CaptionText
10. Now go back to your previous point of view (remember that you can use Shift to snap the angle) and reenable SpotLight Edit Mode by pressing the Z key.
11. Select another alpha and position it on top of the previously generated model. You can remove the previous alpha if needed. You may need to scale it in SpotLight to approximately fit what is presented in the screenshot below.
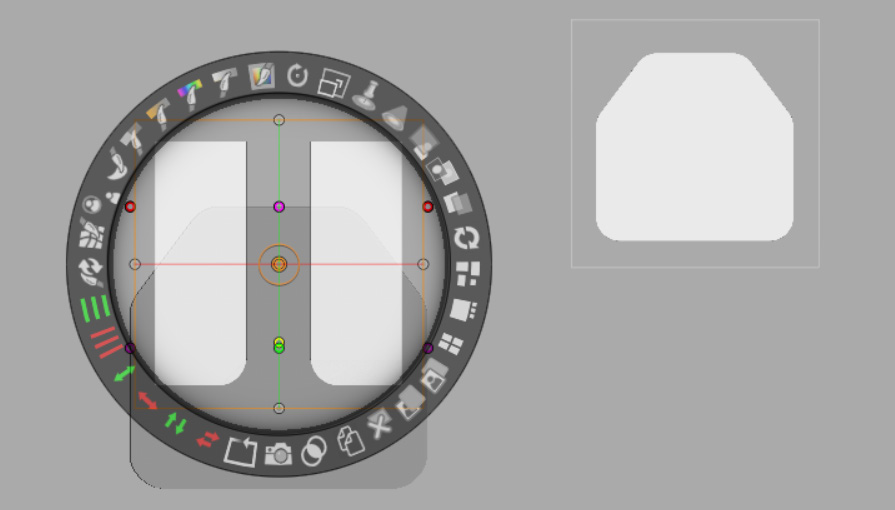
CaptionText
12. Now hold the Alt key while pressing the Snapshot3D icon in SpotLight. A new SubTool will be created like before, but this time as a negative mesh. This is why your model has been cut on the side and why the newly created SubTool is not visible.
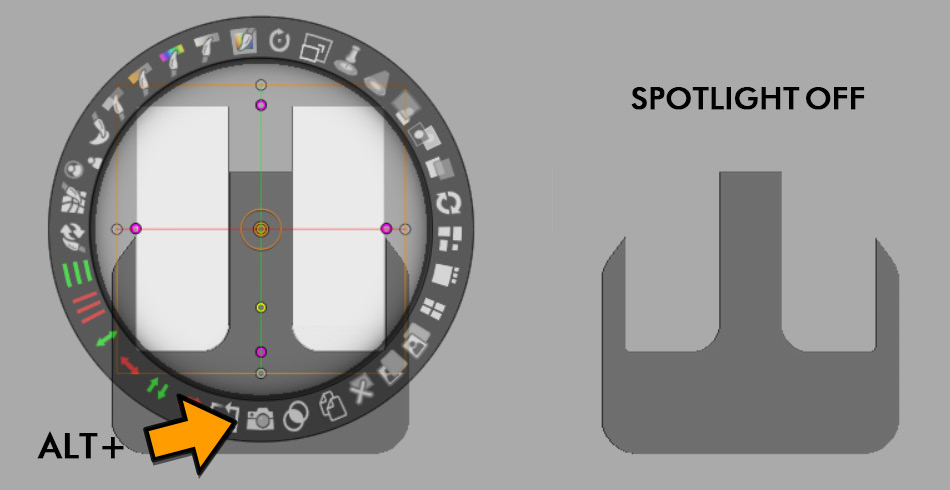
CaptionText
13. If you look at the SubTool list you should see three SubTools: the original sphere, the positive mesh based on the circular alpha and finally, the negative model composed of two parts.
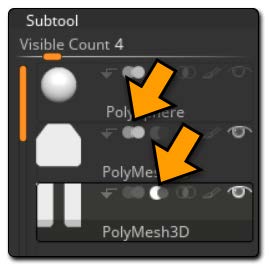
CaptionText
14. You can quit the SpotLight Edit Mode by again pressing Z so that you can more easily look at your model. You can use the Gizmo 3D to scale it along one axis to make it thinner. Don’t forget that you will need to scale the two SubTools as you are currently in Live Boolean mode.
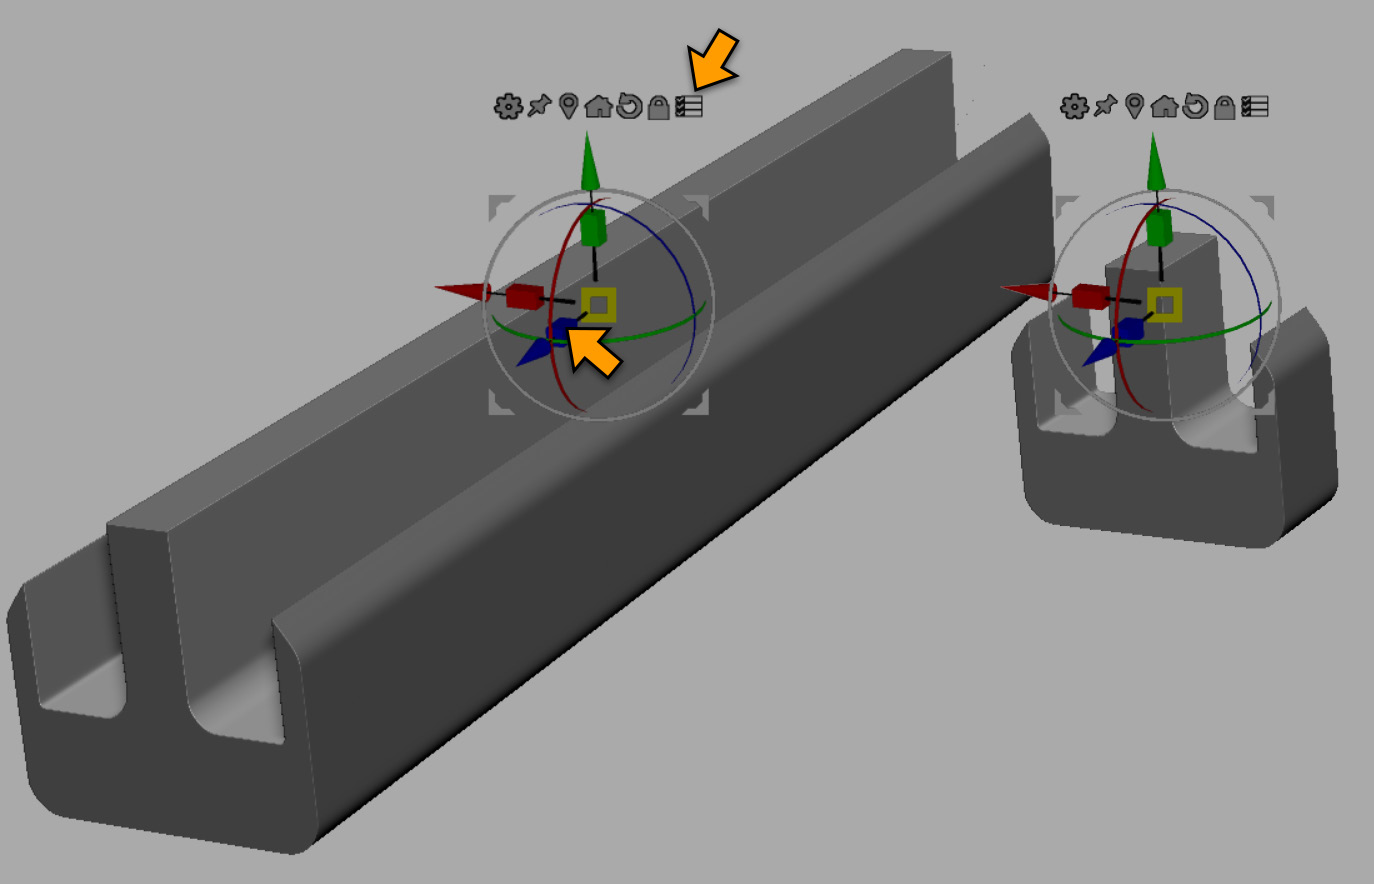
CaptionText