This method uses the default settings to build a basic humanoid.
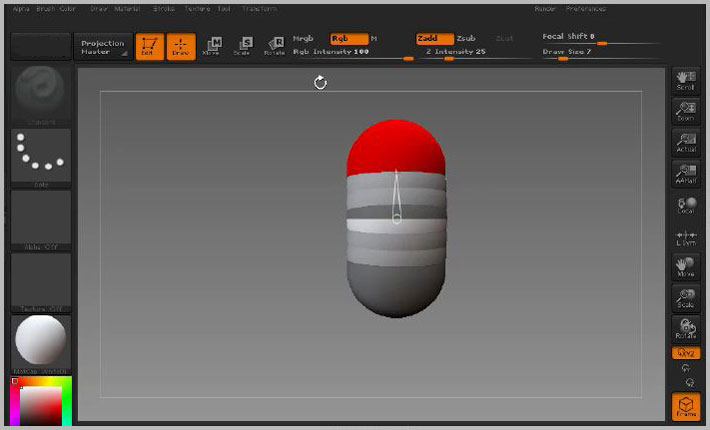
First select the ZSphere tool from the tool palette. Draw it on the canvas and press T to enter Edit mode. In the Transform palette, press Activate Symmetry, then turn off X and switch on Y.
Click and drag to add a new zsphere on the top side. With symmetry on, a second zsphere is also added on the bottom side. This will form the torso of our character.
Switch off Y symmetry and switch on X symmetry.
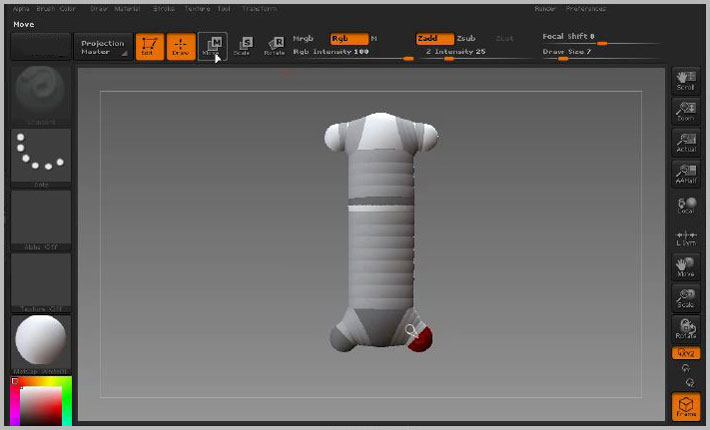
In Move mode, reposition the zspheres, then in Draw mode add new zspheres to form the shoulders and the hips. Hold down Shift and click to add further zspheres at the same size.
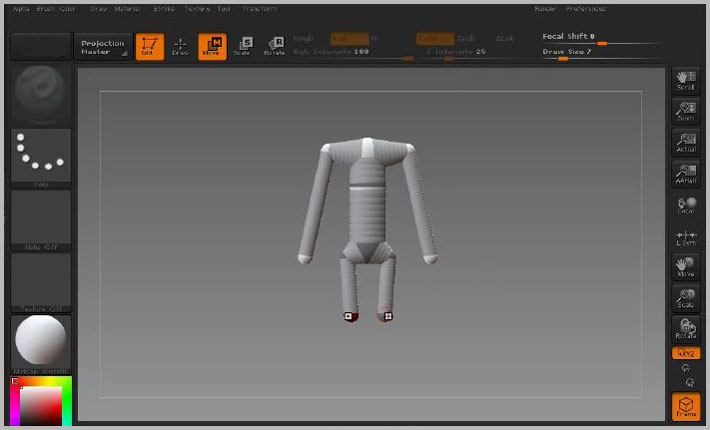
In Move mode, reposition the zspheres.
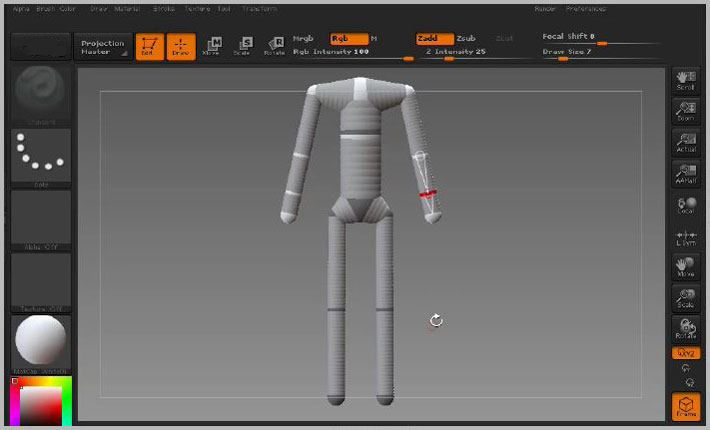
In Draw mode, click on the gray Link-Spheres to add new zspheres for the elbows, wrists and knees. Add and position zspheres for the feet. Adjust the positions in Move mode.
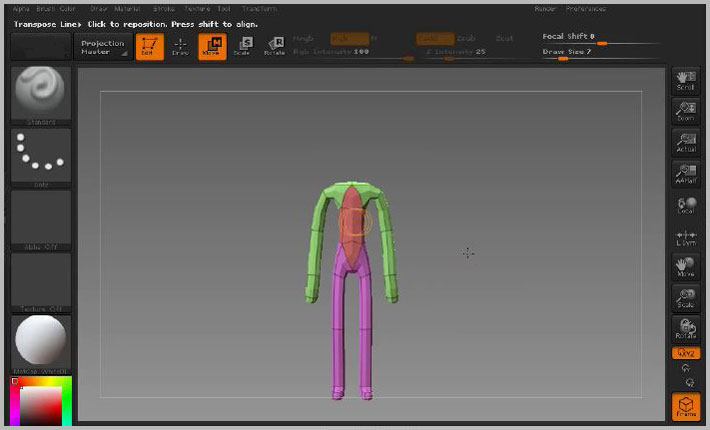
Preview the mesh by pressing A on the keyboard.
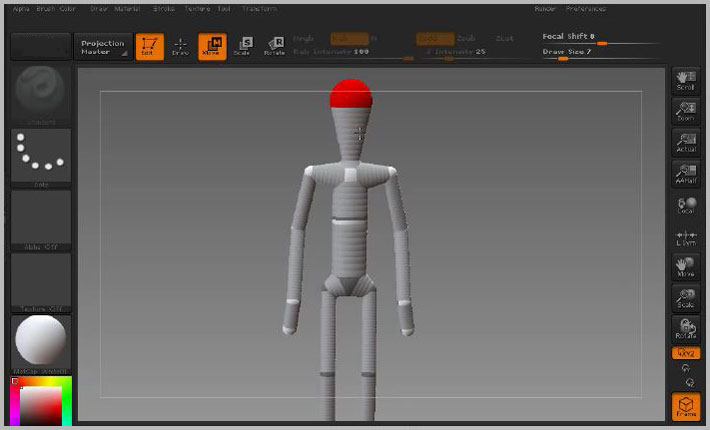
Add a zsphere for the neck and for the head. In Scale mode, re-size if necessary.
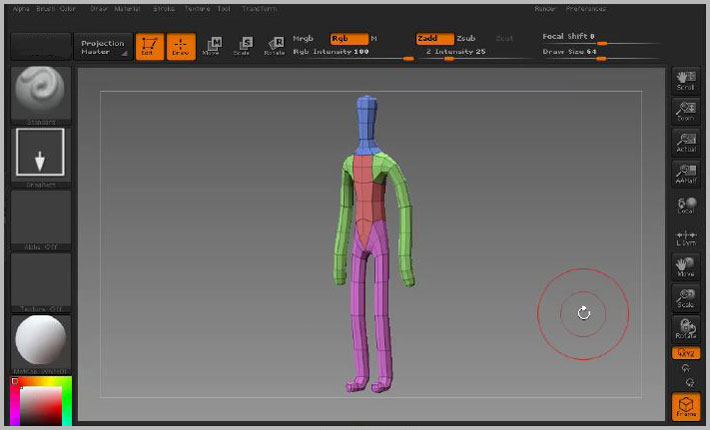
Preview the model again by pressing A.
Finally, press Tool: Adaptive Skin: Make Adaptive Skin and select the skinned version in the Tool palette before starting to sculpt your model.