Multiple Alphas based on 3D meshes in your brush
Alphas are 2D greyscale textures that can change the surface elevation on your sculpt in a positive or negative direction. These 2D greyscale textures can be created or modified in any type of 2D editor.
Another method for creating these 2D greyscale textures is to use 3D models. As opposed to Alpha 3D and its associated Vector Displacement Meshes, these 3D models are converted on the fly to their equivalent as greyscale data. This gives each 3D model you create in ZBrush the potential to be used as a 2D greyscale Alpha.
As with Insert MultiMesh and Alpha 3D, a brush can have multiple 3D meshes stored in it and used as alphas. This means that a single brush can contain a complete library of patterns dedicated to any purpose that you might imagine.
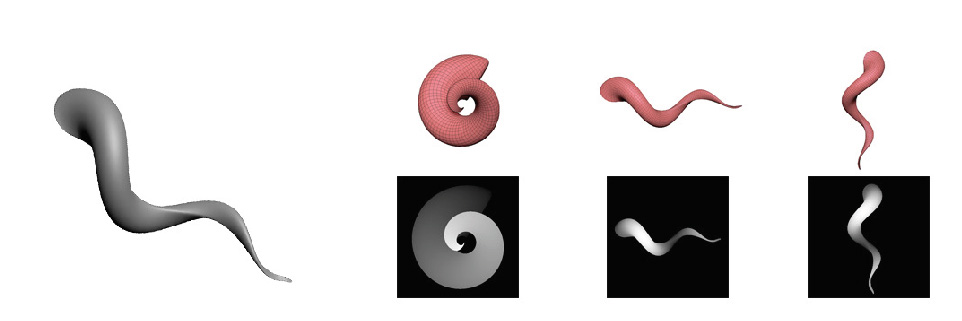
A 3D mesh used to create a Multi-Alpha. Different alphas can be created merely by changing the orientation
Creating a New Multi Alpha
Creating your own Multi Alpha brushes based on 3D models is an easy process and can be done using existing SubTools. Each SubTool will be used to produce a corresponding greyscale image.
All types of PolyMesh 3D objects are compatible, from surfaces to volumes. Always keep in mind that clean boundaries will produce cleaner brush strokes.
- Create your own shapes as separate PolyMesh 3D SubTools. They can have subdivision levels or even be DynaMesh.
- Disable Draw >> Perspective. Hold the Shift key while rotating to align the model so that its front directly faces the camera. The point of view will define the generated alpha.
- Select the brush that you wish to receive these new alphas. You can optionally duplicated it using Brush >> Clone to work on a copy and retain the original as-is.
- Click Brush >> Create >> Create Multiple Alpha Brush. All SubTools should be converted to their own alphas in the selected brush. Any models previously stored in the brush will be replaced by the new ones.
- Try your new alpha(s) on some models. As with regular alphas, you can modify them through the settings found in Alpha >> Modify.
- If necessary, you can some of the alphas by editing the SubTools used to create them. When you then redo the creation process, your brush contents will be replaced by the alphas.
- When satisfied, you can click Brush >> Save As to save your brush for future use. You can add it to the ZBrushes folder located at the root of the ZBrush application directory, making it available through LightBox’s Brushes folder.
- You can instead save the brush to the ZStartup/BrushPresets folder so that it will be automatically loaded on ZBrush startup. (Do not have more than 25 items saved in the BrushPresets folder
Managing Your Brushes
When you are working with an existing brush you may find it necessary to add or remove 3D models, or even to transfer them from one brush to another. (This avoids the need to rebuild the alphas.) After each modification, don’t forget to save your brush, either by overwriting the original or creating a new brush.
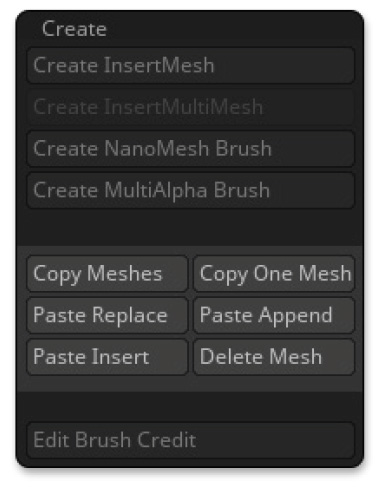
The functions to manage the models included in your brushes, located in the Brush palette.
- Adding a Single New 3D Model to an Existing Brush
With a SubTool loaded, click Brush >> From Mesh. The alpha will be previewed in a popup window where you will be able to define its size and orientation. The model will then be added to the current Multi Alpha brush, at the end of the Content Browser.
- Deleting a Model From the Current Multi Alpha Brush
Select the brush that you want to modify. In the Content Browser, select the 3D model to delete then click Brush >> Create >> Delete Mesh.
- Copy/Pasting 3D Models From One Brush to Another
In the Brush >> Create sub-palette you can find multiple functions to pass your models from one brush to another. The process is always the same: copying a single model (or all models) from the current brush, then selecting another brush and pasting the contents into it. You can paste to append, adding the models to those already found in the brush. Or you can paste to completely replace the original contents.