Using Mesh Fusion to Replace Parts of a Model
ZBrush is able to literally fuse different models together, creating clean topology to connect them. This Mesh Fusion operation will only affect the polygons located at the connecting borders while the rest of the model will remain unchanged. The process can seem similar to how DynaMesh can merge volumes, except that with this process your model will retain as much of its original topology as possible. It is important to note that while this process may look like a boolean operation, it is not. It is simply a bridging operation and so it cannot be used to create differences or negative insertions. For those effects, you must use the Remesh All function. This feature allows you to quickly and easily create an advanced base mesh with only a few clicks, simply by bridging various pre-existing mesh elements together.
Creating a Connection
The process to create a connection is simple and is based on polygroups:
1. Create a PolyGroup on the support model, where you want to create the connection. The fastest way to do this is to hold CTRL and paint a mask on the area you wish to change into a new PolyGroup. Now click Tool >Polygroups > Group Masked Clear Mask or use its CTRL+W hotkey. ZBrush will convert the masked area into a new PolyGroup. (To display the PolyGroups, don’t forget to turn on PolyFrame (Shift+F hotkey).
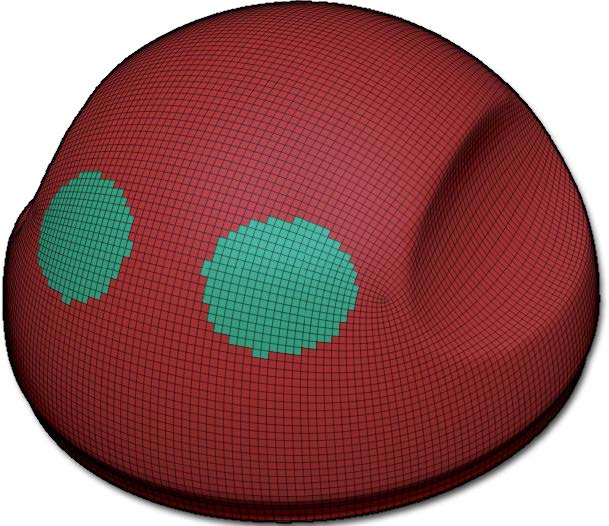
The two PolyGroups which will receive an inserted mesh
2. Select an InsertMesh brush with the geometry that you wish to insert. Click on the new PolyGroup that you just created to add this new mesh to the model. It is really important to do the insertion by clicking on the PolyGroup of the support which will be used to create the connection because this is used to define the border of the polygon bridge. Please also remember that this new geometry must have an open surface; the Mesh Fusion feature cannot work with volumes.CTRL+click+drag on any open area of the document.
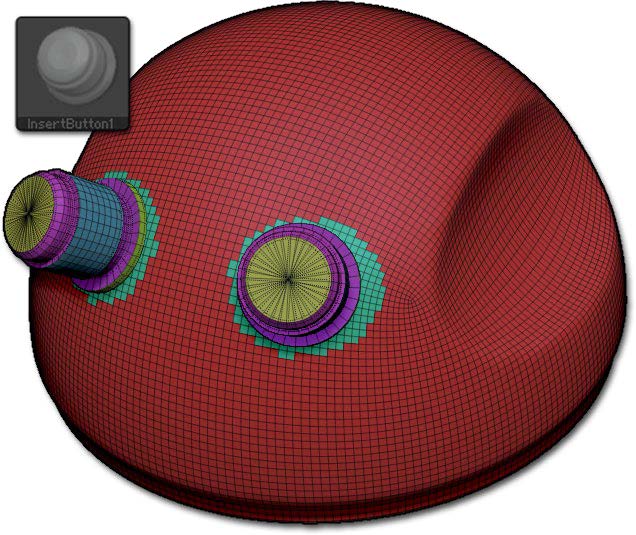
The meshes have been inserted on top of the new PolyGroups
3. ZBrush will now connect the two meshes and weld the difference with quad geometry
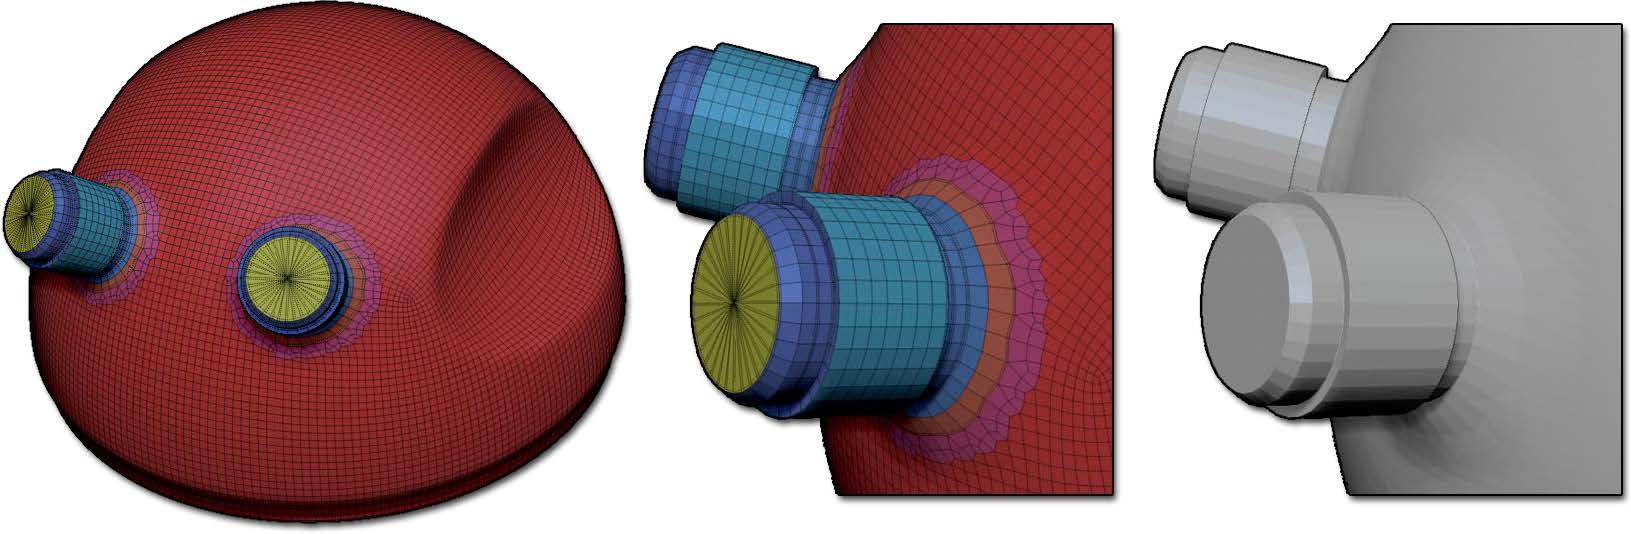
The bridging connection between the inserted meshes and the PolyGroups border
An alternative is to tap first on an existing PolyGroup and then doing a CTRL+click+drag on any open area of the document to create the bridge. This method allows you to do a Mesh Fusion when working with PolyGroups which have been created previously.
Instead of masking you can use ZBrush’s mesh visibility controls. Hide everything except the polygons that will define the border of the bridge. Use InsertMesh on the visible polygons. Upon restoring full mesh visibility, ZBrush will weld the two surfaces together.
The model must have open topology (unattached edges) at the bridge location. Otherwise you will get topology problems such as non-manifold surfaces. Do not use Mesh Fusion to insert a solid object!