1. Unwrap with Control Painting.
This tutorial will explain how to use the control painting option to improve the result of your UV unwrap.
When you decide to use UV Master, the plugin will produce the least stretched UVs with the best ratio of pixels per polygons, but sometimes the seams won’t be where you expect them to be as it is an automatic process. Perhaps for the quality of your final model, you may need to have more pixels for a polygon area (lips, eyes, nose) and less
for another (the back of a character).
The first step is to load the model to unwrap. For this tutorial, this retopologized character will be used. Feel free to use any kind of model.
1.1 Unwrap and things to fix
First, let’s do a simple Unwrap of the model and check the seams and the UVs. The steps to do these operations will be explained later in this tutorial. The purpose is to see any potential problems:
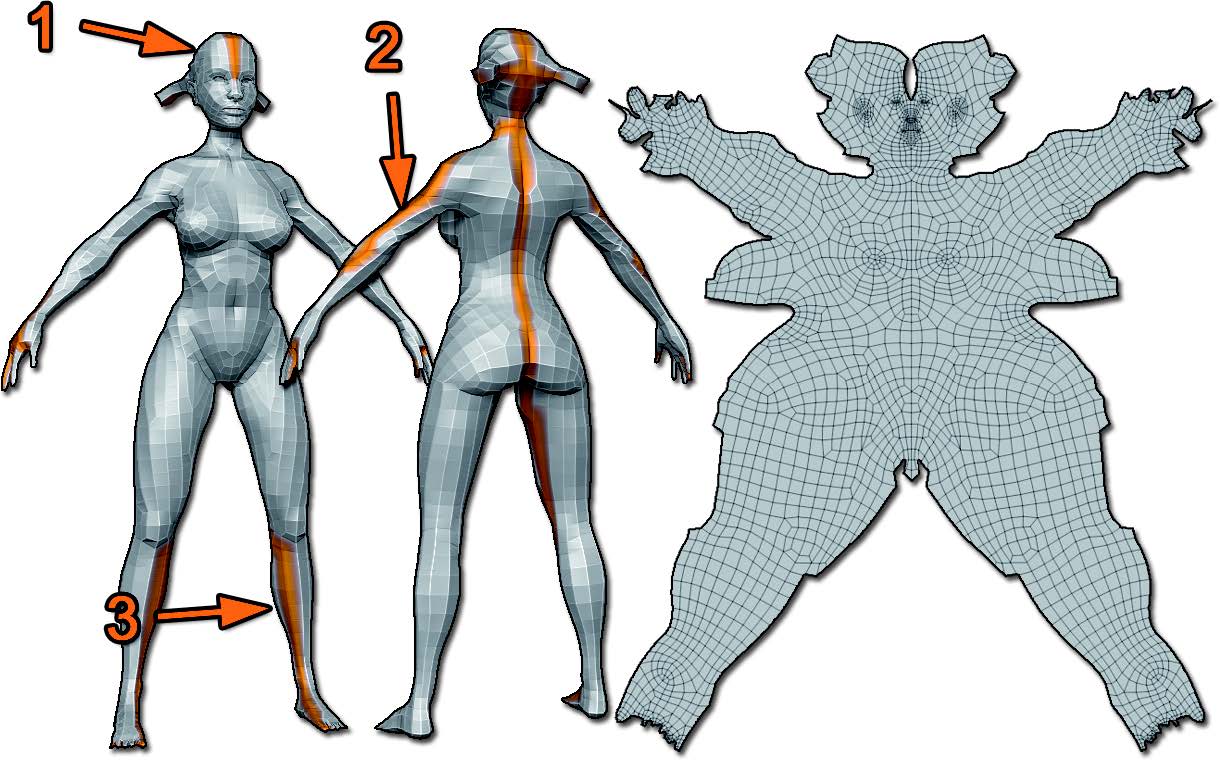
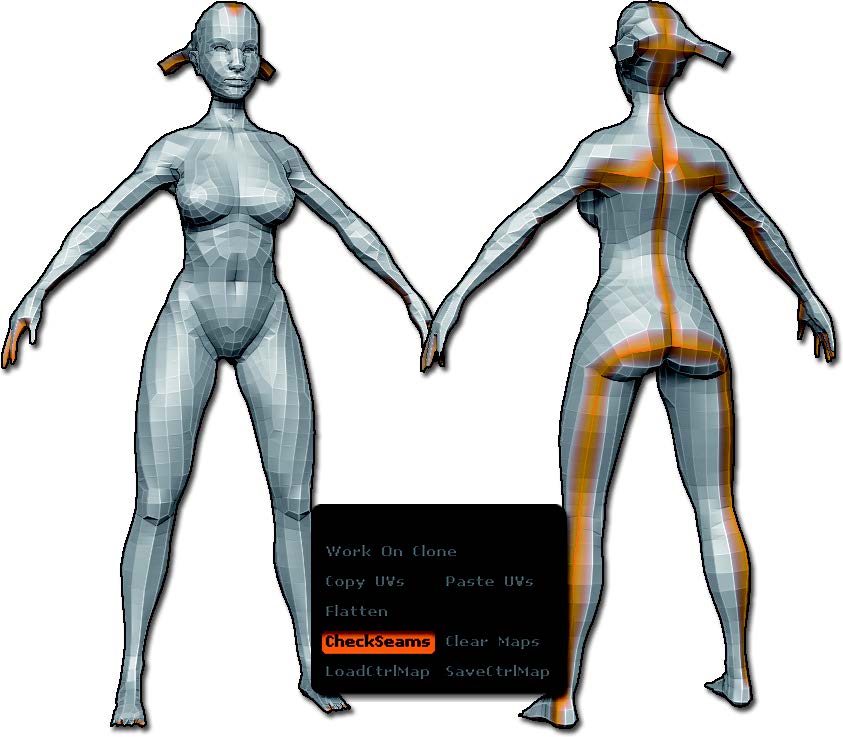
- The default result is pretty good with the UV seams which go on the back of the model, but the UV unwrap can be improved.
- In orange, we can see the UV seams on the model. The forehead has a seam which goes between the eyes (1), which is visible in the UV unwrap on the right.
- The seams on the arm go from the top to bottom and not in a straight line (2) and the same appears on the legs (3).
Let’s fix these problems and do some improvements.
1.2 Density
For this model, we will need larger UVs on the head, to use more pixels on the texture and reduce the UV density on the back as this part will be less visible on the model.
To do this we will change the UV pixel ratio for some areas by using Control Painting. Please note that this option, like all other Control Painting options, will remove any existing Polypainting. You are strongly advised to use the Work on Clone command, which will create a clone of the current Tool or SubTool and will remove the highest subdivision levels.
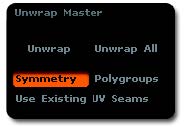
- Click on the Enable Control Painting button to enable the Control painting Tools.
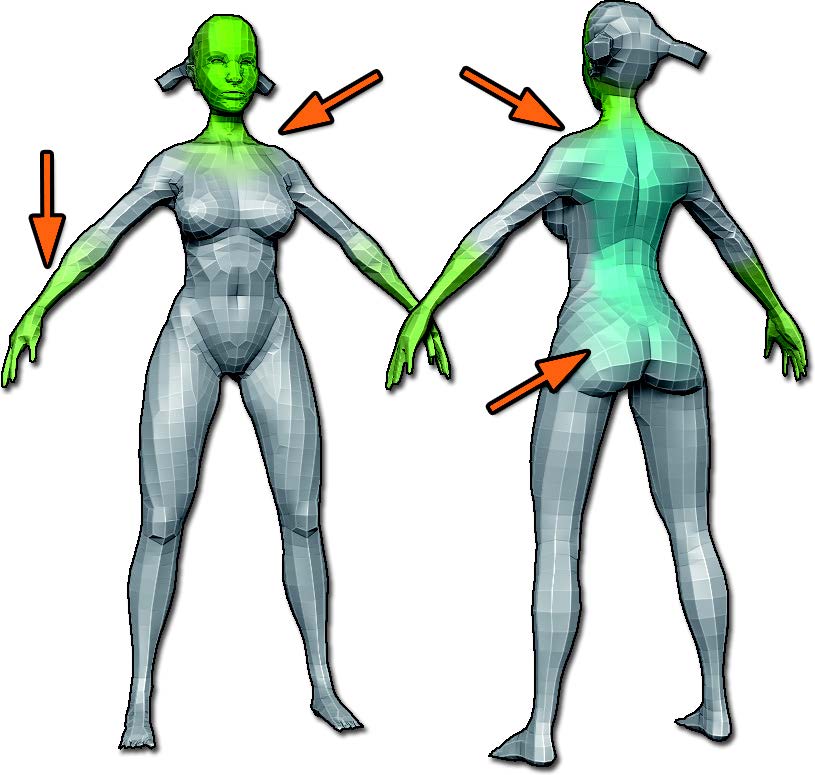
- Click on the Density option to enable the painting. Adjust the Density to define the desired density, using the slider or the preset buttons. We want larger UVs on the head, so with the ‘x’ (multiply) button set, push the slider to 4 and paint on the head. You should paint a green color. (1 on the illustration below).
- For the purpose of this tutorial, we will also adjust the density on the hands. Change the density value to 2 and paint on them. You should see a lighter green on them while painting. (2 on the below illustration).
- Now, let’s work on the back of the character to define a lower UV density. Set the ‘/’ (divide) option button and then change the slider value to 4. Your painting should be a Cyan blue. (3 on the below illustration).

The three steps for the Density Control Painting.
As the Control Painting is based on Polypainting, we can use the Smooth Brush (press Shift and turn off ZAdd or ZSub while pressing) to soften the Density painting: it will make the transition smoother between density parts of your UVs.
Note: Be aware of your active sculpting brush, alpha and stroke when painting areas.
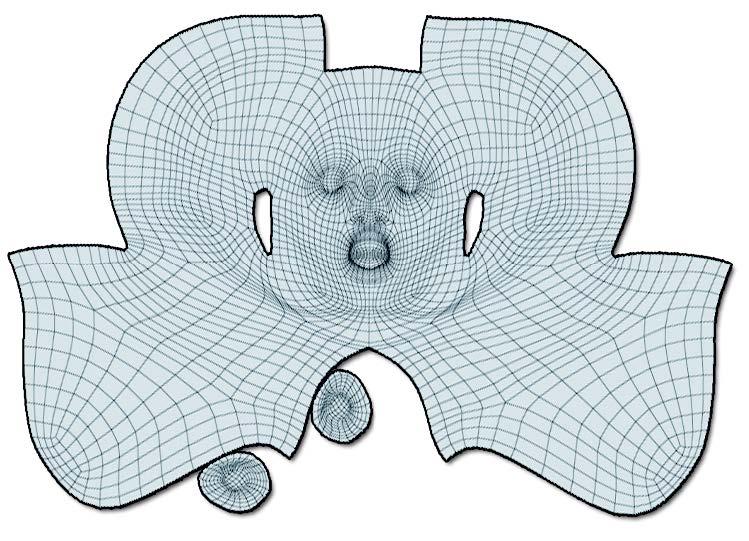
The smoothed density, shown by the arrows.
Now the density work is done. But at a later stage, if you need to refine the density values (even after the unwrap) switch Density Control Painting on and edit it again. Then press unwrap again and refine as needed until you are satisfied with the result.
1.3 Protect and Attract UV seams
On the first unwrap shown in the first chapter of this tutorial, the UV seams go too far on the forehead (close to the eyes) and are going from the back to the front of the legs and arms. To improve the seams placement, we will use Control Painting – similar to Density but dedicated to the protection of an area, or to attract the seams.
First, we will protect the front of the character. This part is most of the time the one which mustn’t have seams:
- First, we will protect the front of the character. This part is usually the one which mustn’t have seams:
- Click on the Protect button, below the Use Control Painting button. (Which should be on, based on the previous Density step.)
- Paint the front of the character, from the head to the legs. Paint also the front or top part of the arms. Depending of your own model, choose which part to protect.
- Paint the front of the character, from the head to the legs. Paint also the front or top part of the arms. Depending of your own model, choose which part to protect.
- Now that all the desired parts are protected, we will provide the plugin with which parts we need to drive the UV seams. Click on the Attract button and paint on the back of the model where you would like to have the seams. Keep in mind that it’s not an accurate solution to create UV seams. Painting large areas provides better results.
Note: Be aware of your active sculpting brush, alpha and stroke when painting areas.

The Protect painted area on the left and the Attract painted area on the right.
1.4 Unwrap!
It is now time to do the UV Unwrap of the model, using the previously made Control Painting. Press the Unwrap button.
To do so, simply press the Unwrap button of the plugin.
After a few seconds, the process will be completed with some statistics in the notebar.
1.5 Coloring Seams and validation
The unwrapping doesn’t change the appearance of your model, so it’s impossible to visualize the result of the UV unwrapping.
The solution is to use two utilities of UV Master:
- Click on the Check Seams button located in the Utilities: it will paint the seams in orange and the openings in brown. if you are not satisfied with the existing seams you can redo the previous couple of steps by painting different Protect or Attract areas and doing a new Unwrap.
The new UV seams, all visible in the back of the character and restricted on the forehead.
- Click on the Flatten button to transform your 3D model in a 2D model corresponding to the UV island(s). All your ZBrush brushes and Transpose can be use to alter the UVs. When done, press Unflatten to bring your model back to its 3D shape.
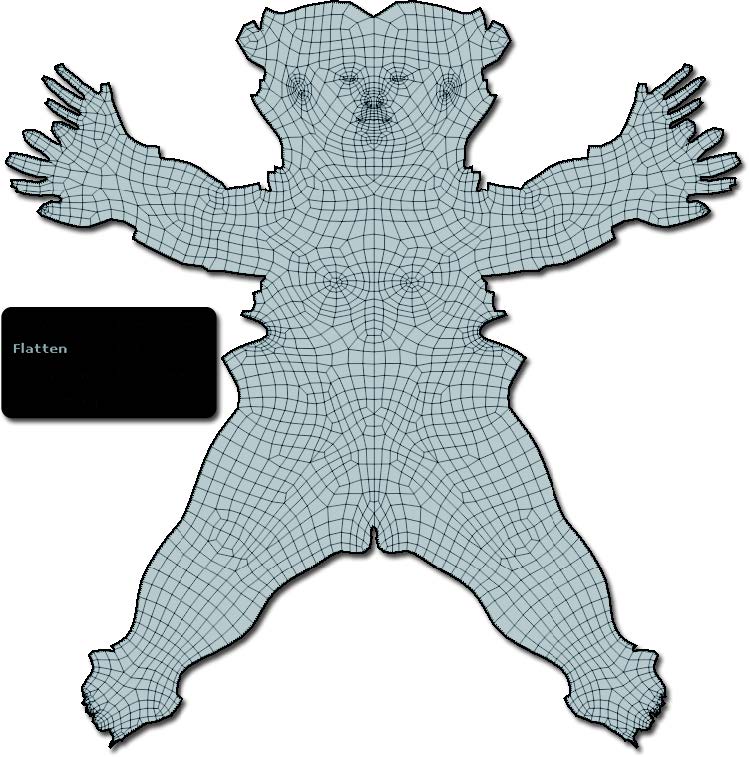
The flattened model. The increased density on the head and hand is really visible on this unwrap.
1.6 Conclusion
Now, your model has UVs which better suit your needs. You have seen that in a couple of minutes you can create more accurate UVs and change the UV density of local parts.
Keep in mind that painting areas is better than painting thin lines as the plugin is not designed to create seams based on accurately painted lines.
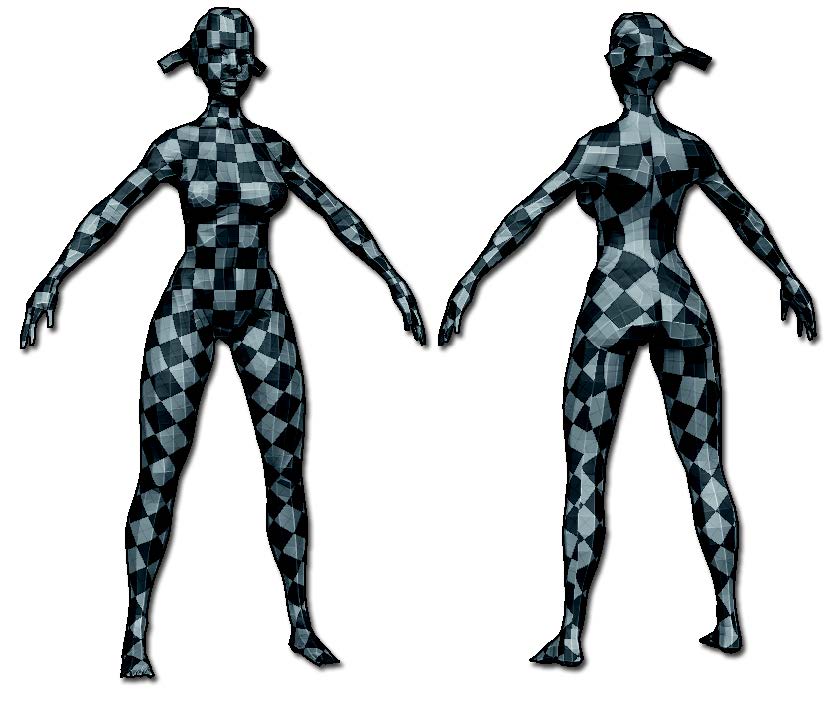
A checker texture applied on the model, to visualize the UV map density and the UVs distortions.
2. Unwrapping a model with existing UVs or seams.
This short tutorial will explain how to optimize or create the UVs of an imported model with split edges or existing UVs made in another 3D package to use the power of the UV Master algorithm.
Only a few steps are needed and can dramatically improve your UVs but it is important to remember that your UV Island position, orientation, scale and seams position will change.
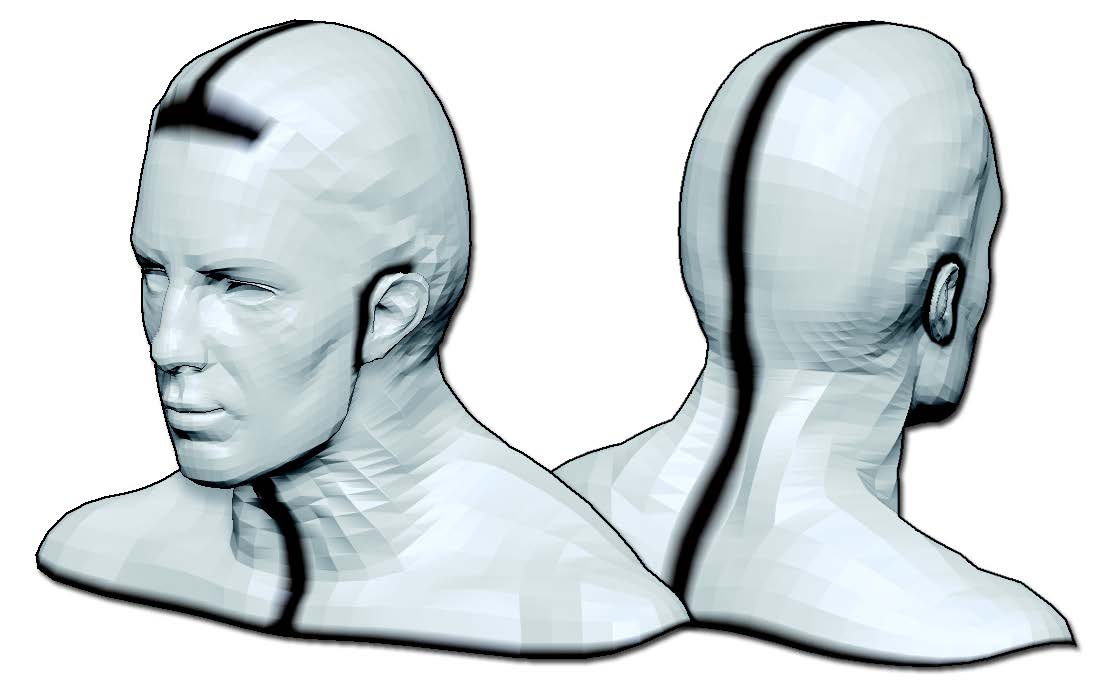
For this short tutorial, we will use the famous Demo Head.
2.1 Unwrap from Existing UVs
1. In the software of your choice, create UVs. You don’t need to create clean UVs because UV Master will completely recreate them. You only need to worry about where on the model the seams will be located.
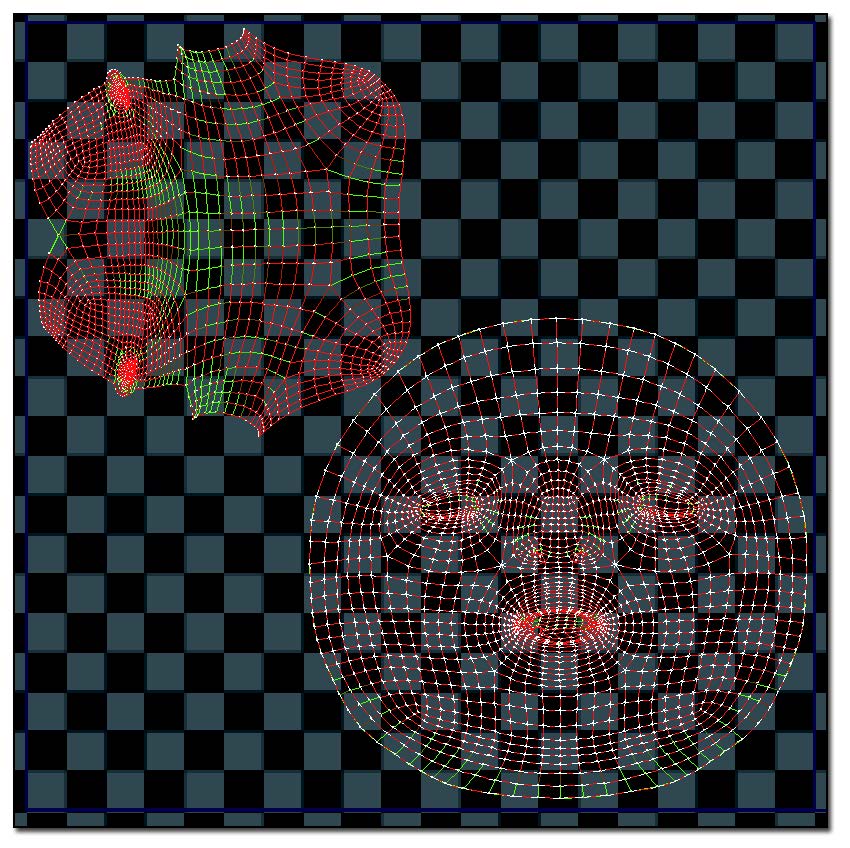
The two UV island created from the model. Note: The face is bigger than the other part of the head, because the two parts have been unwrapped separately then manually packed and resized.
Press the Check Seam button in the Utility section of the plugin: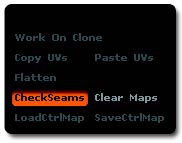 You should see the UV seams painted like below (of course your own results will vary based on where you put the cuts in your UVs):
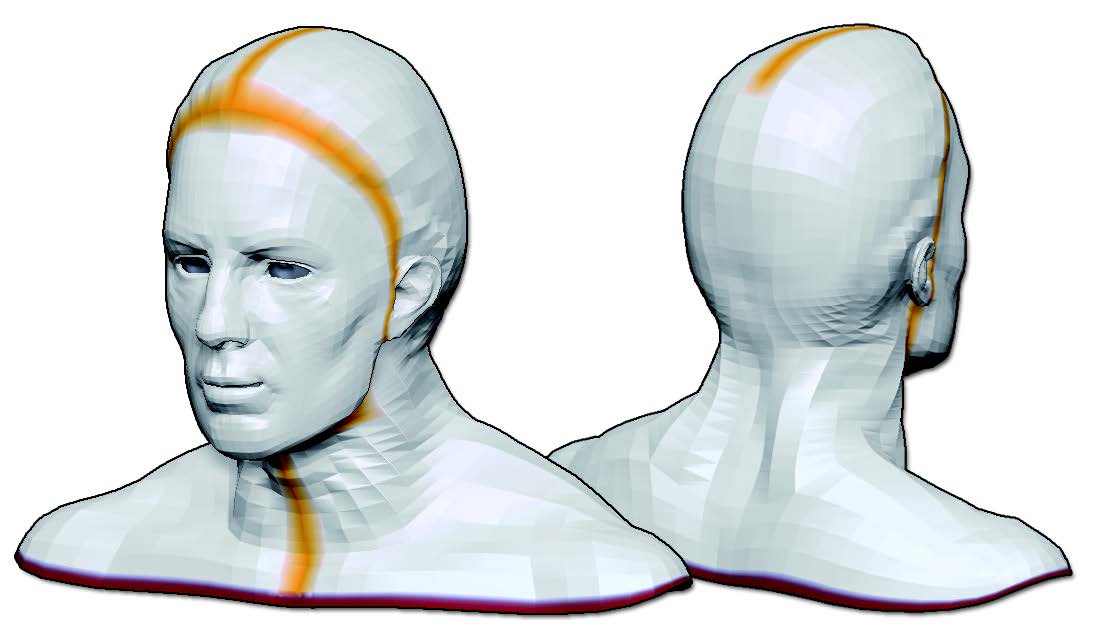
In orange, the UVs seams and in brown, the border seams. We can clearly see the seam around the face, splitting it from the rest of the head.
Now, it’s time to work on the UVs themselves. The first step is to press the Use Existing UV Seams option to disable the creation of the seams as we want to use the existing ones.
Now press the Unwrap button to start the operation.
When the process is finished, press the Flatten button to visualize your UVs: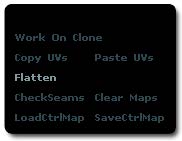
You should see your mesh flattened like below. Compare with your original unwrap to see the improvement.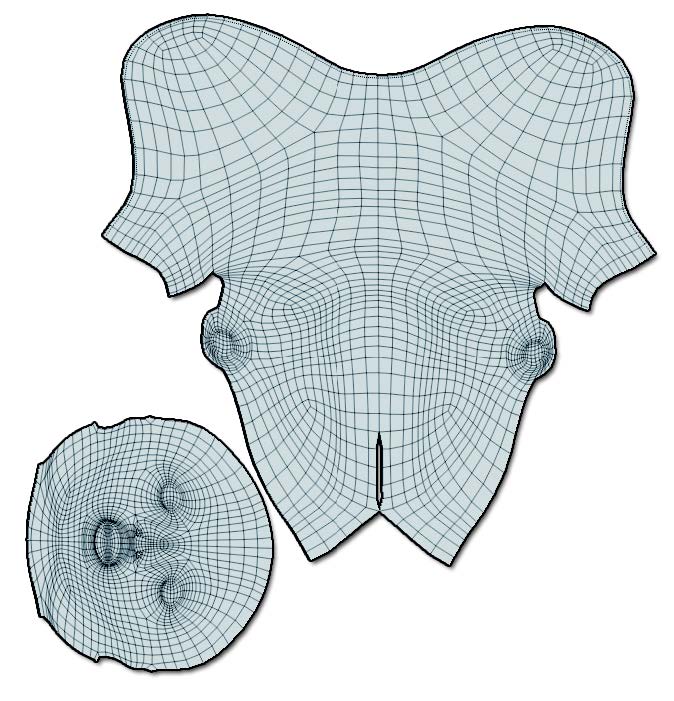
When your are done, don’t forget to Unflatten your model!
2.2 Unwrap from Existing seams
In your 3D package of choice, split your geometry where you need to have your UV seams.
Save your 3D model as an OBJ file and import it into ZBrush.
Open the UV Master plugin menu and before unwrapping, click on the Check Seams to visualize your existing seams: You should see a set of brown seams, which will show you the split areas of the model, as opposed to orange seams which show UV seams as in the previous chapter.
The topological seams visible in brown, in opposition orange one which represent UV seams.
Now, enable the Use Existing UV Seams option. This way no new seams will be created in the unwrap process. Press the Unwrap button.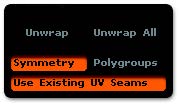
When the note which indicates the end of the process appears, click on it to close it and then press the Flatten button to visualize your UVs. You should see your mesh flattened like below: