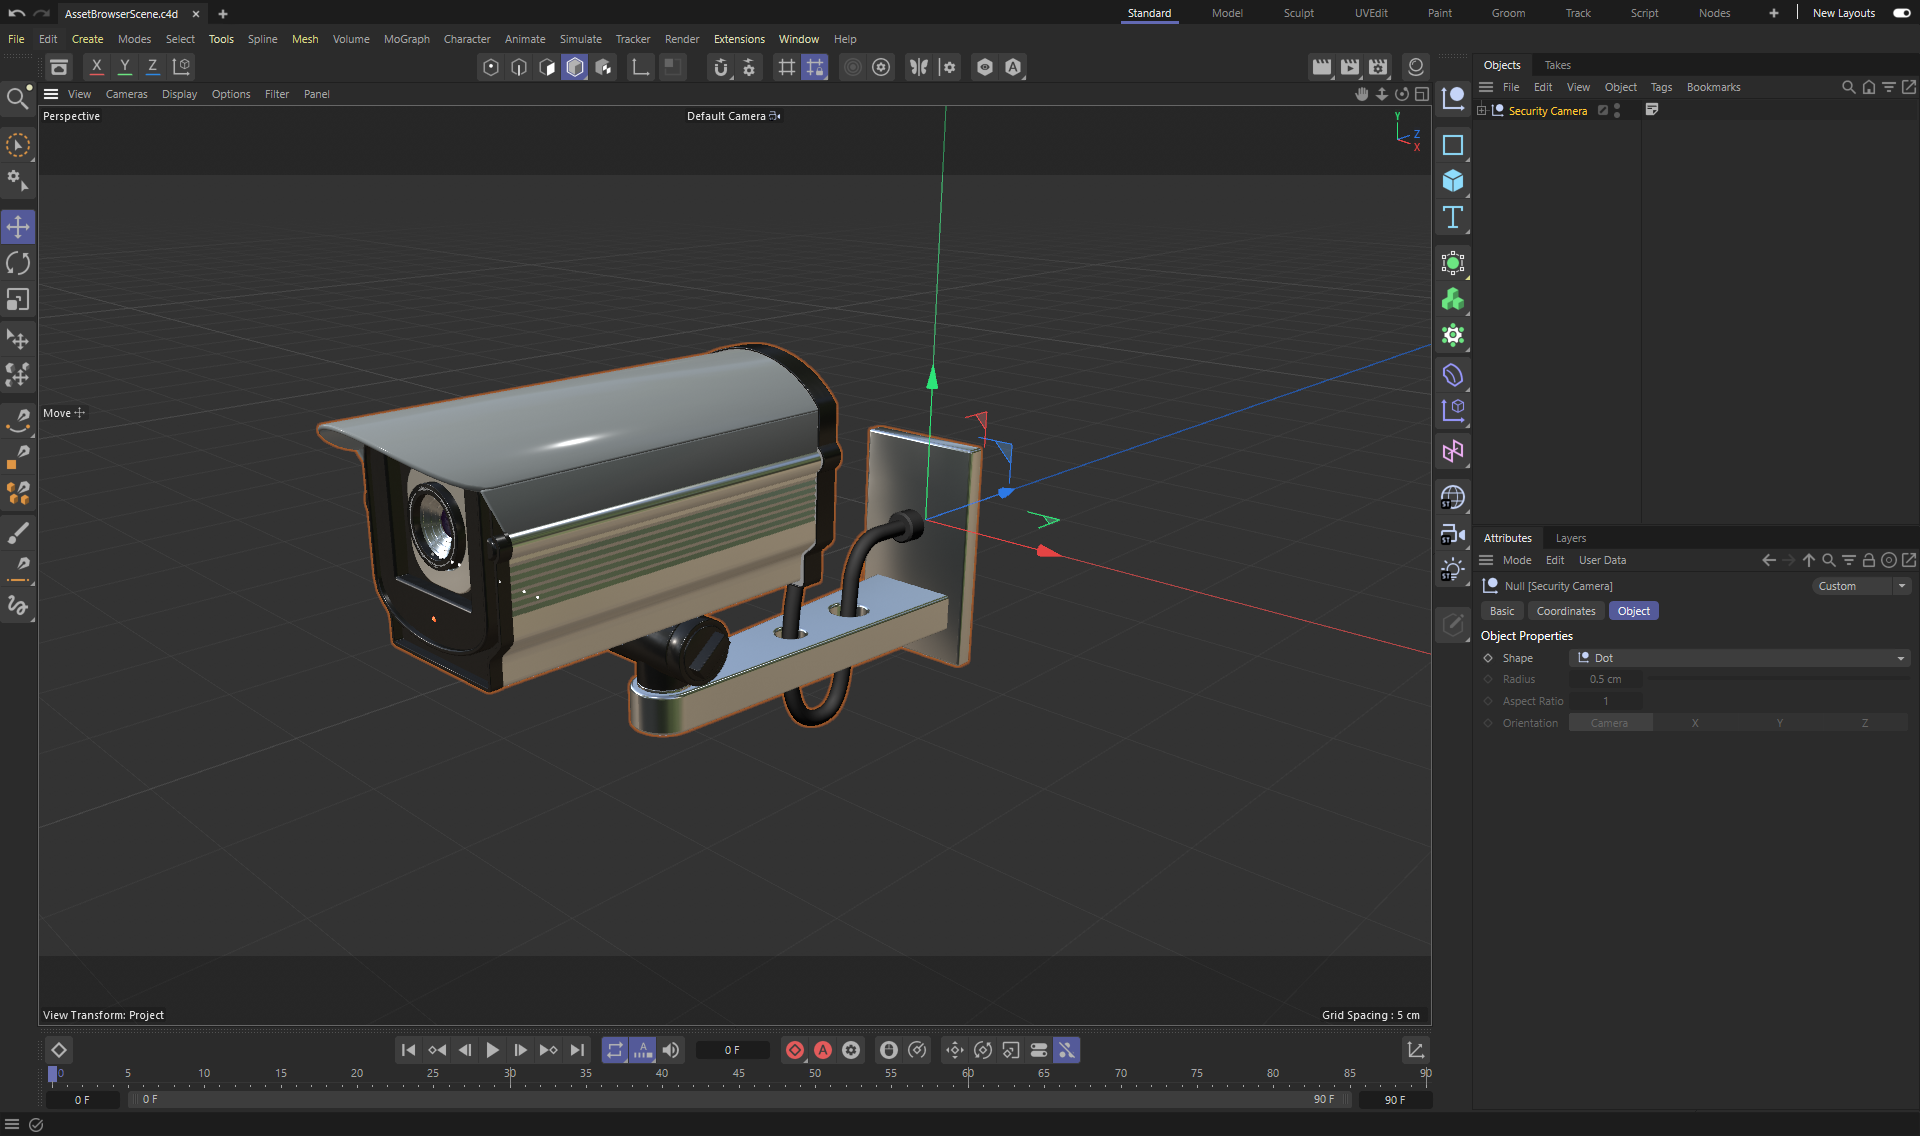

This scene was newly created in After Effects. After Cinema 4D opened, an object from the Asset Browser was inserted and the scene was saved again.
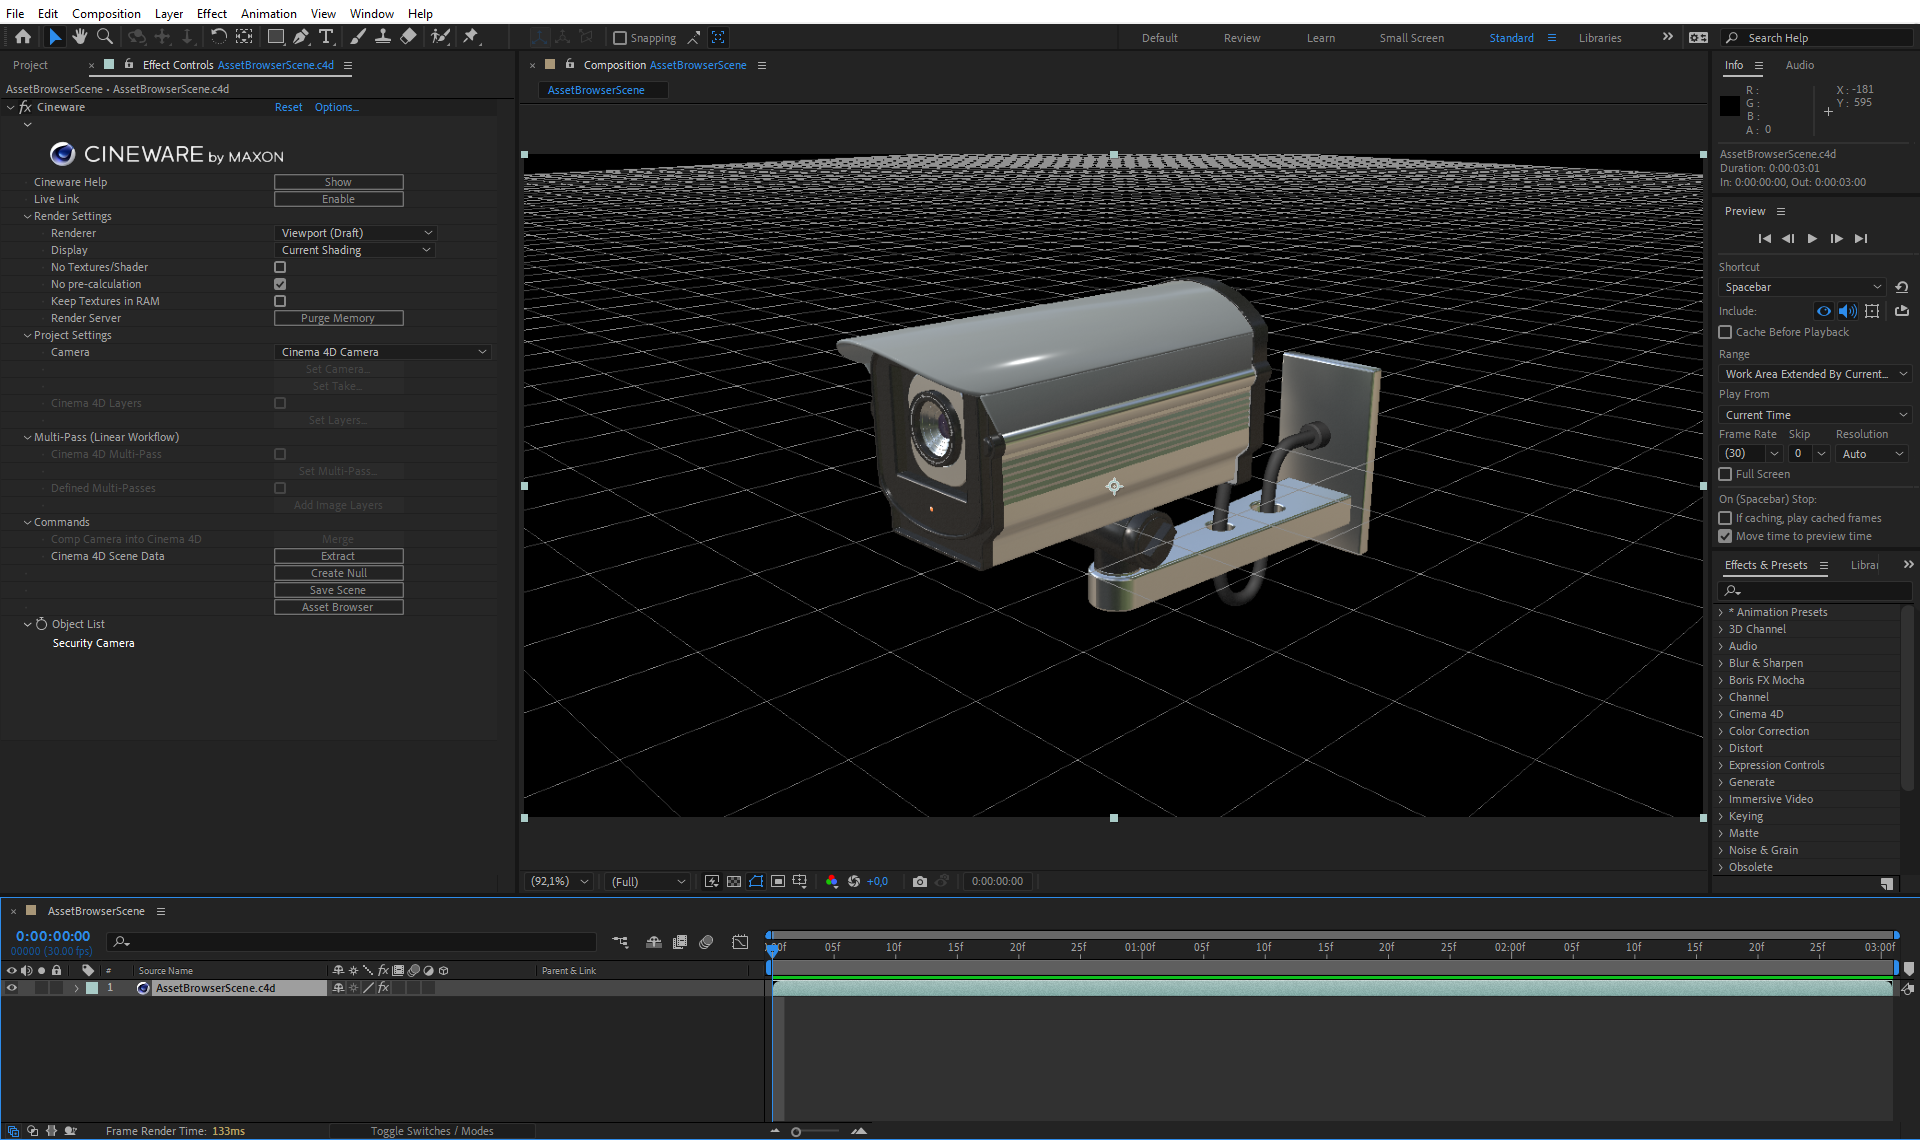
After Effects displays the scene you just added in Cinema 4D.
The default installation of Adobe After Effect already includes all the necessary plug-ins to create, load, edit, or render Cinema 4D scenes in After Effects. You can, for example, create a new Cinema 4D scene directly in After Effects via File>New>Maxon Cinema 4D File... . Alternatively you can right-click on the Project area in After Effects and select New Maxon Cinema 4D File ....
In a save dialog window you can then enter the name and save path for the new Cinema 4D project. Cinema 4D opens automatically to edit the new scene.
|
|
|
|
This scene was newly created in After Effects. After Cinema 4D opened, an object from the Asset Browser was inserted and the scene was saved again. |
After Effects displays the scene you just added in Cinema 4D. |
 The first time you create a new Cinema 4D scene from Adobe After Effects, a notice appears that After Effects already ships with a Cinema 4D Lite version, which provides basic modeling capabilities even when a full version of Cinema 4D is not available.
To edit a new, still empty Cinema 4D scene, you can open the Cinema 4D scene in the After Effects Project window and then selectEdit>Edit File Externally.... Either a Cinema 4D Lite window or, if available, a current full version of Cinema 4D will open and will load the scene created in After Effects. This scene can now be filled with 3D objects, materials, light sources and cameras in Cinema 4D
If the correct Cinema 4D version does not open for external editing, you can specify the desired Cinema 4D version in the Cineware options. You will find additional information about this below in the description of Cineware Effects in After Effects.
 The new scene is filled with objects in Cinema 4D. In addition, we will adjust the render resolution, the calculation quality, the frame range to be rendered and the required Multi-Passes in the Render Settings.
As soon as all desired modifications and settings have been made in Cinema 4D we can save the file. The links in After Effects will be updated automatically. In After Effects, drag the layer with the Cinema 4D file from the Project window into the Timeline or Composition window in After Effects. A new composition with the defined render resolution and animation length of the Cinema 4D file will automatically be created.
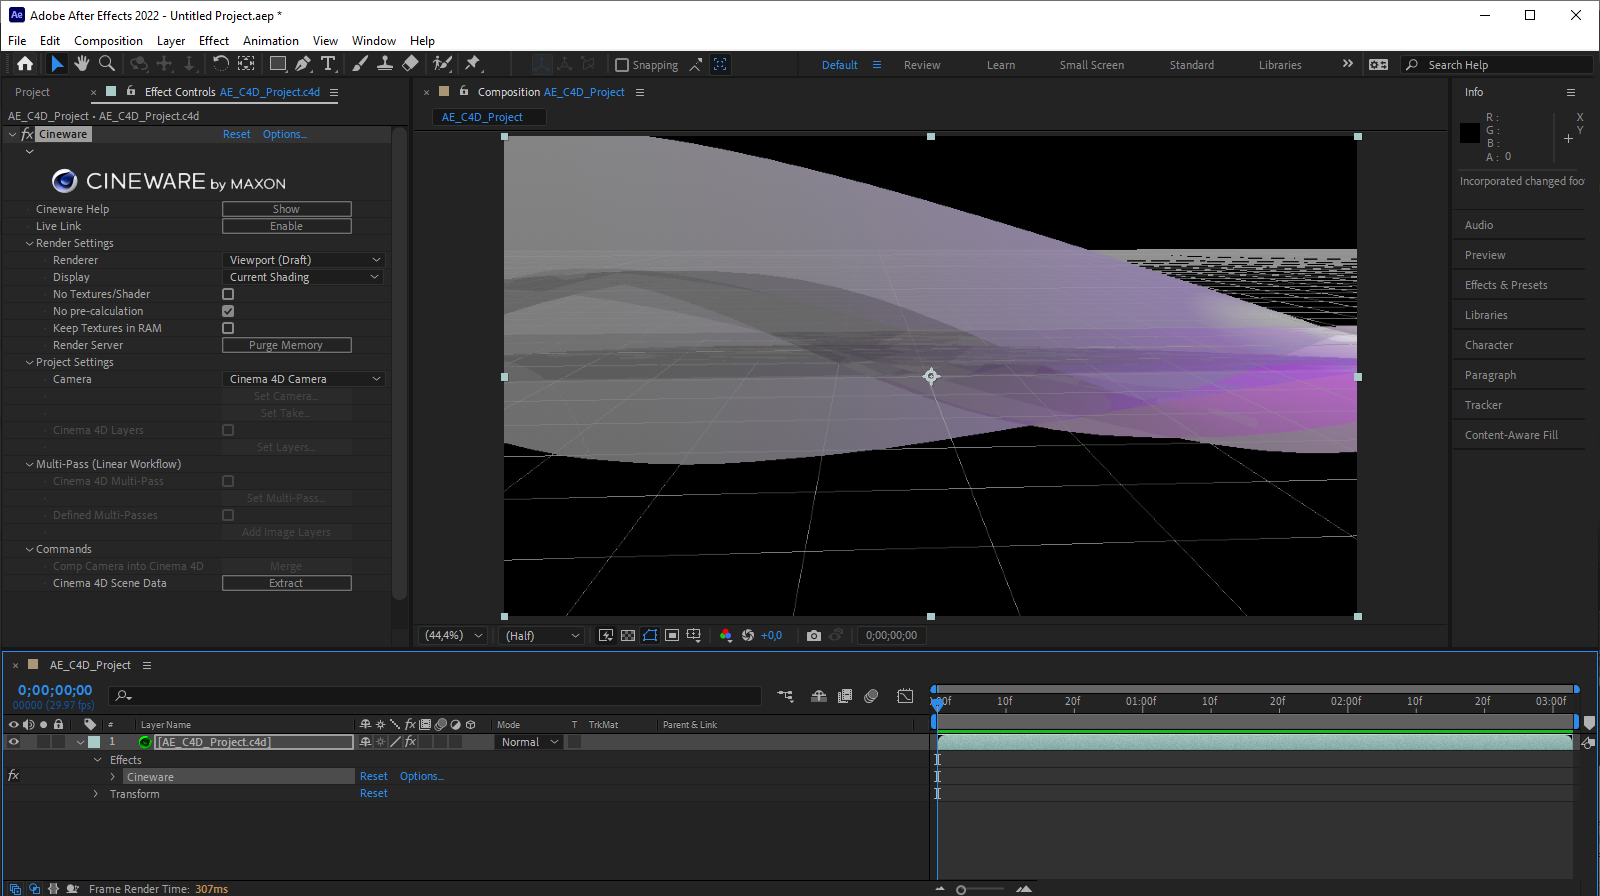
 The updated Cinema 4D file as a layer of a new composition in Adobe Efter Effects.
This back-and-forth between Adobe After Effects and Cinema 4D can be repeated as often as you like to further refine your 3D scene and have it automatically update in After Effects after each save. It's important to understand that we are dealing with an interactive connection between both applications. Cinema 4D can receive function commands from After Effects, e.g., that affect the display quality or even create new Multi-Passes. This communication between the applications is handled by Cineware, which is included as an effect under the Cinema 4D level in After Effects (see also image above).
 Settings for the Save Project Incl. Assets command.
If you want to add a 3D layer to an existing After Effects composition with a new Cinema 4D file, you can use Layer>New>Cinema 4D File... as an alternative to the above procedure. This also creates a new Cinema 4D file, which can, however, be imbedded directly in the active composition.
If you already have a Cinema 4D scene that you want to embed as a layer in an After Effects composition, use File>Import>File... directly, or right-click in the Project panel and choose Import>File....