Hair
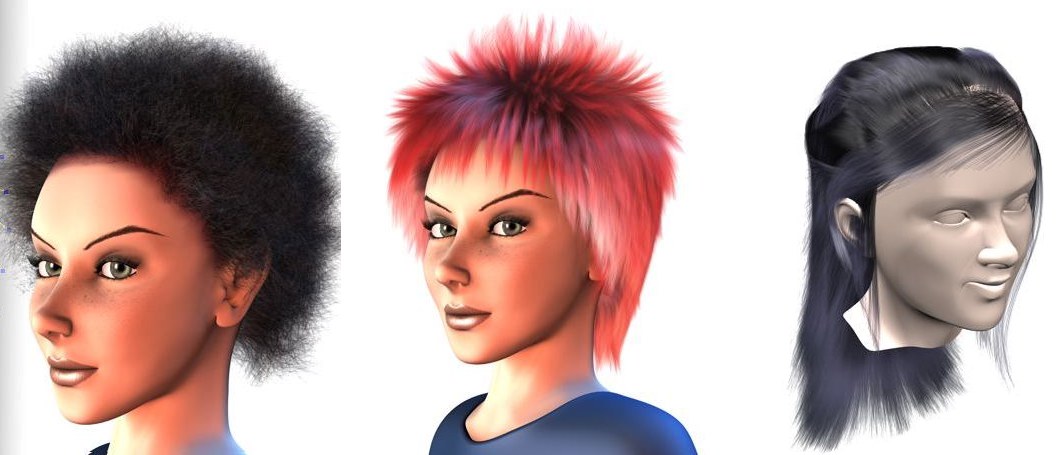 © Janine Pauke
Welcome to HAIR, which leaves nothing to be desired when it comes to creating hair, fur, feathers, but also grass, twigs and other applications that require the more or less uniform arrangement of thin, delicate objects on a surface.
Hair and Redshift
Hair generally works very well with Redshift.
In general, there are 2 ways to render hair in Redshift:
-
You only use the normal Hair Material. Make sure to set the parameter Strength in the hair material channel "Highlight" to values around 1% or 2%, otherwise the hair will be rendered far too brightly. Then set the Renderer to Redshift and render.
-
You use the Redshift material "Universal Hair". This uses a physically correct approach for shading hair and can therefore produce better quality than normal hair material. Nevertheless, both hair materials can - and should - be combined. Basically, the normal hair material with its numerous channels (kinks, clump, curls etc.) then provides the "hair shape", while "universal hair" takes over the shading. All details about the "Universal Hair" material can be found here.
General information
-
Please note that the Redshift render results always differ from those of the standard/physical renderer, as is always the case with different renderers. So you will never be able to load old hair scenes, switch to Redshift and get identical results. Readjustments of light sources and material adjustments are always necessary!
-
Redshift renders the hair as splines/curves, not as a post effect as the standard renderer does. This results in longer render times!
Which of the many hair functions do not work in Redshift?
Since Redshift uses its own rendering methods for Hair, some of the Hair elements have no function and only work for the old Standard renderer. You should pay attention wherever rendering is involved. Below you will find a list of hair elements that work differently or do not work in Redshift:
-
The Hair renderer effect that can be called up in the Render Settings: its options do not play a role in Redshift, but it must still be present and activated, otherwise no hair will be transferred to Redshift.
-
In the Hair material, "Color" channel: the parameters arranged in the "Surface" sub-tab for coloring hair according to the material color projected there are not supported by Redshift.
-
The Light Tag is ignored, all shadow settings are made directly in the Redshift light source.
-
The Hair Render ag is also not evaluated. However, its functionality is taken over by Redshift as follows:
-
Rendering fur-like hair works as described here. In a nutshell: Assign a normal Hair Object and shorten the guides to fur length.
-
Rendering splines as hair can be realized with the RS Object Tag. In the "Curve" tab, set the Mode to Hair Strands.
-
Rendering of particle trajectories is performed by the Tracer- Object in combination with the RS Object Tag just mentioned.
-
The "Mixing mode" parameter in the hair material tag for mixing hair colors is not evaluated. It is therefore not possible to mix hair colors (e.g. by multiplying). The other hair material channels that relate to hair shape - e.g. kinks, clump, curls, etc. - can, however, be mixed perfectly. The hair UV settings at this point are also not evaluated. This means that even feathers can only be textured to a limited extent.
-
The thinning functionality of the hair object ("Culling" tab) is not supported by Redshift.
-
The Polygon Hair hader is not supported by Redshift.
Hair and multiprocessors in the Standard enderer
Hair utilizes all available processor cores when rendering. Please note, however, that during the preparation time (status bar: "Prepare hair..."), a hair object can only be calculated by one processor core at a time for internal reasons. For this reason, it may be worth splitting hair into several Hair Objects if you really want to use every last bit of processing power.
All head models in the Hair documentary (except for the explicitly mentioned exceptions): © Bunk Timmer
Hair and the Physical Renderer
Although Hair works together with the Physical Renderer, this combination does have some disadvantages:
- rendering hair takes considerably longer (as hair is calculated internally as polygons).
- the hair looks slightly different.
- Hair Multi Passes are not supported.
Hair and other Simulations
Hair is deeply integrated into the Cinema 4D simulation system. For example, it is easy to grow hair on rigid bodies, clothing, soft bodies or ropes. The force objects (e.g. wind, turbulence etc.) also have an effect on hair/guides.
In the following example you can see rigid bodies, ropes and hair combined. The hair grows on the spheres; the guides and therefore the hair react to the slanted surface.

The hair itself can be generated as polygons (see Type in the Hair Object), which can benefit other areas that work with polygons (e.g. a Collisider Tag can then be assigned to the hair object): for example, a mesh emitter could generate particles from the polygon hairs.