Basic Properties
This parameter defines the general strength of blurring. Other parameters modify this strength such as Distance Blur and Radial Blur. Note that if you set Blur Strength to 0% there will be no blurring at all, even when the other blur parameters are set to high values.
The Distance Blur value refines the strength of blurring. For example, if you set Blur Strength to 80% and Distance Blur to 50%, the strength of full blurring will be 40% (50% of 80%).
To use Distance Blur, ensure that the scene has a camera (). Ensure also that the camera has been linked to the Viewport that you want to render (Viewport: ). In the Object Manager, select the camera. In the Attribute Manager, click the Details tab to access the following settings.
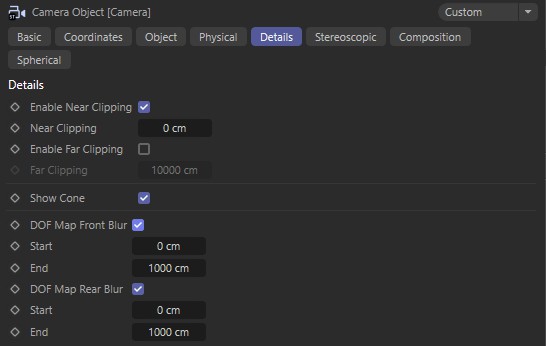
Of particular importance are:
- Focus Distance (Object tab): the distance from the camera to the focal plane, i.e., the distance from the camera at which the picture is perfectly sharp.
- Focus Object: instead of setting a Target Distance, you can choose an object to be the focal point, i.e., the object you select will be perfectly sharp.
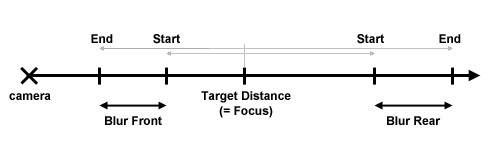
To blur behind the focus only, set the Focus Distance (or Focus Object) and enable Rear Blur. The Use Gradients option must be activated in the Depth of Field menu's Basic tab.
Alternatively, define a Focus object (assign a Target Expression to the camera).
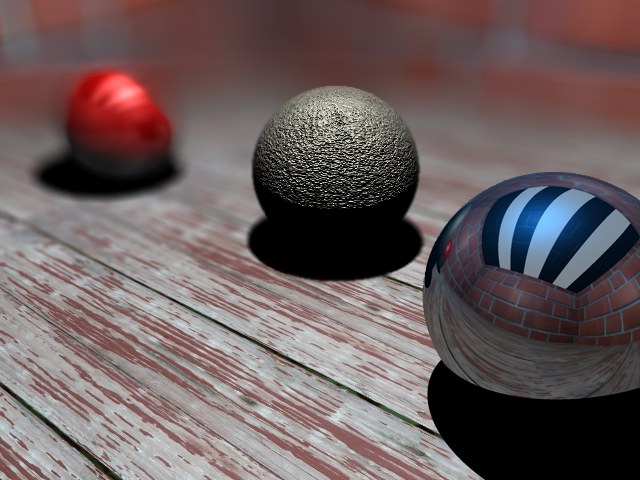 Figure 1: Rear blur only.
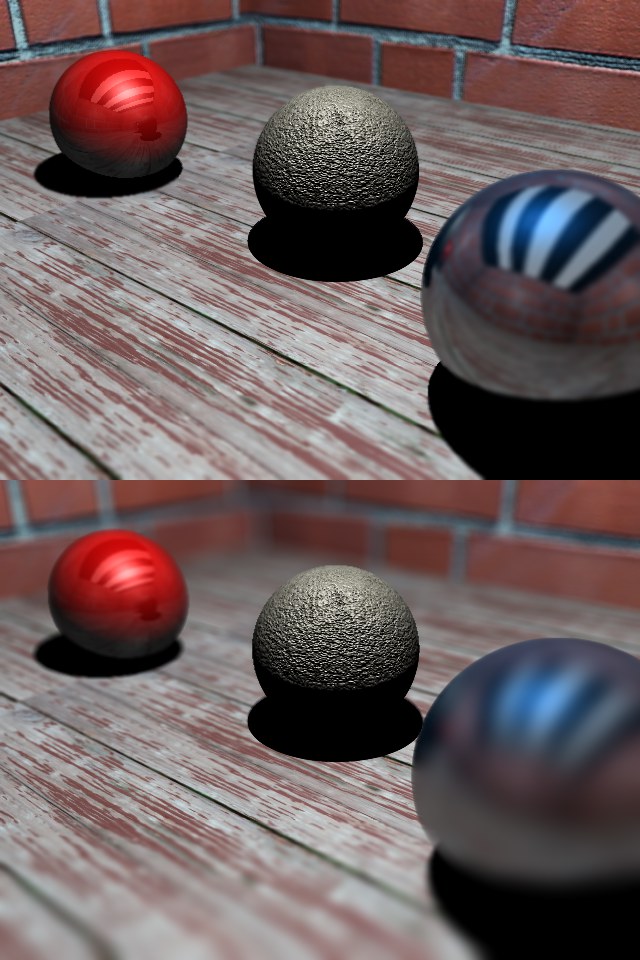 Figure 2: Weak front and rear blur. / Figure 3: Strong front and rear blur.
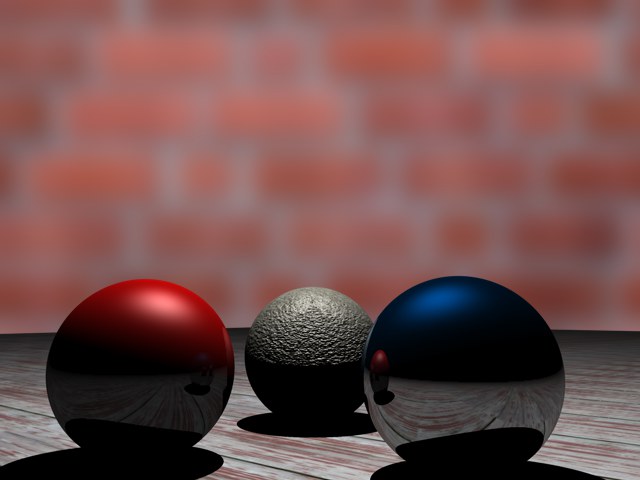 Figure 4: Background blur.
Use this parameter to control the strength of blurring for Cinema 4D's Background object (). All other types of objects are unaffected by Background Blur. See Figure 4.
Radial blur is blur that gets stronger from the picture's center outwards. Use the input box to define the strength of the effect.
This option can be enabled to simulate the Autofocus feature of a real camera. The object in the center of the view will become the focal point, i.e., the object in the center will be perfectly sharp.
So that the object does not have to be exactly in the center, you can enter a tolerance value. The maximum value of 100% allows the object to be anywhere in the view. With lower values, the object must be closer to the view's center to trigger the auto-focus.
There are two states:
- Use Gradients option disabled. Blur is created using an algorithm that takes the camera's focus (i.e. Target Distance) into account. Front Blur and Rear Blur are ignored.
- Use Gradients option enabled. Front Blur and/or Rear Blur also enabled. Use the gradients to define the transition from sharpness to full blur.
In the gradients, black represents full sharpness, white represents full blur (i.e. the Distance Blur value) and gray is for intermediate blur strength (the brighter the gray, the stronger the blur).