Texture Menu
Some of the commands on this menu are described in Image Menu, and Layer Menu. Please see the appropriate chapter for details on these commands.
The Material channels menu enables you to create new material channel textures and delete existing material channel textures for the selected material. If you want to create a new material channel, open the menu and choose from the list that appears. Once you have made your choice, a window opens in which you can define the texture’s parameters (See New Texture).
You can create and assign textures to the following material channels:
- Color
- Diffusion
- Luminance
- Transparency
- Reflectance (1 color texture for each layer)
- Environment
- Bump
- Alpha
- Displacement
- Normals
- Custom (see Custom material channels
Due to its layer characteristics, note that multiple textures can be used in the Reflectance channel. These will be listed separately on reflectance layers (and can be selected separately in the Material Manager in the Reflectance channel).
These commands enable you to load and unload textures to and from RAM for the selected materials.
Unloading textures frees up RAM and prevents you from accidental painting these materials (you can also prevent accidental painting by clicking the pencil icon to gray it out).
A cross icon next to the material’s preview means the material’s textures are not loaded. To load the material’s textures, click the cross icon.
These options perform the same functions as are performed when you click on the pencil icon next to the material, i.e., they define whether or not the object to which the material is applied can be painted in the 3D view (painting is always possible in the texture view).
It can occur that you want to color certain textures that contain functionalities outside of the "normal" Cinema 4D material channels (e.g., the numerous HAIR materials). For this reason (as well as for external workflow pipelenes) custom material channels into which any number of textures can be loaded can be created.
How are custom material channels created?
There are two ways in which to do this:
- Right-click on a material: Texture Channels / Custom (this is the easiest way)
- Activate the material and switch to the Attribute Manager: Click on Add User Data, select Custom Channels / Data, set Data Type to Link, set Interface to Shader. Create a new bitmap or load a bitmap.
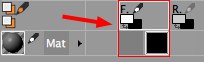
An additional material channel named Custom Channel will now be added to the material. Further channels can also be created here (2nd method).
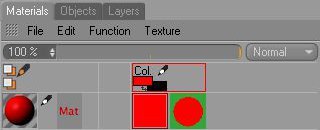
 A color channel and a custom material channel.
All custom channels will appear in the material’s Color F channel. Click on a texture here to display it in the 3D view and the Texture view.
It is not yet possible to simultaneously paint the color texture and the material channel texture via Multibrush. You can work around this by loading the custom material channel textures into an unused (existing) material channel, e.g Displacement, Specular, etc.
After completing the aforementioned steps, the custom material channel texture can be loaded into a HAIR material’s Thickness channel in a second step.
Now the texture that is projected onto the object can be painted (this texture will then be displayed in the Material Manager in the HAIR material).
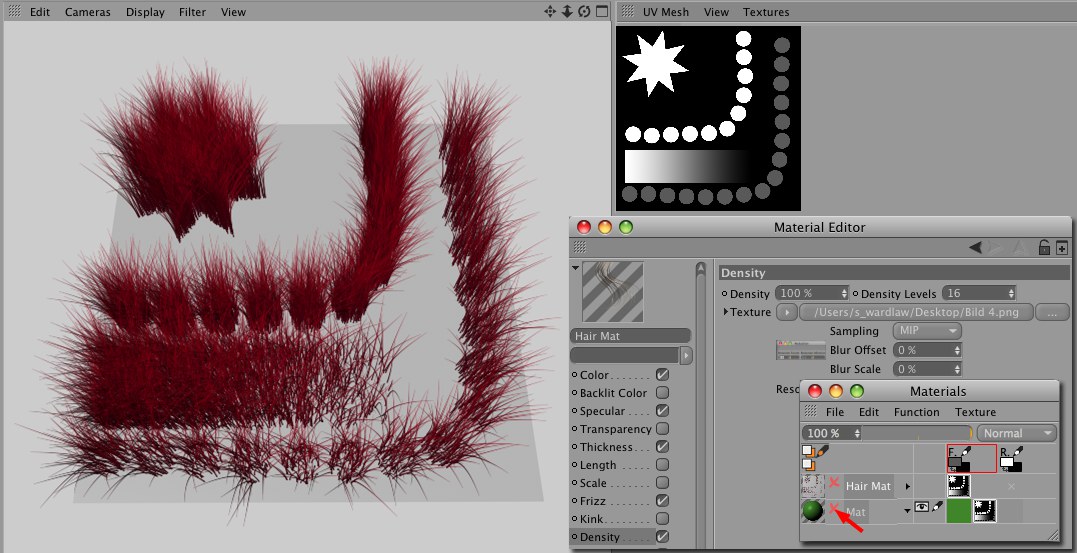 Painting hair density using custom material channels. Make sure that the material’s own material channel is enabled in the Material Manager.
Shaders cannot be painted on in BodyPaint 3D! In order to work around this, assign a Shader to a layer (preferably, the Shader should be loaded into the Illumination Channel), render this layer and edit the resulting bitmap using BodyPaint 3D.
All shaders will be lost upon export to a foreign format.